I'm throwing my hat in the ring for the Computercraft Competition to make a self-replicating turtle. It's a bit of late entry -- the deadline was Nov 1, 2012, and the forum has long closed. But I love computercraft, so who cares!
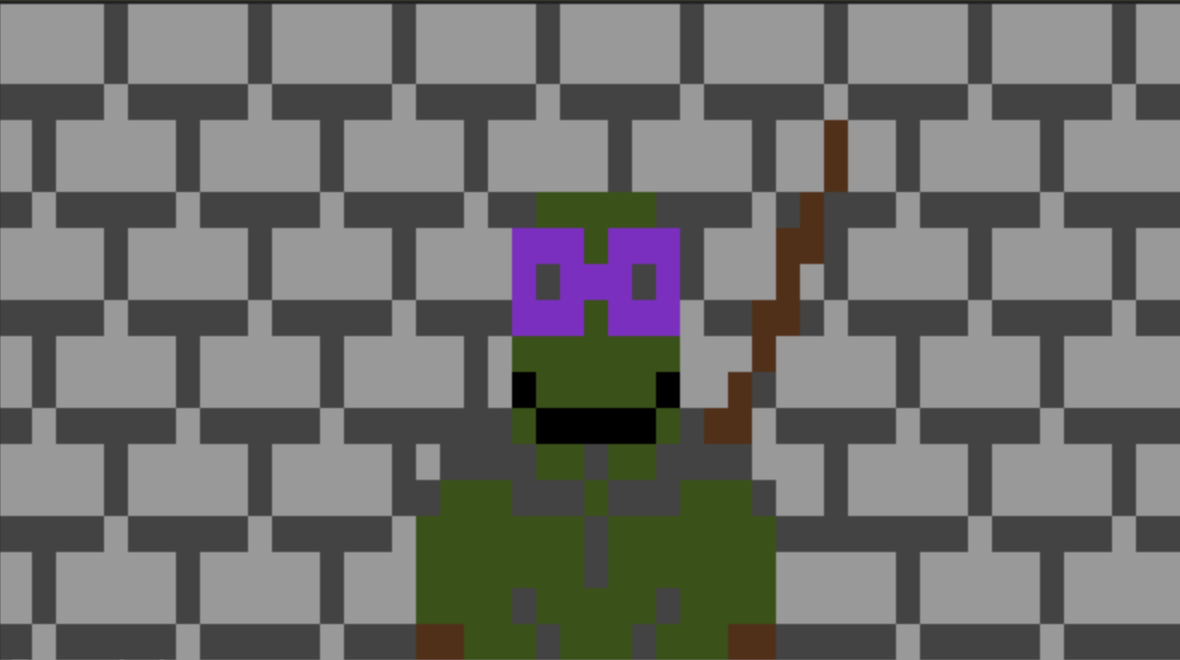
Computercraft is a mod for minecraft. In it you program Lua code to control little turtles.
They can:
- Move up, down, and forward. This costs 1 fuel.
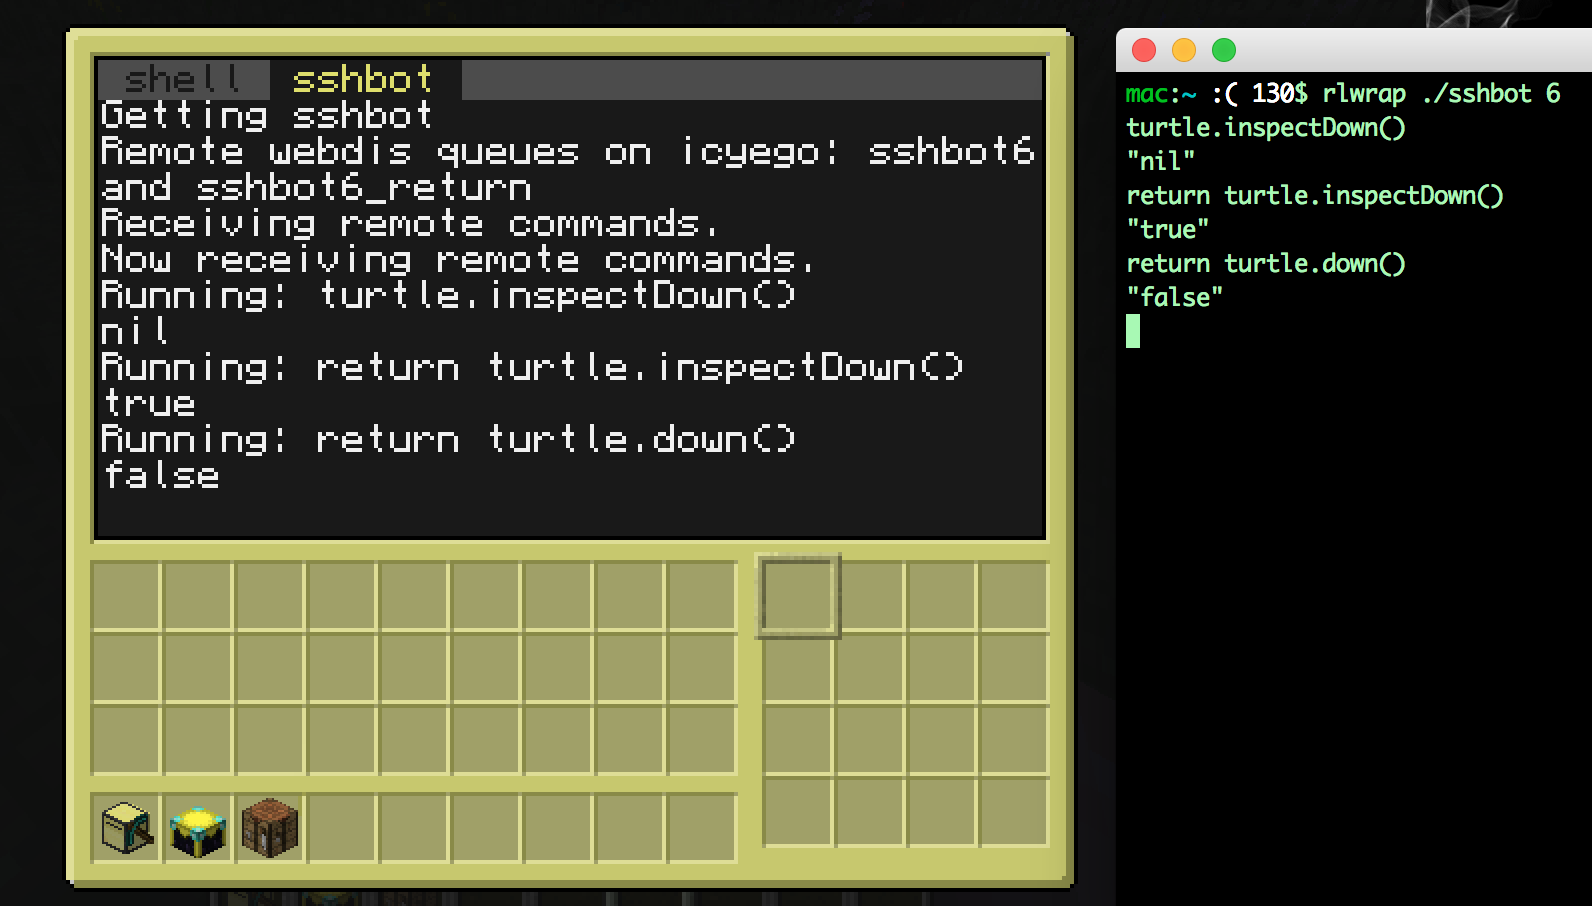
- Look up, down, and forward (1 block) -- they can't see their environment
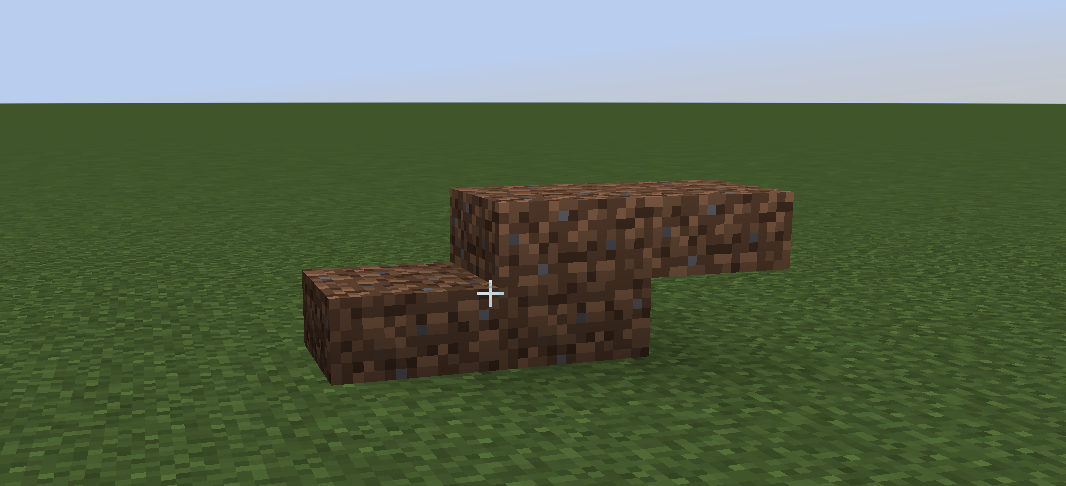
- Mine blocks up, down, and forward.
- Place blocks up, down, and forward.
- Turn left or right.
- Look in and manage an inventory of 16 slots
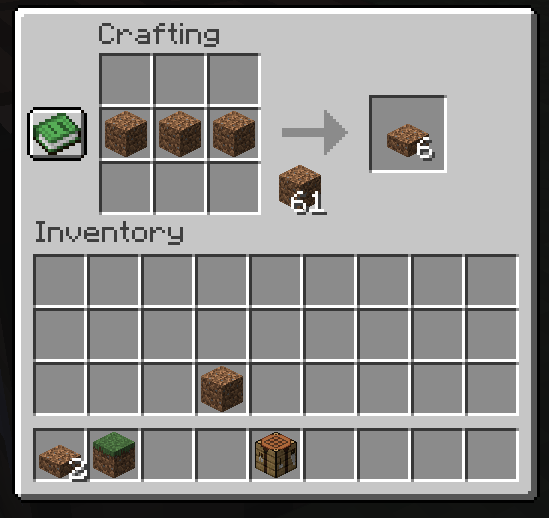
- Craft items, assuming their inventory is completely empty other than the craft.
- Refuel, using any item that can be used as fuel in a smelter.
- Take the FIRST item out of a chest, or dump items in a chest
So... they can mine and turn for free, but moving costs fuel. And the biggest problem is the list of things they can't do:
- They don't know their position or location
- They have no idea what's in any block around them, other than directly in front of them
- They can't interact with a chest other than the very first slot
They have a few capabilities added since the 2012 post, which I'm taking full advantage of
- They can move an item from one slot in a chest to another slot, and generally look at the list of items in a chest
- They can detect what item is in their inventory, or what's in front of them. So they learn it's "oak_planks". Previously, all they could do was check whether it was the same as another item in their inventory! Much harder.
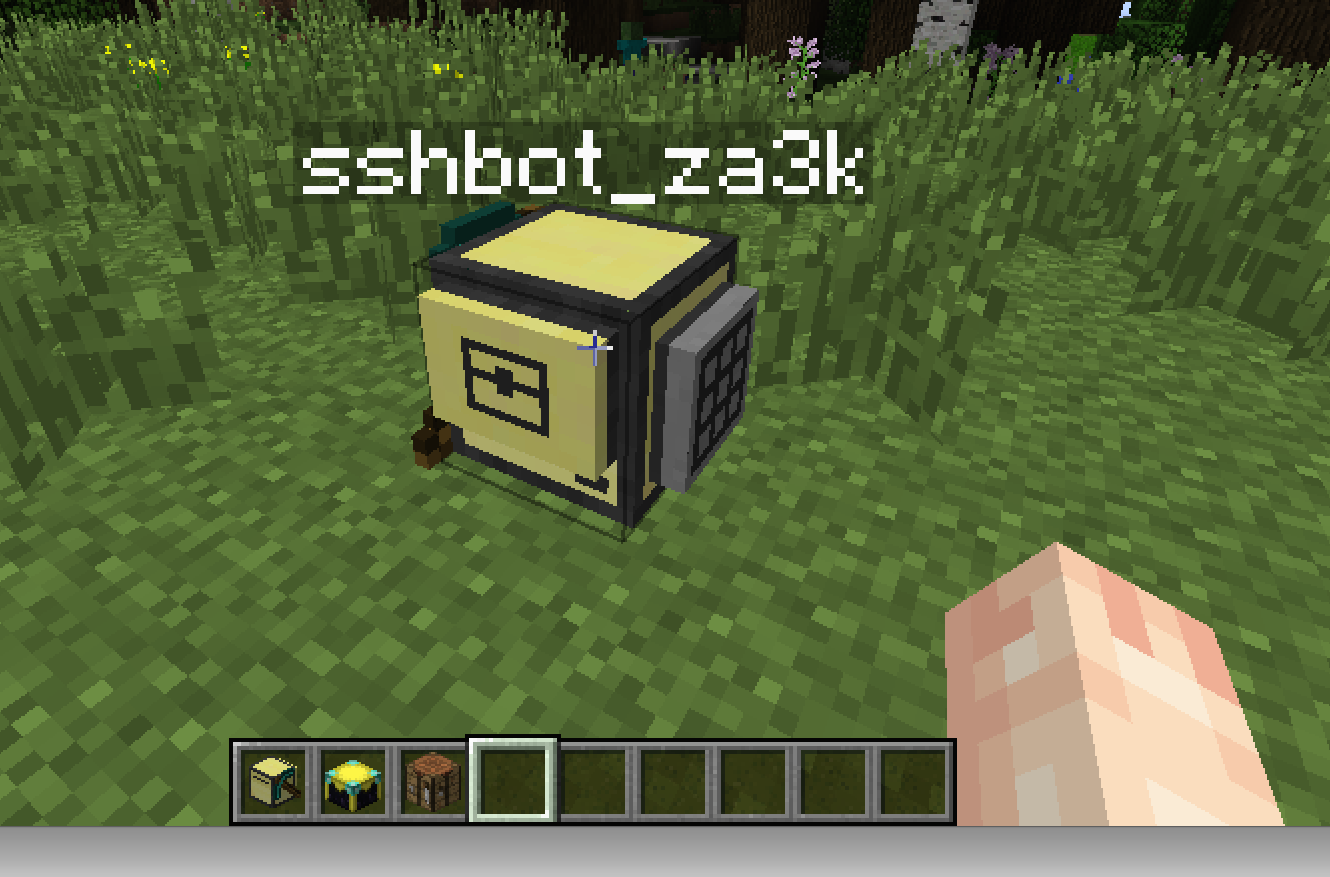
This brings us to the challenge, which is to use a computercraft turtle... to build two computercraft turtles. Possible in theory, but in practice I've only seen maybe 1 completion of the challenge. You're guaranteed that the turtle starts at the bottom of an oak tree. There are various additional requirements for the challenge, which I've basically ignored, but I did display the status for the human watcher.
Here's a video of it happening. There's no sound or audio commentary. Sorry!
I proceed in hardcoded phases:
- Chop a single log, craft it into planks, and consume it for fuel, so the turtle can move.
- Chop down the first tree. Place a block at the top, so only small oak trees grow (not large oaks, which are more complicated to chop down). Also craft a chest to store materials we gather.
- Note: At this point I speed up tick speed and place an automatic bonemeal machine to grow the tree, so it's more fun to watch.
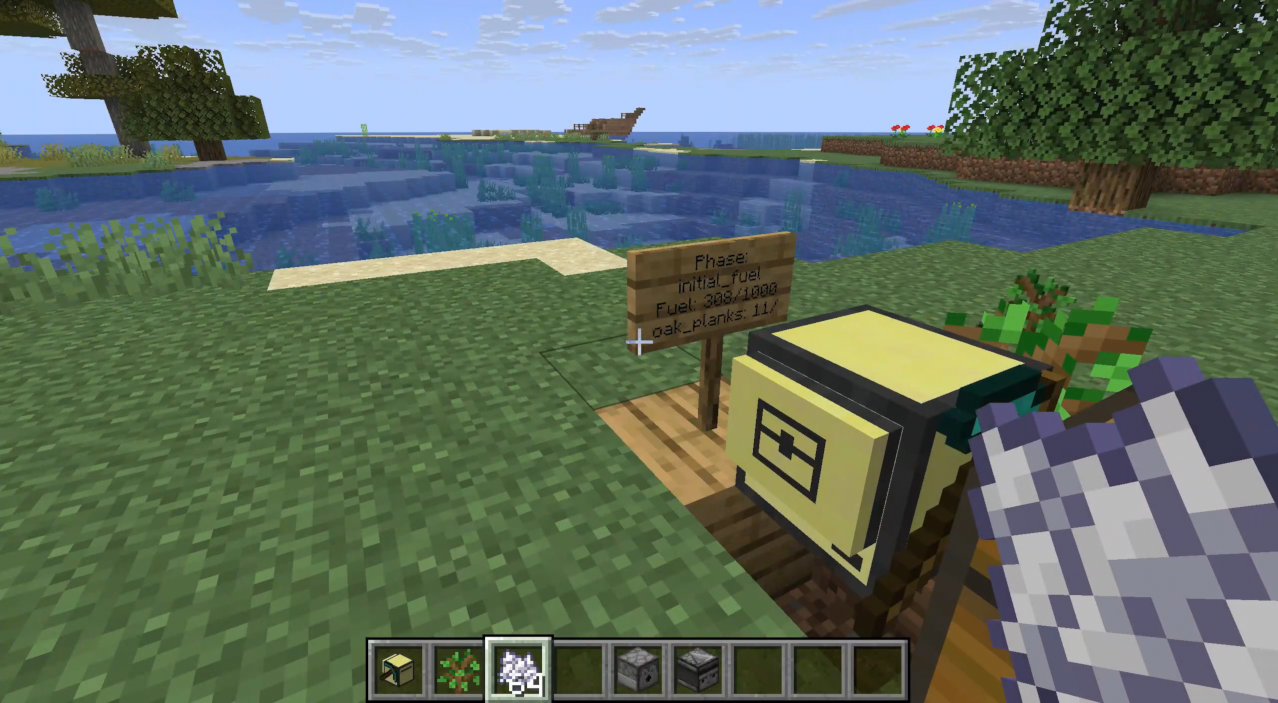
- Continue to chop down trees until we build up enough planks and fuel for later phases. We also add a sign to the left, to update the player on where we're at (phase, fuel, material-gathering progress).
- Determine the turtle's height by going to some known height and counting back to where we were. We could either go down to bedrock, or up to world height. Since bedrock is bumpy, I picked world height.
- Dig at ideal gold ore height, gather gold. Along the way, we've gotten some cobblestone.
- Dig just above bedrock, gathering diamonds and redstone
- Dig sideways at sea level in a straight line, looking for sand. Note that I temporarily slow down tick speed, because if the turtle moves itself out of loaded chunks, it shuts off and forgets everything.
- Craft and place a furnace. Smelt the gold and sand.
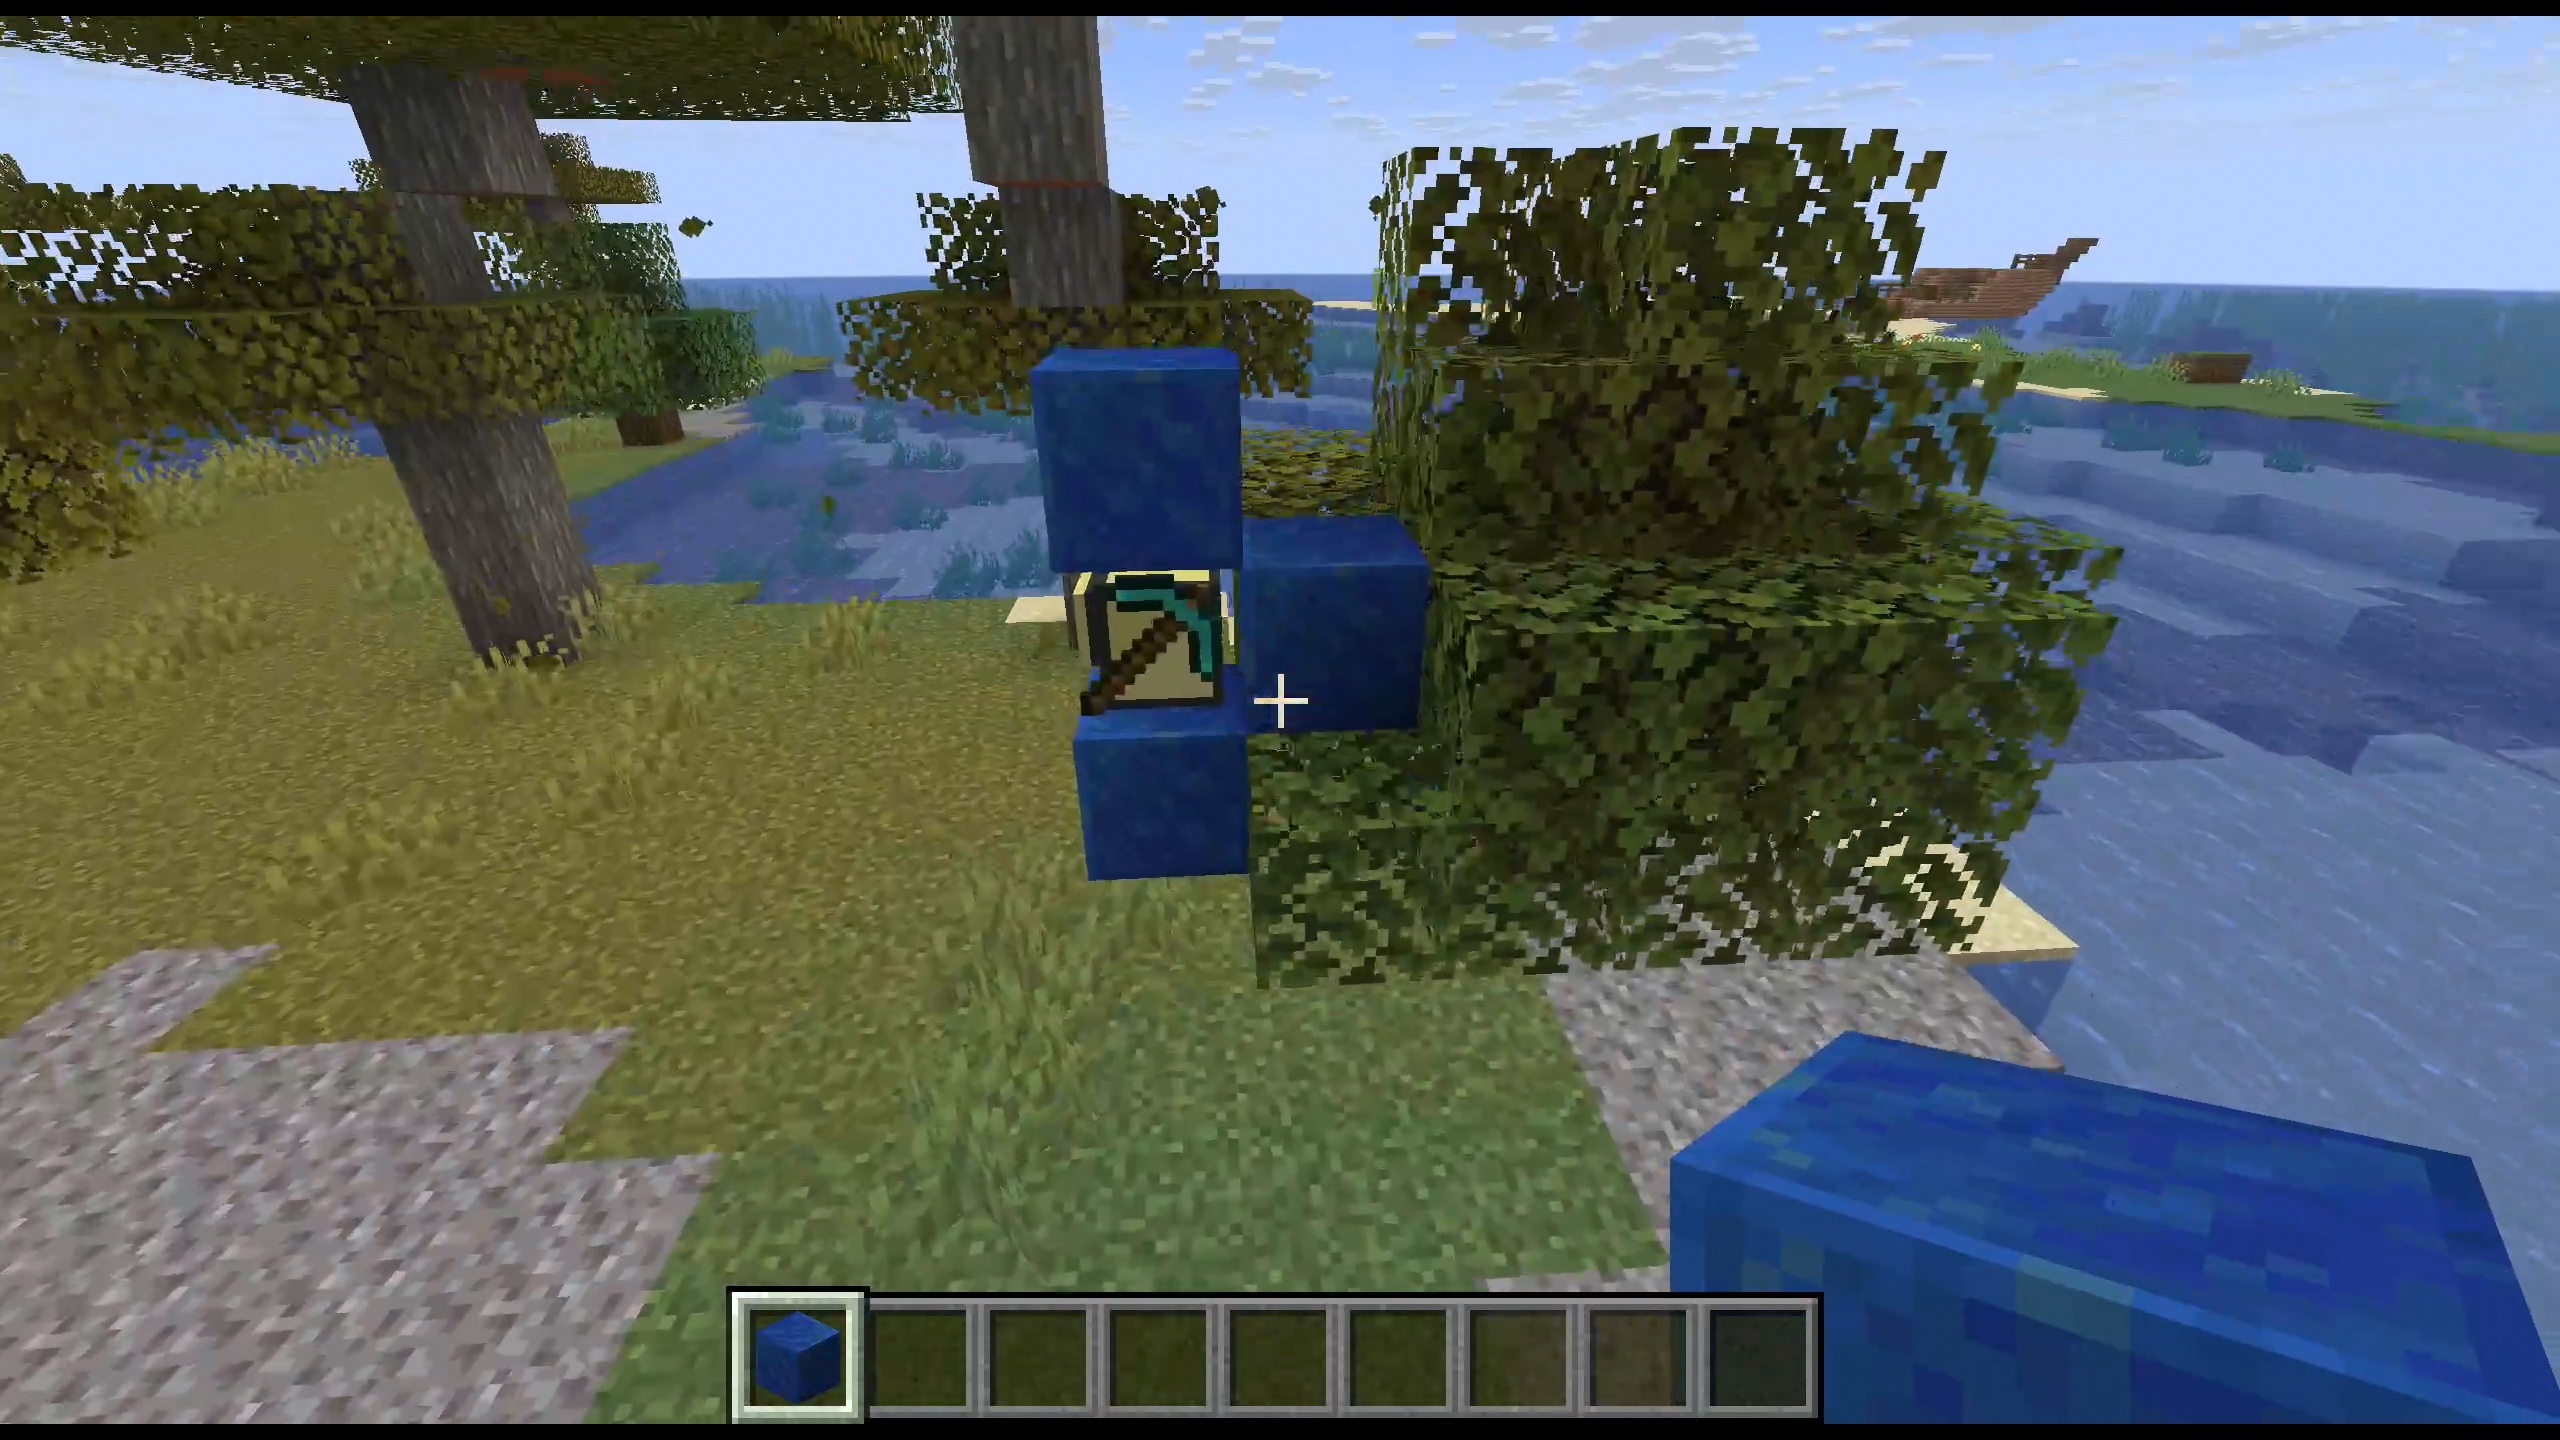
- Craft: a glass pane, a computer, a pickaxe, a crafting table, a turtle, and finally a crafting-mining turtle, same as we started it.
Along the way, the turtle refuels when it gets low on fuel, and deposits items in the chest or drops them to clear space for crafting and more gathering.
How long does it take to make two copies? Well, in a deep sense it doesn't matter, because you can keep doubling indefinitely. But just for amusement, let's find out. I added some logging profiling code to find out what the slow steps are, and they tell us the answers.
- I sped up the tick rate, but luckily the internal clock also gets adjusted the same way, so we can measure what would have been the clock time no problem:
main (1 times): 6959 seconds - We also bonemealed the trees! So we better take that into account too:
awaitTree (22 times): 175 seconds. Let's change that to a more average value. A minecraft tree takes an average of 16 minutes to grow (provided there's space and light -- we actually set it to perpetual noon, but since it would be easy to place a torch, I'll ignore that)
So the real time is 5.8 hours waiting for trees to grow, plus 1.9 hours for everything else -- a total of 7.75 hours.
If you kept re-placing the turtles, that means you'd have over 1 million turtles in a week. (Well, you wouldn't, because chunkloading--but that's something you could do with turtles too, in theory.)