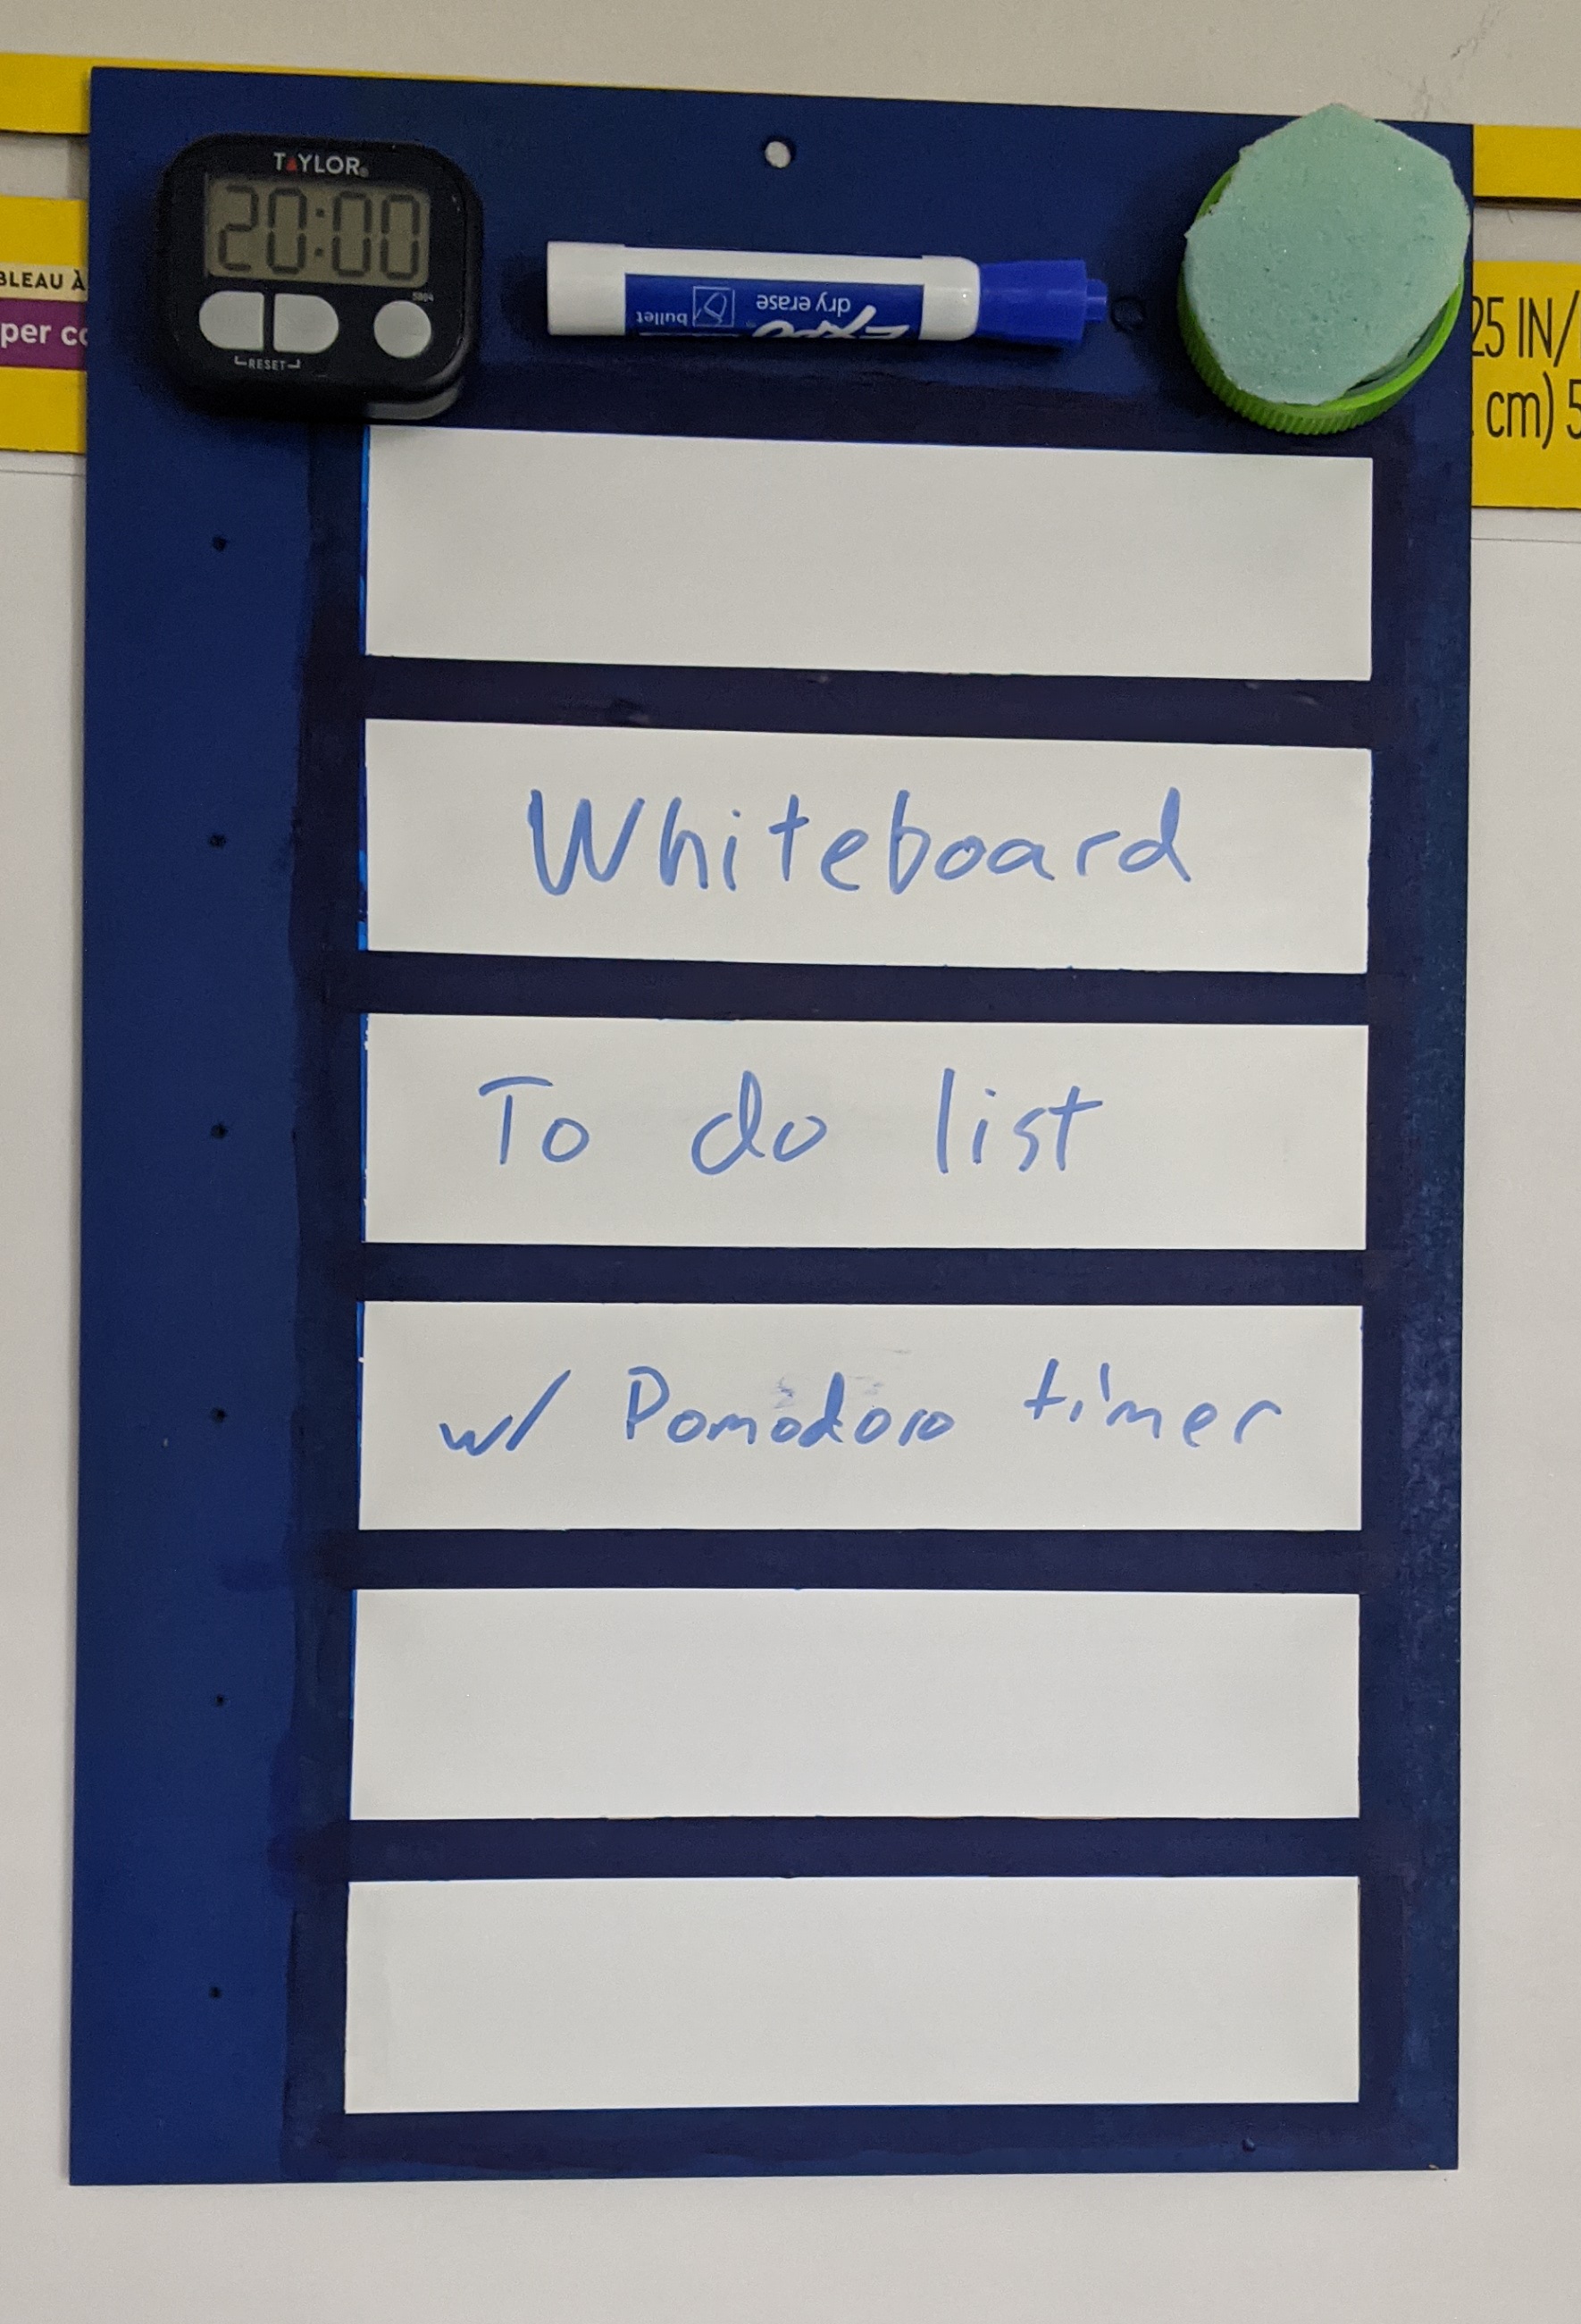
Today I made a TODO list. It has whiteboard sections to write tasks in, an eraser, and a timer. You should be able to use it flat or on the wall, though it's a little bulky to use flat.
the final whiteboard
The blue is mostly spray paint, with some hand acrylic painting near the tape. The various bits on top are held in place with magnets, which I epoxied.
The cost to make this was $17. $5 for the whiteboard marker, $5 for the MDF board, and $7 for the timer. The eraser I made for free. I already had paints, whiteboard tape, epoxy, and magnets.
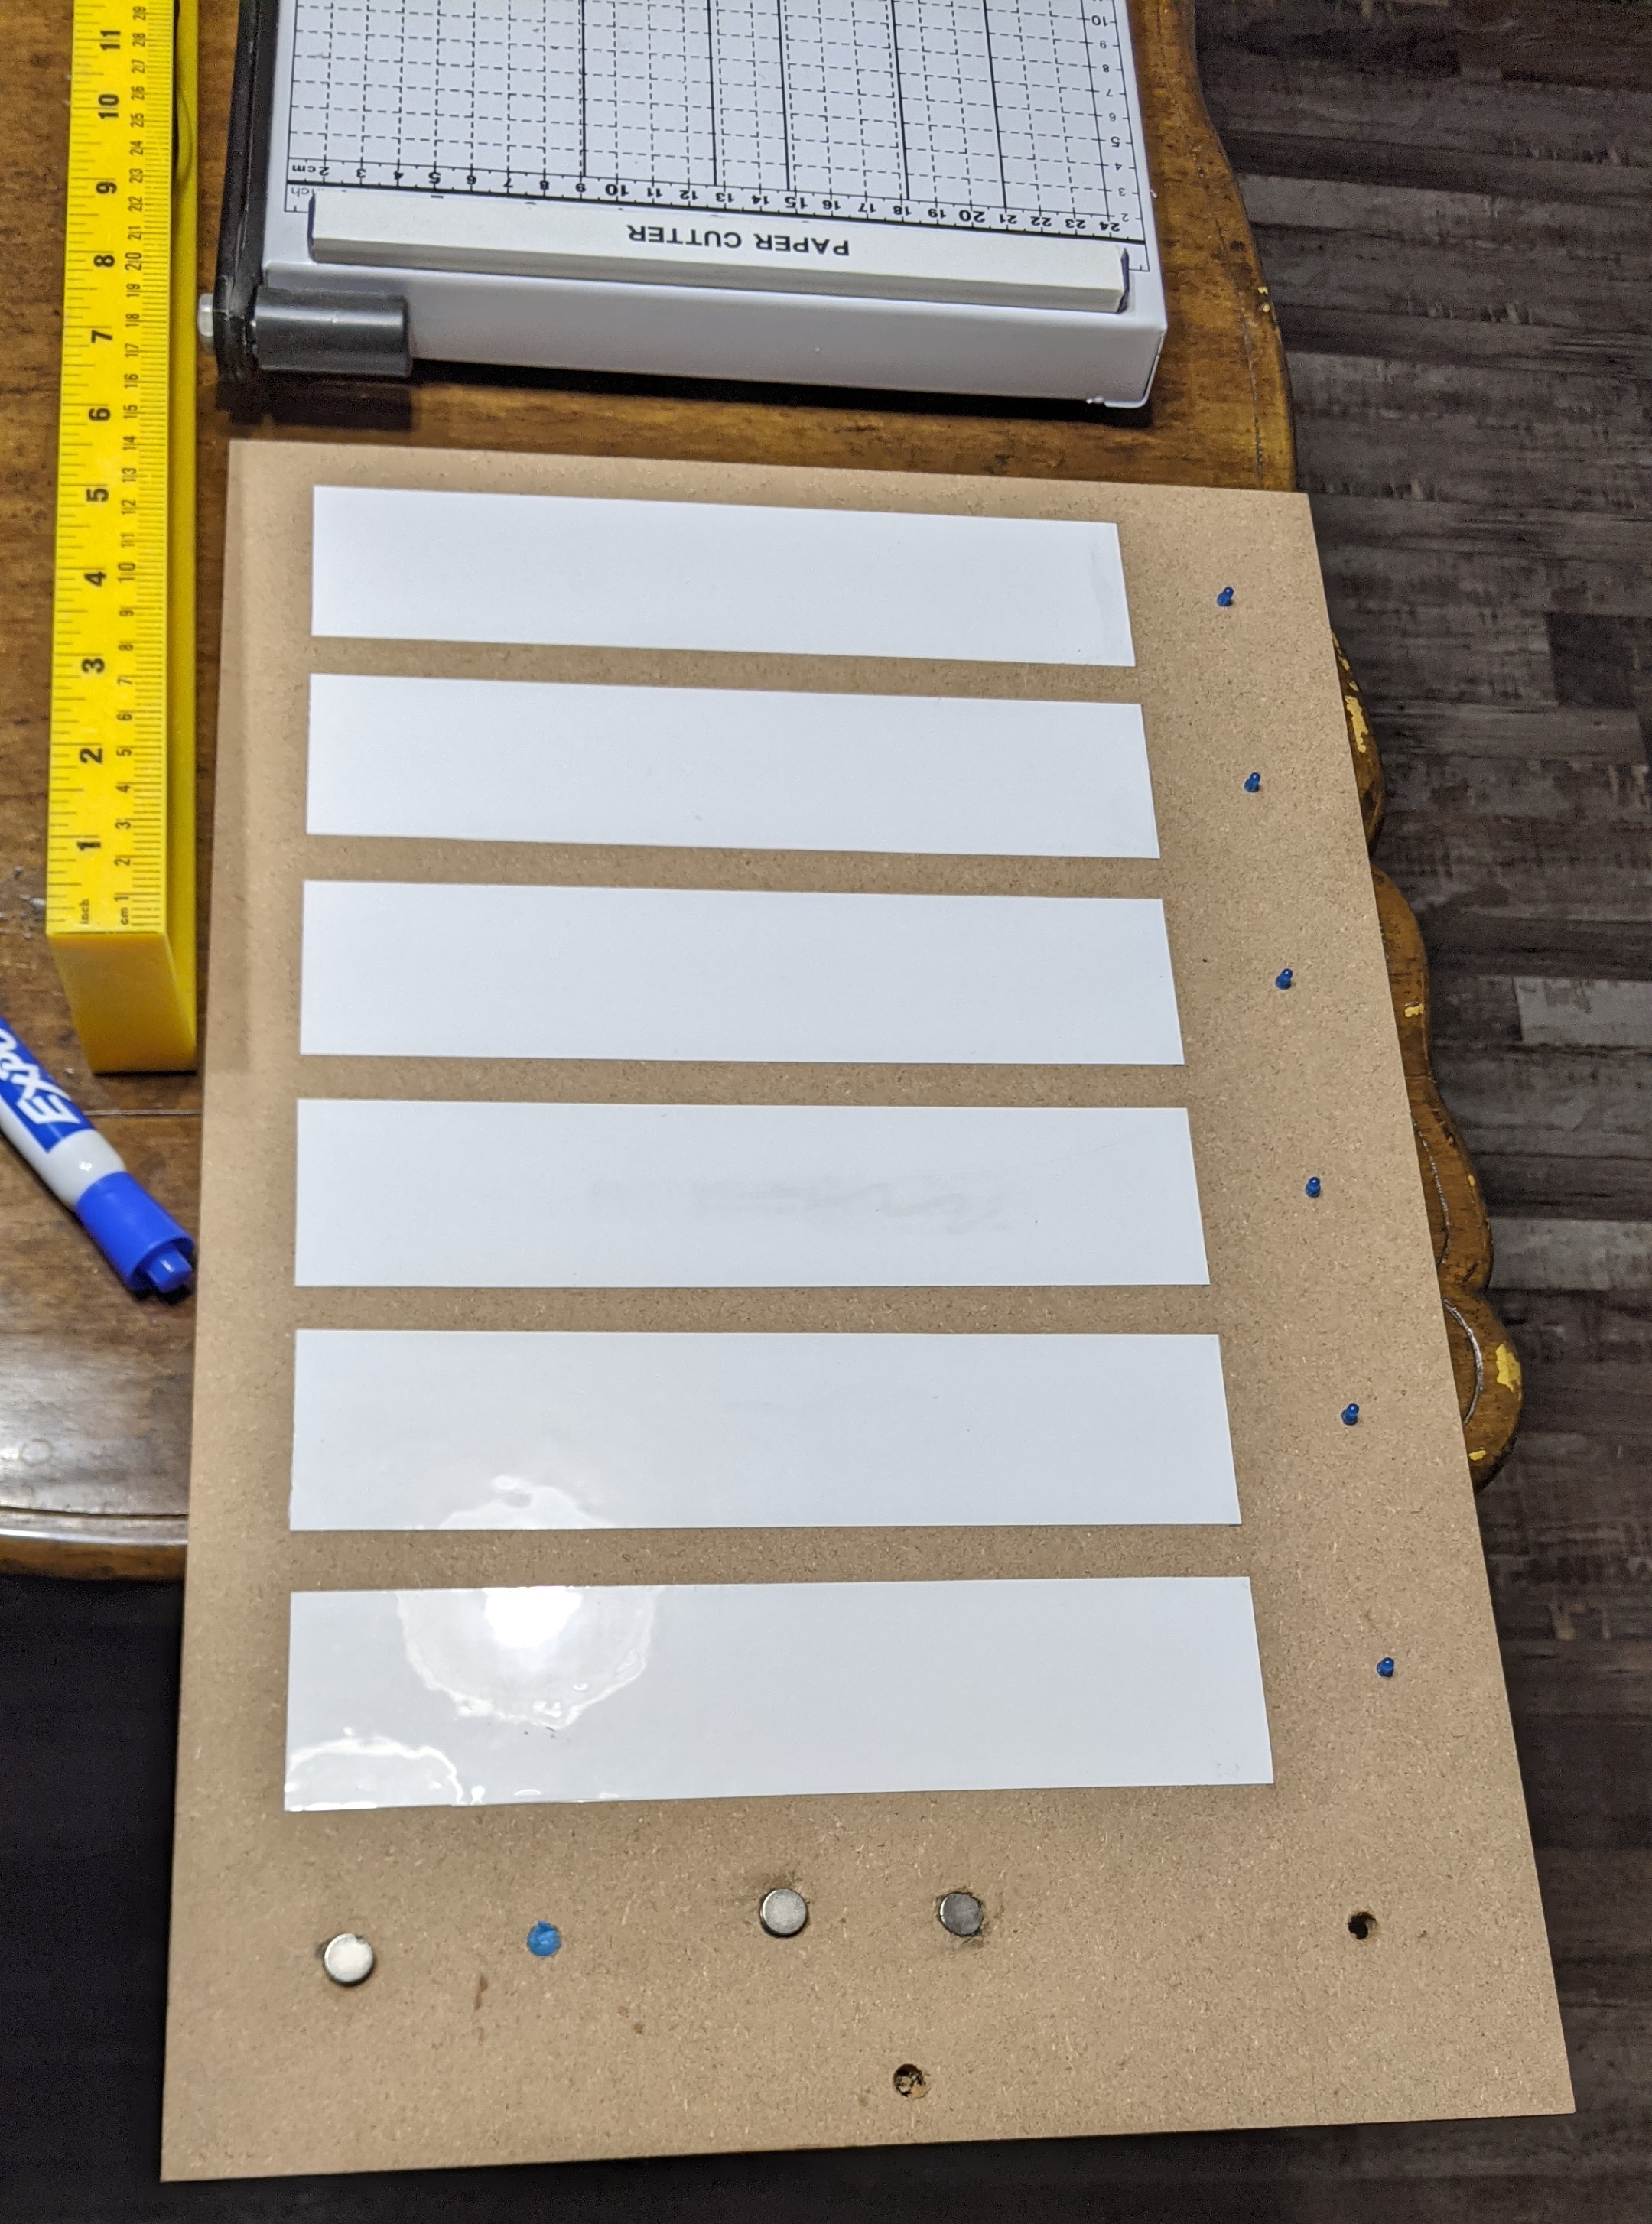
in-progress whiteboard. note some blue LEDs on the right
Originally I had planned to add a bunch of electronics (LEDs for which task is active, a built-in timer, a buzzer, etc), but I decided not to. I was way too ambitious, so I didn't think I'd have time. On top of that, I was having a rough time getting my microcontroller to work, or figuring out how to mount hardware cleanly on MDF. I don't think I would have been happy with the electronic version (even with enough time to do it well), and I am with this version. I'm glad I gave up on that part early. I don't think I'll attempt another physical electronics project during hack-a-day -- it's too hard with too little to show for it at my skill level.
Ribbon ($15 for 36 colors) to tie the scrolls shut
Wax ($10), and a seal ($8), to add seals to the scroll
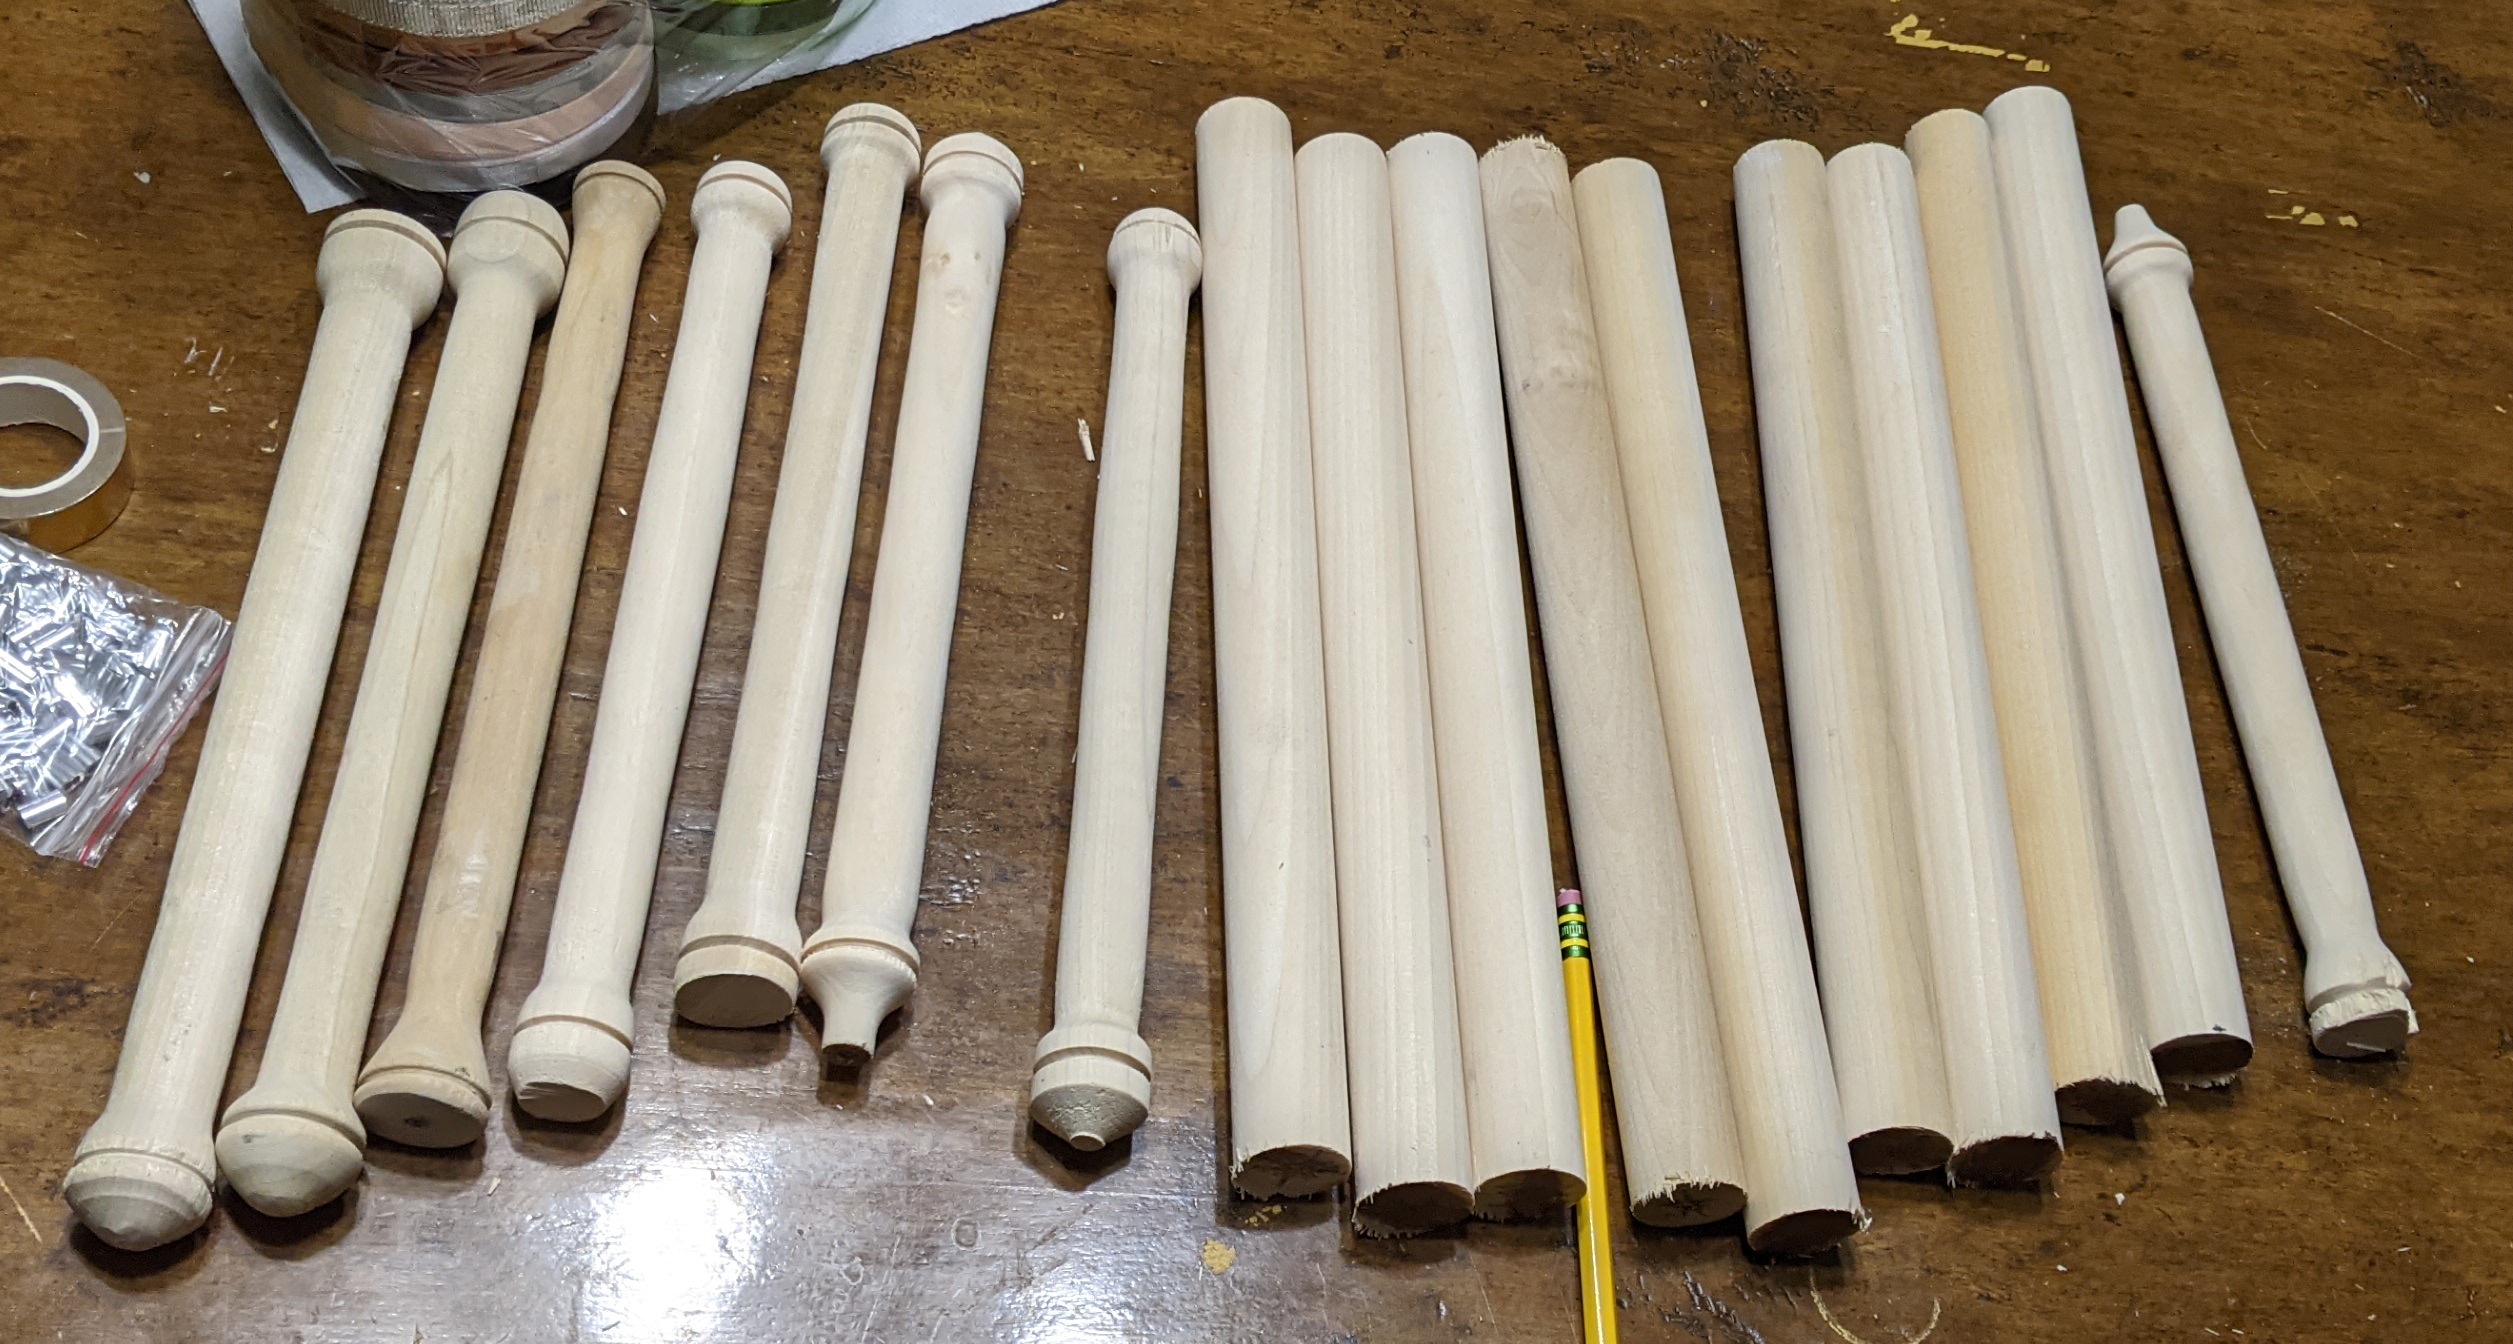
Lathe, hand saw, dowel rods ($5 for 1" x 4ft / 25mm x 1.3m), paintbrush ($3 for 20), stain ($8) and varnish ($17) to make your own holding rods. If you don't have a lathe, see other suggestions.
String ($3-7 for 500ft / 200m) or steel rope ($43 for crimping tool, $13 for cutting pliers, $22 for 1/16 inch x 300ft / 1.5mm x 100m rope) to hang the scroll
Paintbrush ($3 for 20) and stencil ($7-$15) for decorating the back
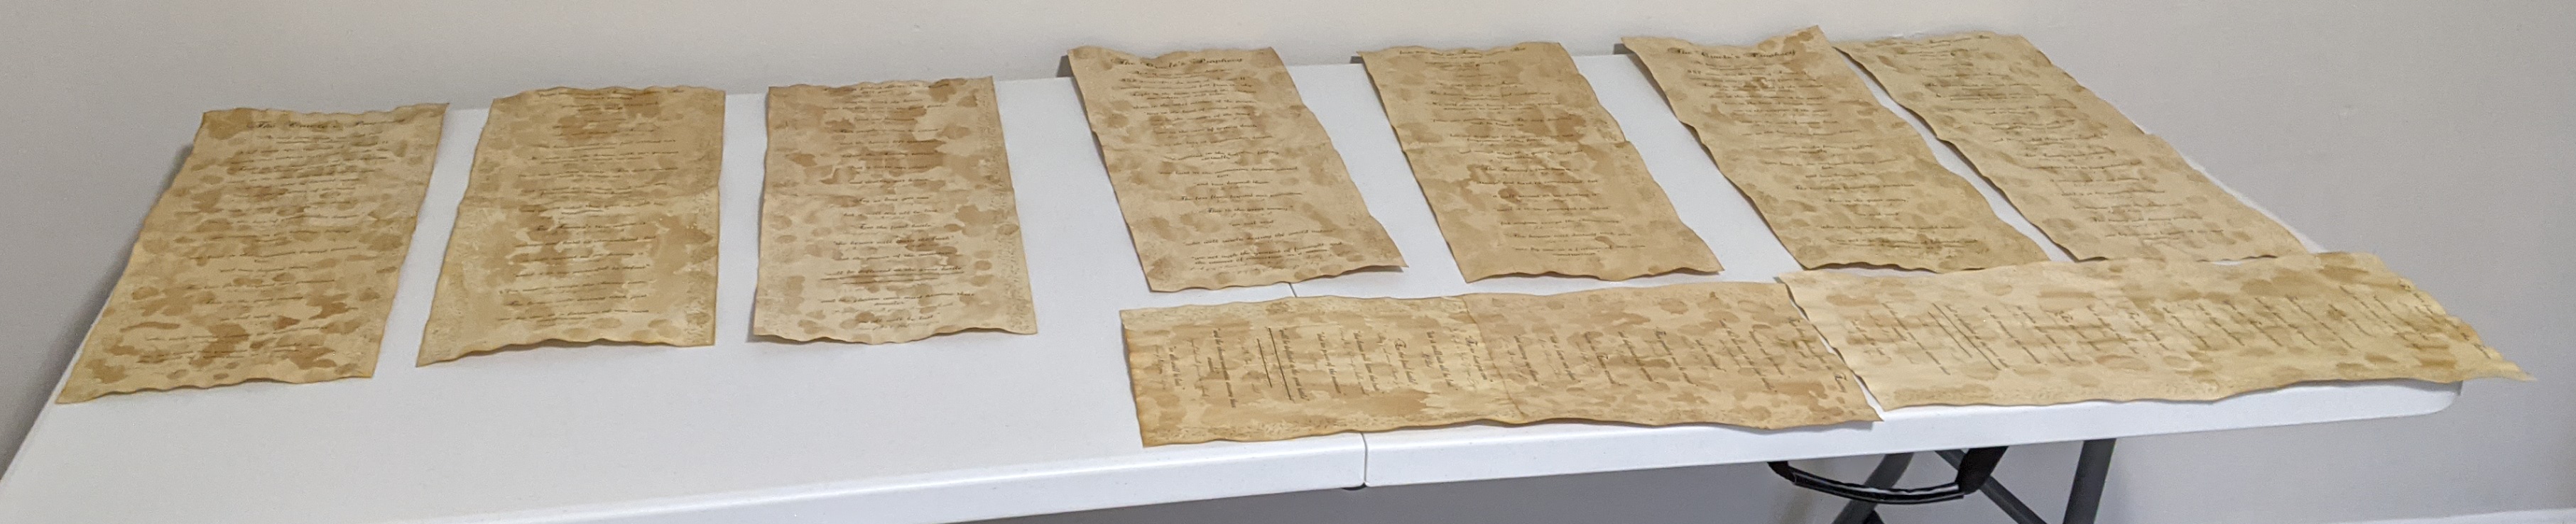
First, I aged the individual sheets.
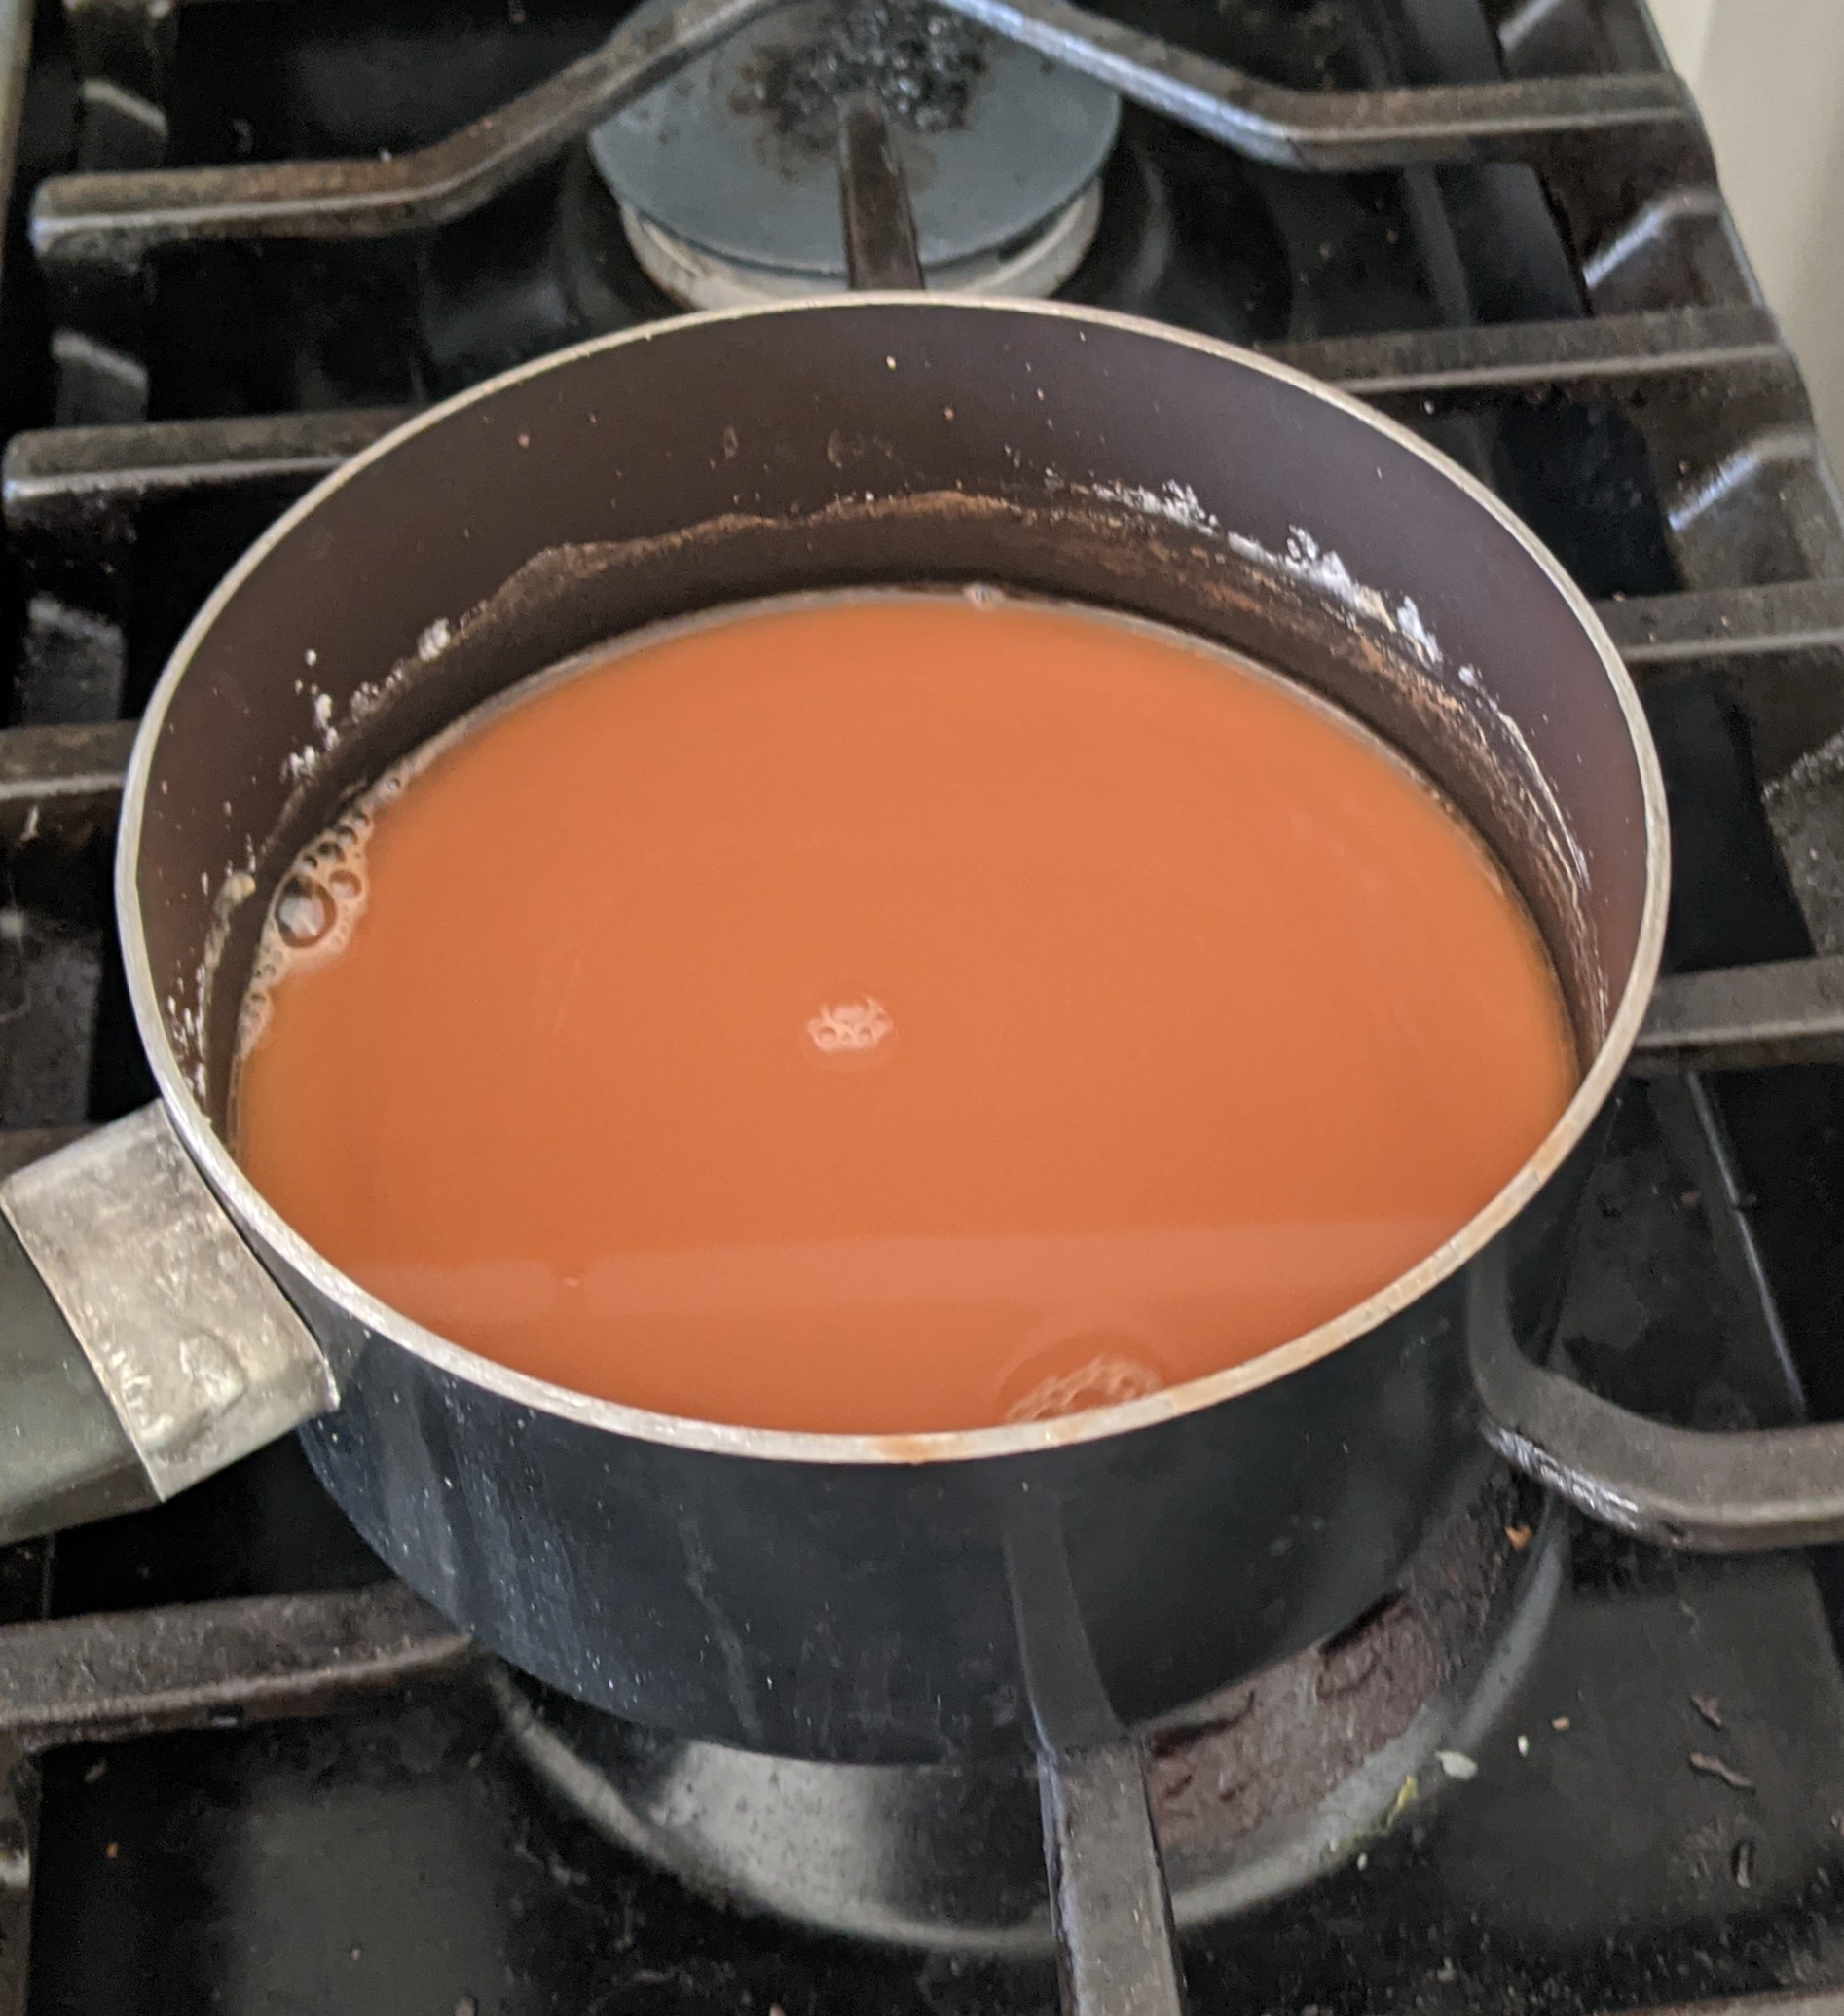
Soak 8 black tea bags in 2 pints boiling water. Let it sit at least 10 minutes.
Print the paper you want to stain.
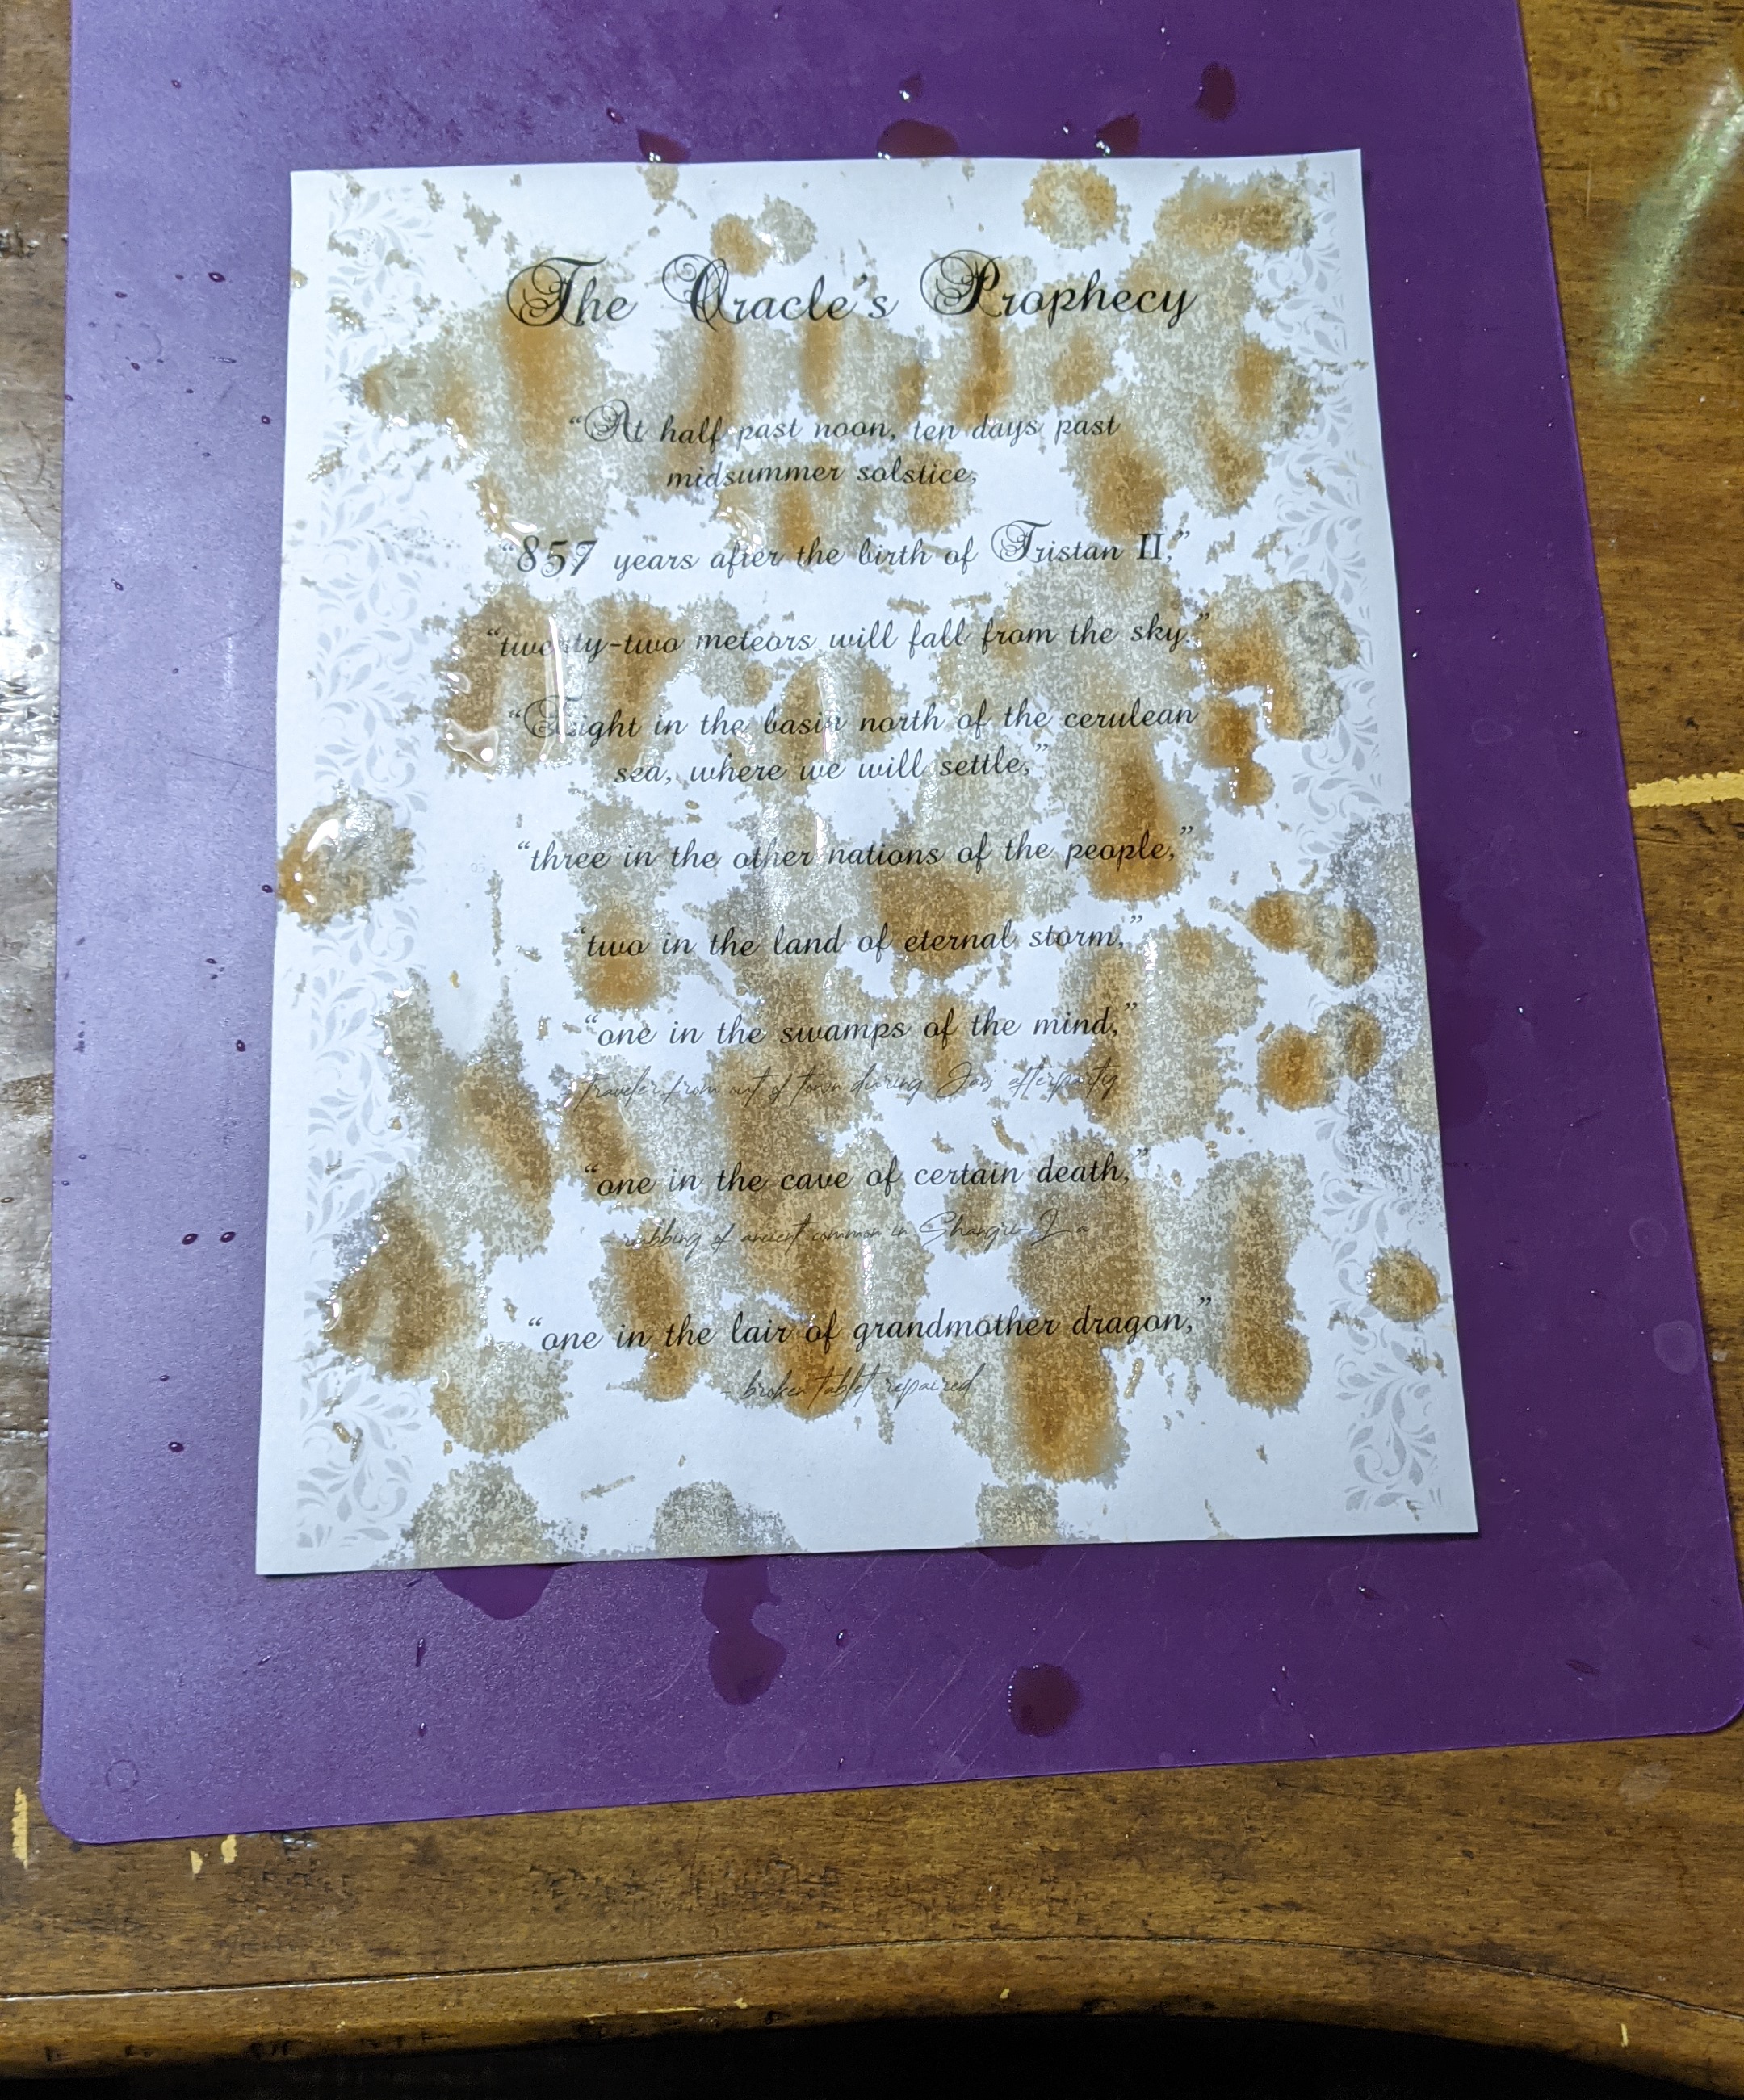
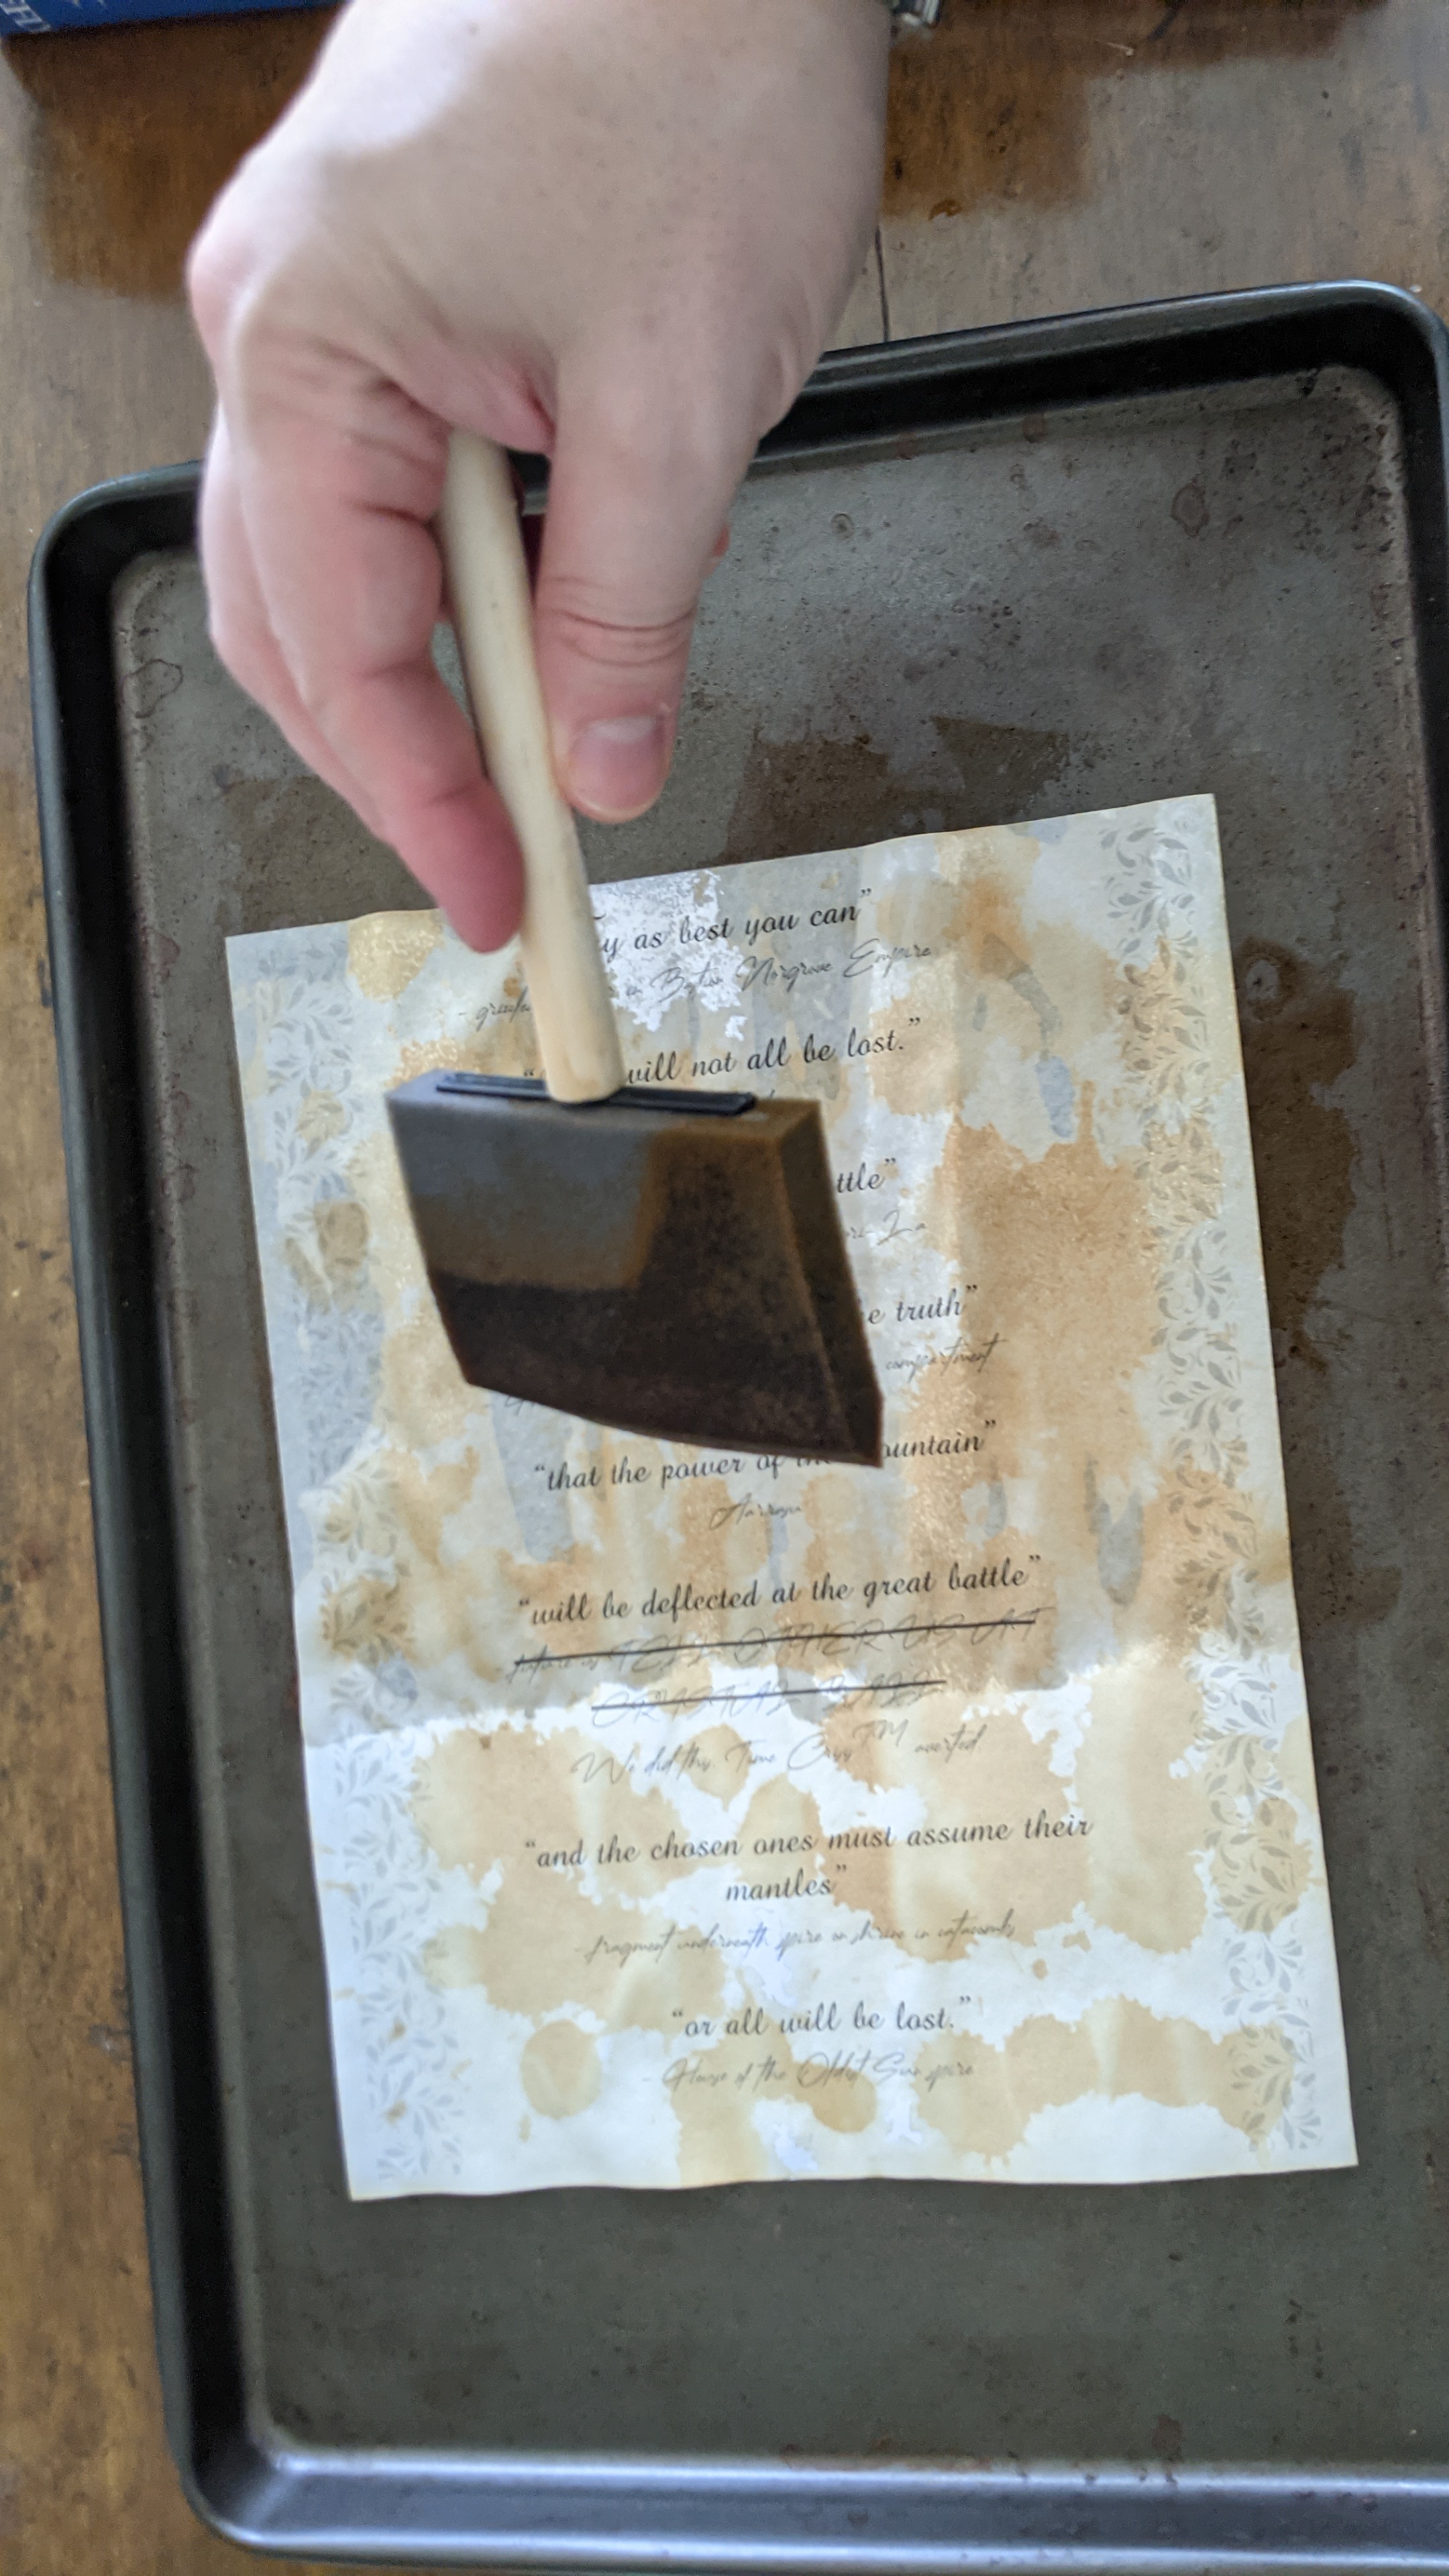
Dip the foam paintbrush into the tea. Let large, splashy drops fall onto each piece of paper. Cover 30-50% of the paper. Leave it out until dried (several hours). This is the slowest step, but yields a pleasant, uneven look. For an even better look, place a teabag on the paper repeatedly, then let it dry, then repeat again in the empty spaces and let it dry again.
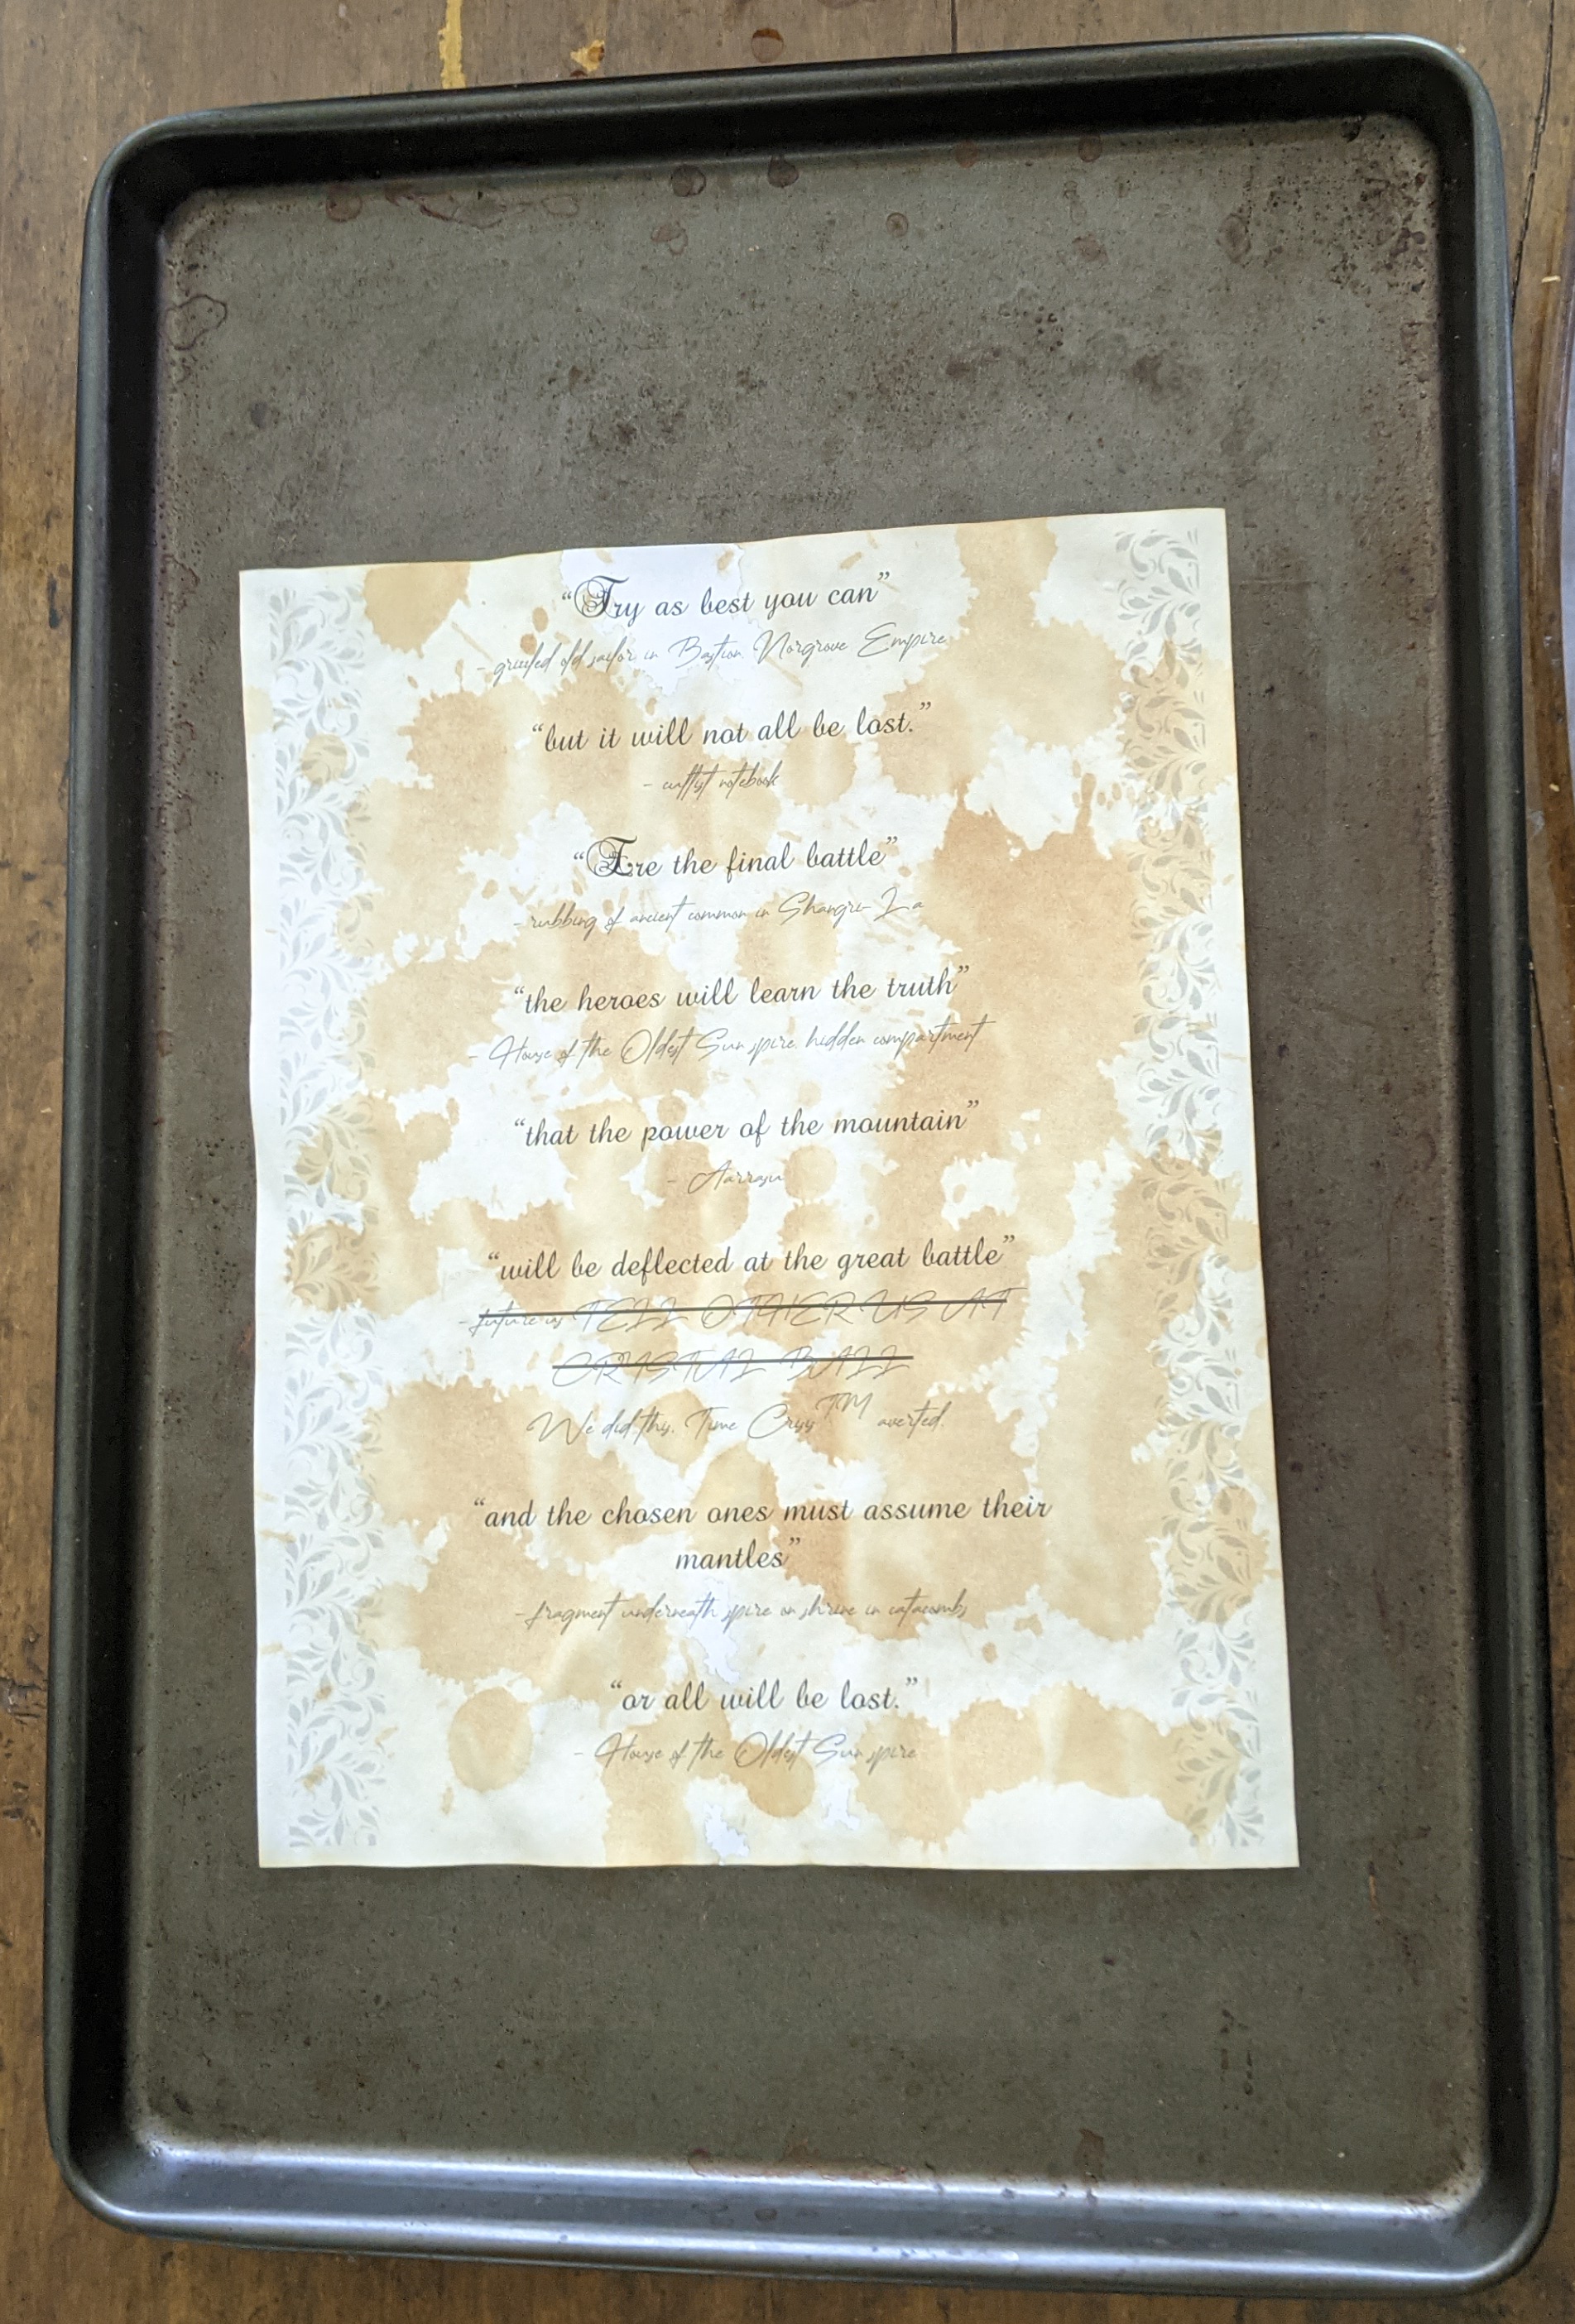
Take each dried sheet, and place it on a cookie tray. Again dipping the brush in tea, paint over it several times, making sure to cover the whole sheet. Use varied directions for brushstrokes. You may not be able to see any visible stain. You don't need to soak it fully, but you can.
Take the cookie sheets, and place them in the oven. I baked them for 250°F for 6 minutes. This was just enough so the sheets were dry to the touch. This not only dries the sheets faster, but activates the tea and makes it take on a much darker tone.
If desired, you can paint a second pass on the back--the tea will only stain one side at a time deeply. I recommend doing the back second, because each bake makes it a little darker.
Press sheets flat under a large, heavy book.
In theory I think you can iron the sheets flat. If I did this project again, I would try it. It's hard to line up and glue wavy sheets.
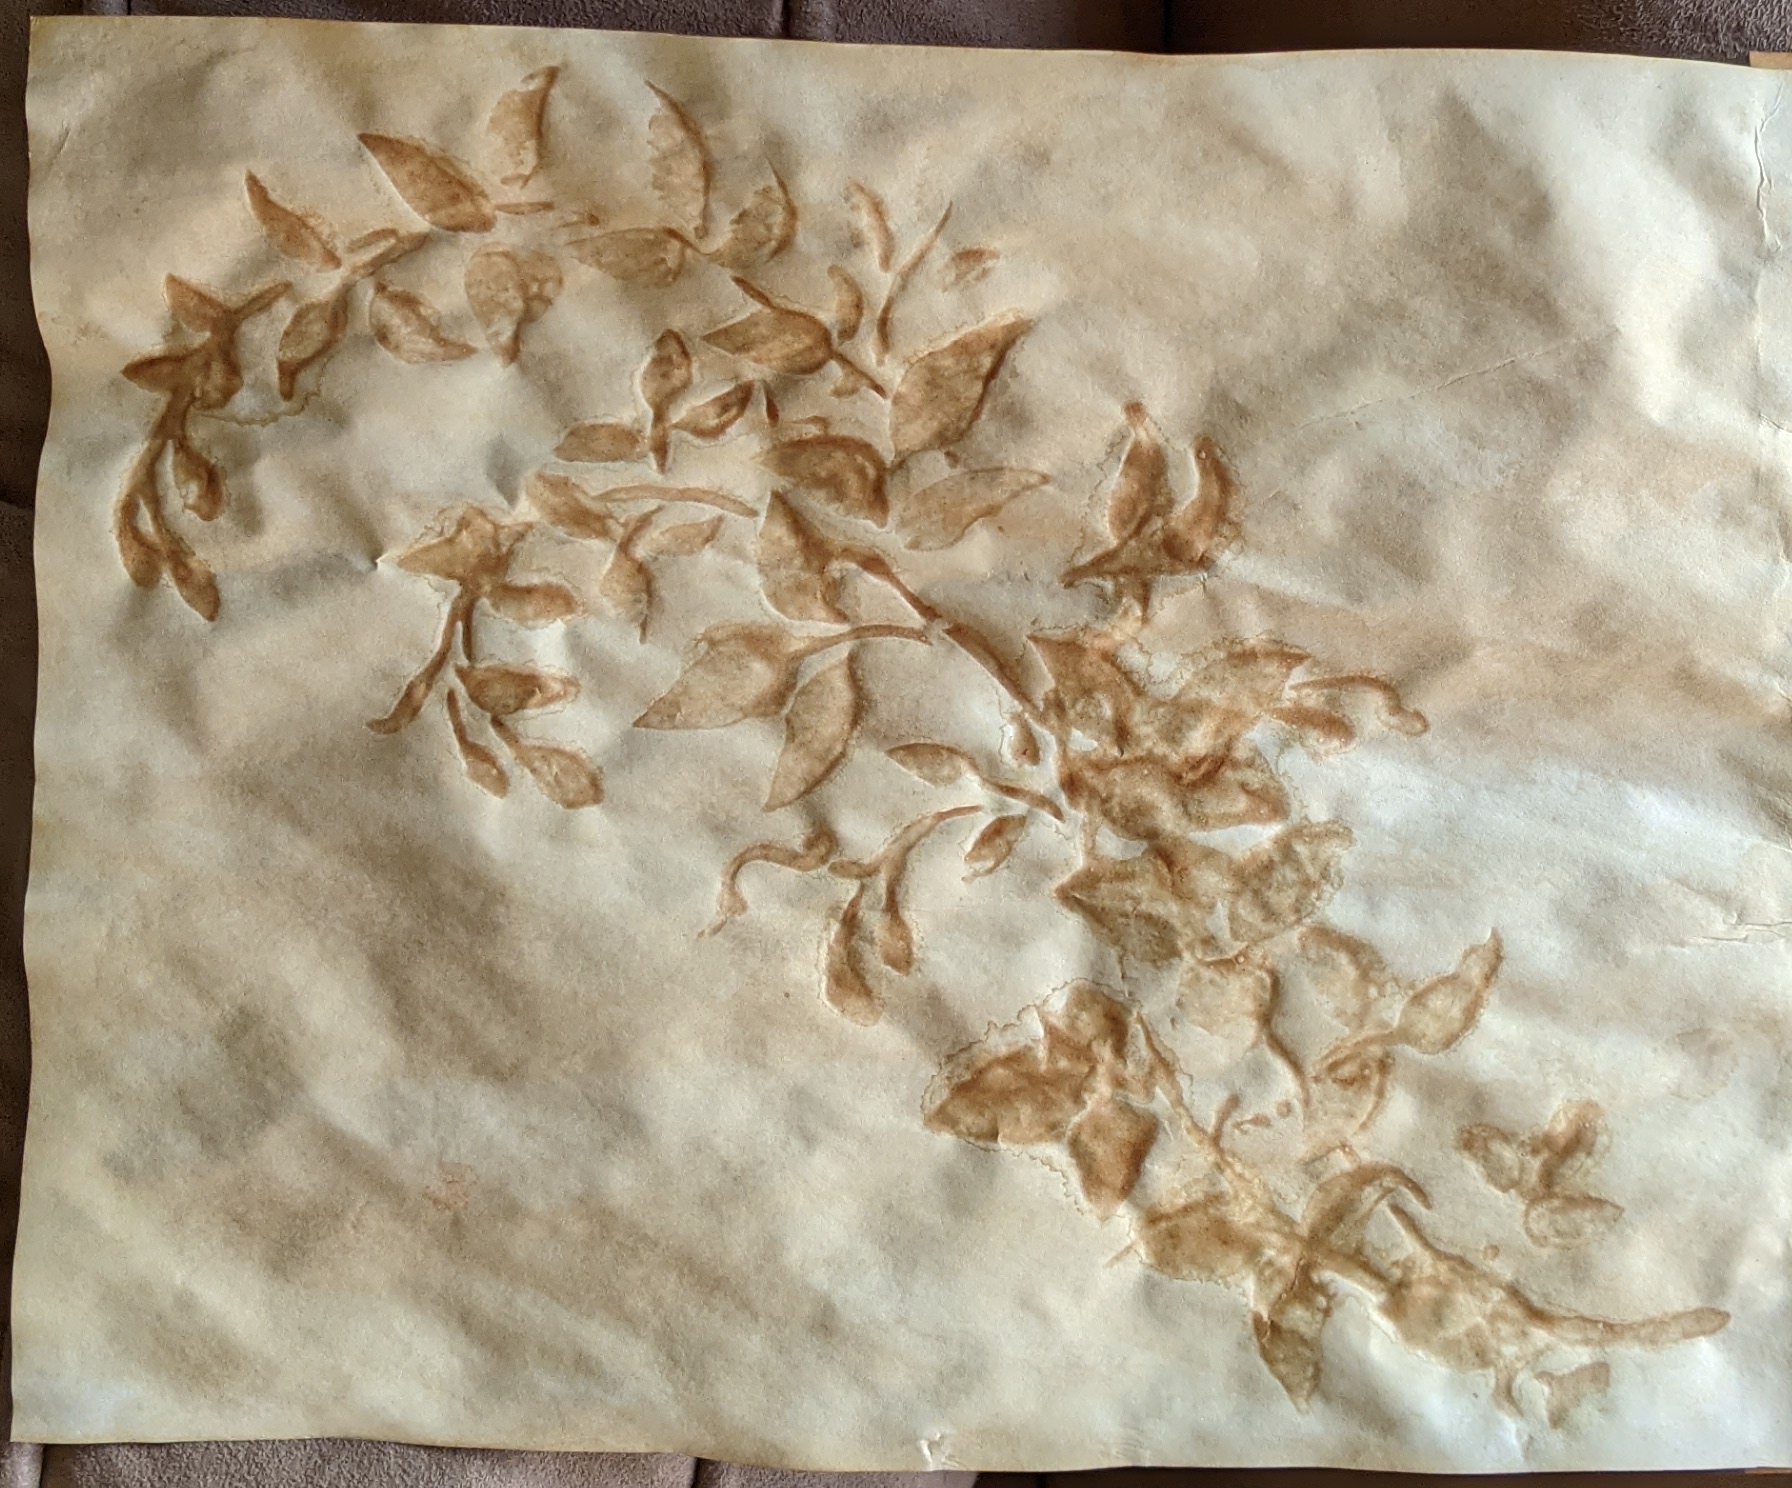
I tried painting on the back, using a paint I made myself. I wanted something subtle, like the faint patterning on decorative paper. I tried tempura paint, using coffee in place of water, and flour-based tea paints. I got something that looked how I wanted.
a tea-based painting
I liked the effect, but I had a hard time reproducing the paint the next day. If you want to experiment, my recipe used something like 1 bag of tea, one cup of water, and about 2 Tbsp flour.
a tea-based paint with 8 bags of tea
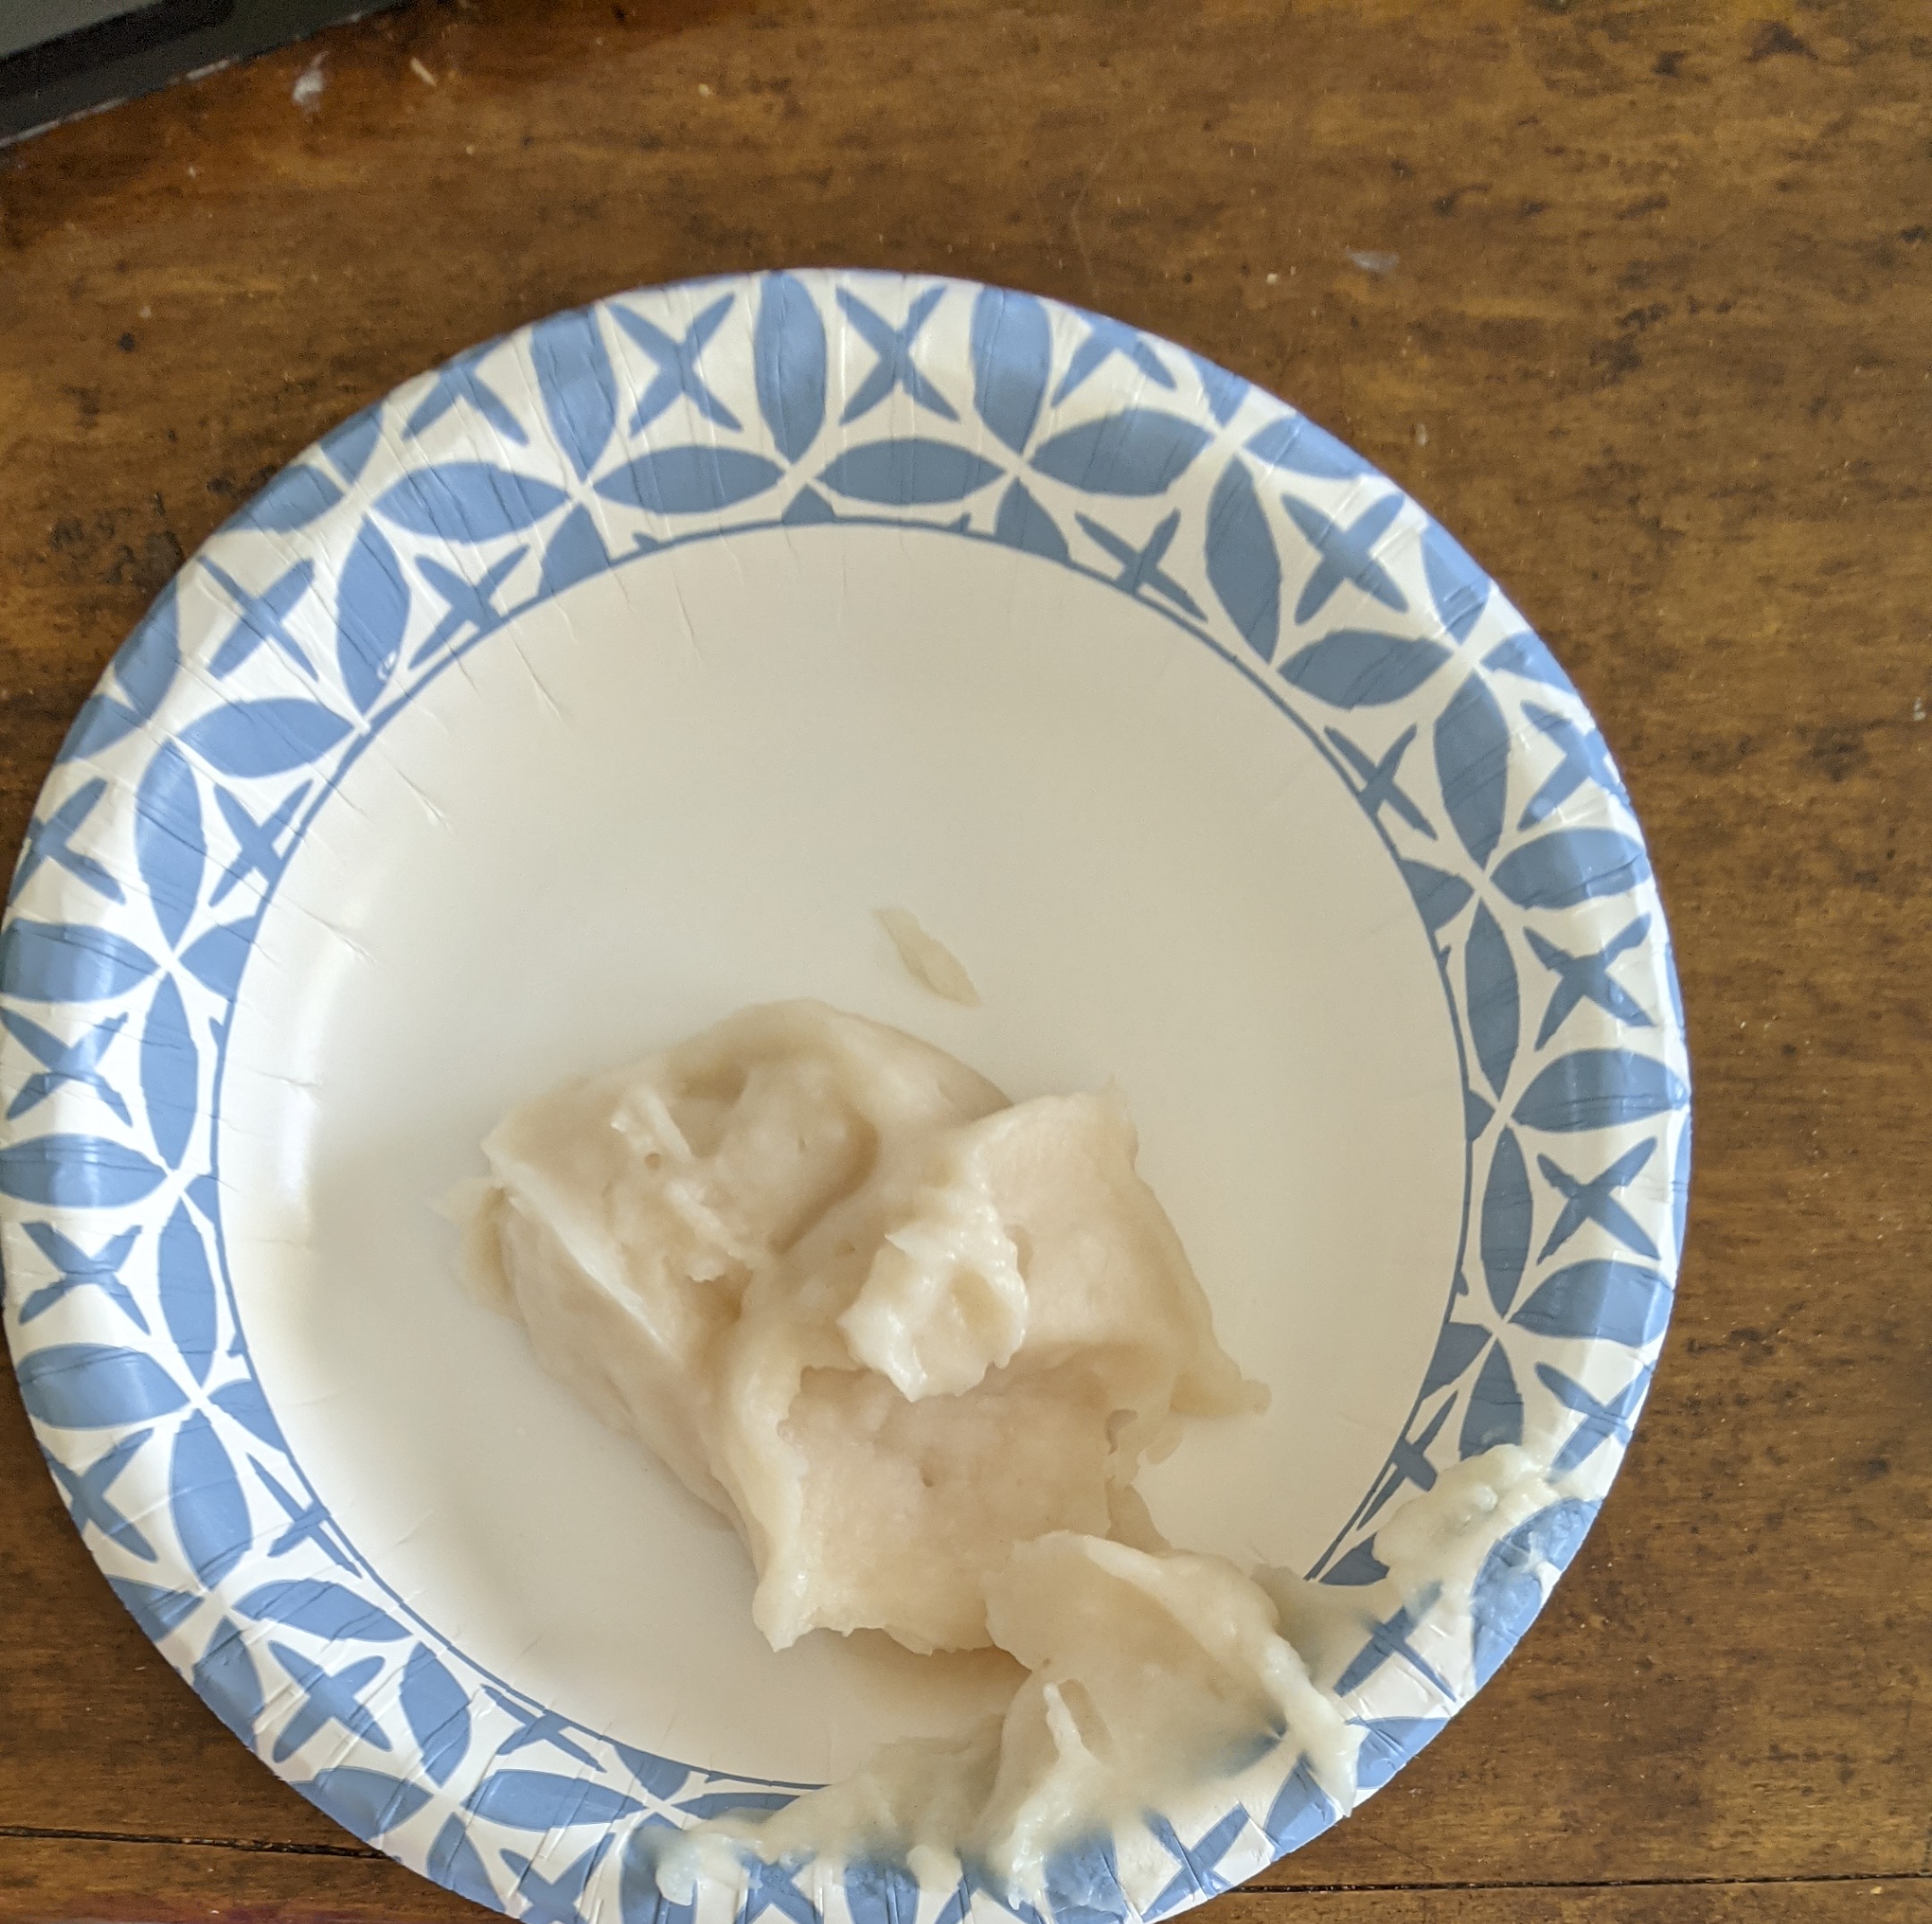
Next, I glued together the sheets to make a continuous scroll. For reasons you'll see later, I needed an extra strong glue. So as my first step, I made wheatpaste glue, which is very strong.
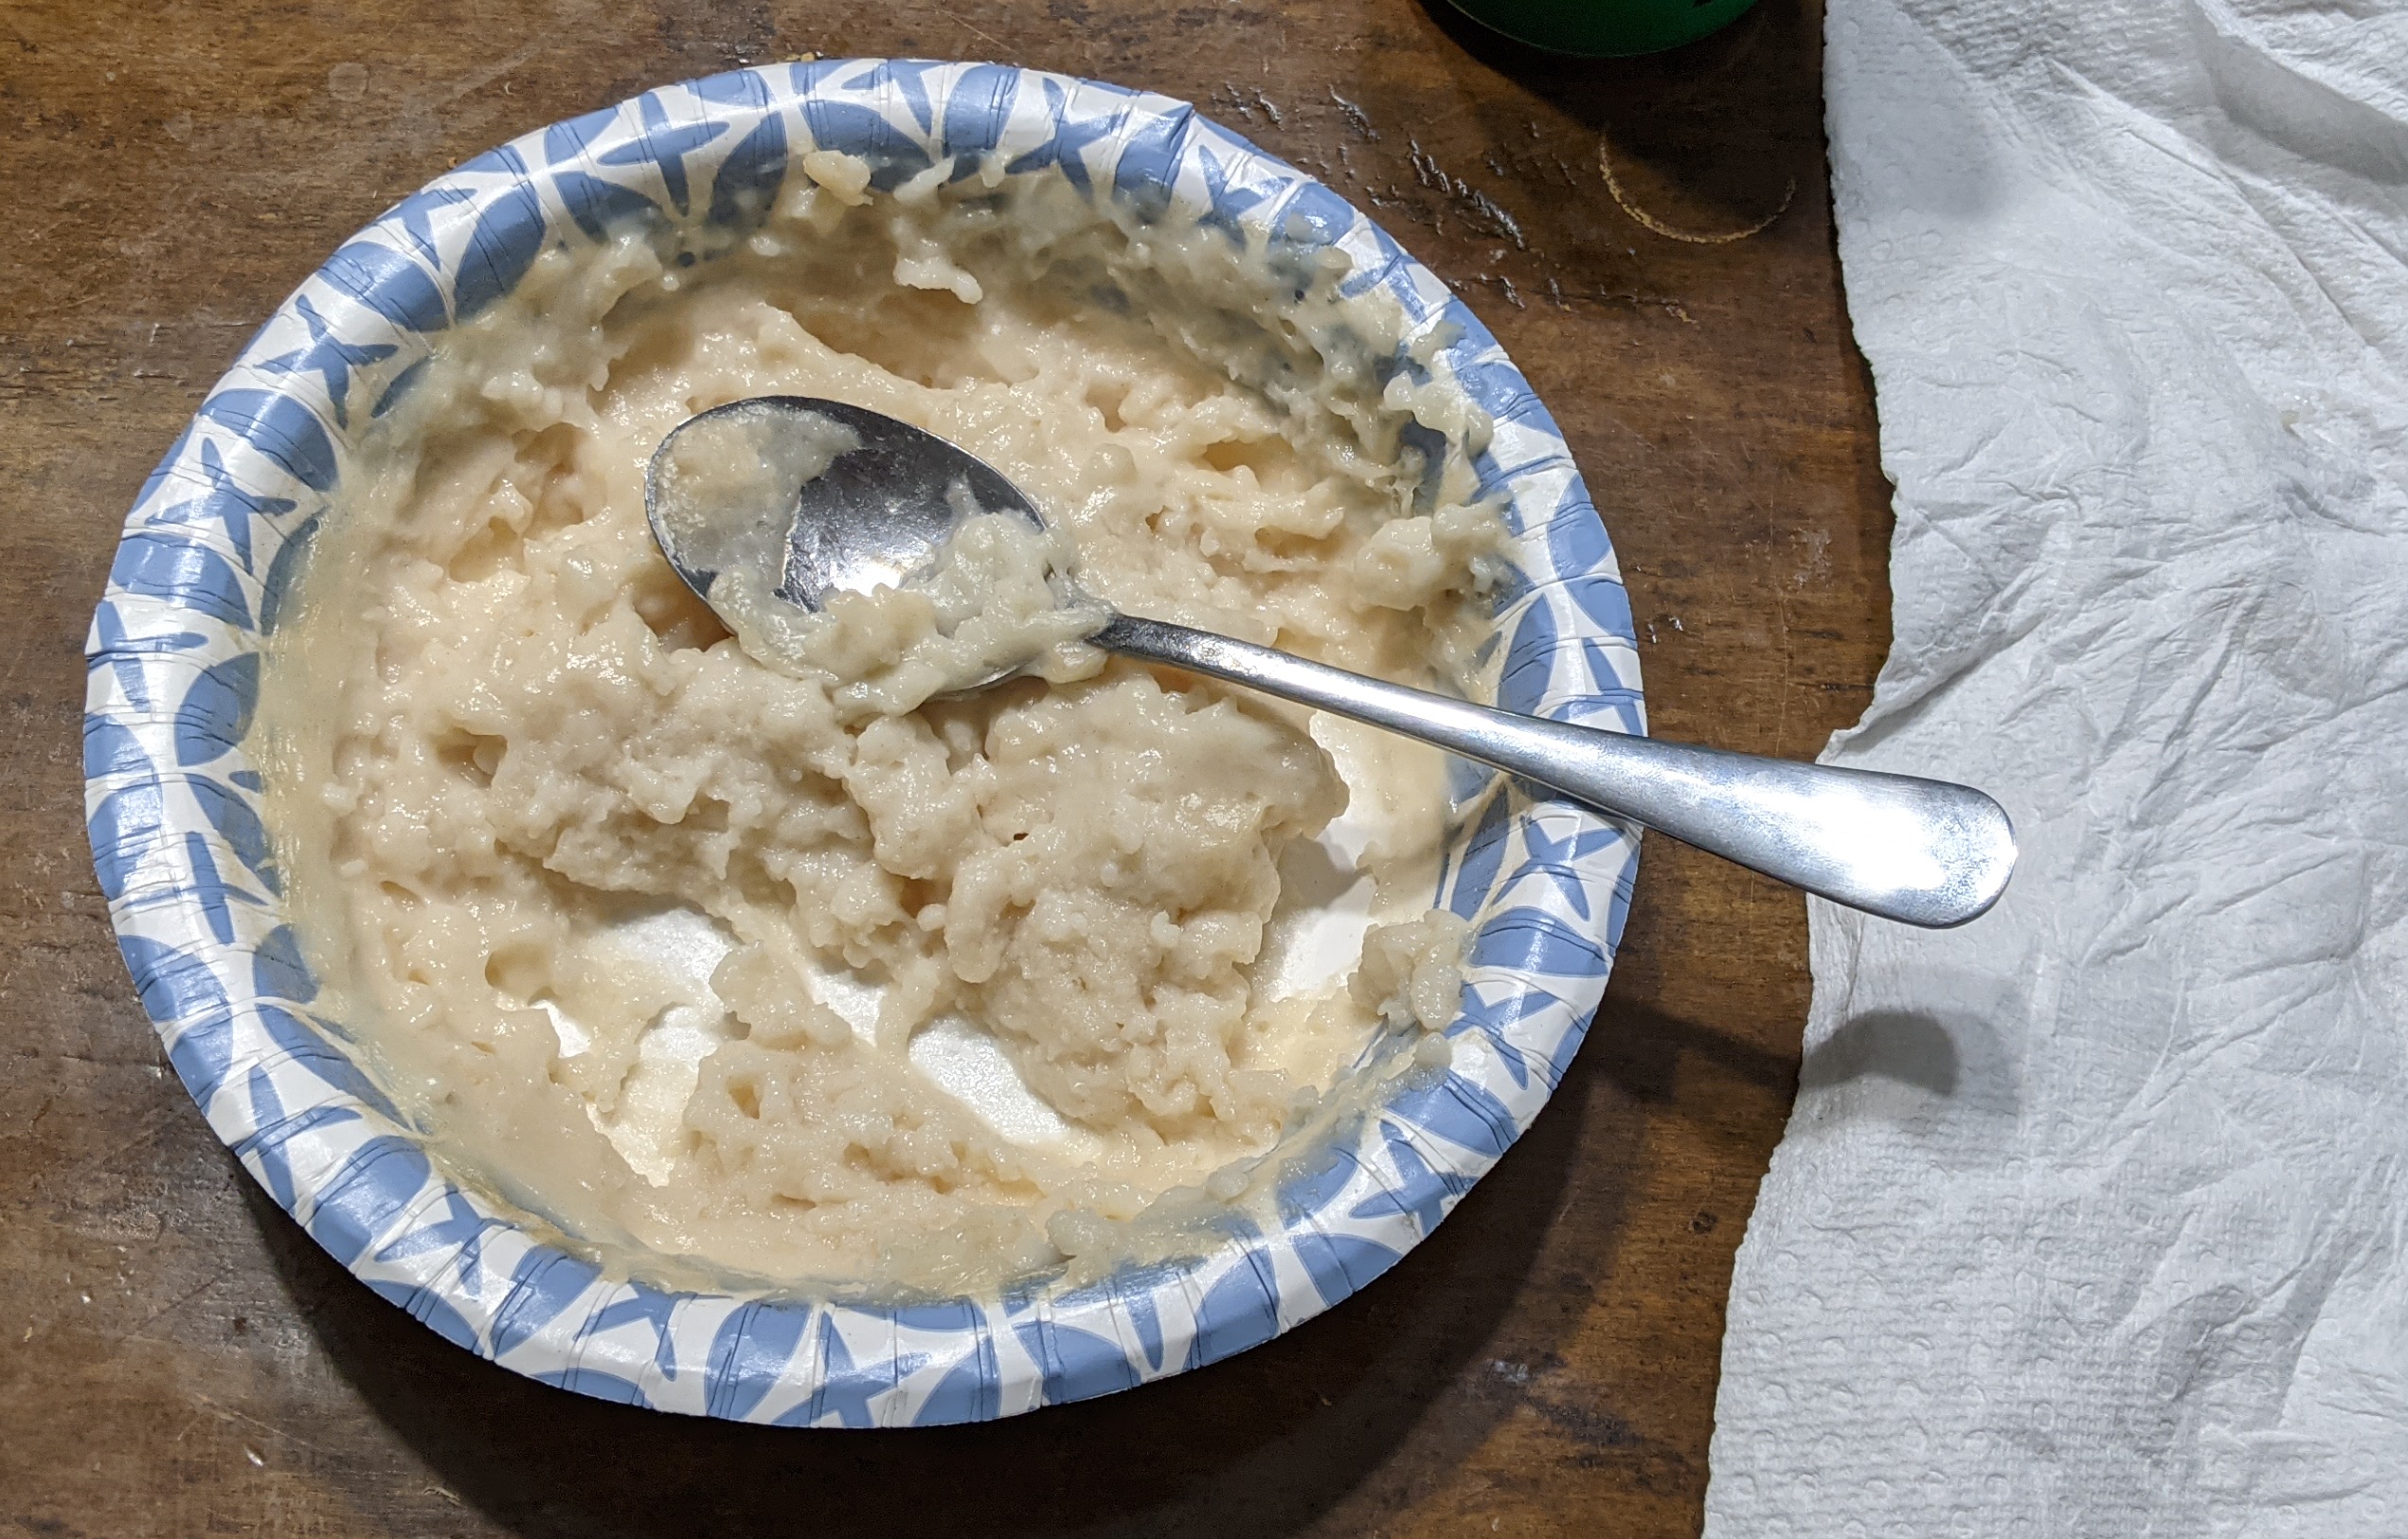
Combine in a paper bowl:
25g flour
75g water
Stir thoroughly with a fork.
Microwave for 1 minute, then stir again. Repeat.
Once it's thick enough you have a harder time moving a fork through (2-3 minutes with my microwave), let it cool.
wheatpaste glue. cooking it too long made it rubbery and lumpy.
I glued together the sheets with wheatpaste. For some projects, it's easier and better to apply warm. But my paper was already fragile from the aging process, so I found it worked better all the way cooled.
I took a fingertip of glue, spread it evenly on the bottom of the page. Repeating, I covered the whole bottom. Then, I placed the next sheet over it, and laid them down so they matched. Since the aging process warps the paper, you may not get a perfect fit.
Then, use the pad your your thumb to press the sheets together firmly. Make sure to use rolling motions, don't drag your finger along. That can tear the paper.
My research suggested Zip Dry paper glue might also work.
As a fun fact, real scrolls were made by gluing together sheets, and they actually used wheatpaste glue! Scrolls were often glued left-to-right (volumen) instead of top-to-bottom (rotulus), but I thought the fantasy stereotype was more fun.
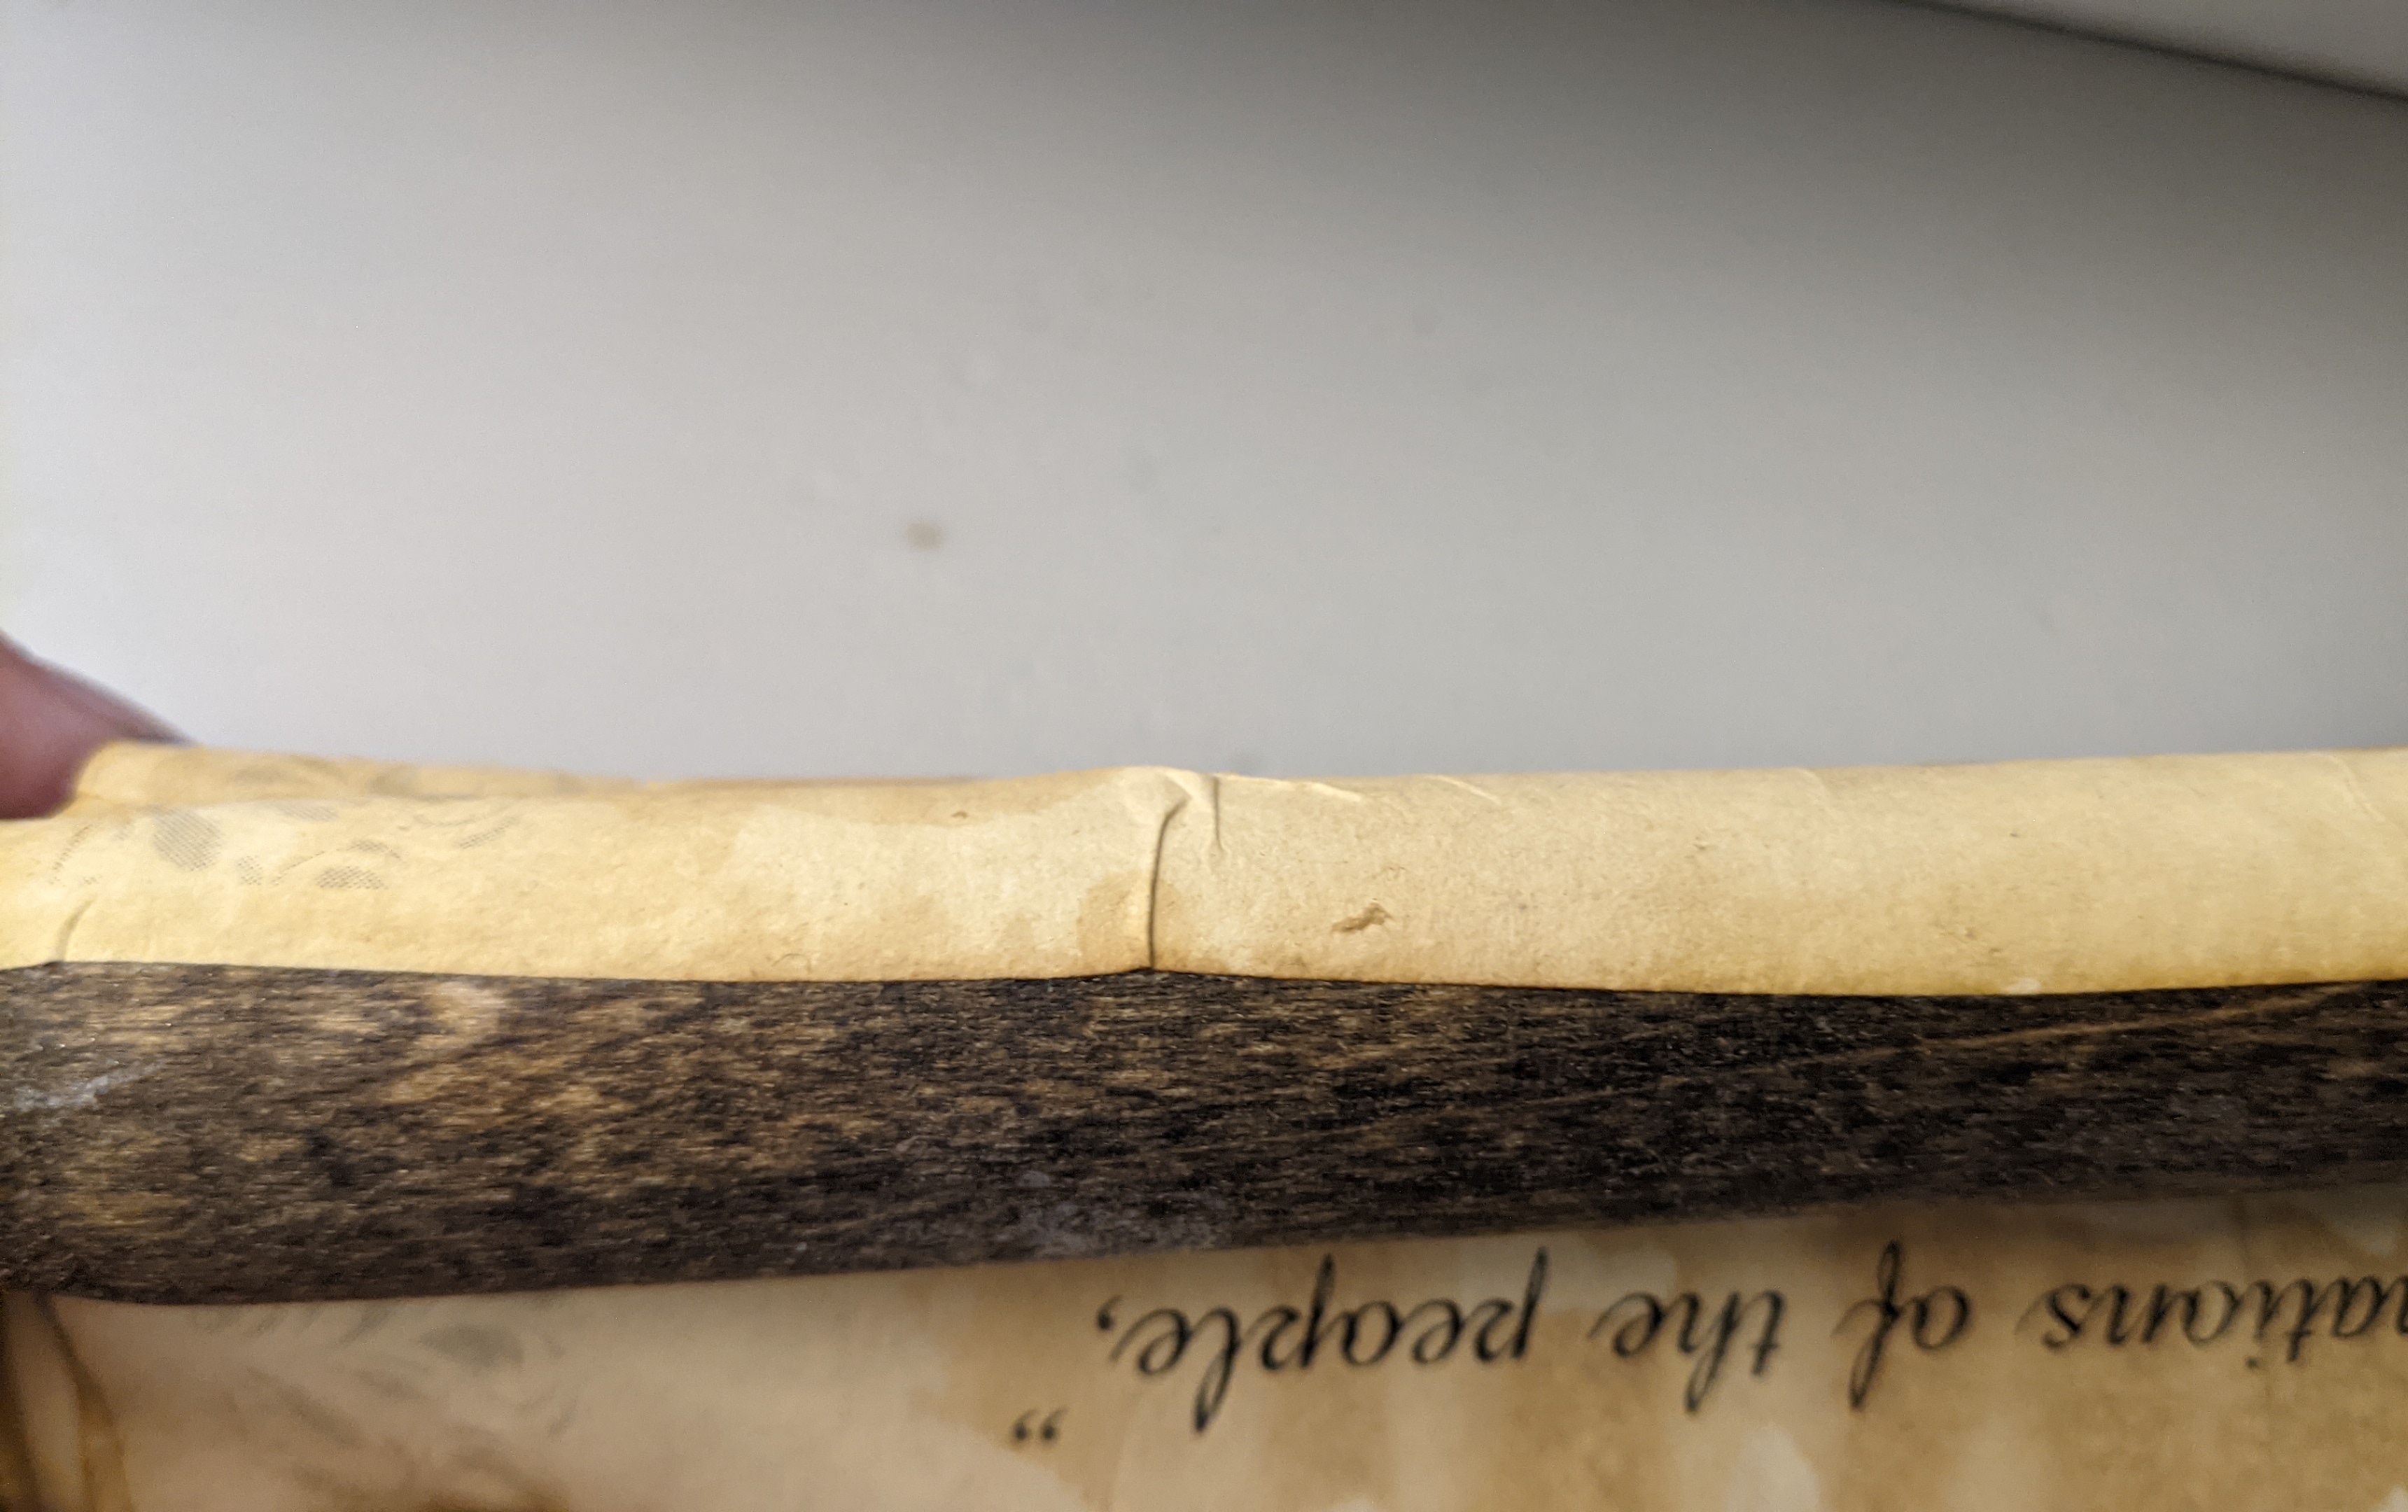
After the glue hardened, I cleaned off both sides and trimmed the edges to match exactly. Then I applied a gold tape on the edges. I had decorative borders printed already, so it was relatively easy to get tape pieces to match. I found the key was to go slow, and use many pieces of tape. After laying one down, I pressed it smooth with the back of a fingernail, flipped it, and did the same of the back. The washi tape I'm using is relative easy to remove again, but also shows defects pretty clearly.
applying gold washi tape
I turned dowel rods to hold the scroll on my lathe. The middle segment is the width of a piece of paper. Then I added as much decoration as I could on each end, but my lathe is very small, so not much fit.
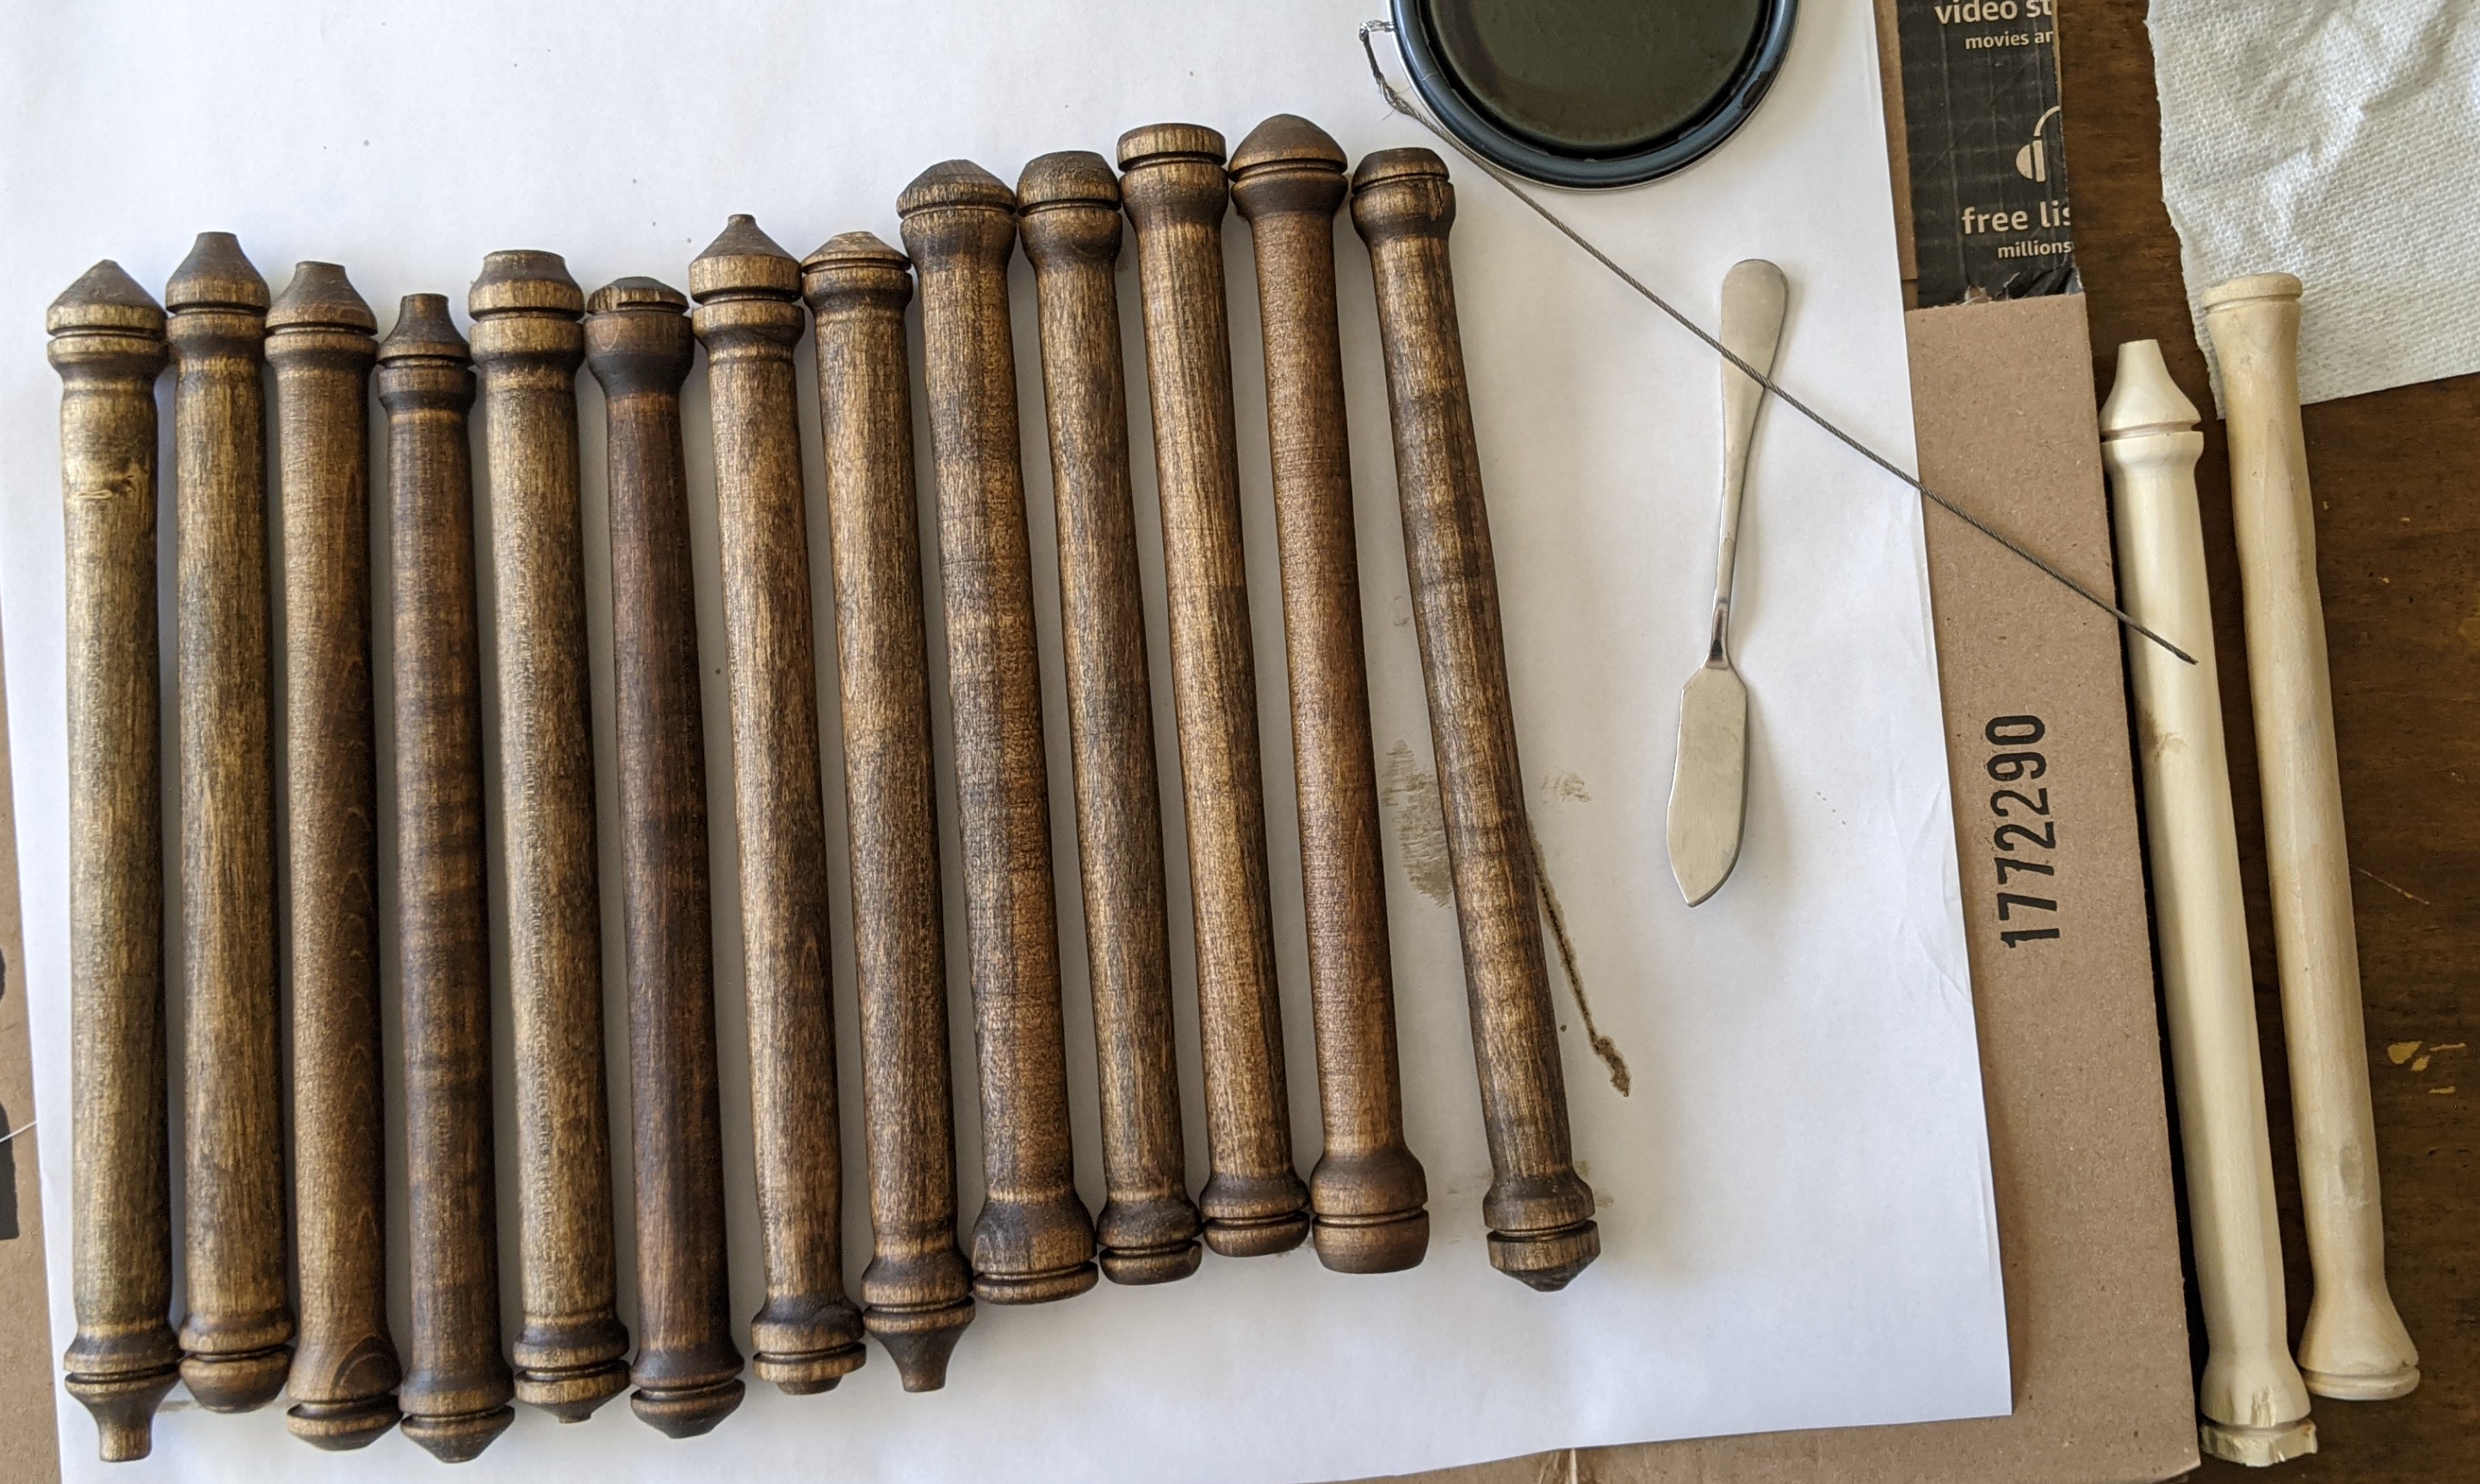
Then I stained and finished the dowel rods.
If like most people you don't have a lathe, you could glue something decorative on the ends of dowel rod pieces, cut bamboo segments, or decorate a paper towel roll.
It's also totally fine to just roll up the scroll and tie it closed with string or ribbon. No holders are really needed.
I made another batch of wheatpaste (much better this time).
I glued the scroll onto the dowel on the two ends.
gluing with a full wrap finished glue with a half wrap
The glue was very strong, but the ends only look okay. I trimmed the last couple inches of washi tape so the glue would stick.
If I did the project again, I'd try to keep the sheets flattened (wrinkly sheets after aging causes all kinds of problems). I'd also leave a little blank space on the top and bottom for attaching them to the rods.
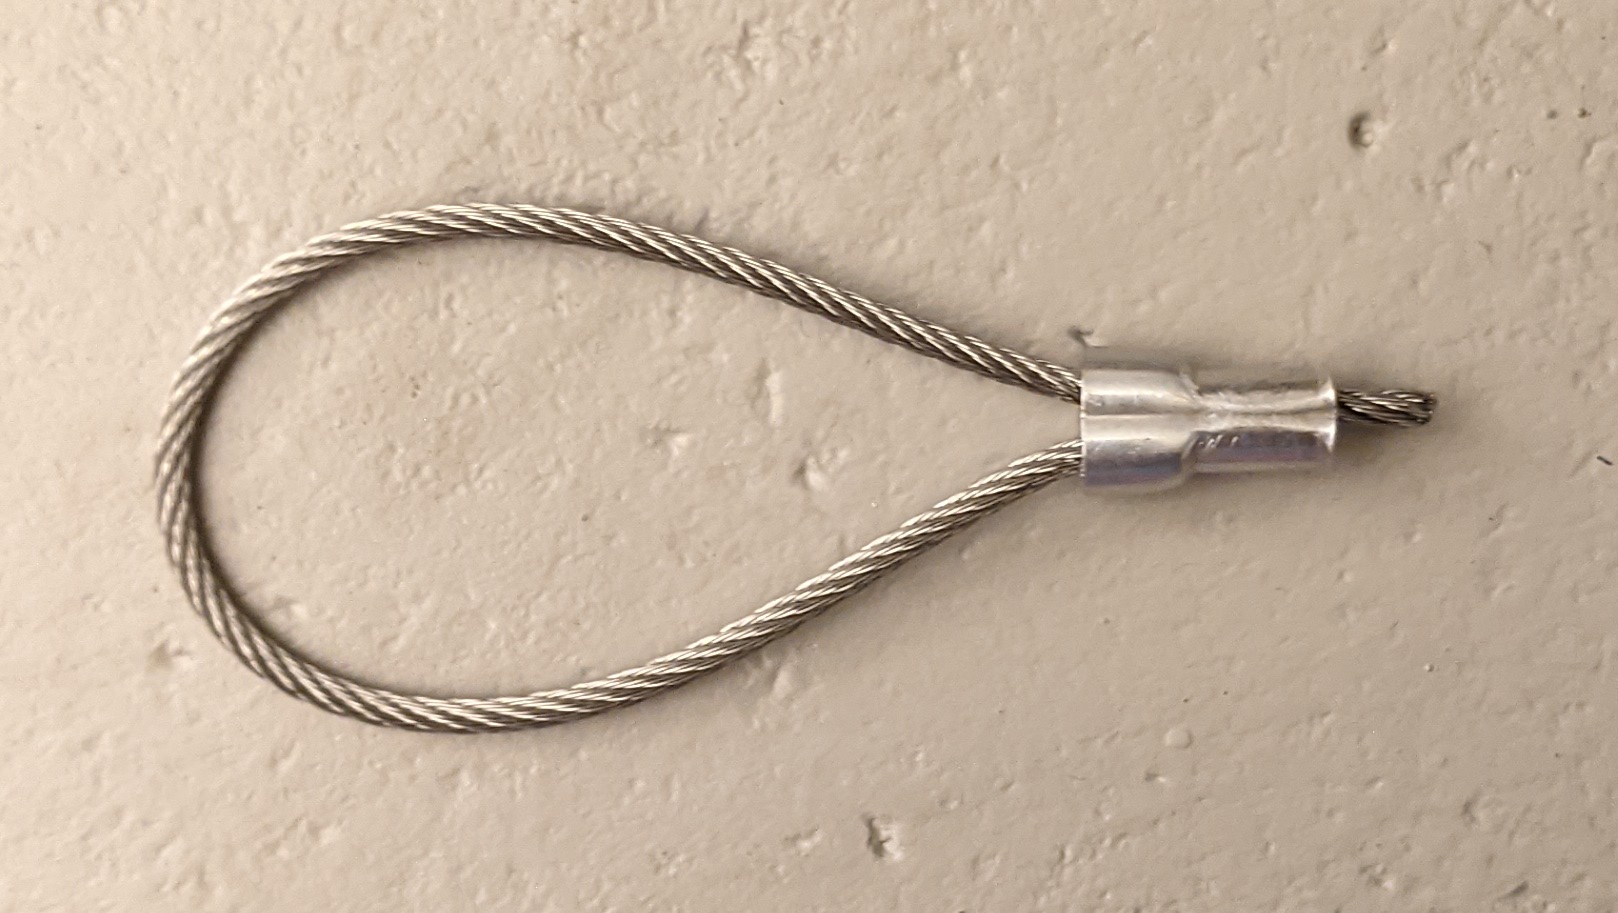
an example loop end
I picked up some stranded steel rope, which I turned into a line with two loops at the end.
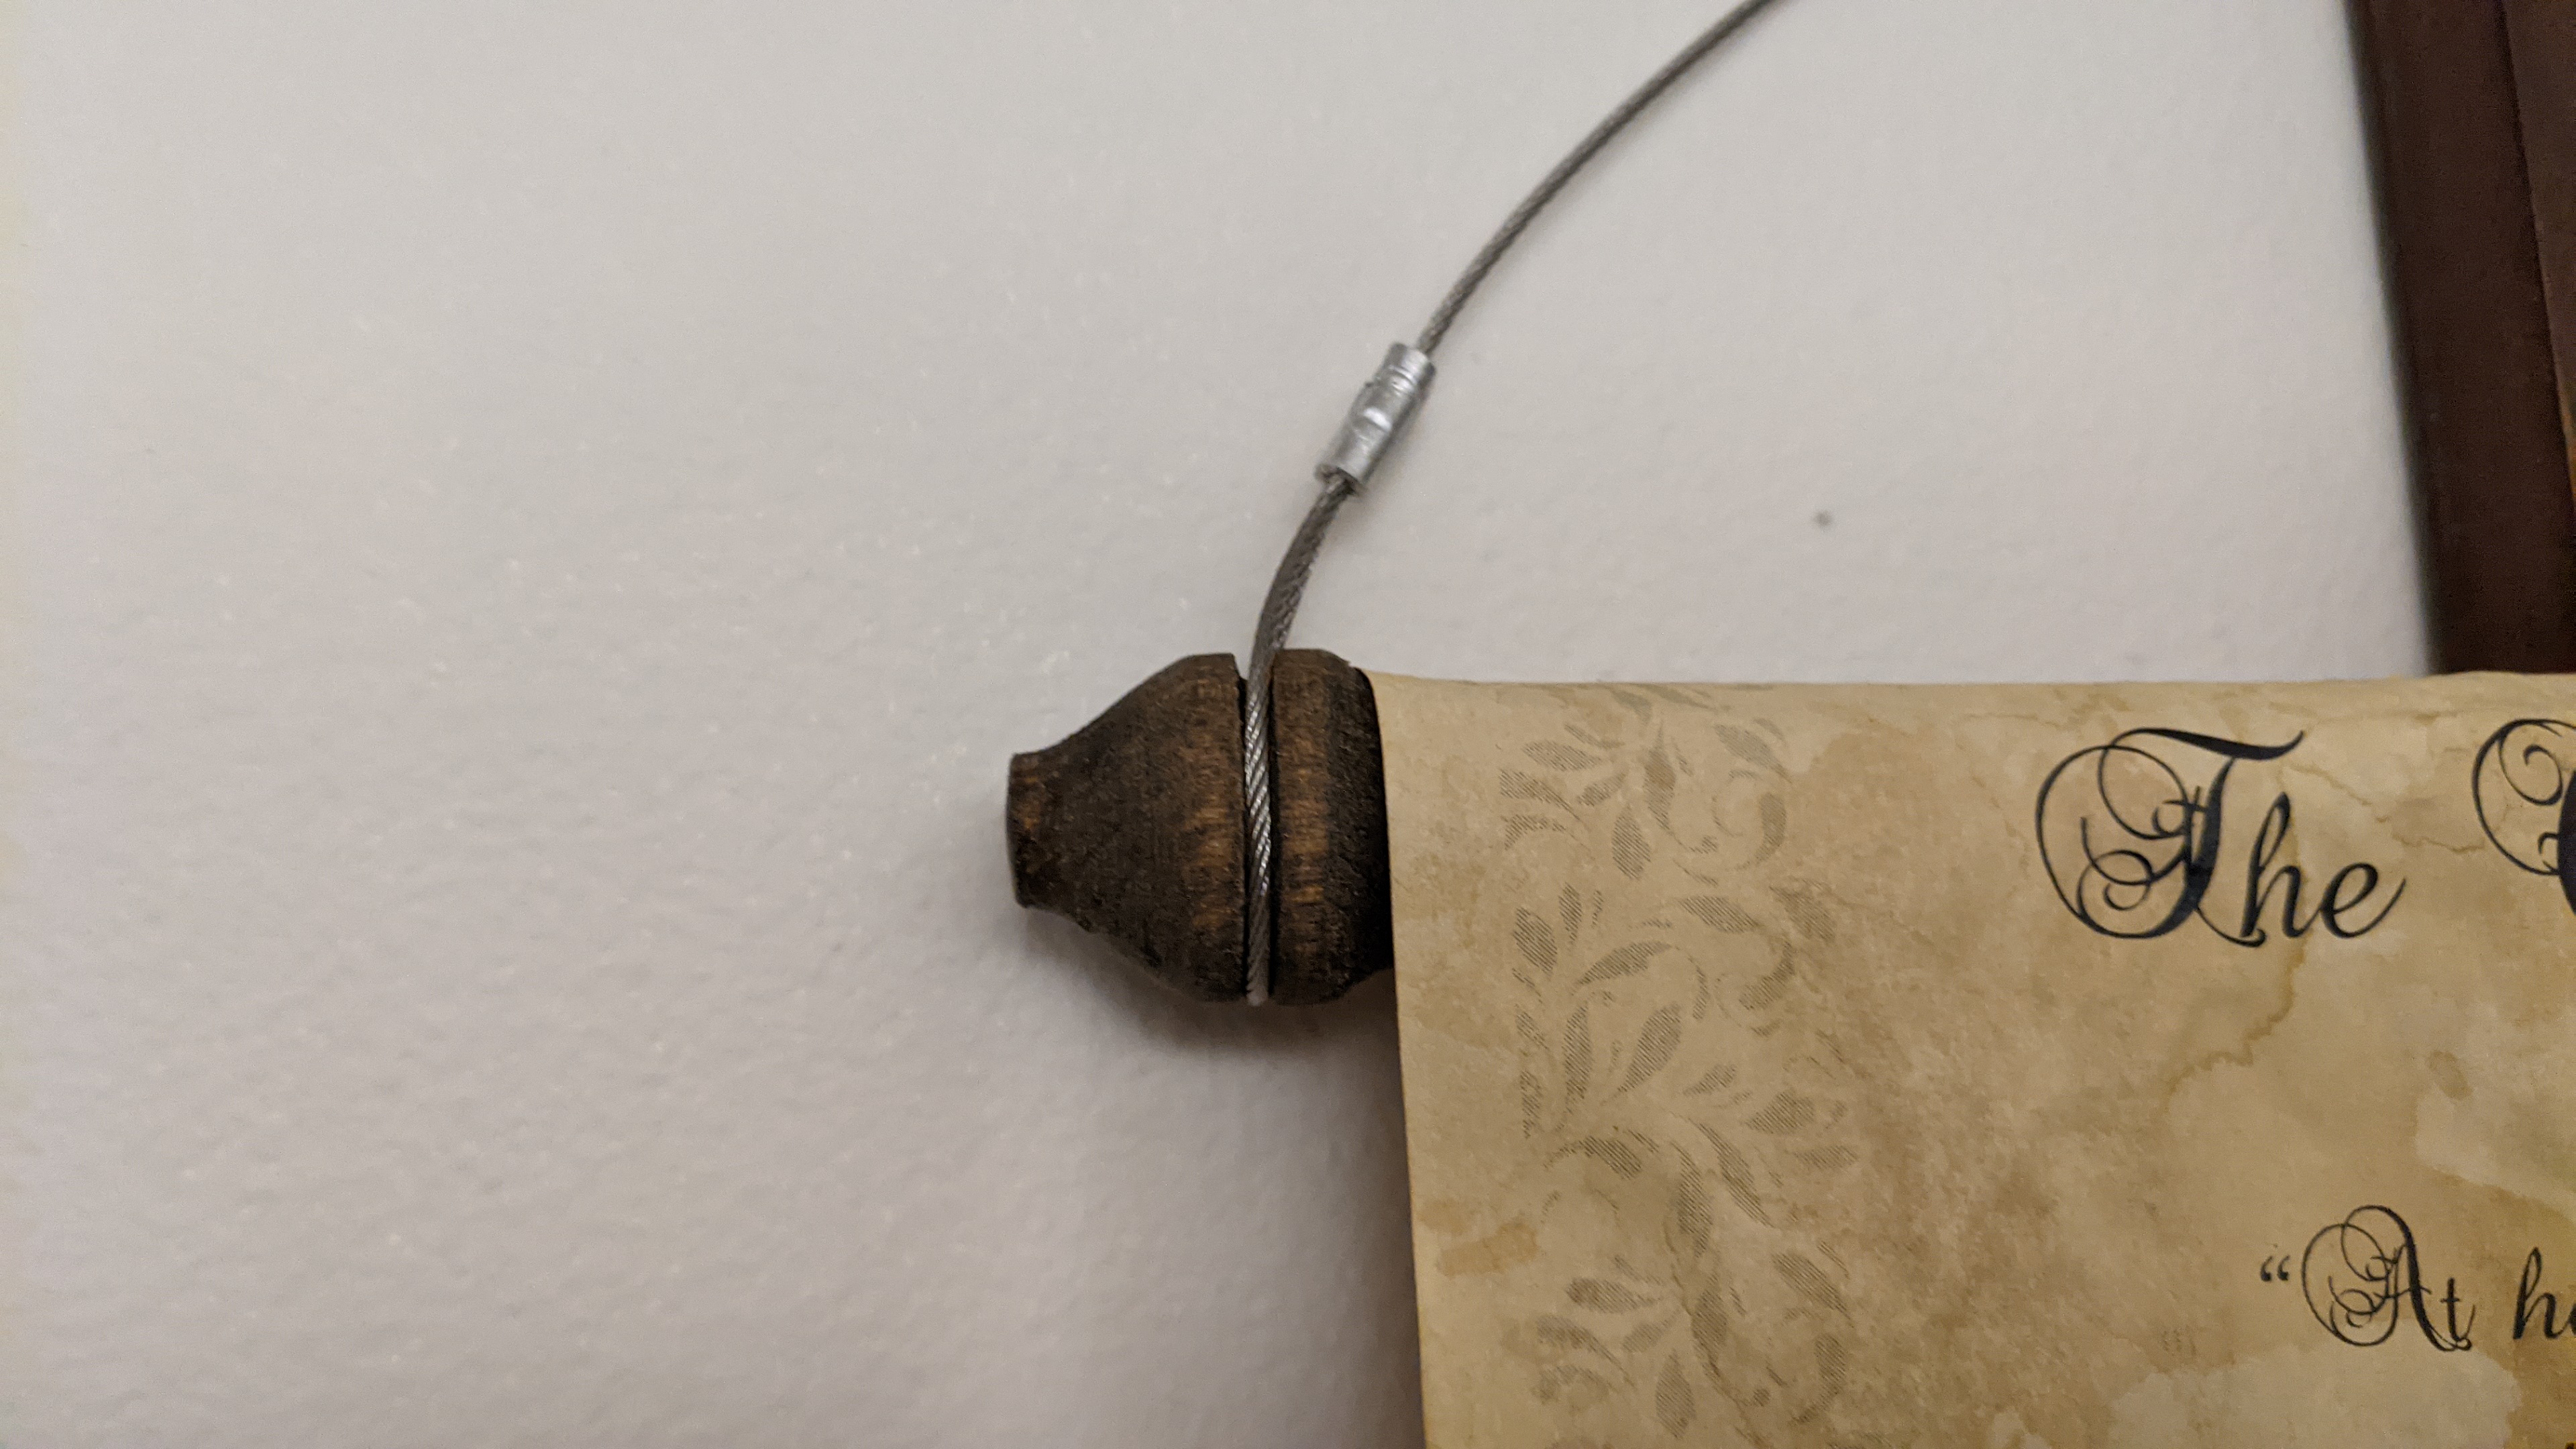
I looped them over the holes in the dowel. Voila! Now you can hang the scroll on the wall.
It's possible to make the wire hangers secure, but removable. For the first couple I made they're just secure--those suckers aren't coming off.
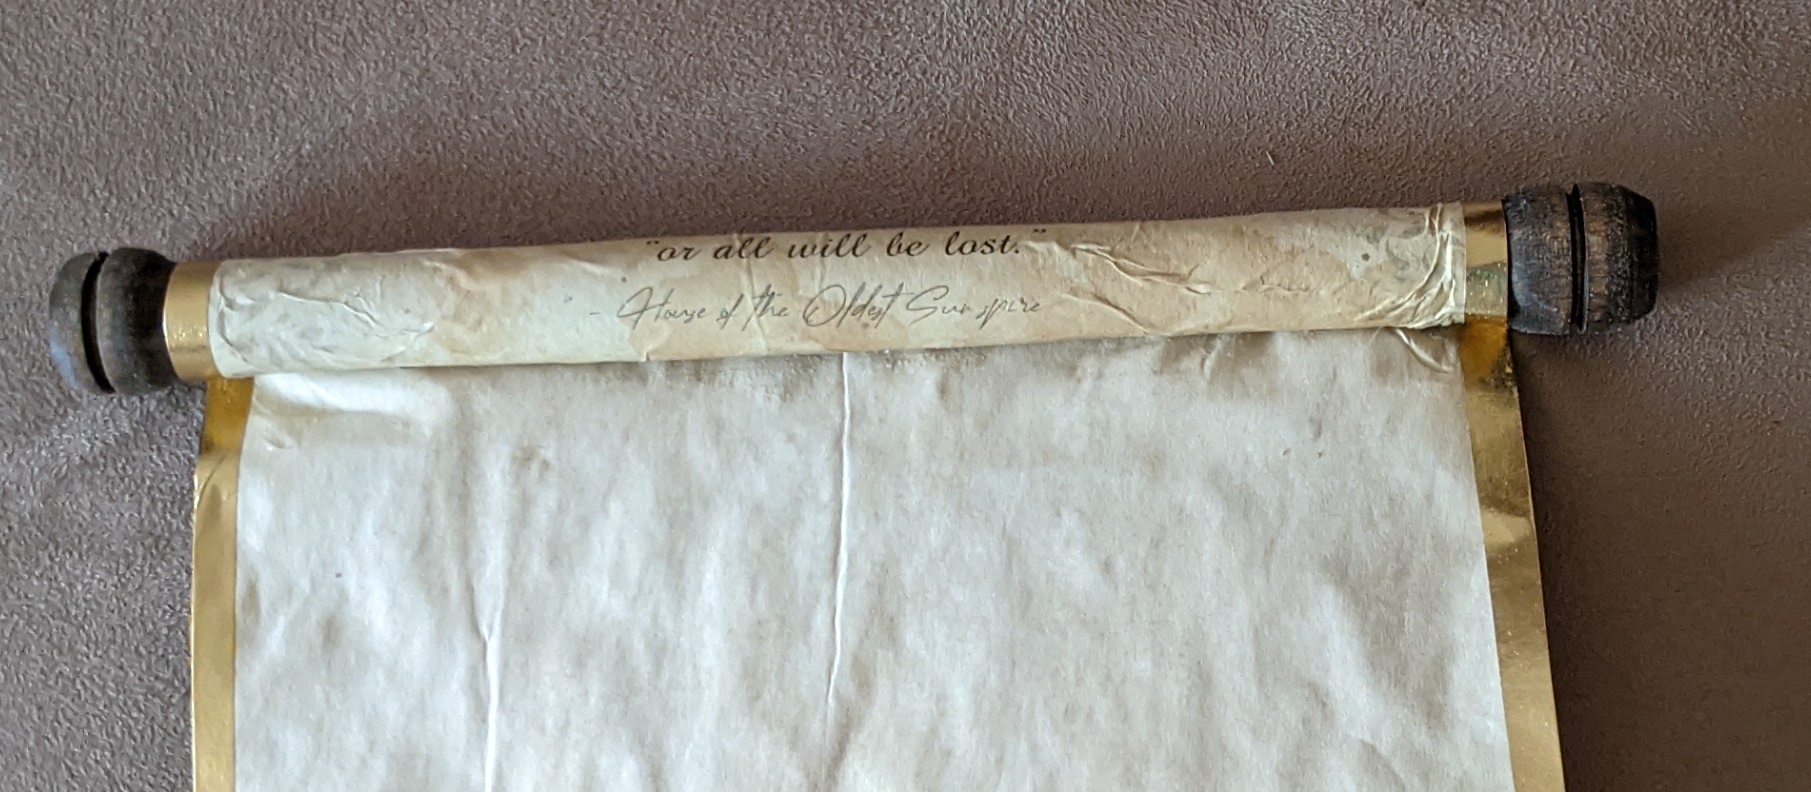
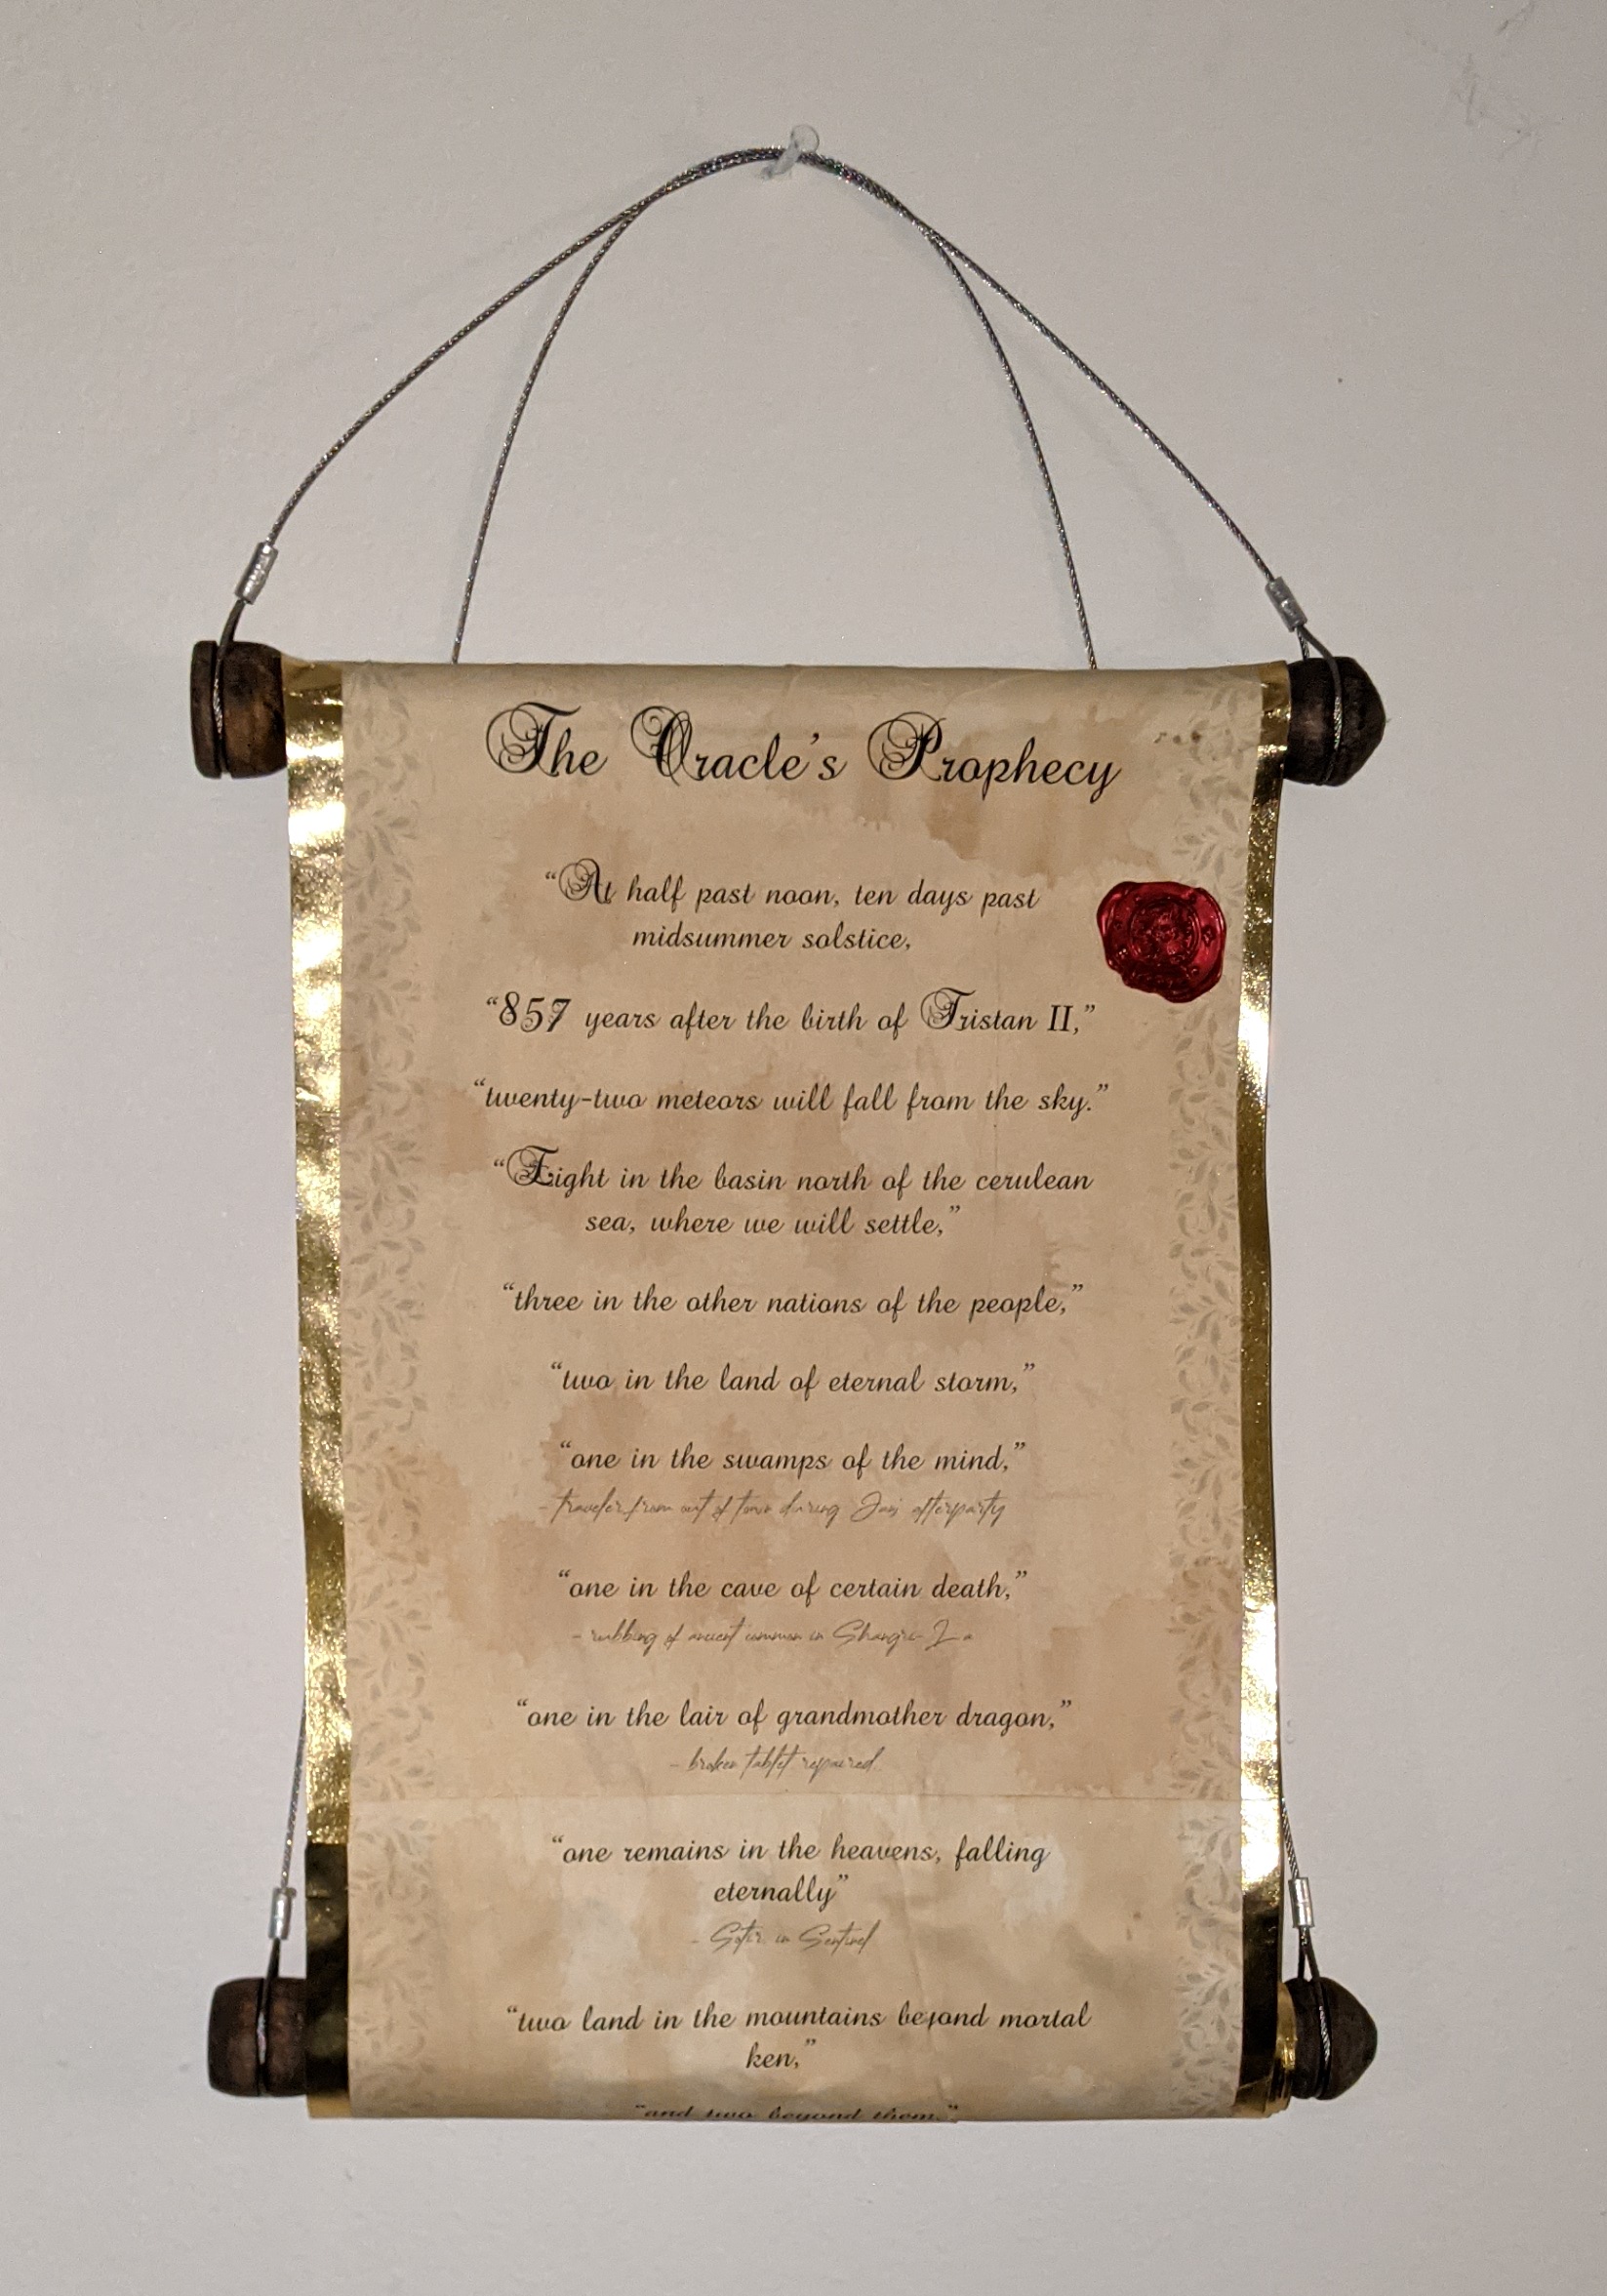
I dripped wax on the scroll and pressed down a seal I got on Amazon. It matches the theme of my D&D game very well, I was happy with how it looks.
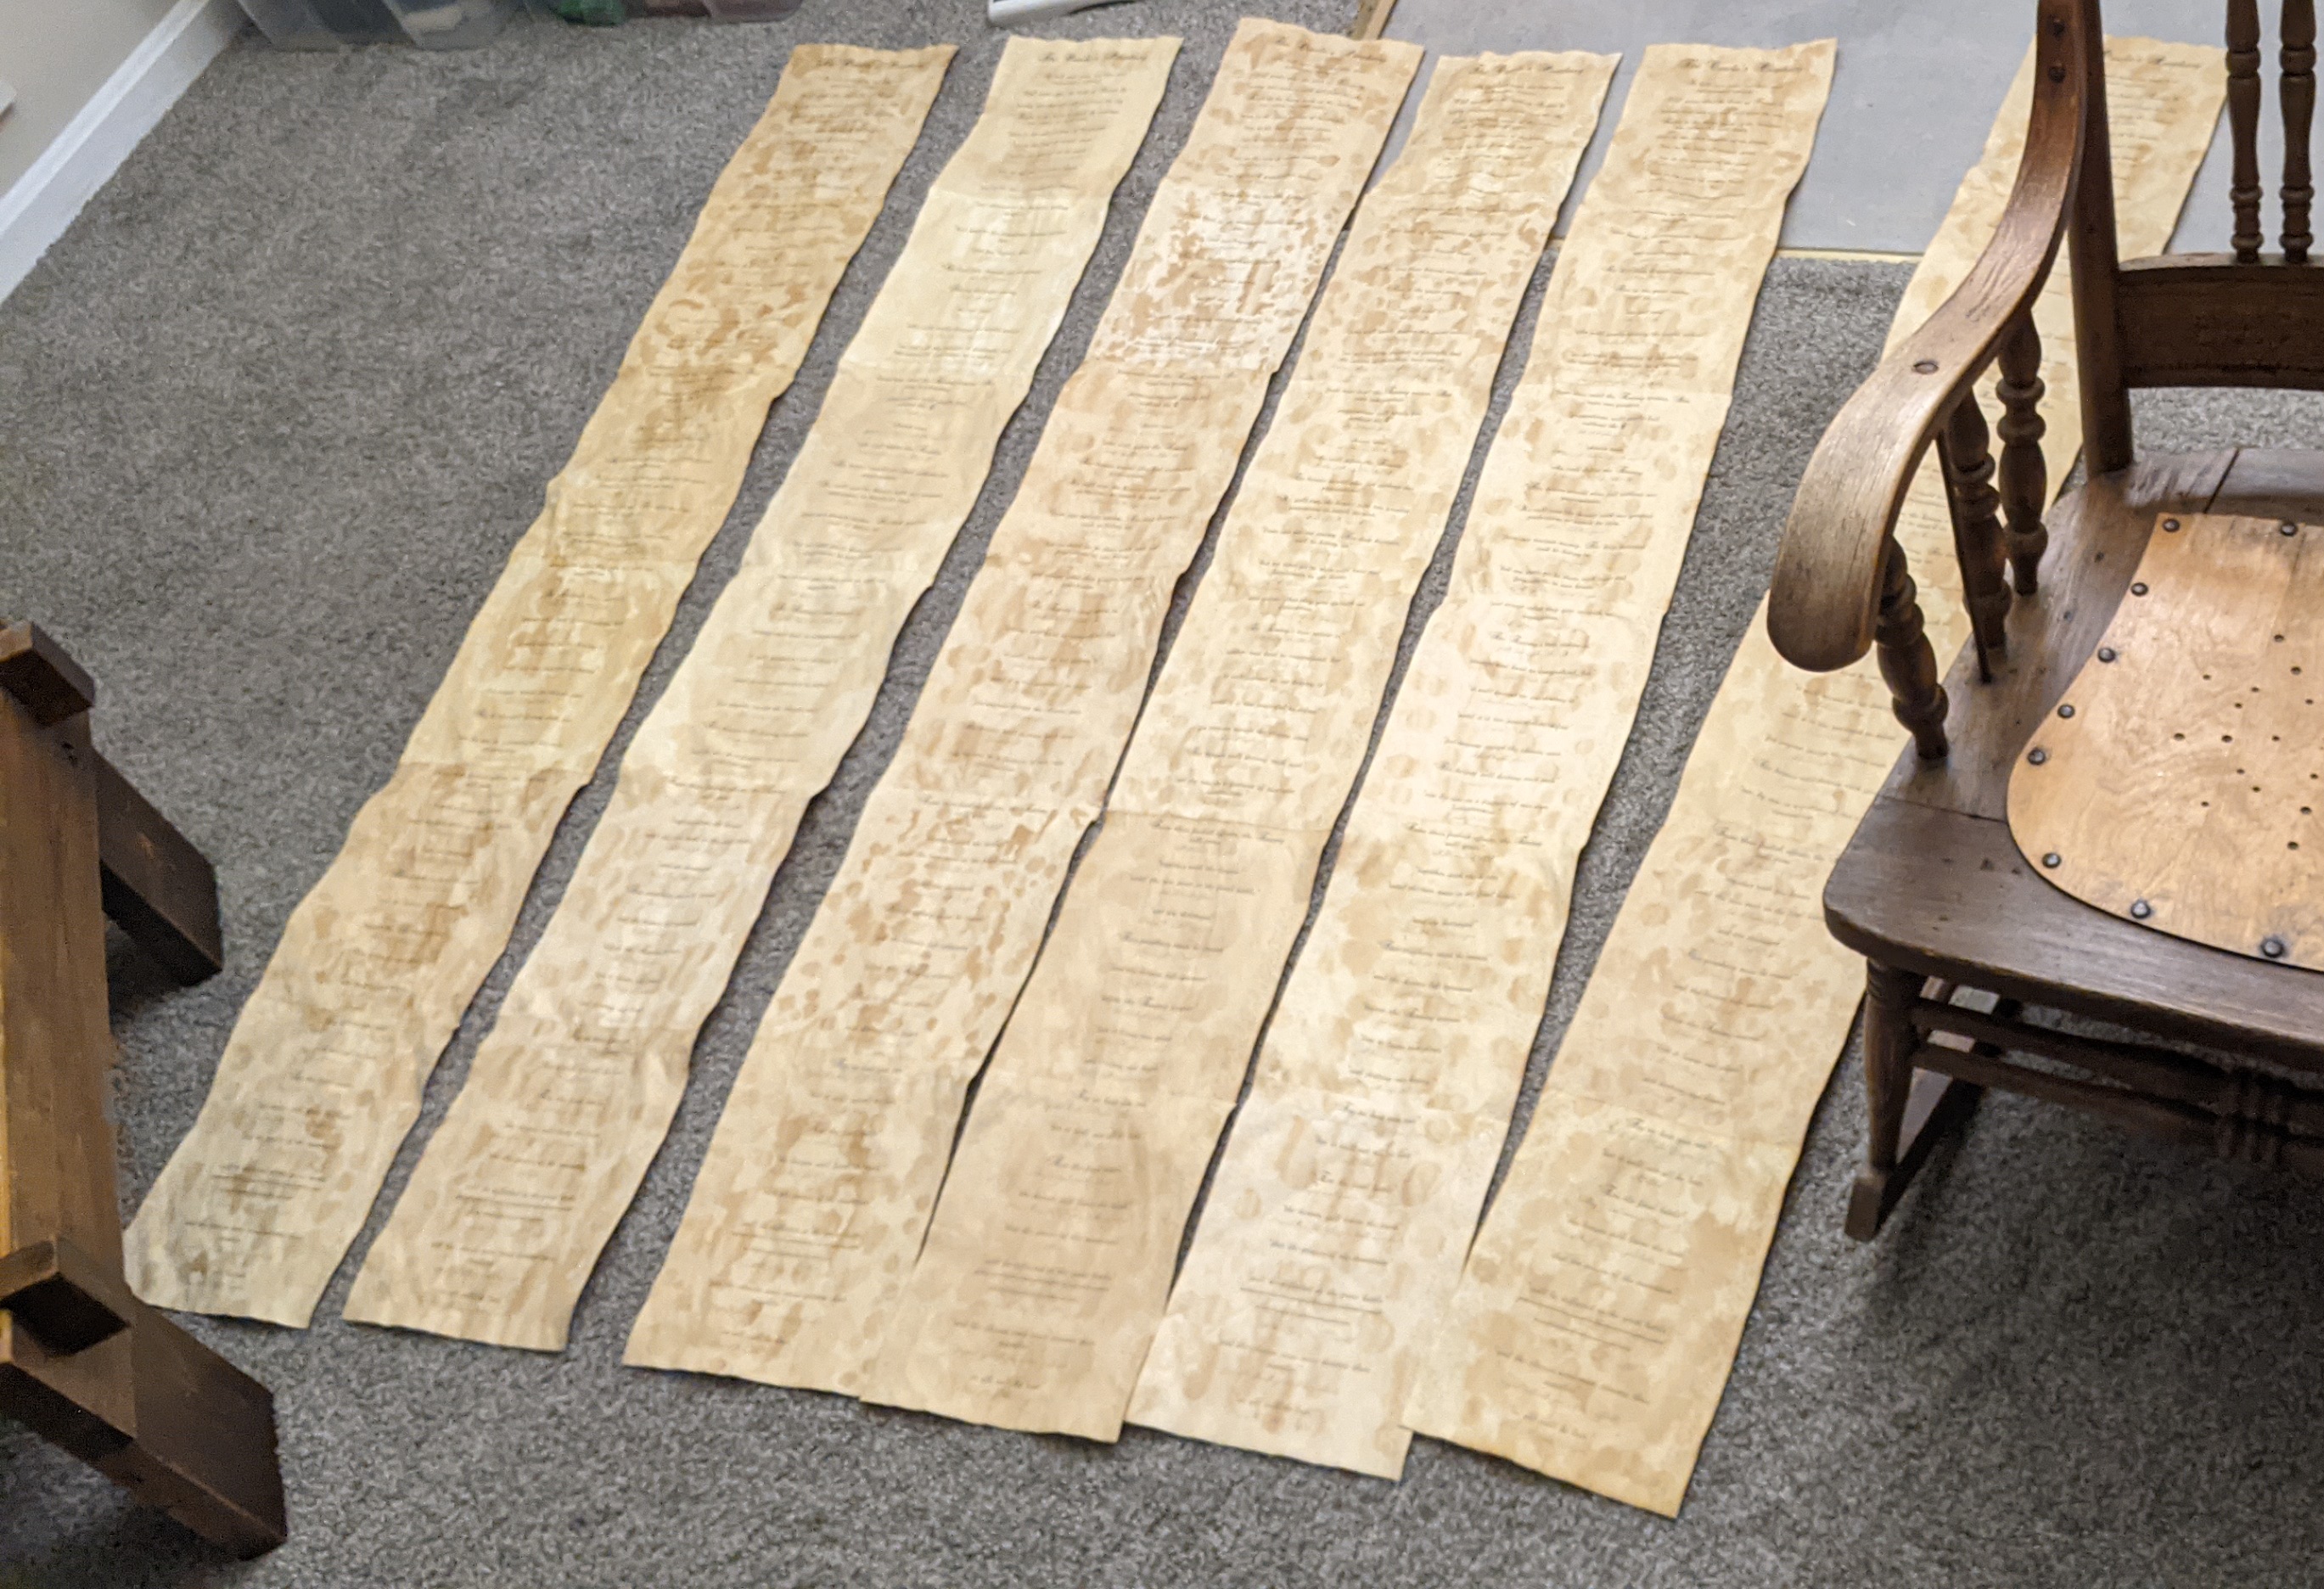
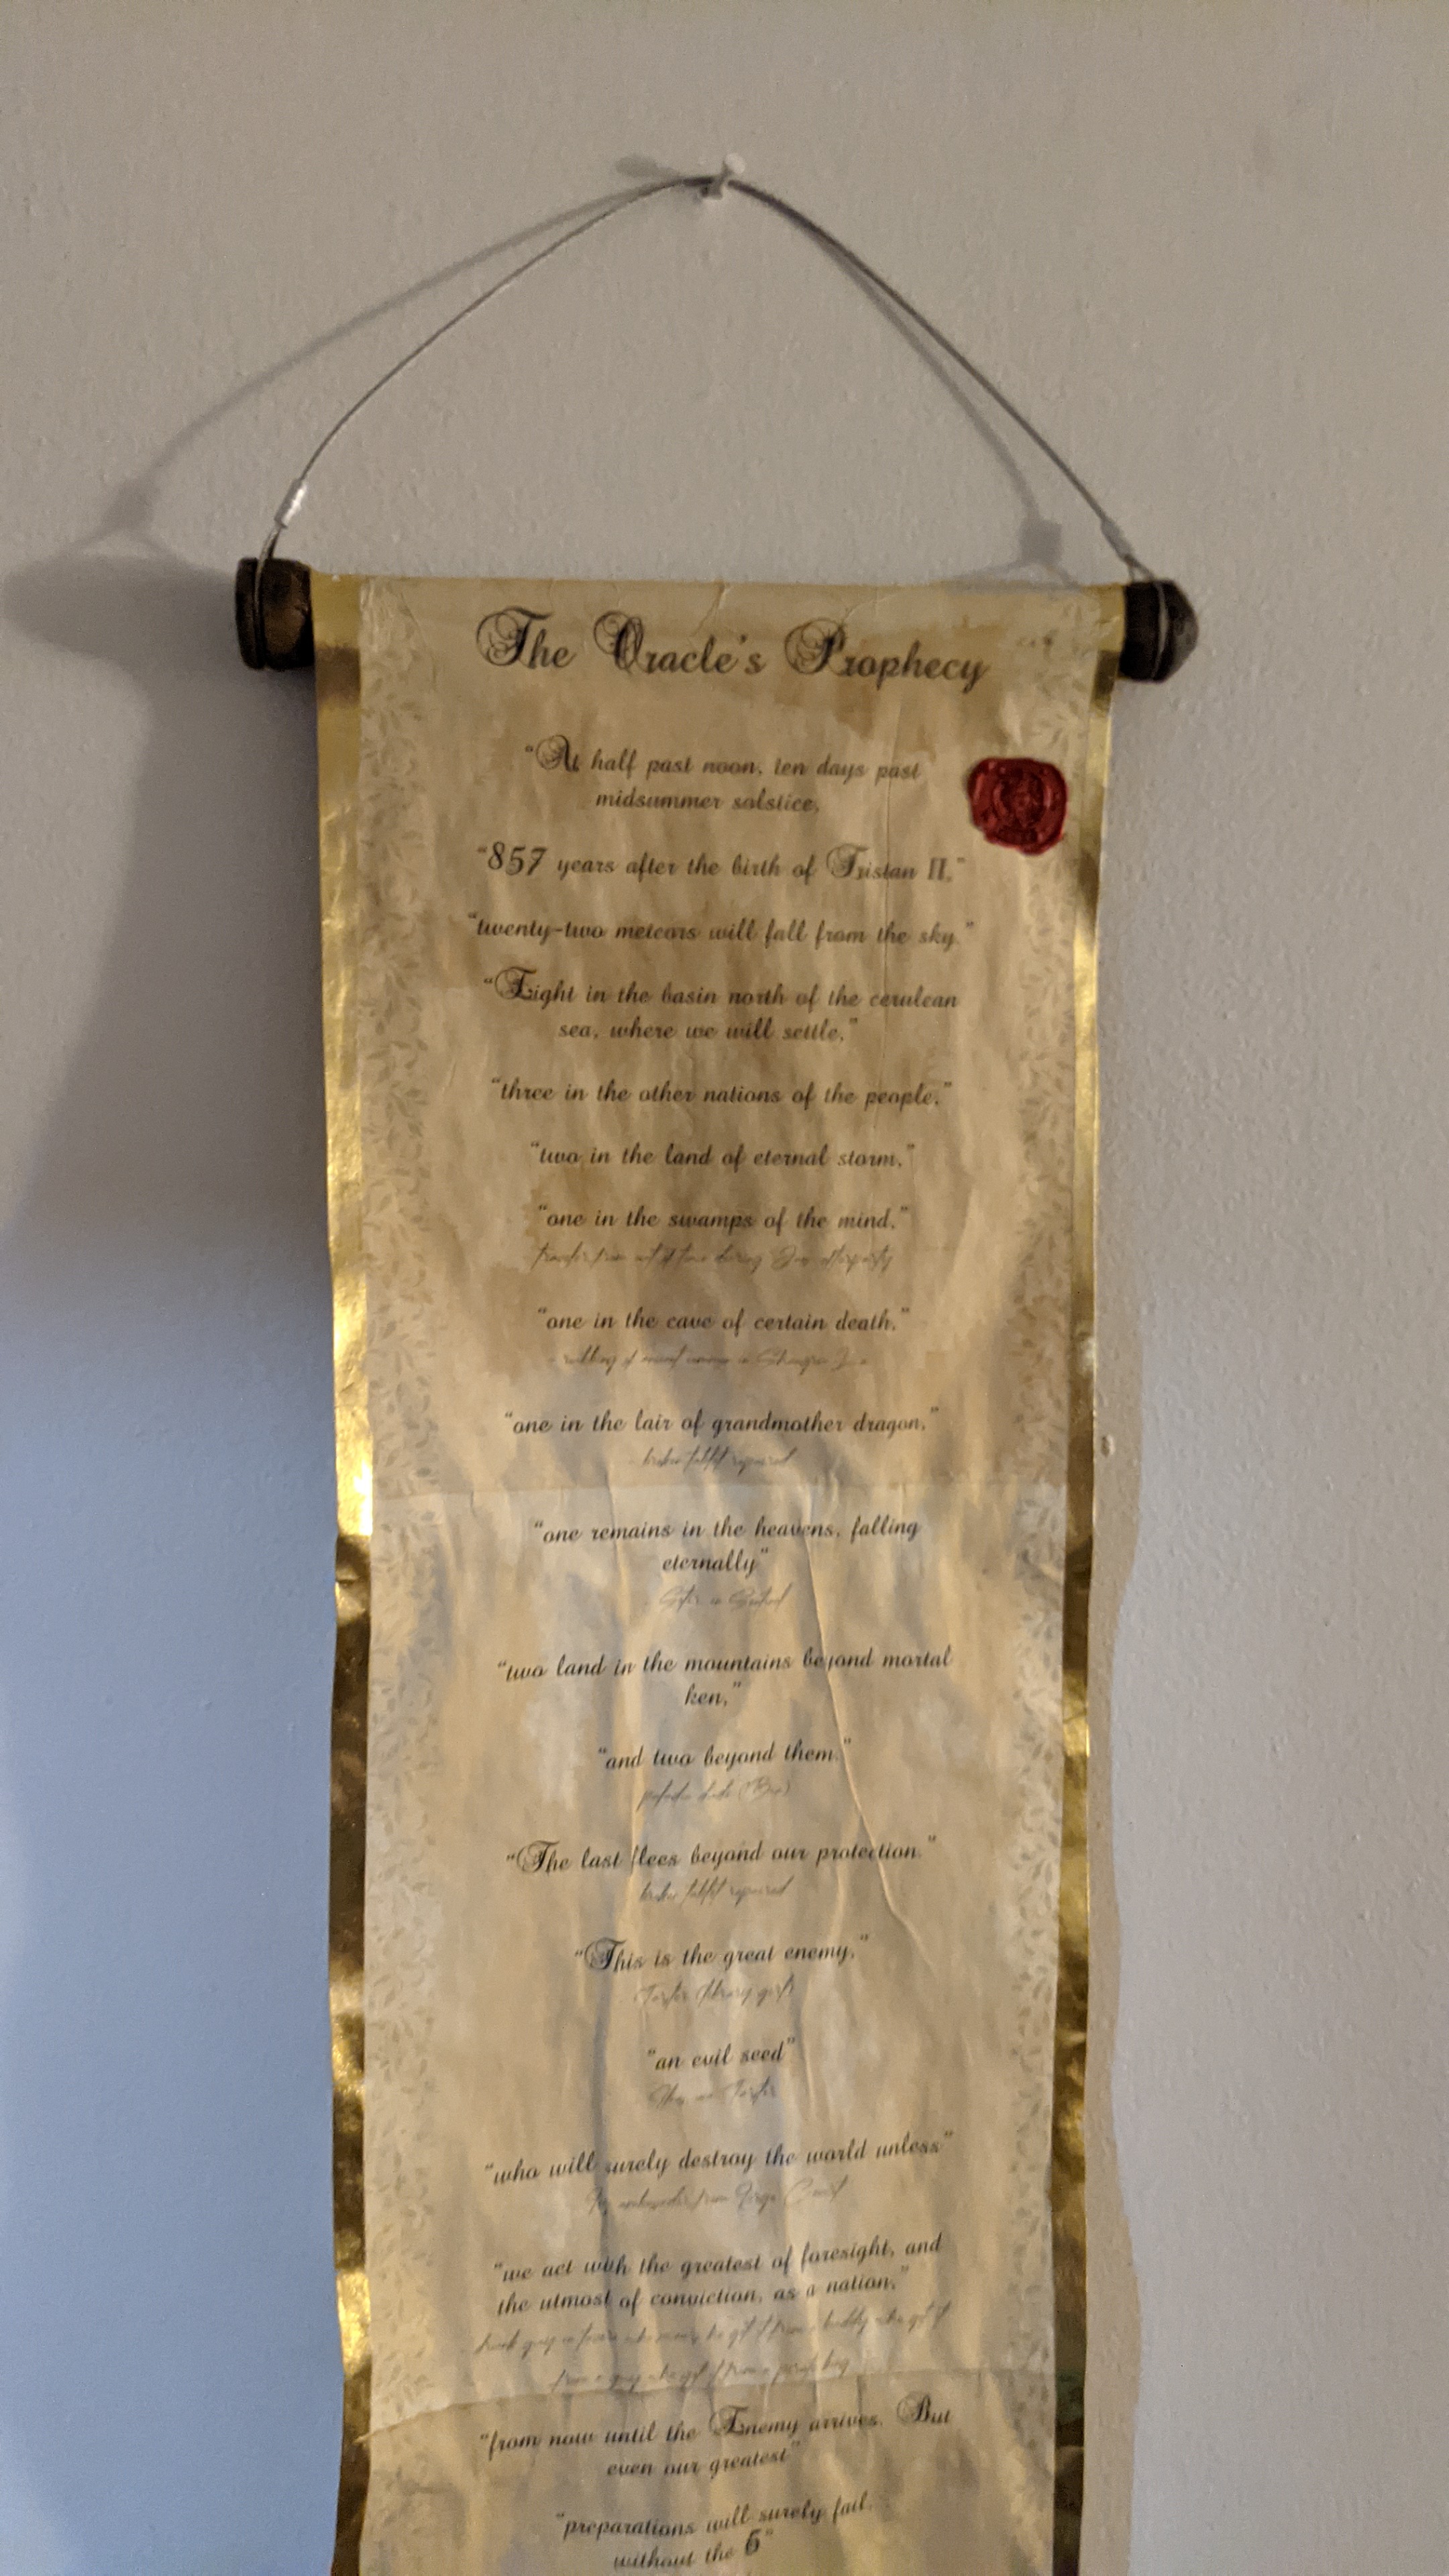
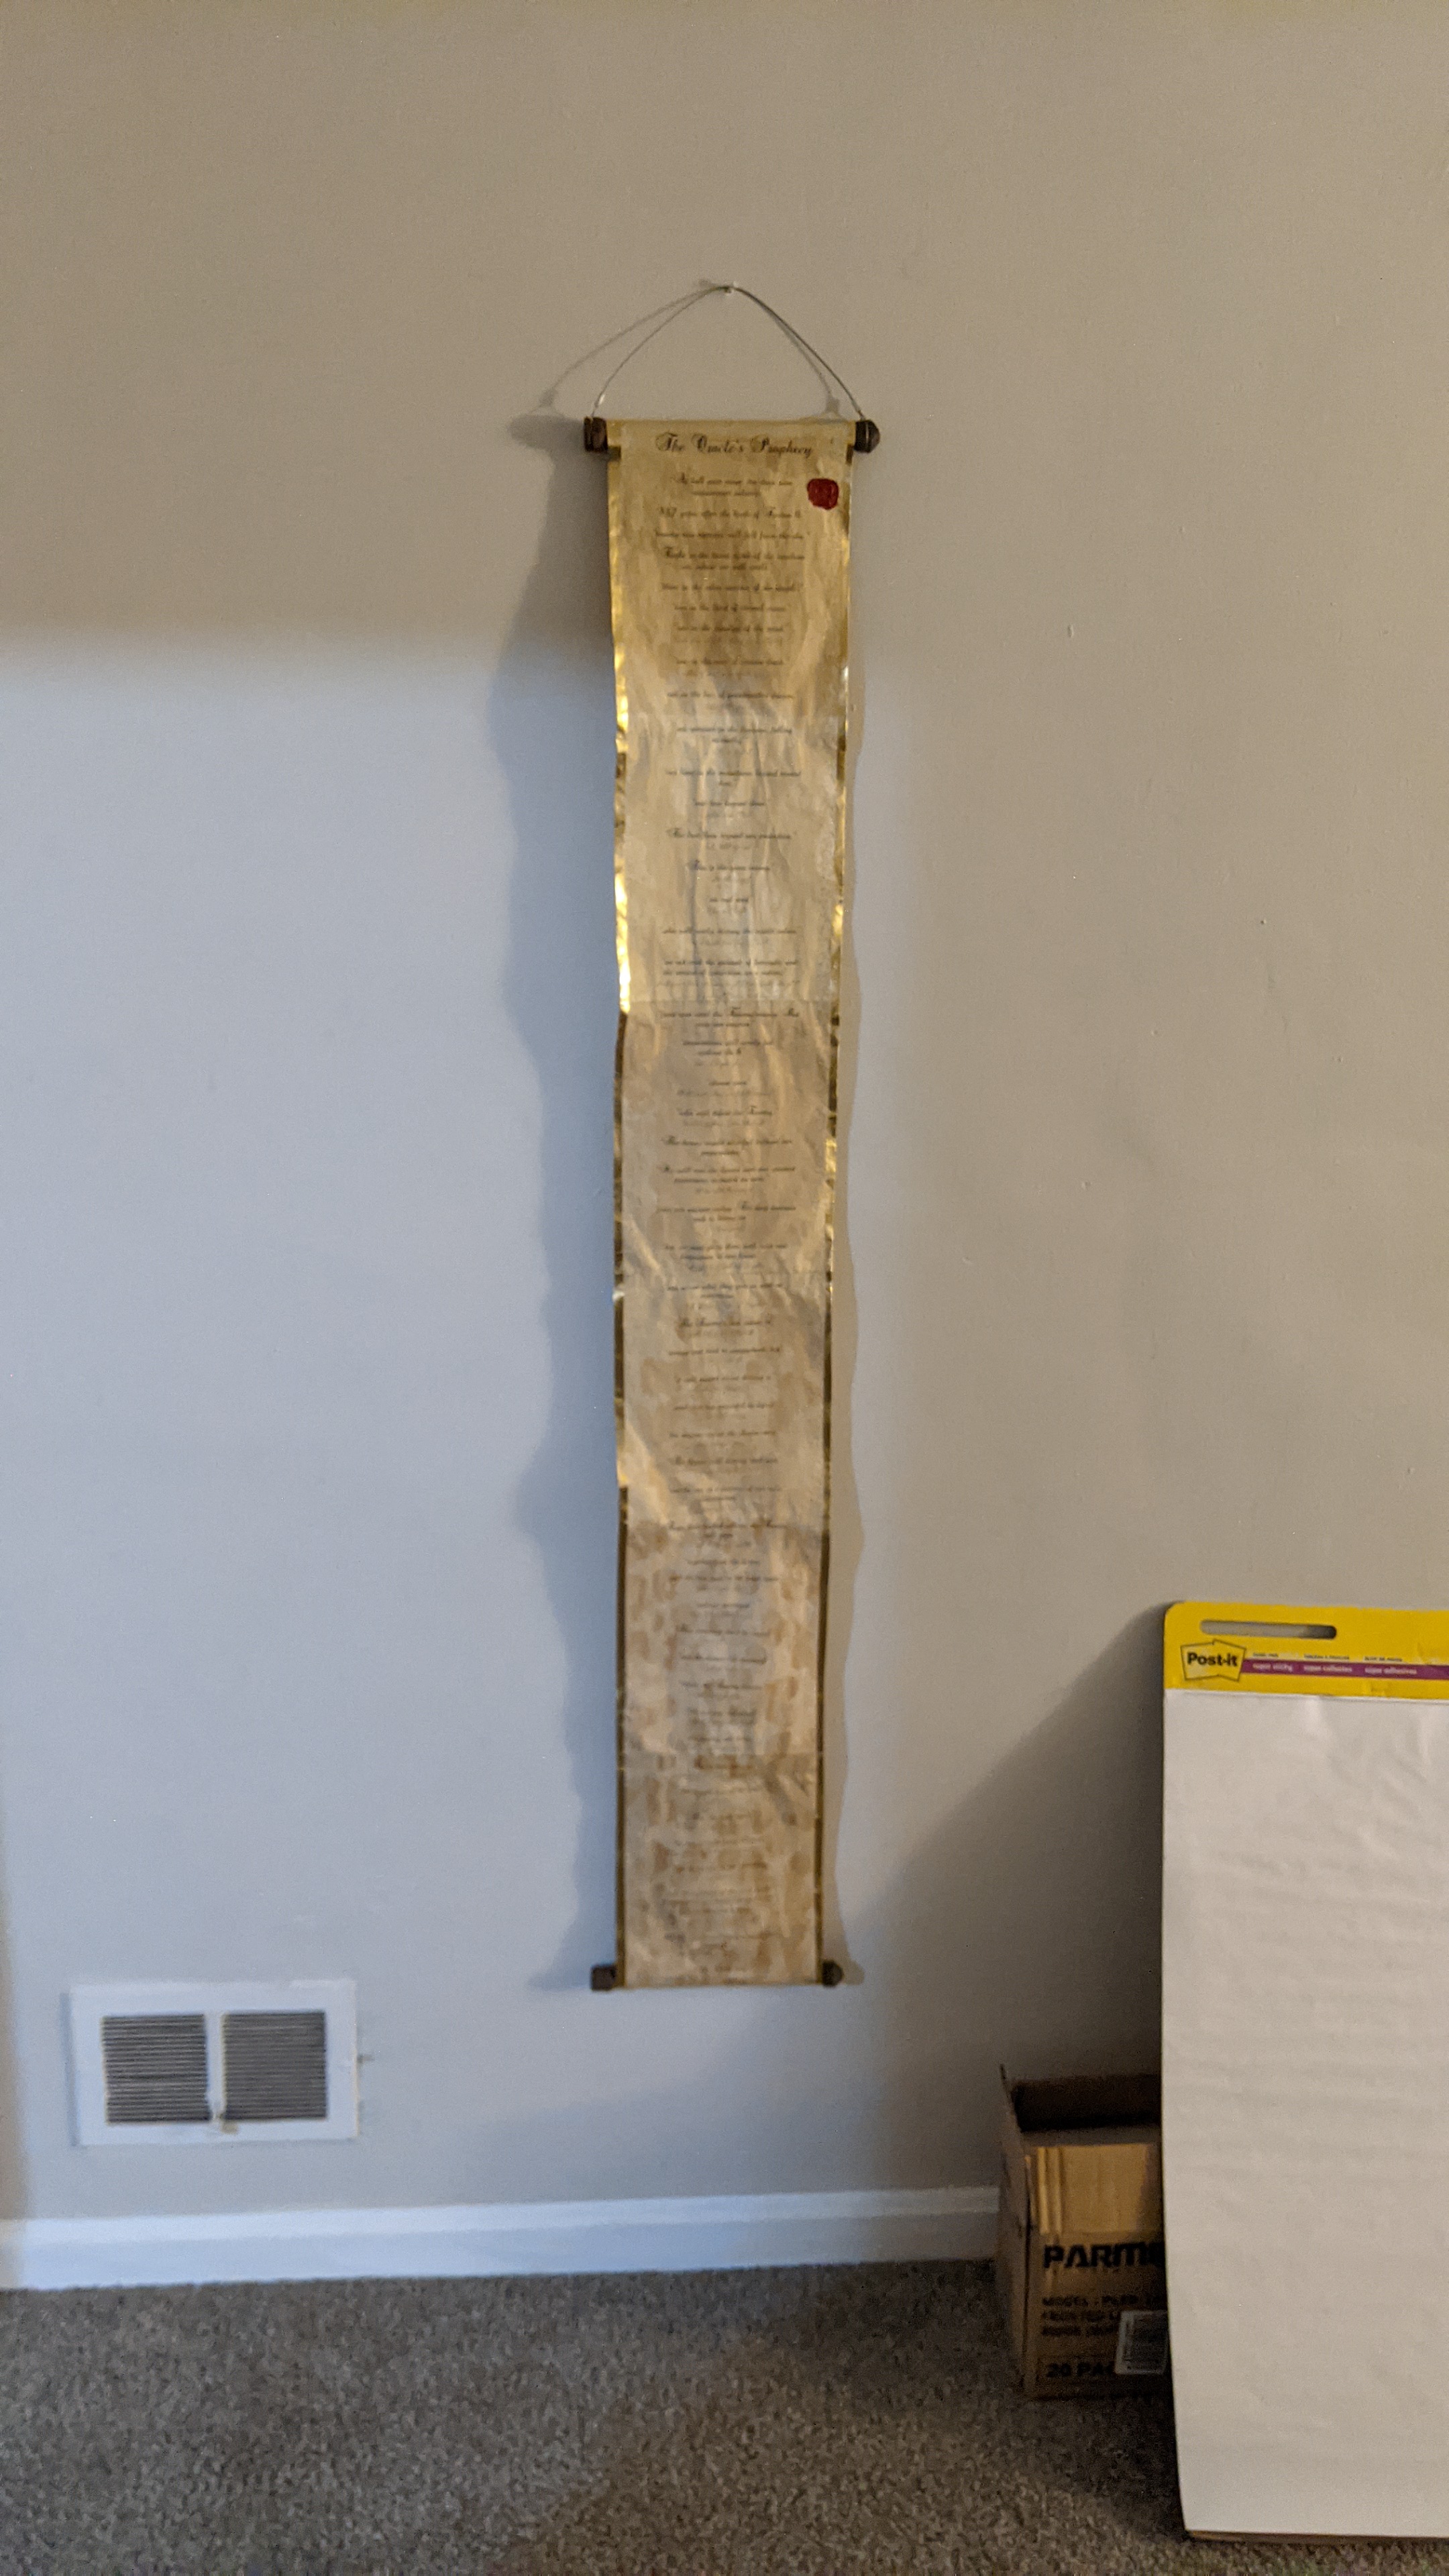
The final scroll looks amazing.
one wire hangs the whole scroll
One one hanger, it takes up the wall.
Between 6 pages and a dowel rod, that's why the glue between pages needed to be so strong!
two wires show parts of the scroll
By using two sets of hanging wires, you can show part of the scroll without taking up the whole wall. Here I'm showing the top of the scroll.
You can roll one dowel as you unroll the other, to show any part of the scroll. That's why long scrolls have two rods. It's also where the term "scrolling" up and down on a computer comes from.
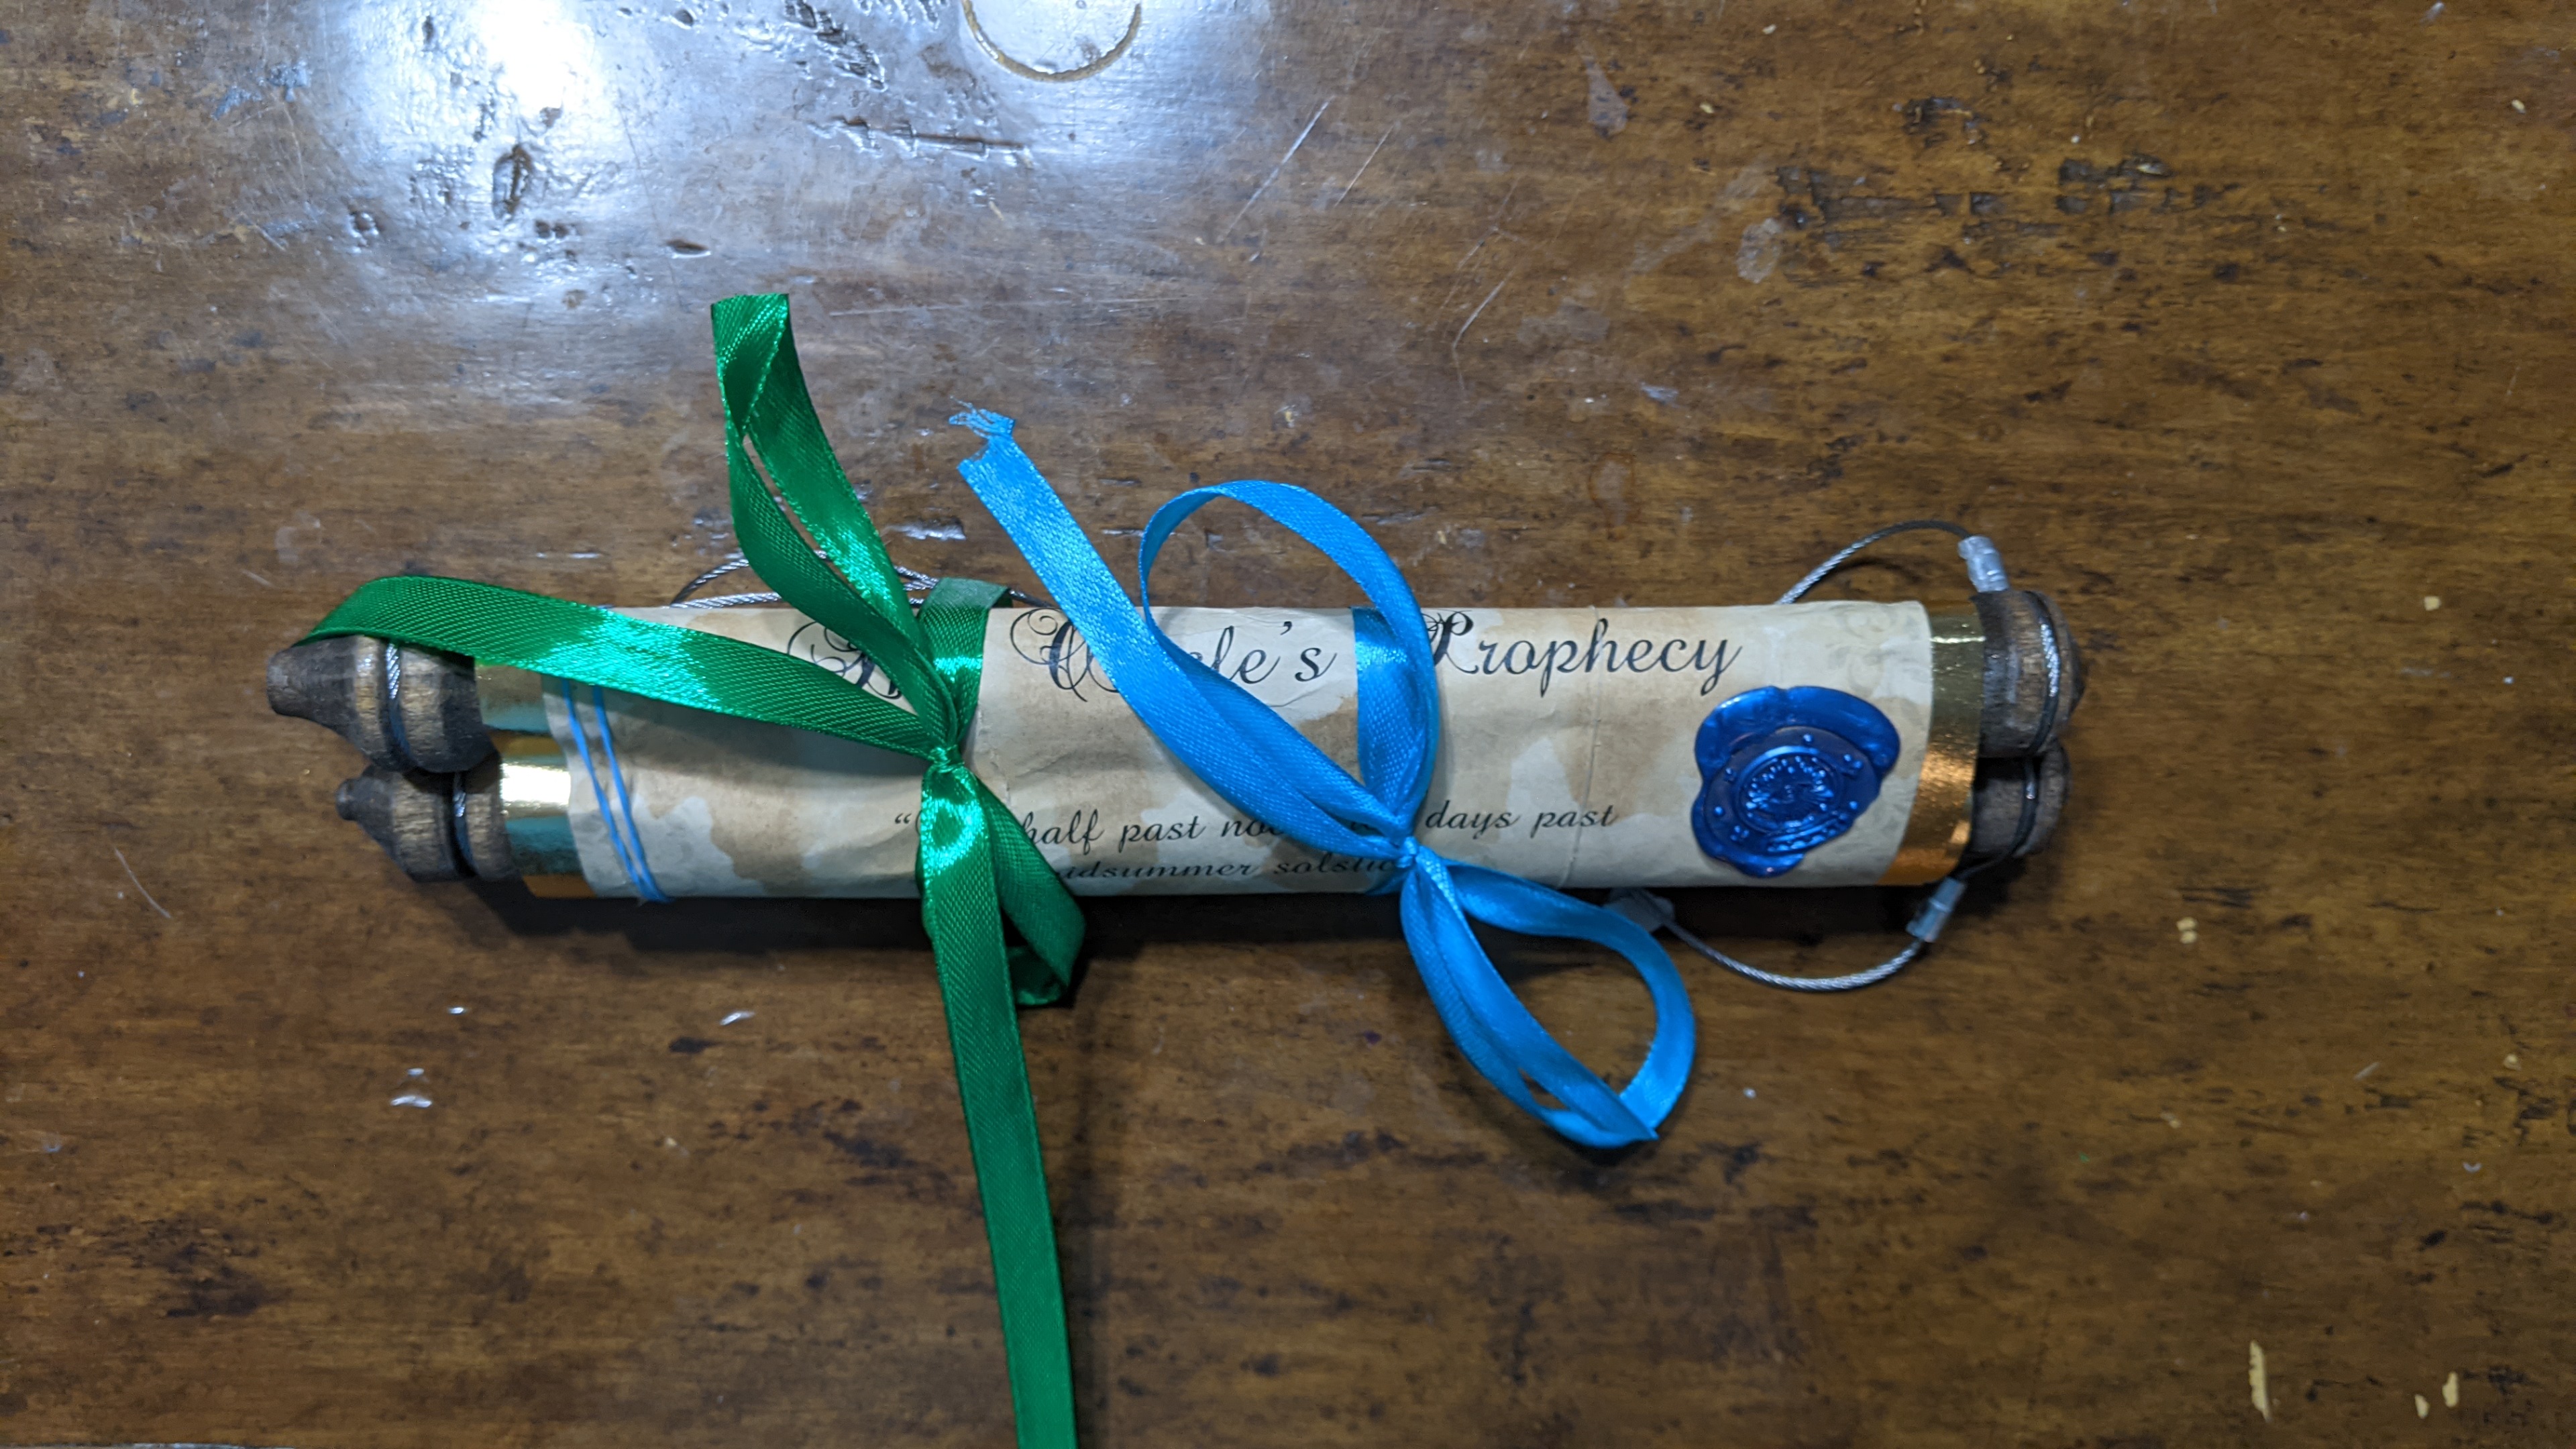
I let each player pick the color of the wax for the seal and decorative ribbons. They didn't know exactly what they were giving me colors for.
I'm sure my players will love them!
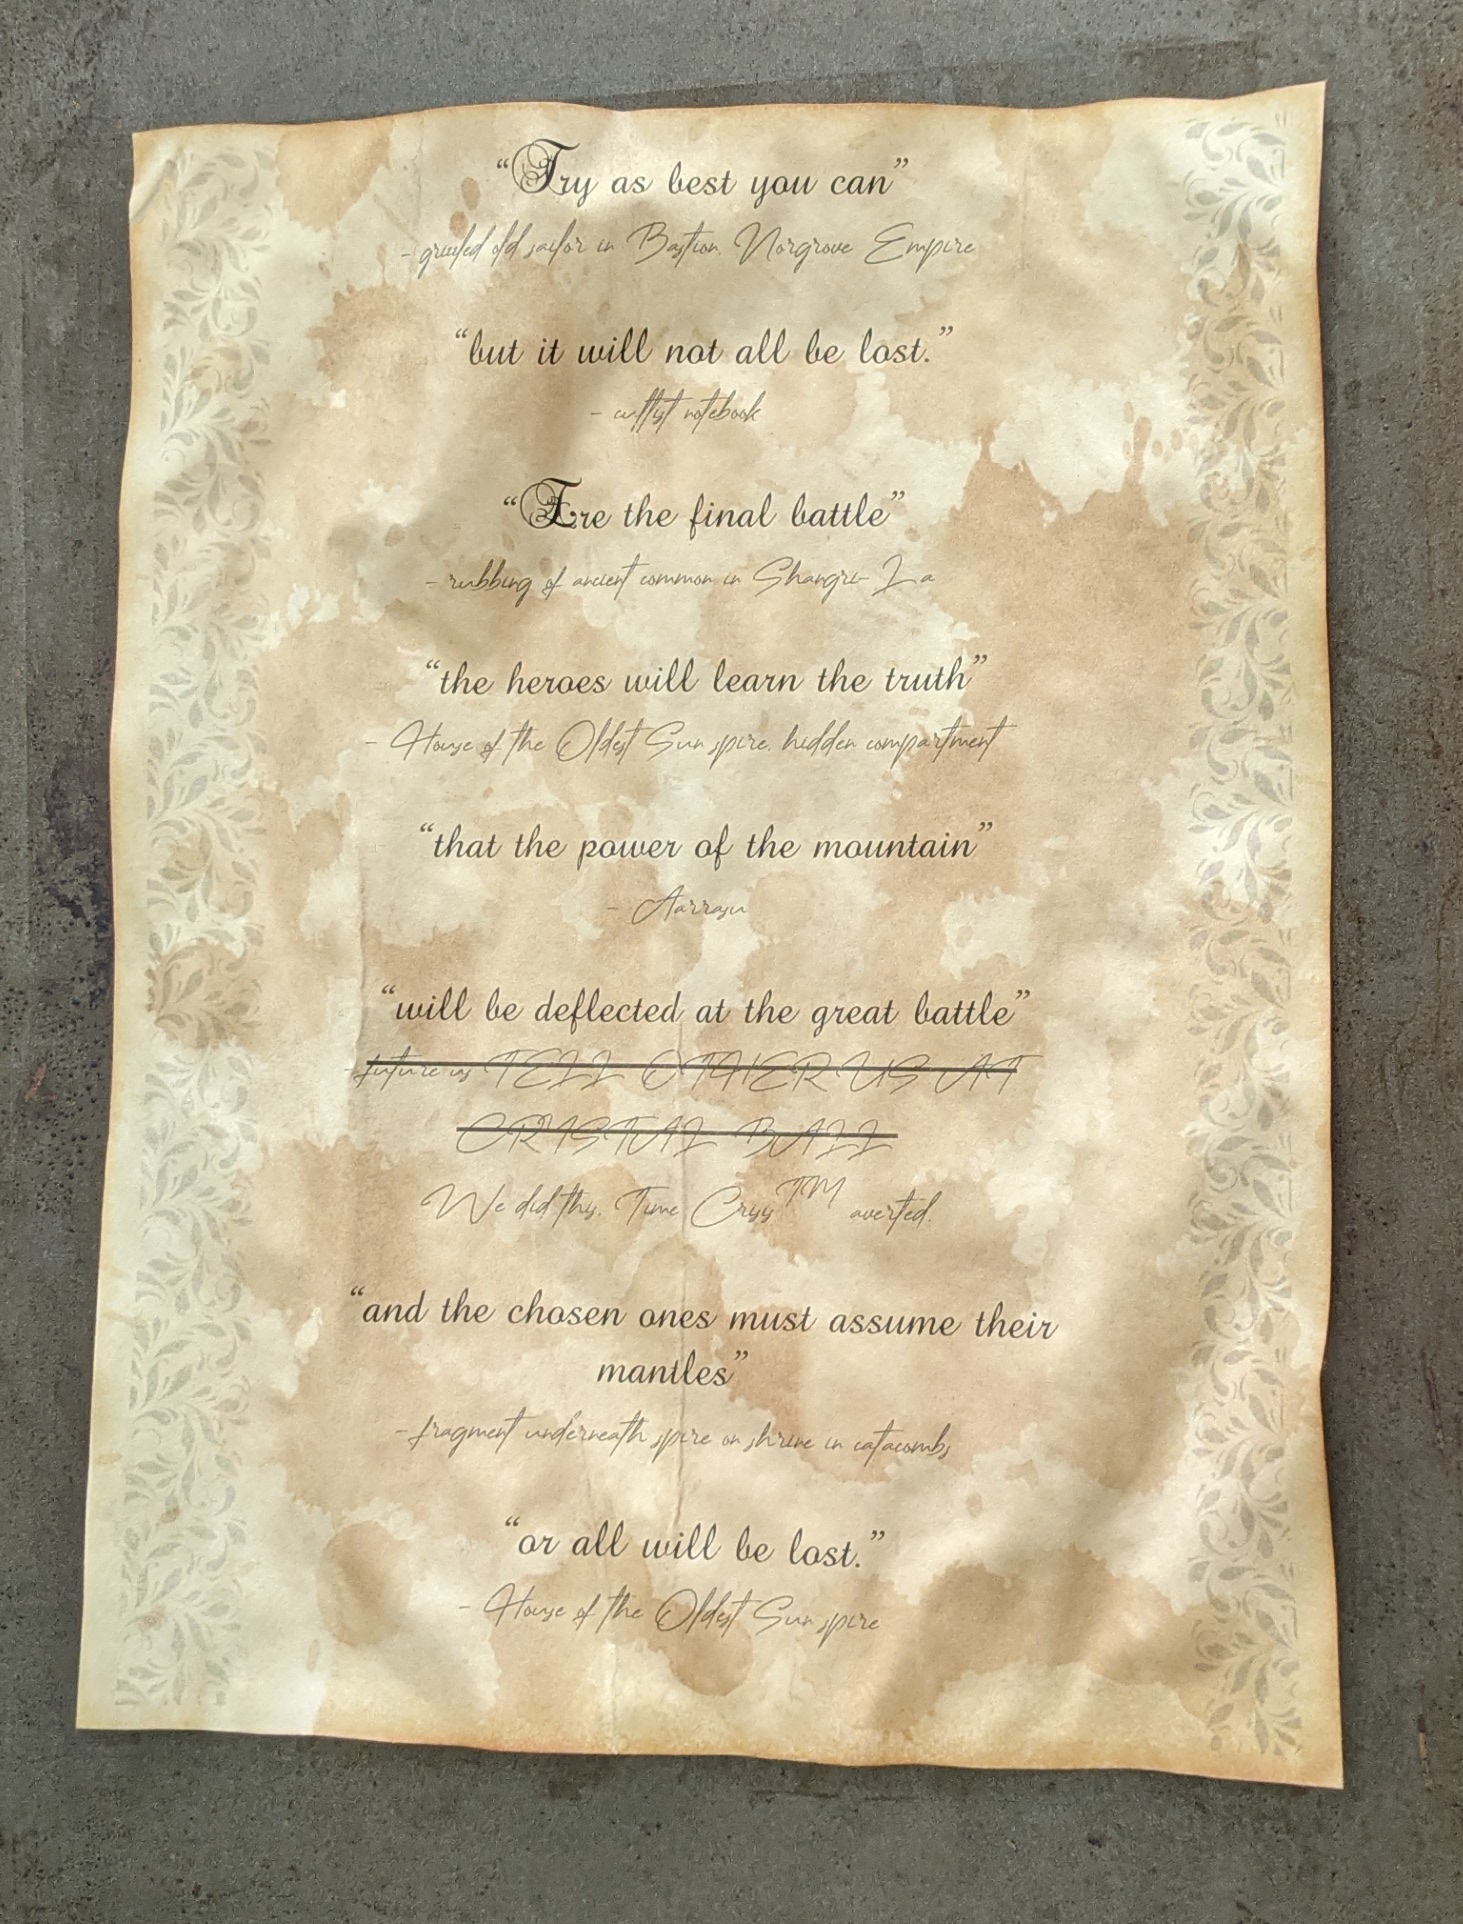
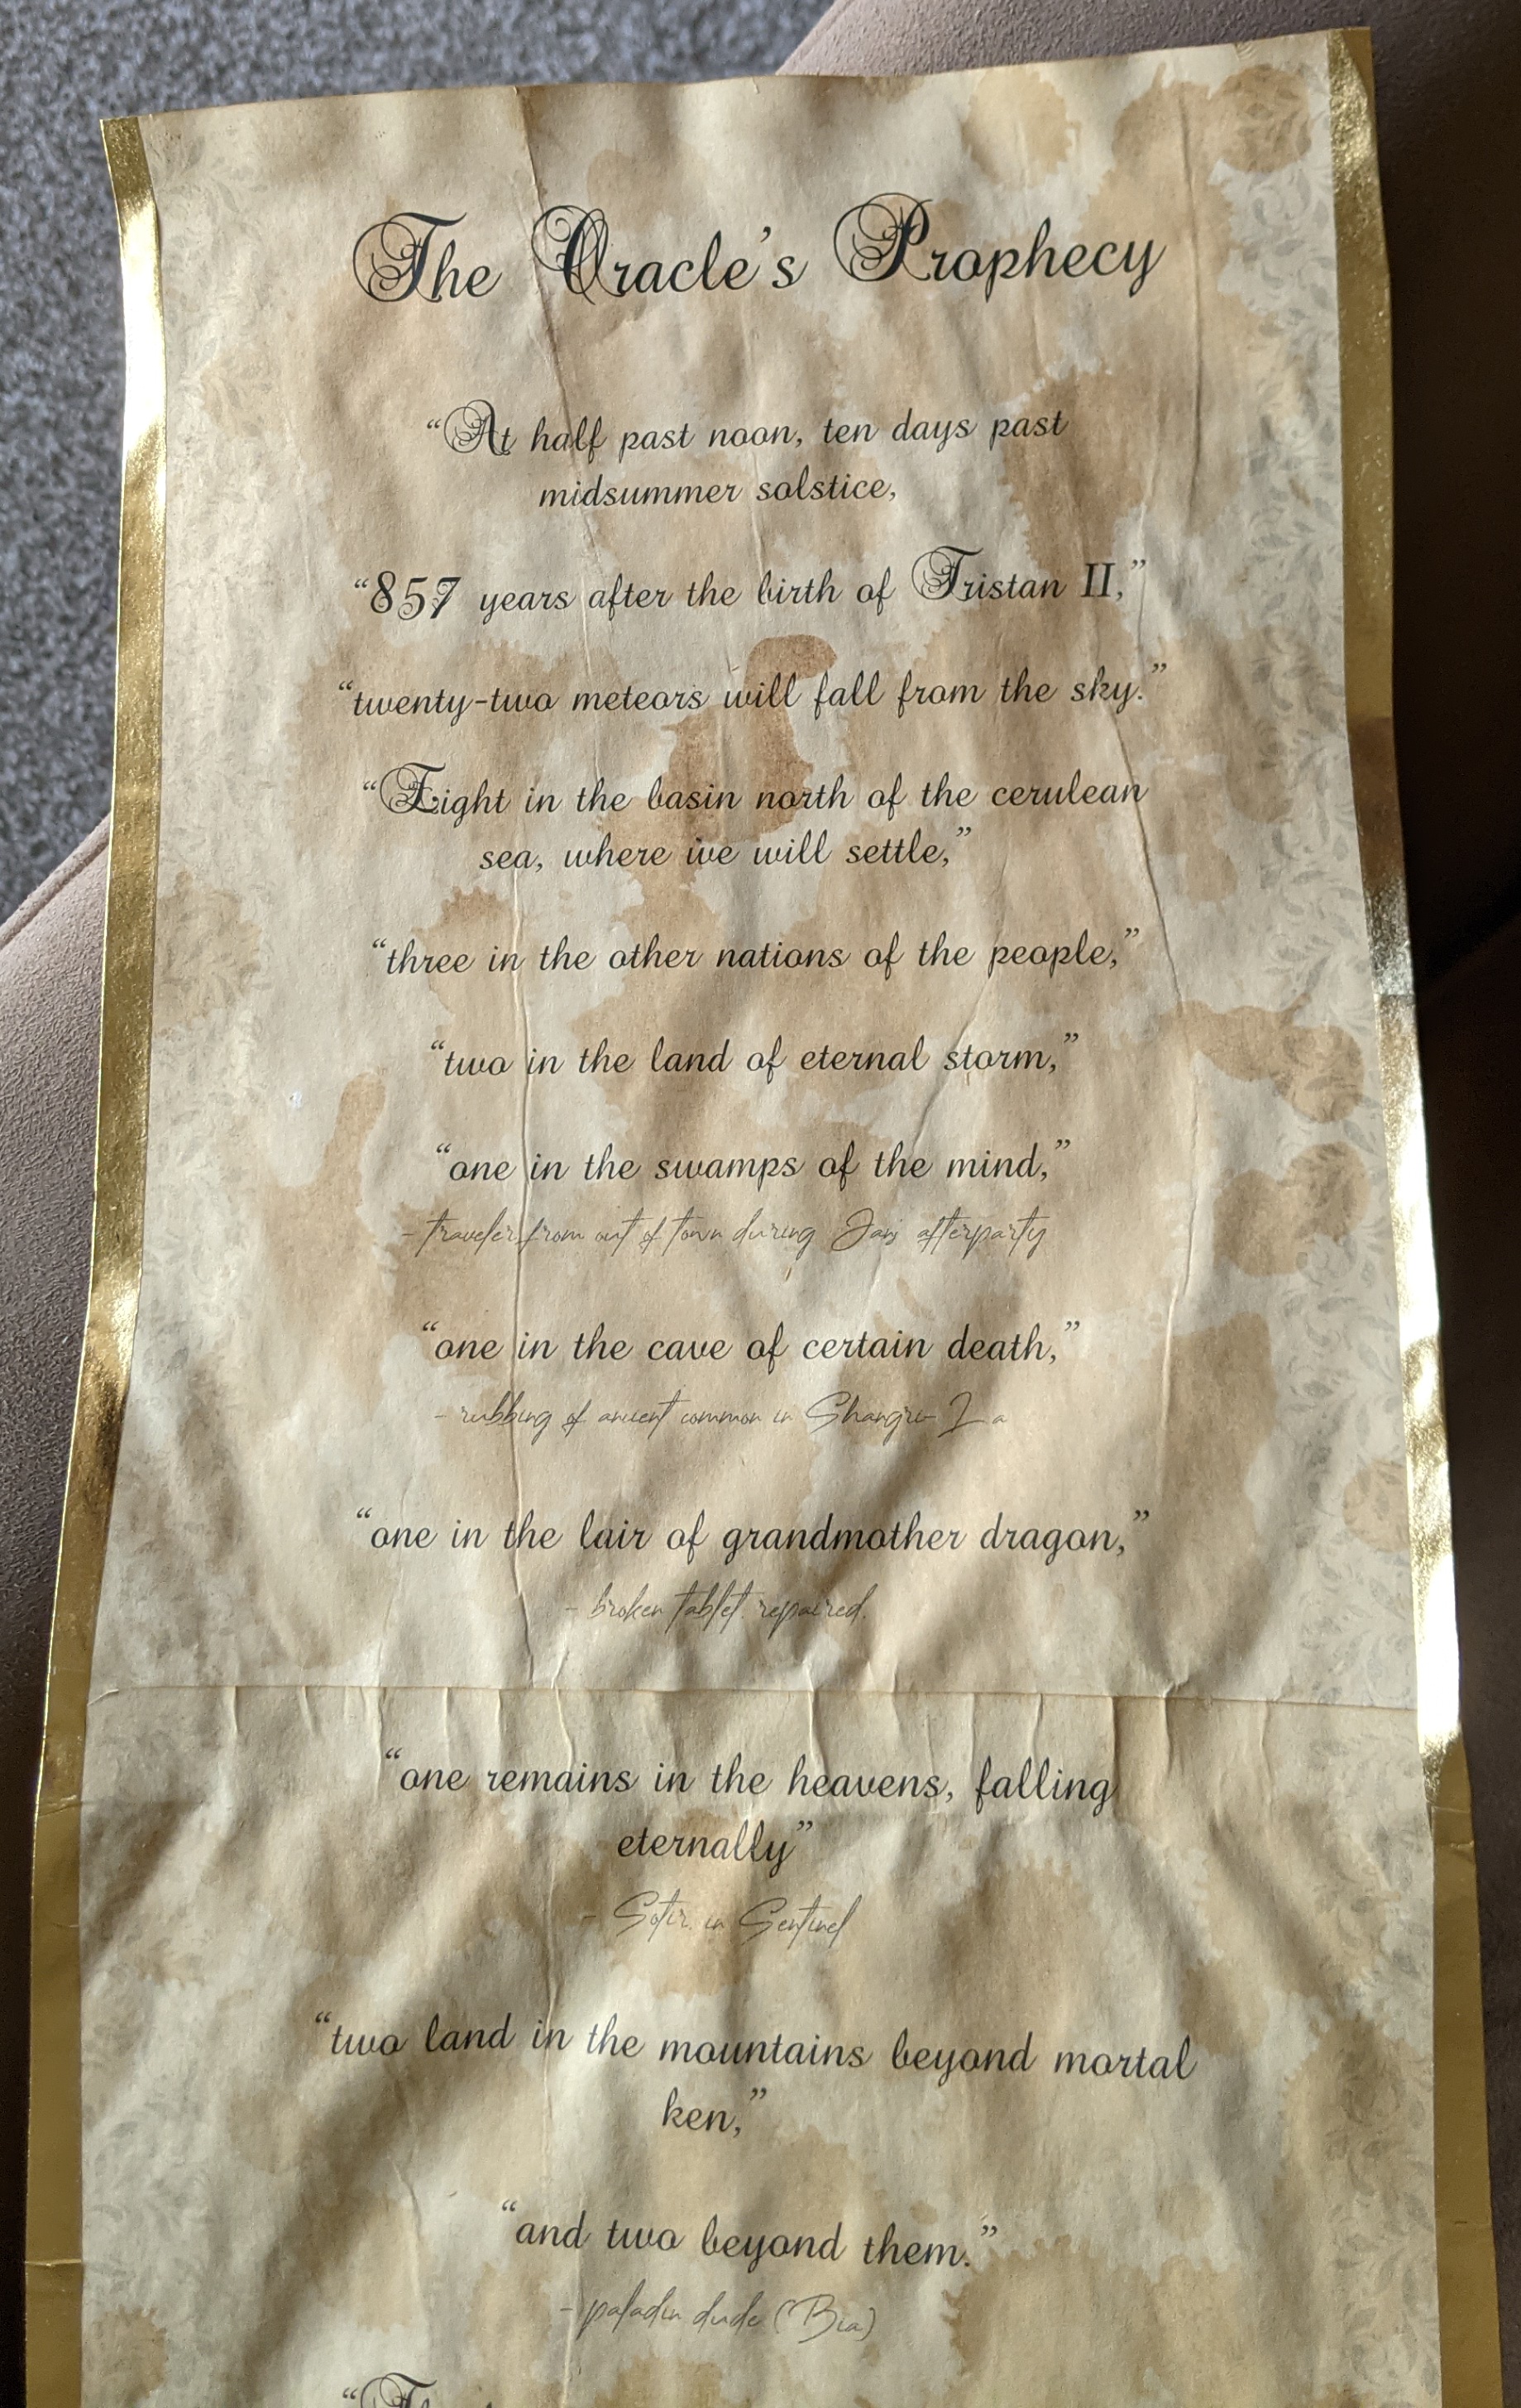
By the way, if you're curious about the contents, this is a prophecy the players found in parts around the world. Underneath each of the 50 lines, are their player notes about where they found each piece. It's a souvenir for a campaign which ran for about 2 years, and is finally wrapping up.
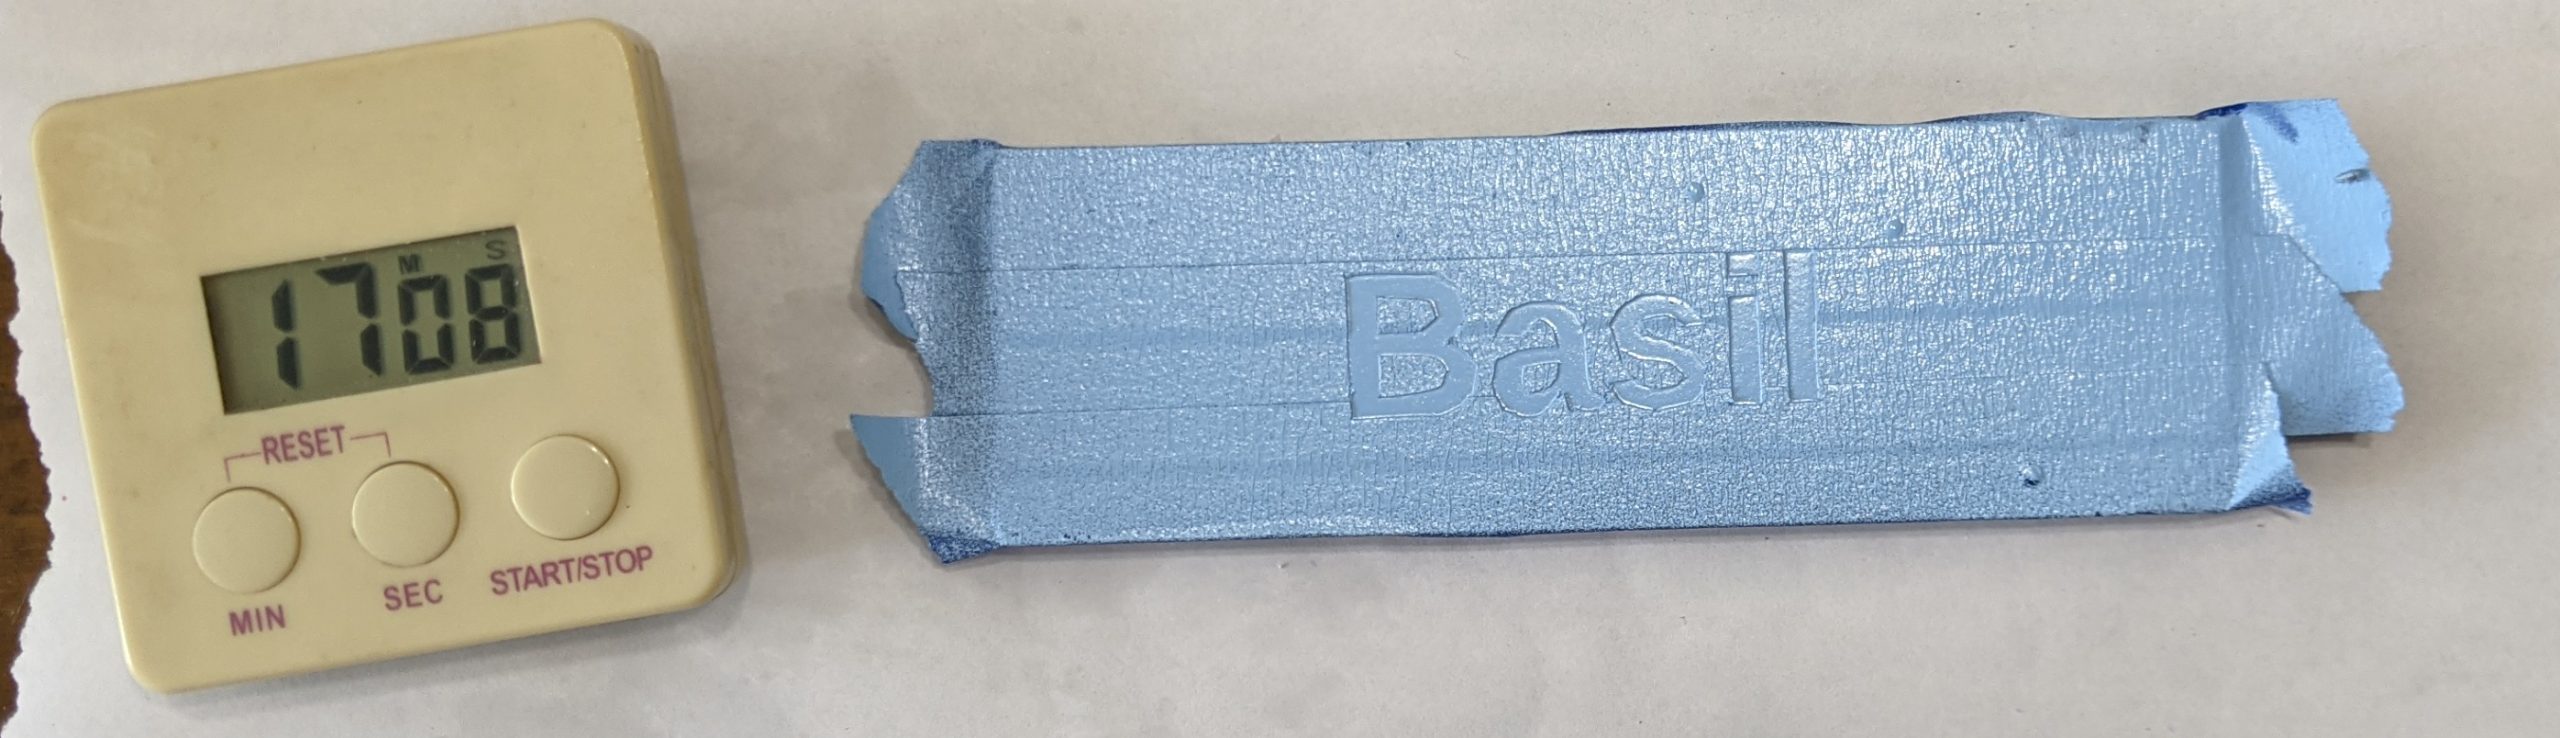
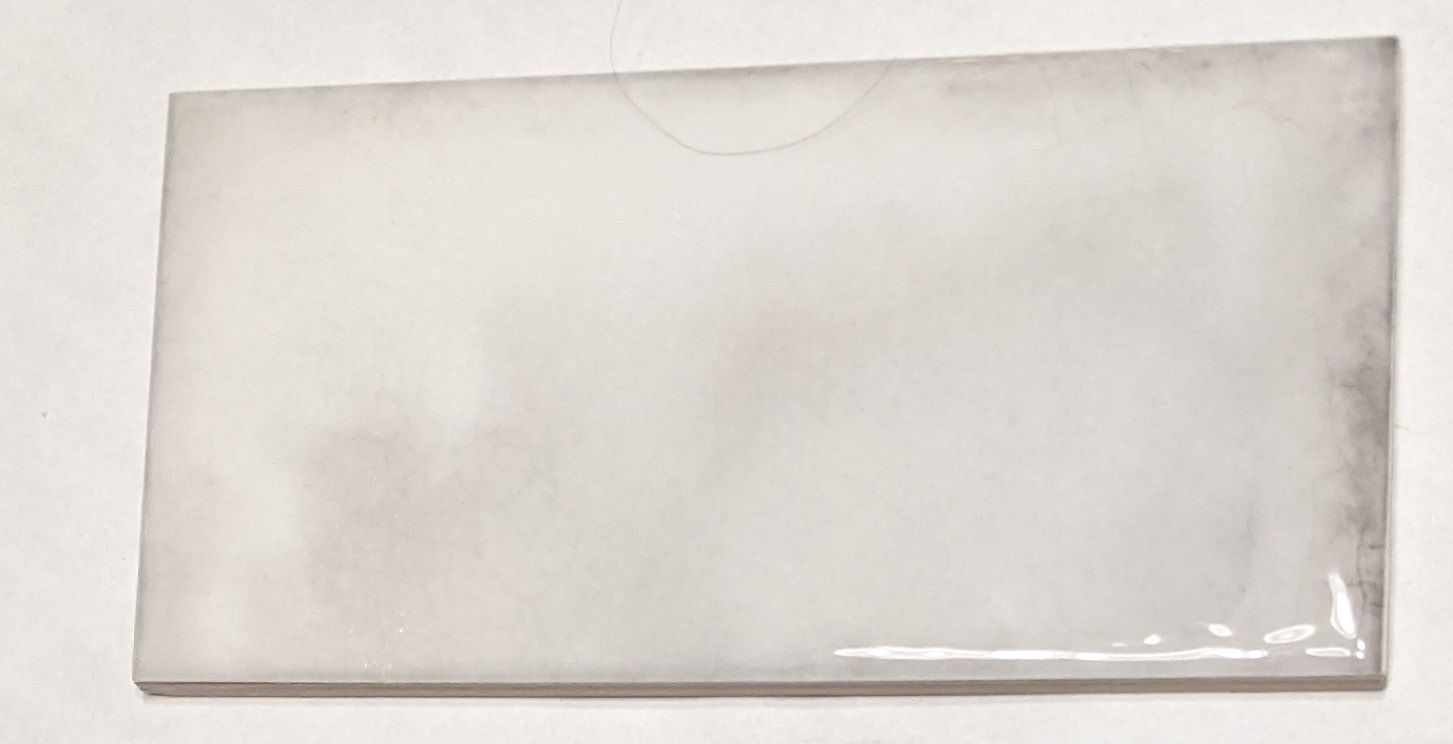
I’m making labels for my garden sections by painting tiles.
This is a blank “subway” style marble tile. It’s 140×45 mm (2×6 inch). One is about $1. Avoid “glazed” or “glossy” tiles, which are too smooth for the paint to stick well.
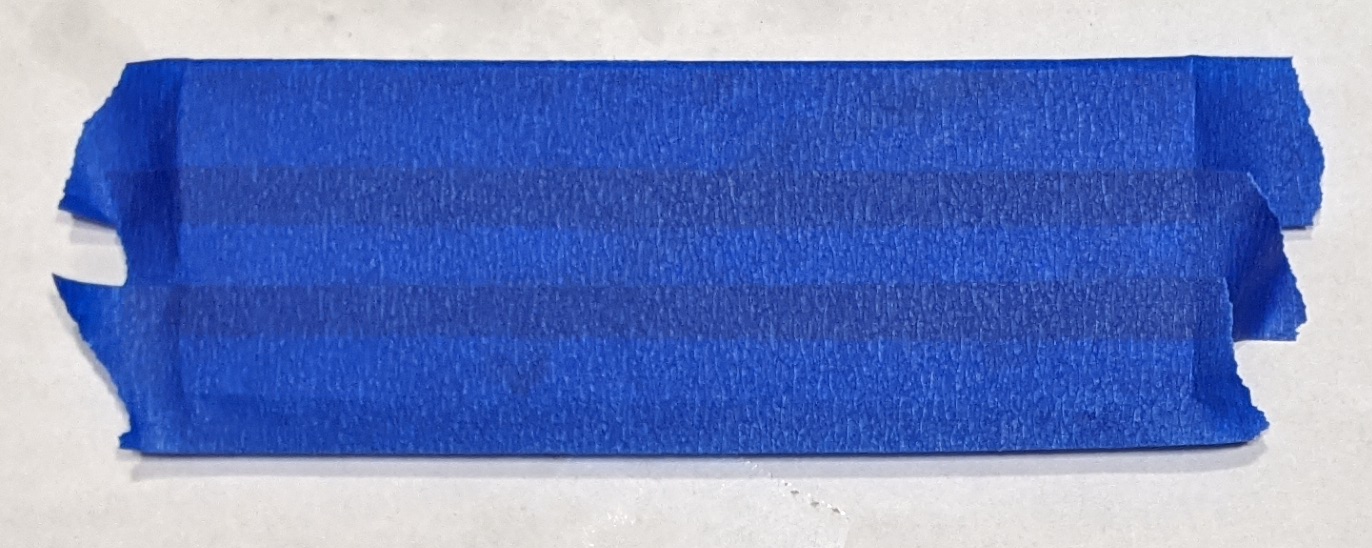
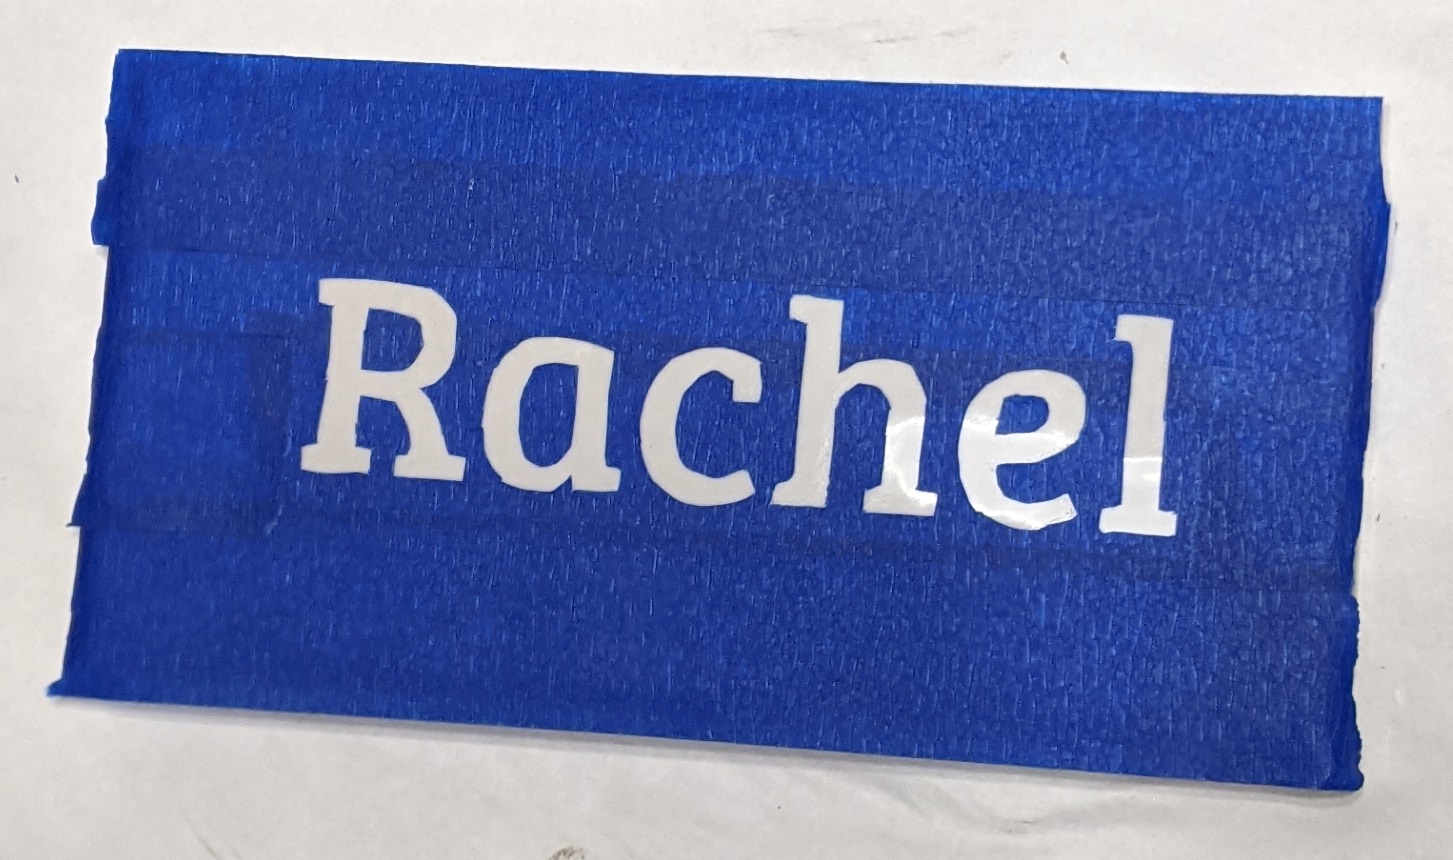
First, we add a layer of tape. I used blue painter’s tape because it’s easy to see. I expect masking tape would work well too.
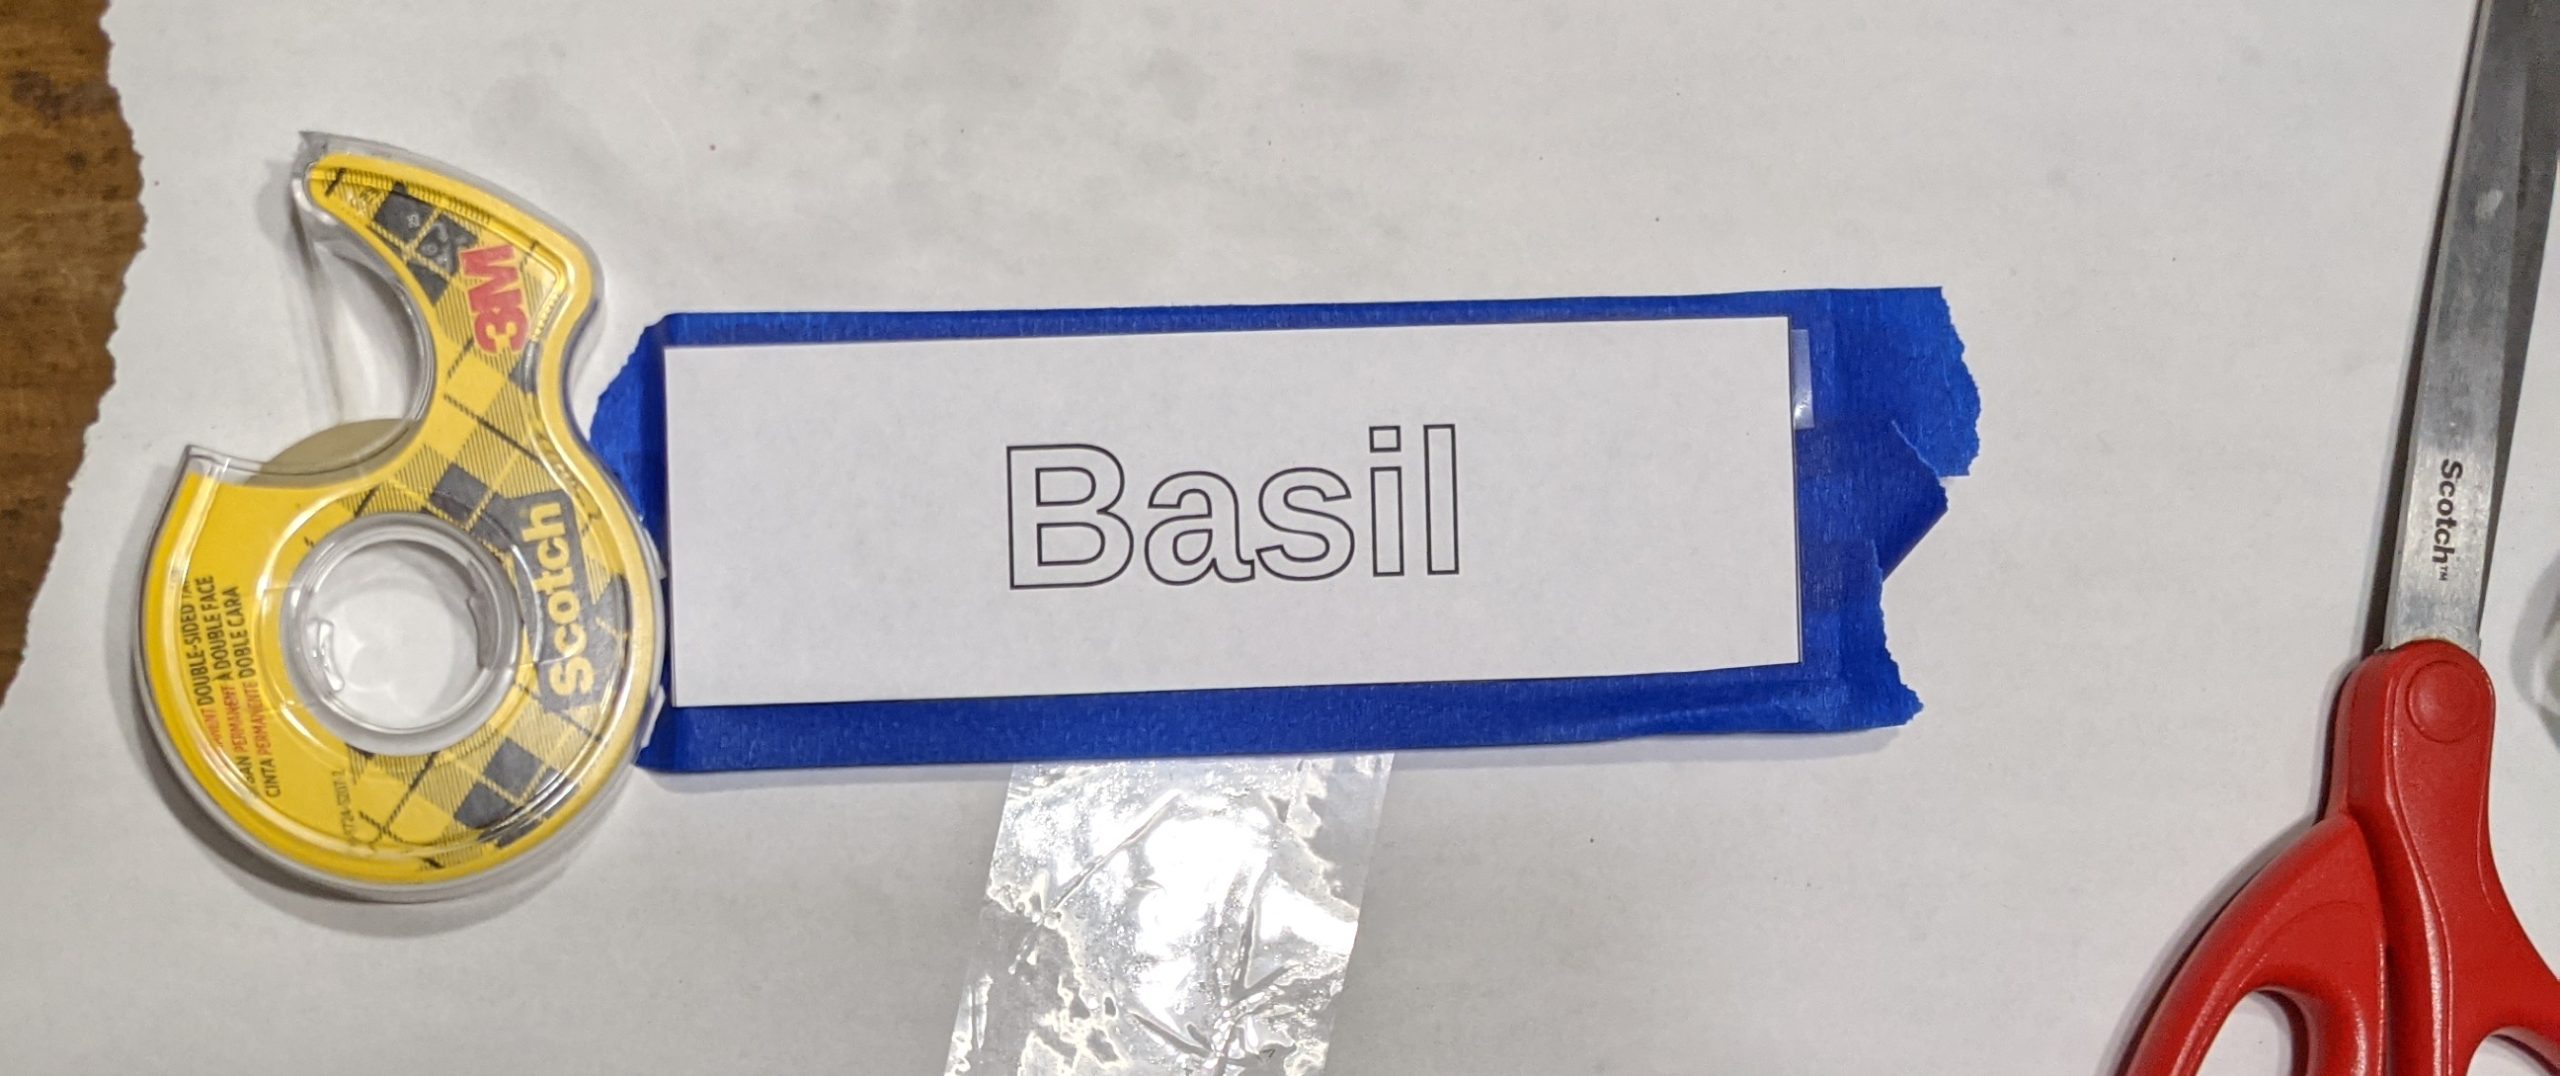
Attach the sign you want to your tape. I used double-stick tape. It’s better than single-stick around the edges, but that also works in a pinch.
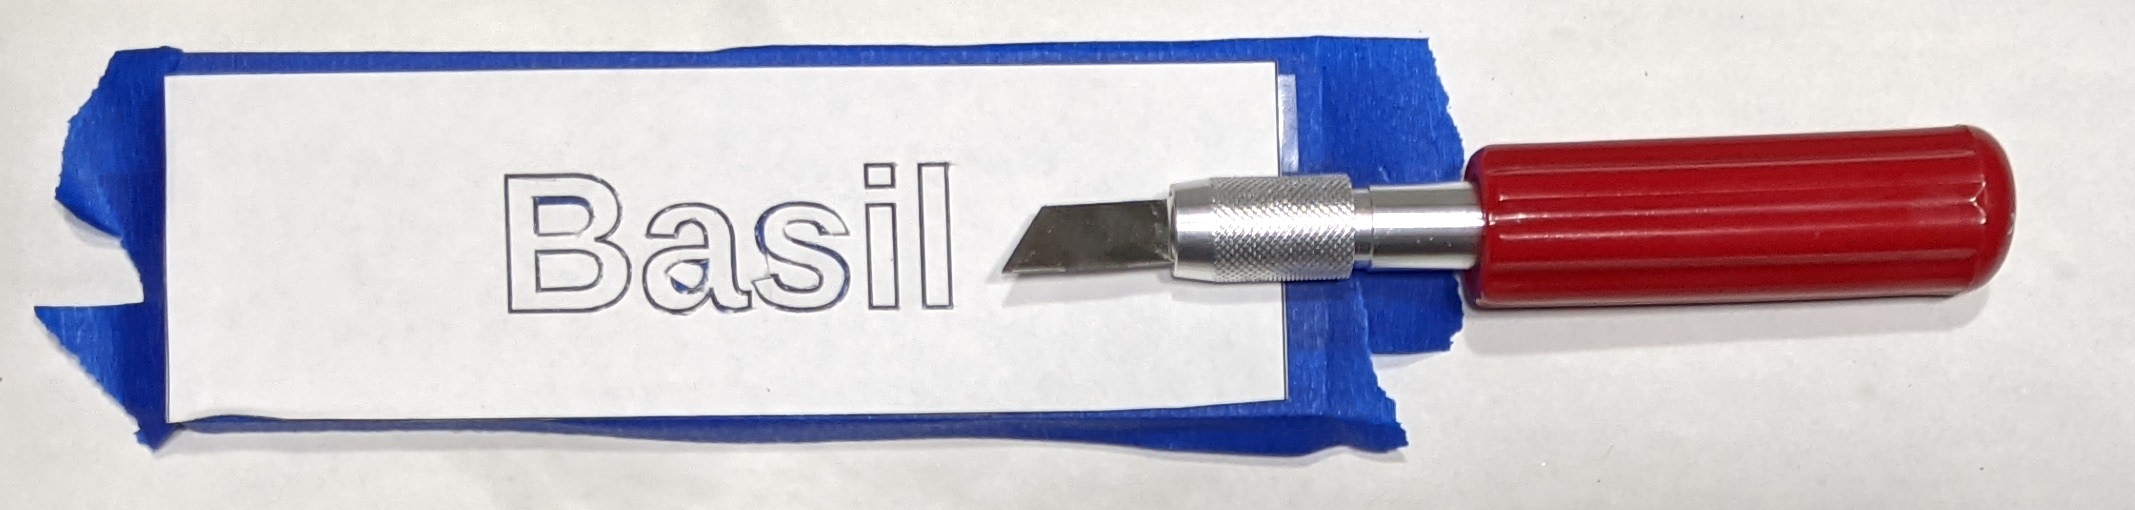
Cut through the letters using an x-acto blade. I used a sans-serif font to make this step faster.
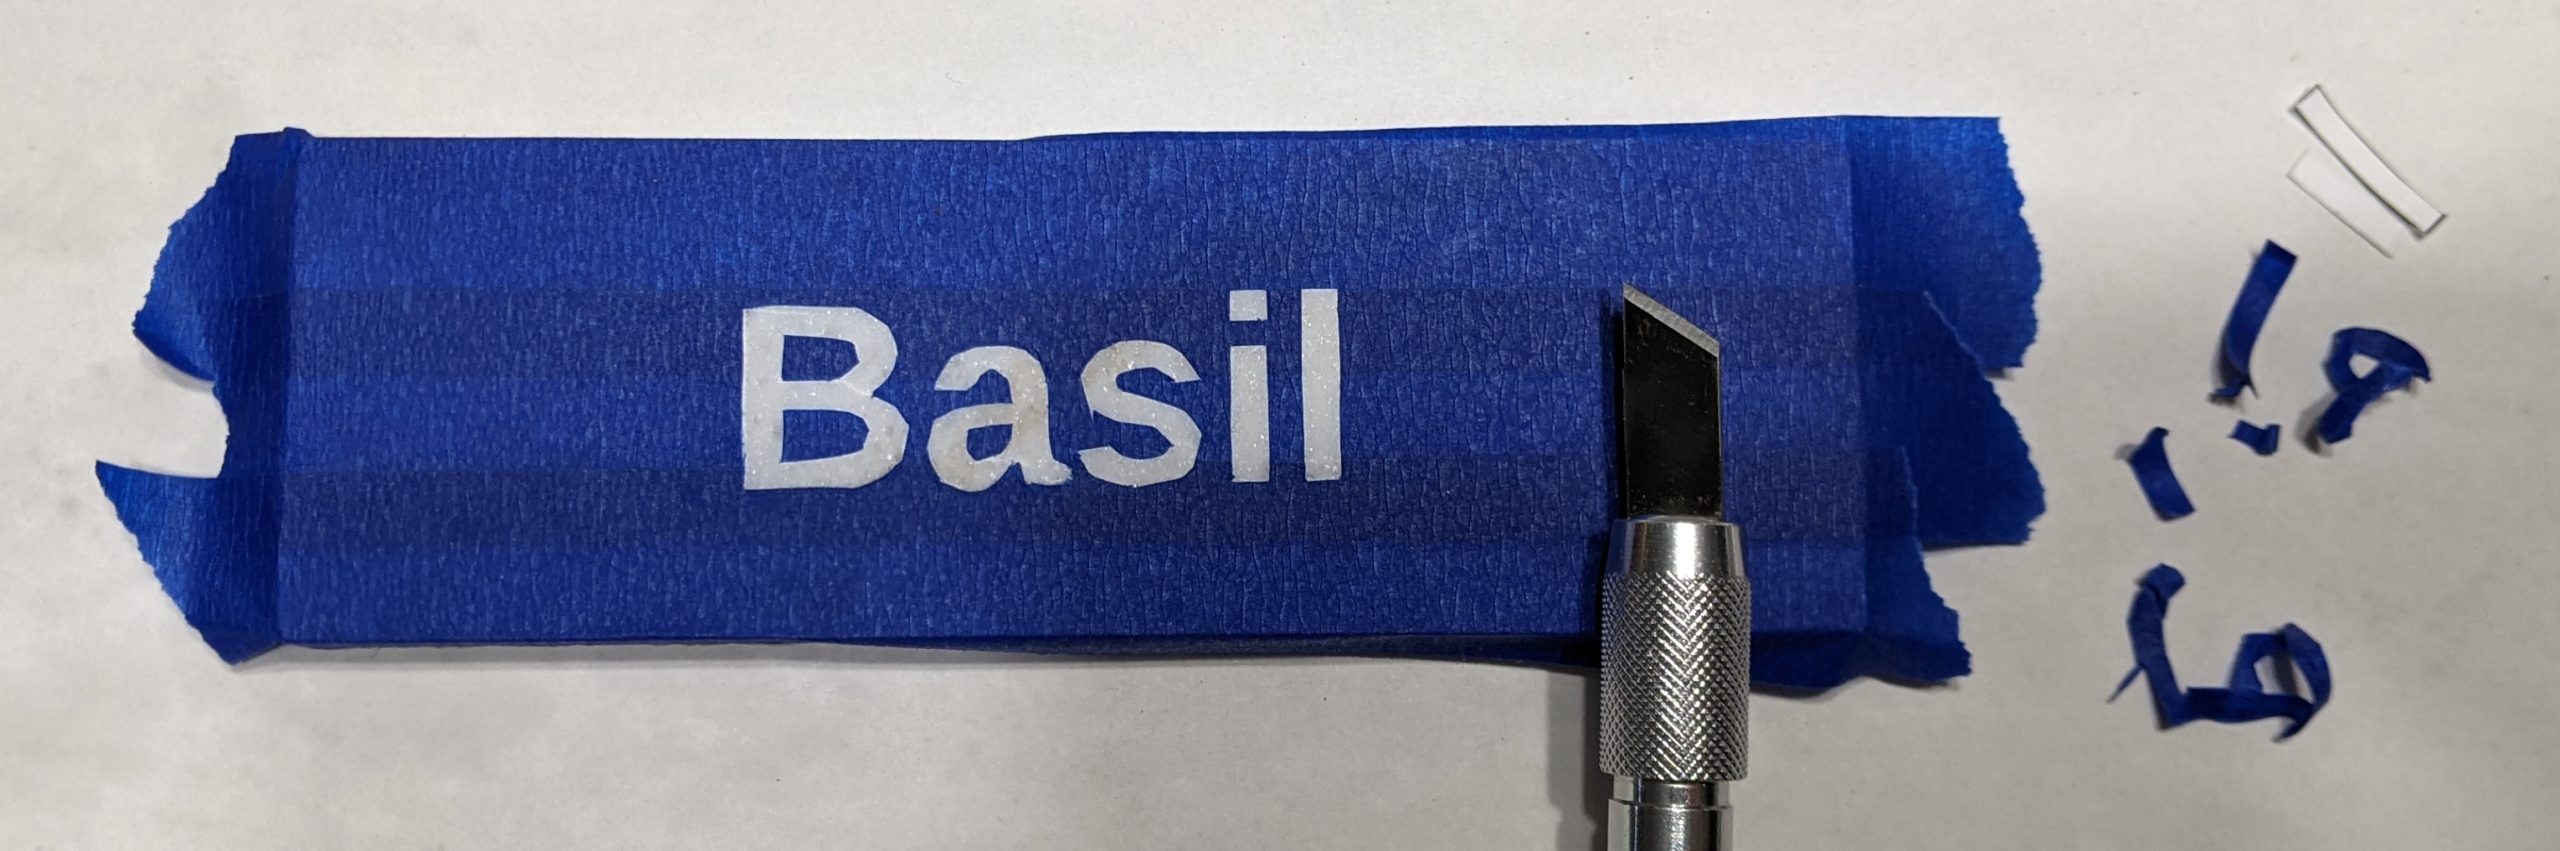
Remove the paper, as well as the tape. You can use the x-acto blade to peel up the tape. Make sure not to lift up the “holes” in letters like ‘B’ or ‘a’.
Paint the tile. I used pale/pastel blue acrylic spray paint. Make sure to either not spray the sides, or cover them in tape too.
Then I let it sit for 15-20 minutes.
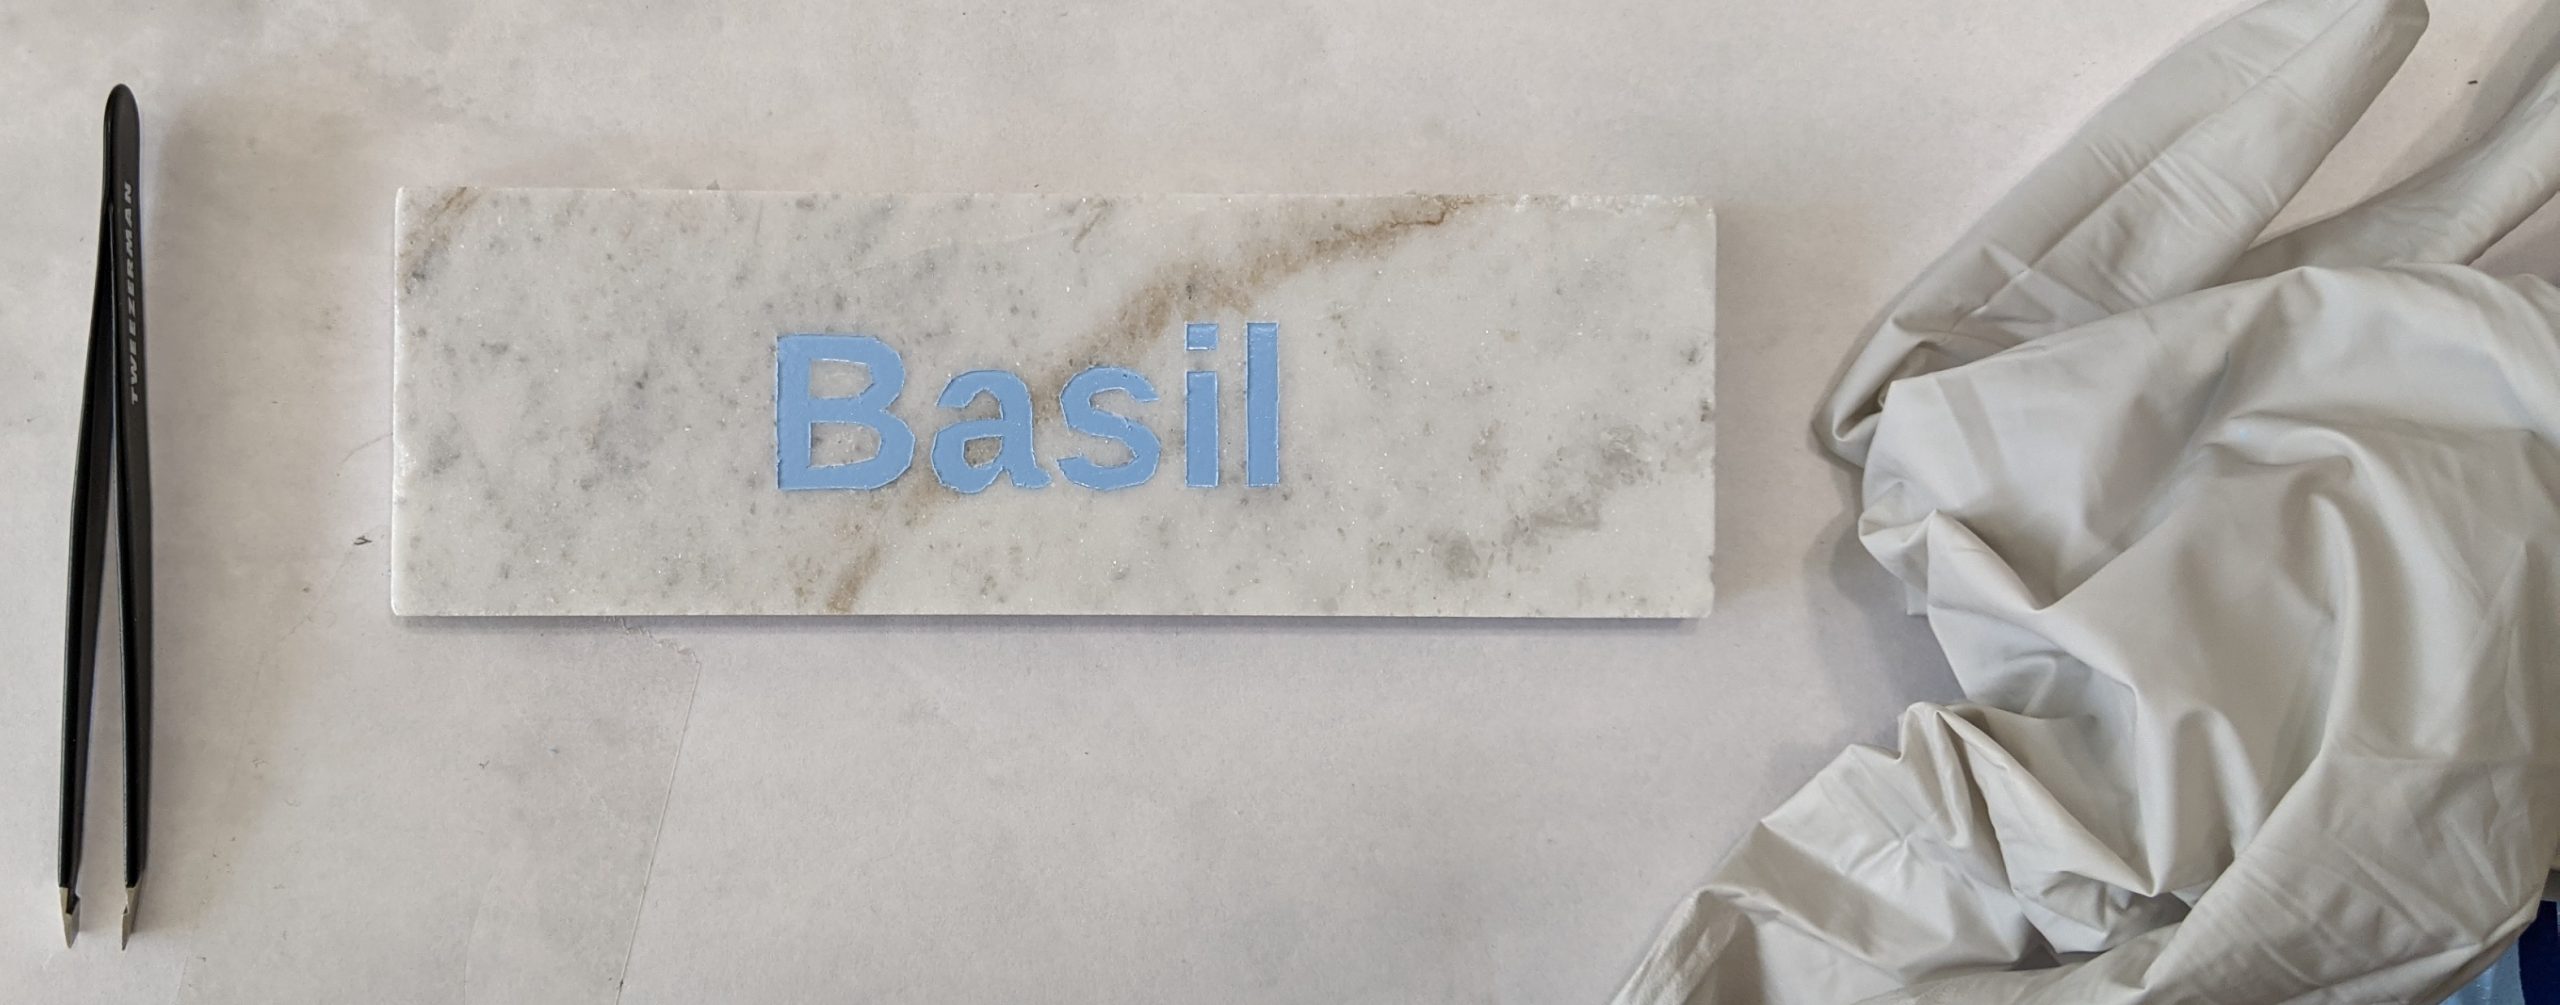
Peel off the tape. I used gloves, and took out the holes using tweezers.
Peeling the tape while the paint is slightly wet is easier than completely dry. When it’s dry, the acrylic clings to the tape and “stretches” rather than cleanly breaking.
If you mess up along the way anywhere, acetone took the paint off great for me.
Then I let the paint completely dry. Optionally, you can seal it with a clear sealant if you want extra waterproofing.
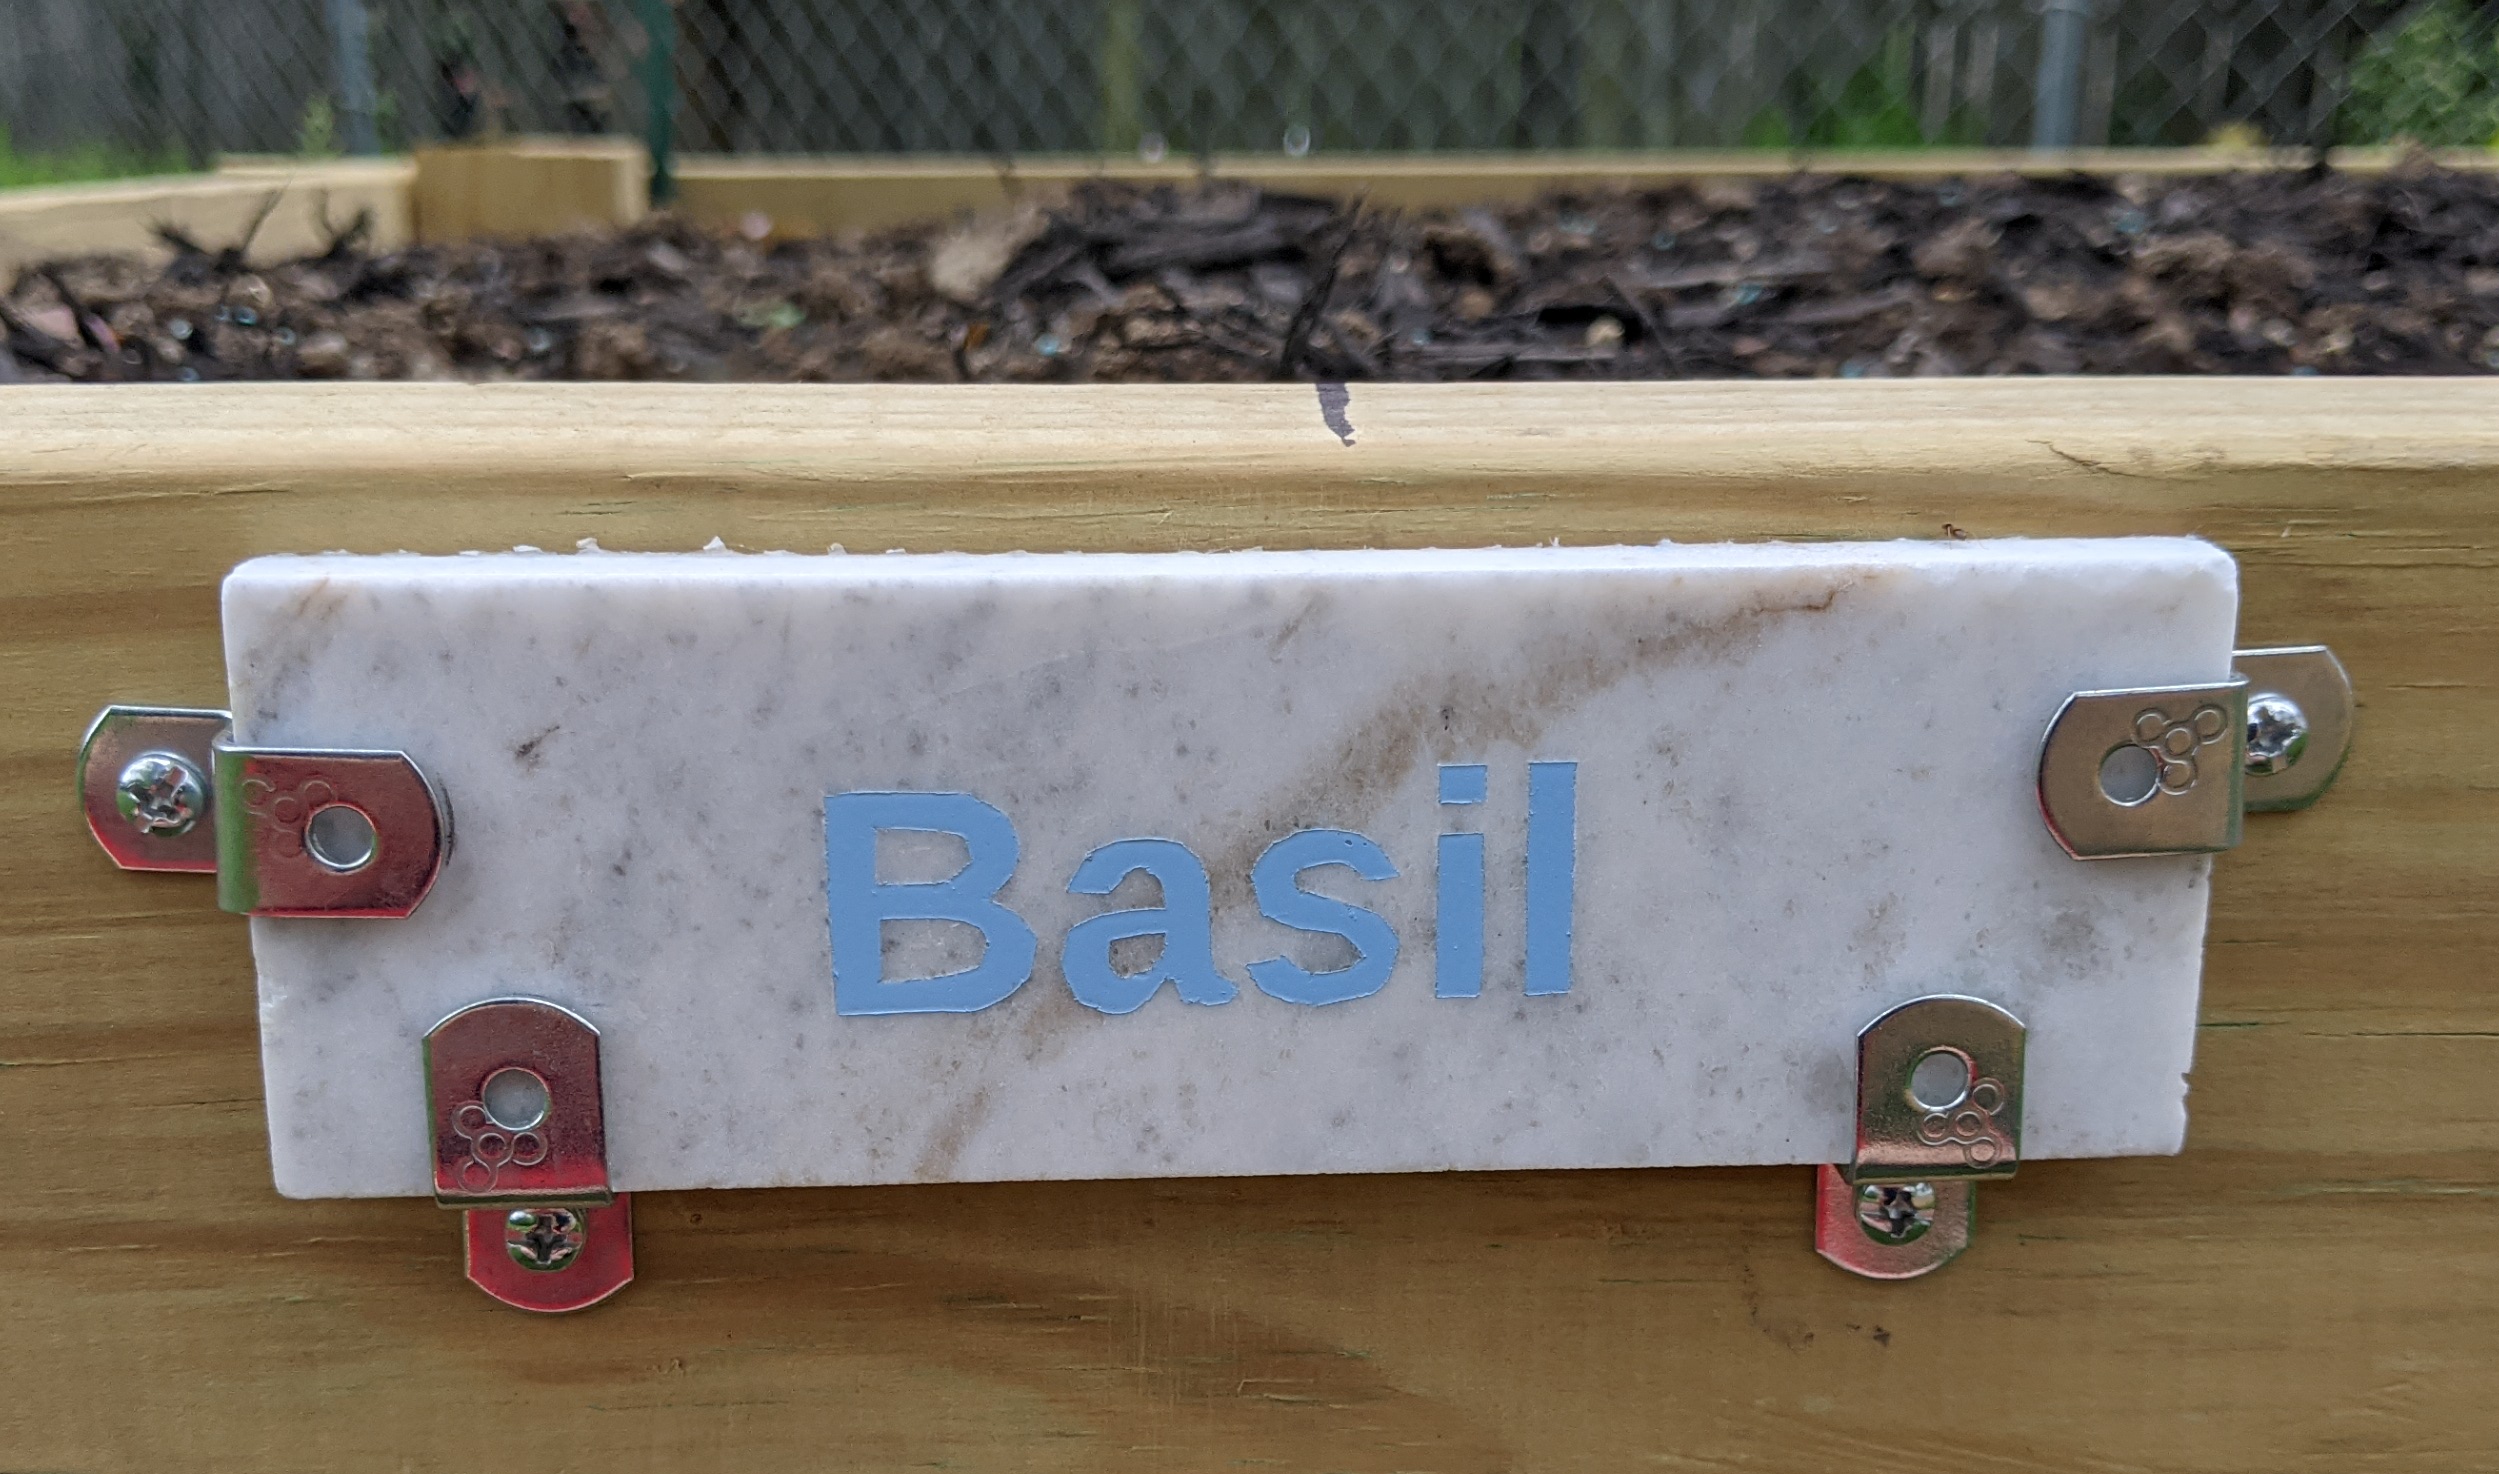
I attach the tile to my raised beds using z-brackets sized to fit the tile thickness and a screwdriver. They look fine on the dirt too.
Looks nice! Maybe I’ll switch to a higher-contract color paint for white?
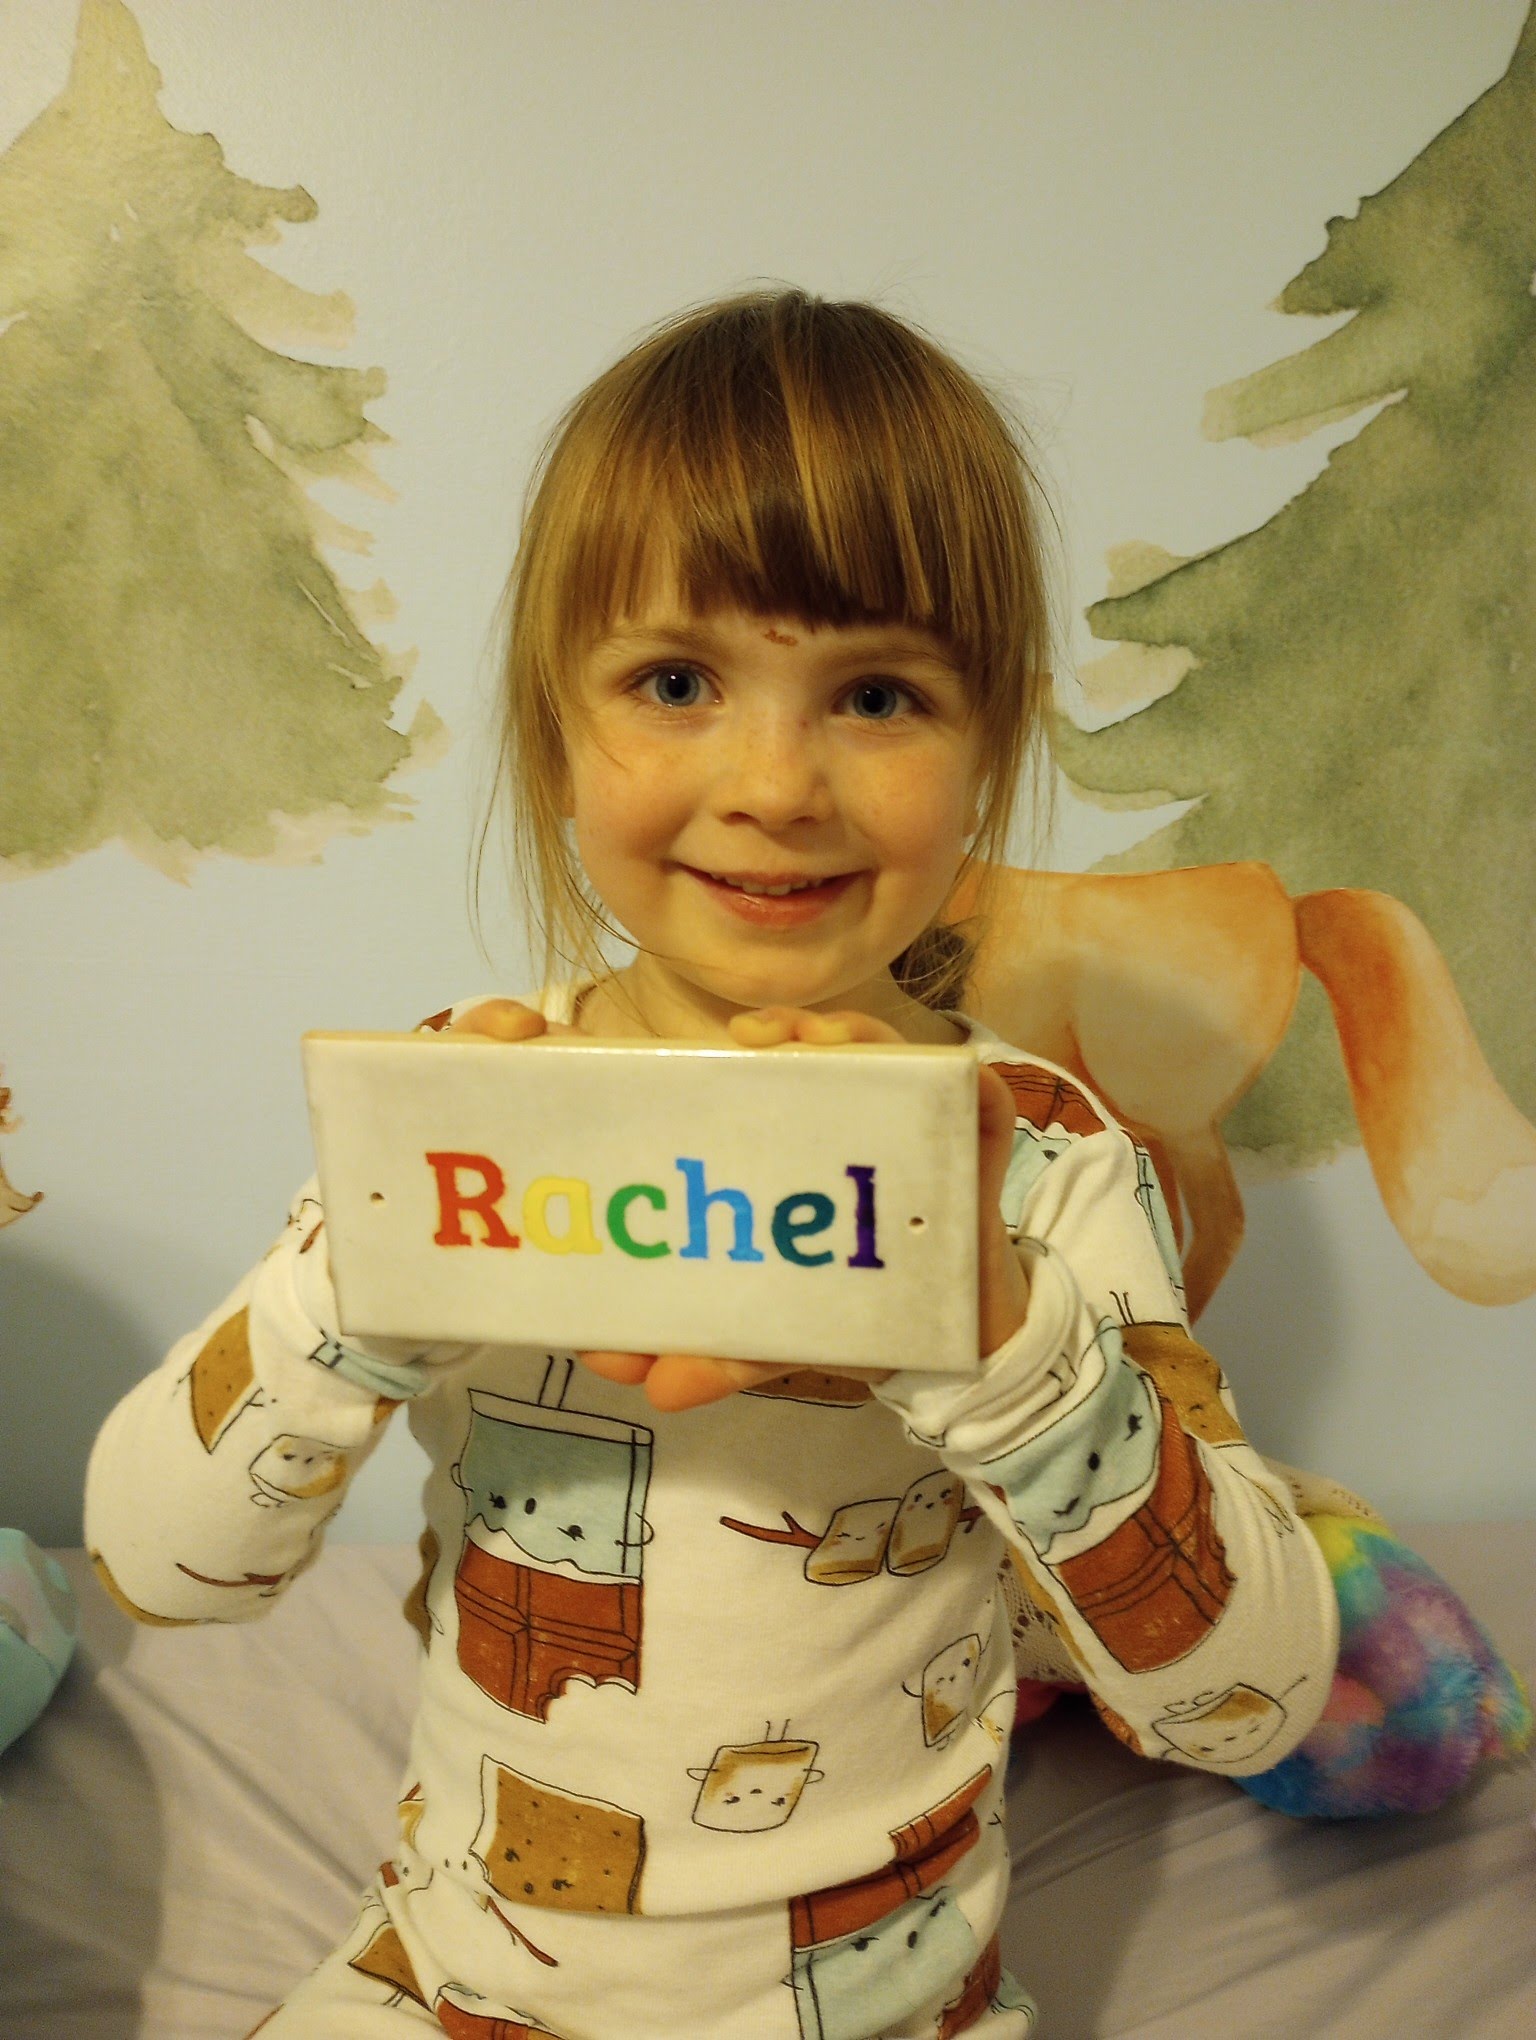
I recently made an art project as a birthday gift for a young friend of mine.
I hadn’t seen the exact technique I invented to make stencils posted anywhere, so I figured I’d share it. I don’t think this is a good method, but maybe it will inspire someone to do something better.
I started with a blank tile. On top, I put down a layer of painter’s tape (basically masking tape, but a little less stretchy).
I used an x-acto knife to cut through both the top paper and paper, then removed the paper. Then I peeled the letters out of the painter’s tape.
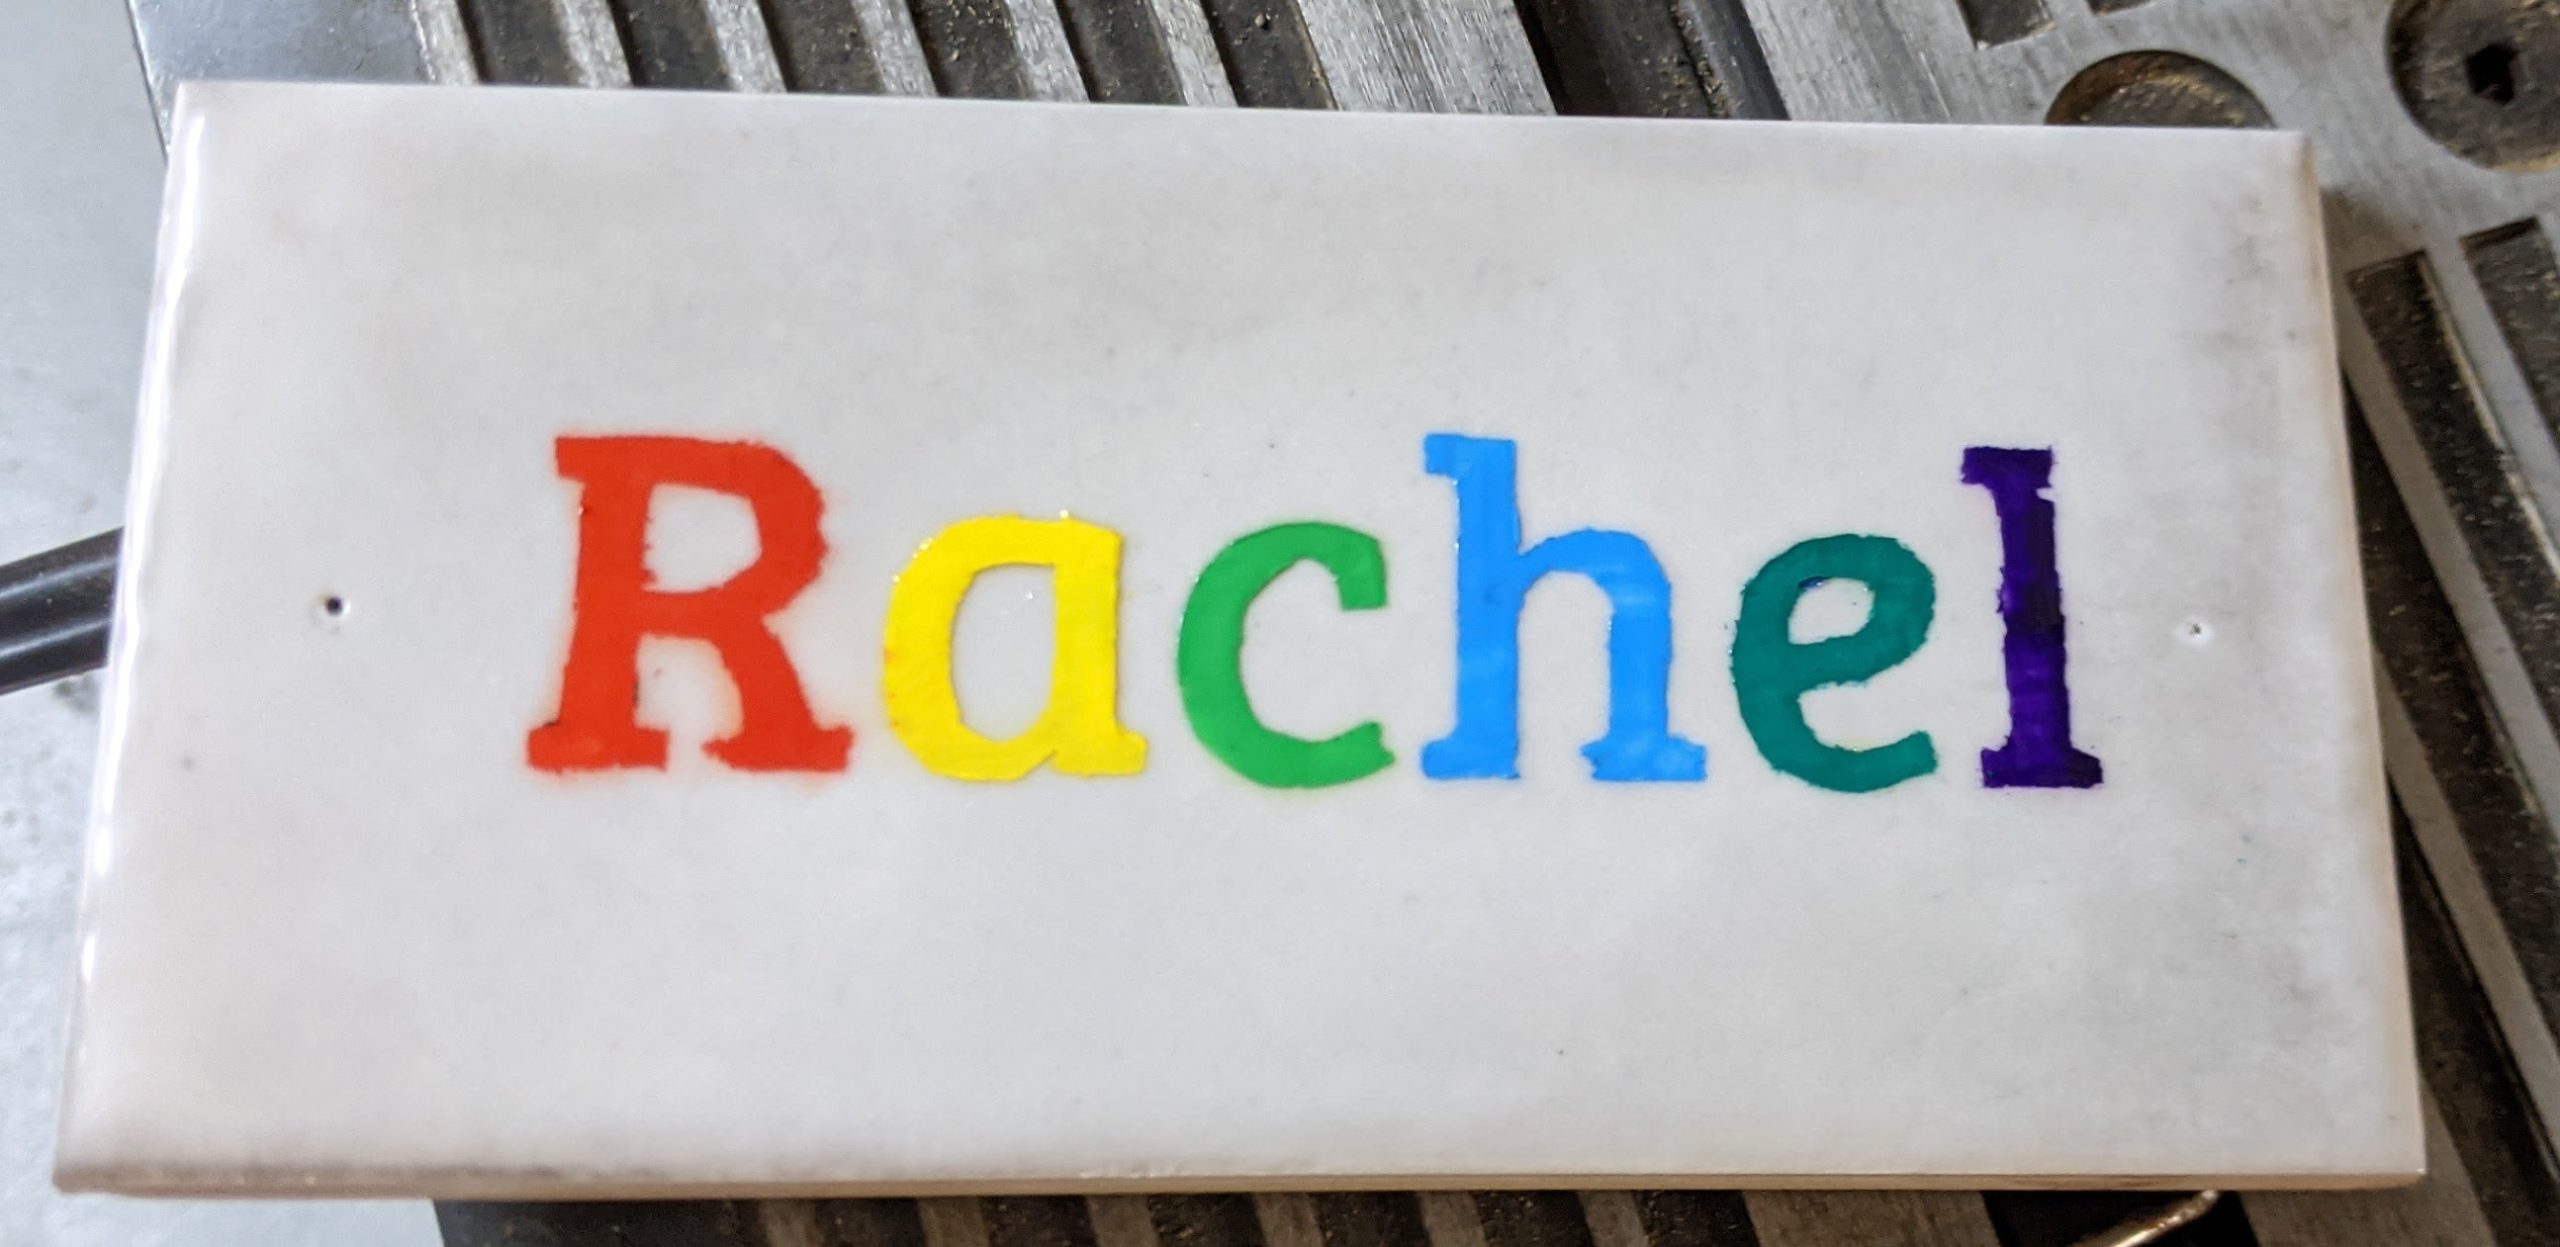
I painted the letters with acrylic, let them dry, and removed the tape. In retrospect, it probably would have been easier to remove the tape wet, because acrylic paint is a little stretchy and I went over the lines.
The letters happily lifted right off the glazed tile, which hadn’t been sanded or anything. I added a heavy coat of modge-podge spray sealant, which kept everything in place after drying.
Finally, I used a masonry bit to drill screw holes in the tile, so it could be attached to a door.
She seemed to like it :). But now she wants to make one too. I’ll have to see if I can invent an easier way.
Infocom introduced (AFAIK) the concept of feelies:
[…] Imaginative props and extras tied to the game’s theme—provided copy protection against copyright infringement.[45] Some games were unsolvable without the extra content provided with the boxed game. And because of the cleverness and uniqueness of the feelies, users rarely felt like they were an intrusion or inconvenience, as was the case with most of the other copy-protection schemes of the time.[49] Feelies also provided the player with a physical aspect to the gameplay of their text adventures, giving another dimension of strategy to what would other-wise just be a text parser.
– Wikipedia (Infocom)
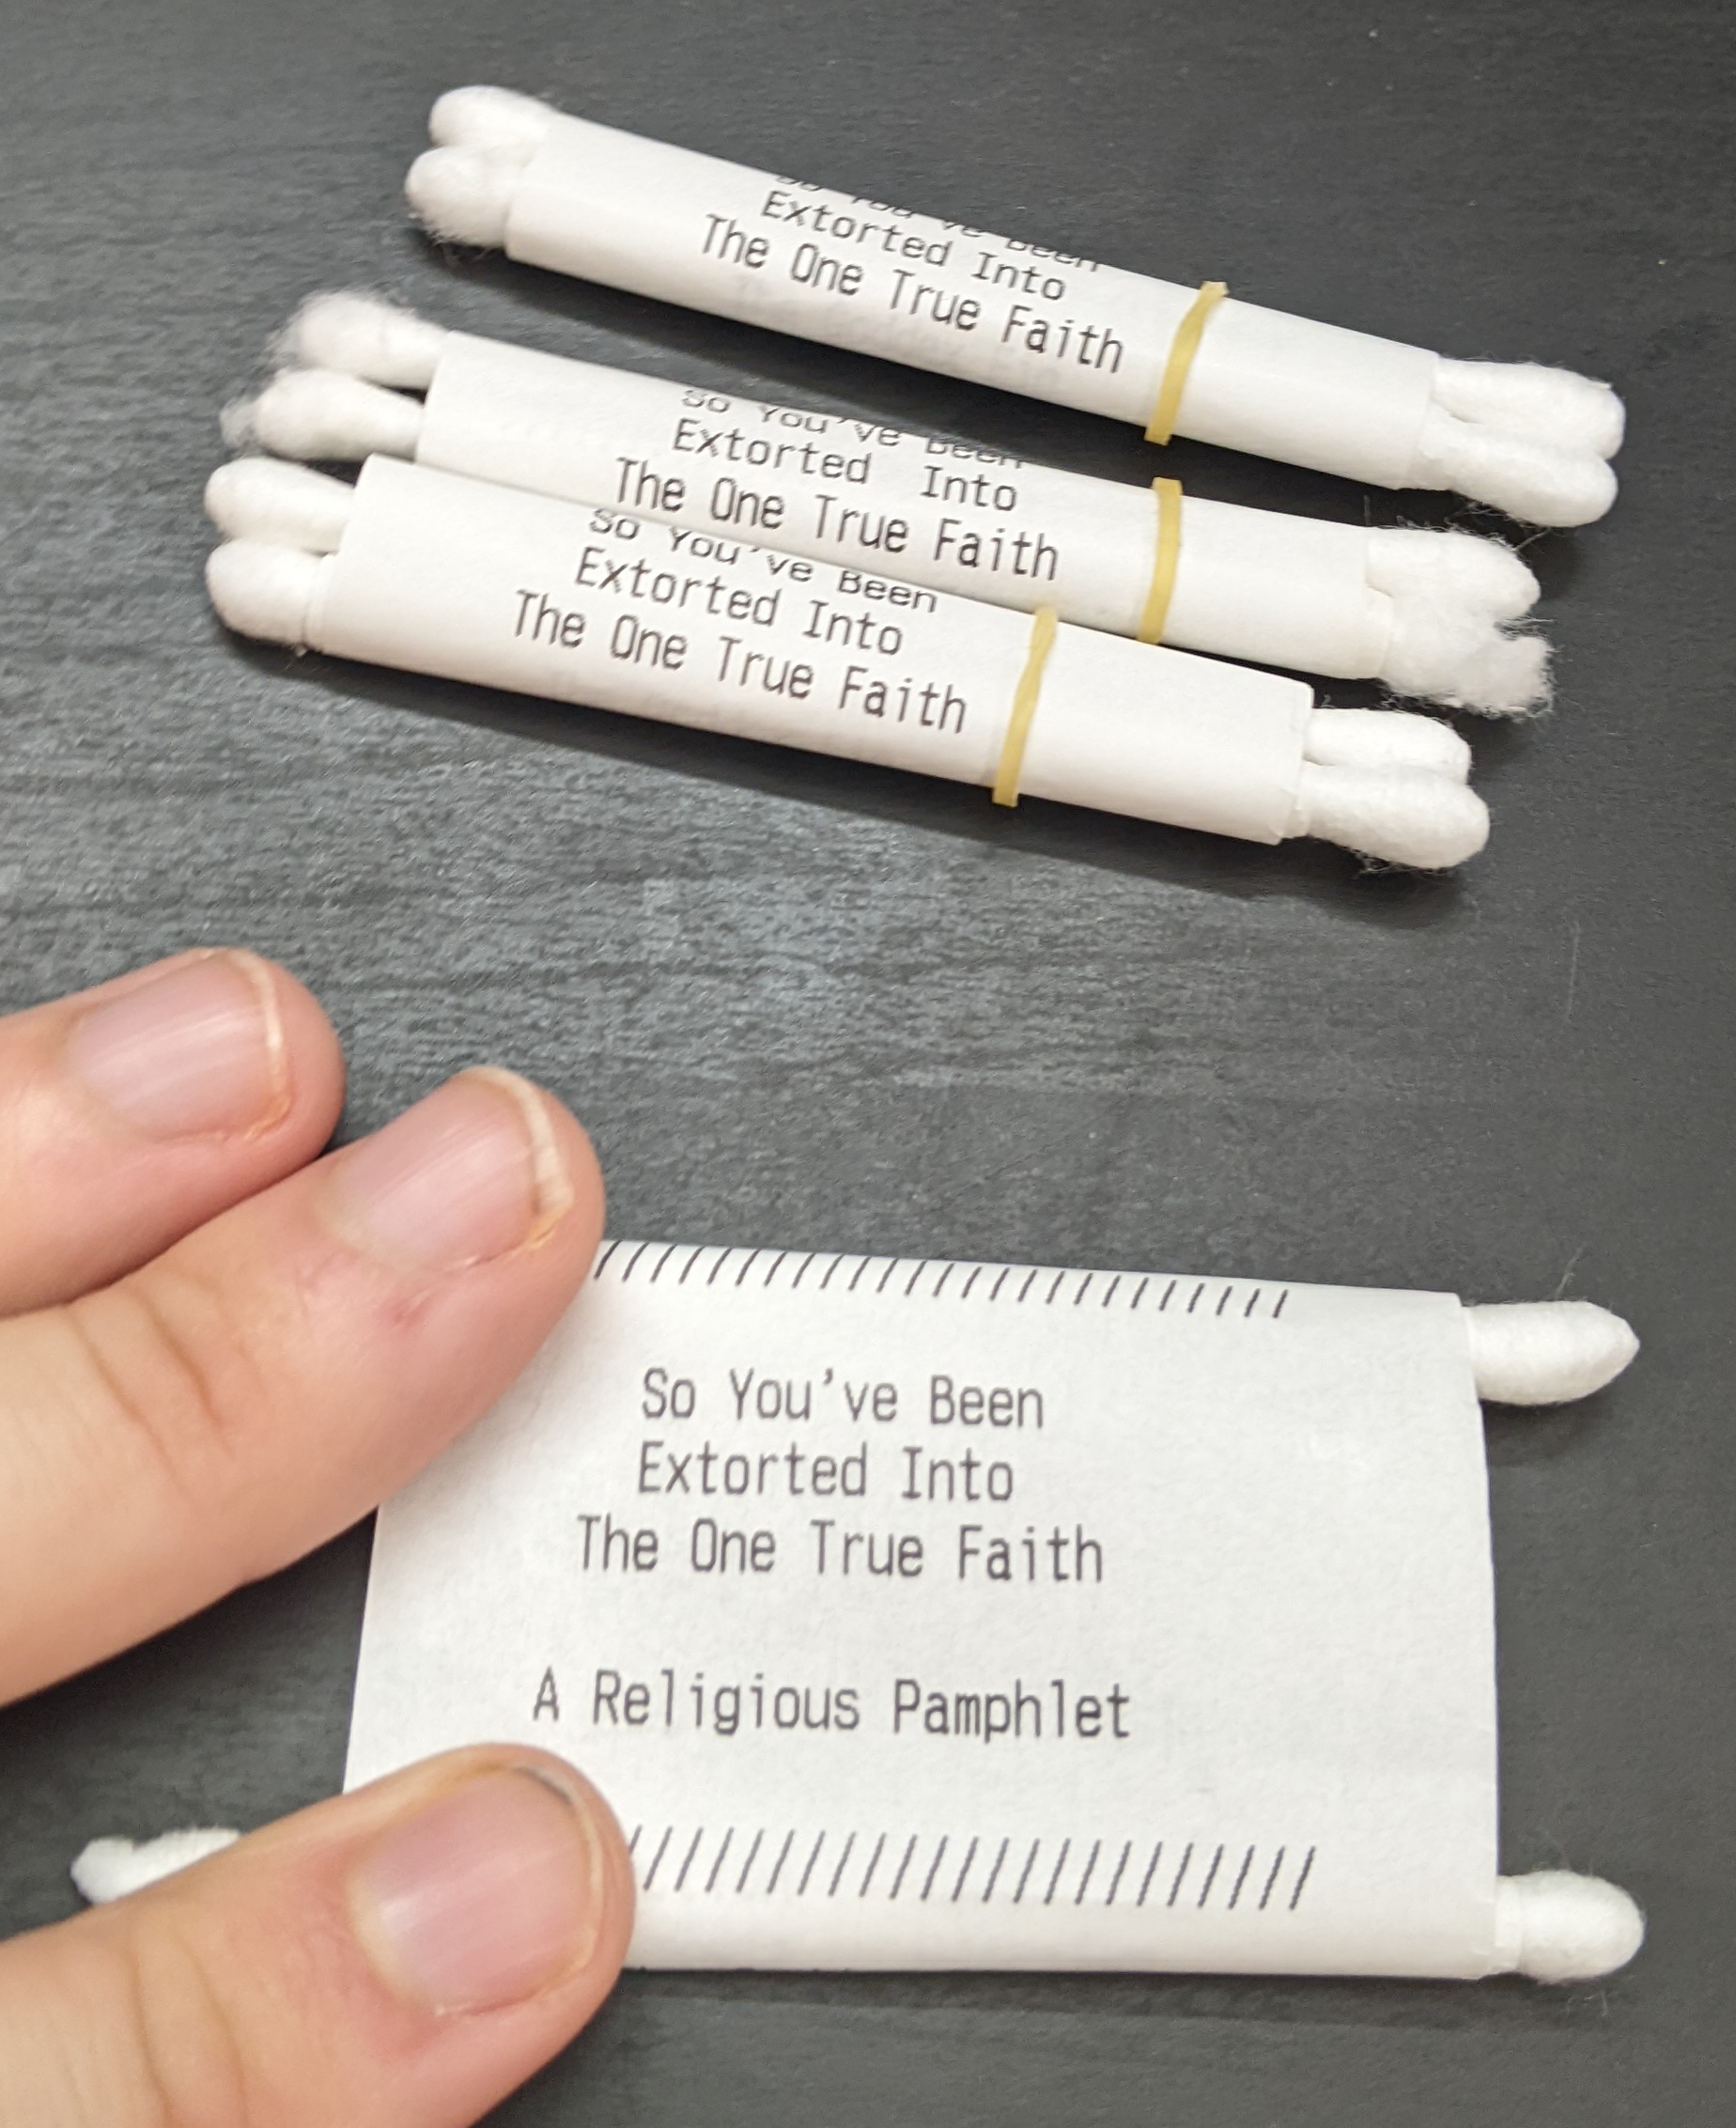
I love to give out feelies for my D&D campaigns. Here are some lil handout props I made:
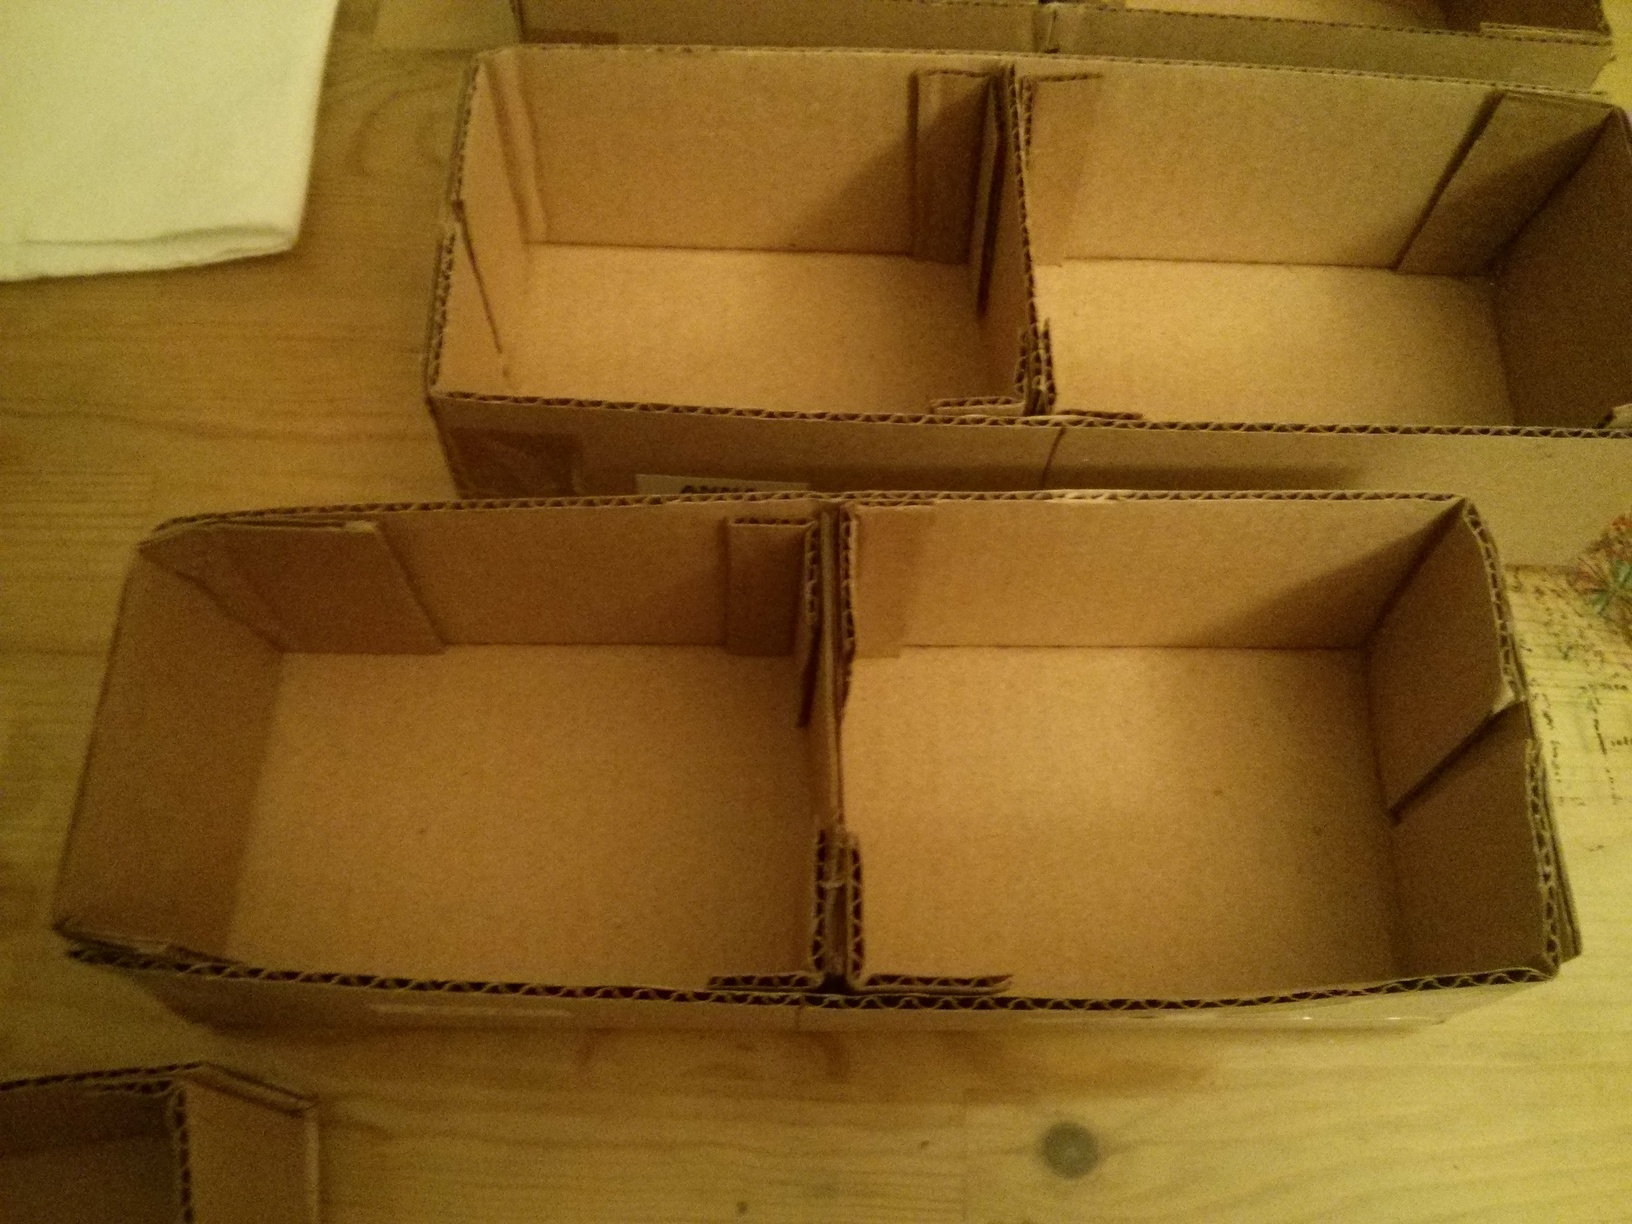
Our house has seven people, so today I made some mail holders to put on our doors.
I basically had some long cardboard boxes, and cut them in half. Then I added new ends and separators in the middle.
I’m not sure if they’ll actually get used. Mail on the floor looks bad, but these aren’t that hot either. If you make some and want to improve the look, you can cover everything in paper or cardstock.