In 2025, I posted two bounties for qr-backup. One I did myself, and the other has now been completed by Claude. The task was as follows:
qr-backup is designed to save to paper, and restore from the command-line.
[...]
this feature request is to add a printable, 1-page short C program which you can type in by hand, compile, and use to restore backups from an image.
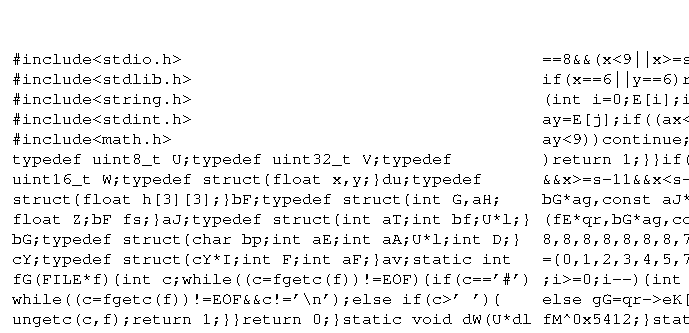
This is a very difficult technical challenge in minimization. You should provide a 1-page (2KB) short version of qr-backup's restore process, written in C. Library use is not allowed.
[...]
The reward is 5 hours of my time and everlasting fame.
Claude has succeeded! Although, it took seven hours of my time to get it to succeed so... I'm deducting that. It gets nothing. Sorry, Claude.
First, I asked it to just write any C program that can do a restore. That's... already extremely hard, especially the QR decoding part. I really had to hand-hold it through how to set up testing. Advice: suggest red/green testing. I also had to tell it to test incrementally. For example, when decoding a QR, check where the finders are. Then compare that to where you know the finders are -- don't try testing end-to-end. Also -- a reminder to freely look at other open-source QR decoders, and add print debugging to that, to see intermediate output! For example, it's really useful to see the parsed grid of pixels from a QR, to make sure you're doing that step right.
Sampled QR (21x21):
#######....#..#######
#.....#..##.#.#.....#
#.###.#.##..#.#.###.#
#.###.#.#.#...#.###.#
#.###.#.##..#.#.###.#
#.....#.#.#.#.#.....#
#######.#.#.#.#######
........#............
#.#####..##.#.#####..
#..###.#######..#.###
#.#...##...###.##.#.#
#..#.#.##.#.#..#.....
.#.##.###.#..#.#.#...
........##.....#..#..
#######....#...#..##.
#.....#.#.###..##.#..
#.###.#.##.#.#.##.##.
#.###.#.#.#.#.#...#..
#.###.#.#.##.#..#.#..
#.....#..#..##.####.#
#######.##..#.#.##...
At this point, most of my contributions to LLM work are contributing my own heuristics, or noticing when they're stuck. In a couple months they won't need me past goal-setting. Also, I seem to be a bit better at logical thinking? LLMs are not great at debugging in the "human" way.
Anyway, eventually we got a working version! It's very complicated. First, we look at the image of a QR, and locate the "finders" -- the three squares on the corners.
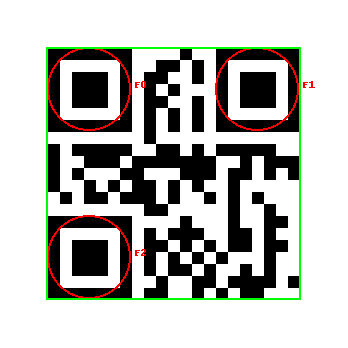
How do we locate them? They have black-white-black-white-black runs in the ratio of: 1:1:3:1:1, passing through the center, along horizontal and vertical lines.
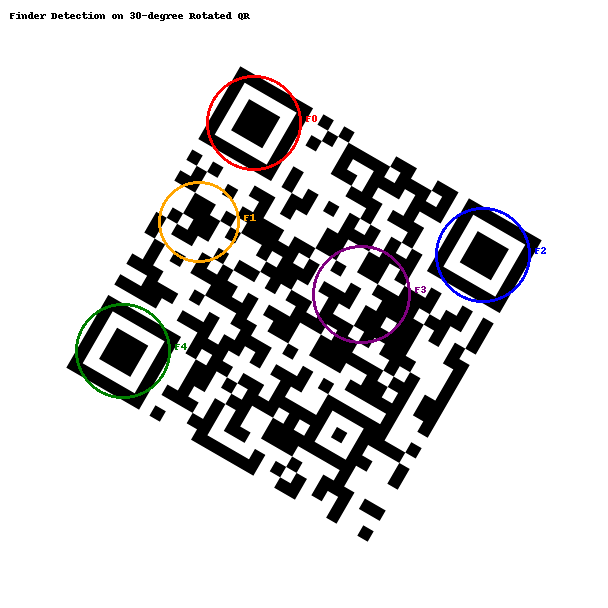
If it's rotated, it's still the same ratio through the center -- but every length is up to 41% longer.
This gets us several "candidate" centers. There might be some false positives (shown above), but the three real finders should be included. Then we basically guess the right finders, and run some checks. In the worst case, a check could be "try to decode the QR, assuming this is right" -- it's brute-force but it works.
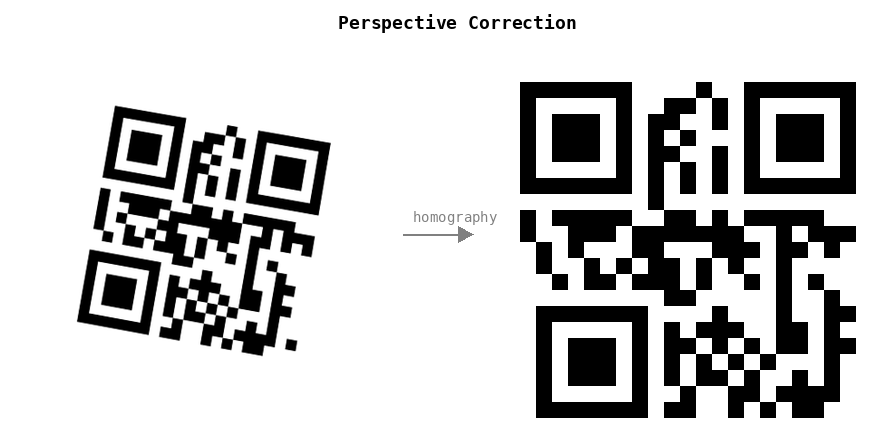
We apply homography to "flatten" and de-rotate the image, using the finder locations. Then we detect the QR version, size, encoding, and apply error correction for any damaged or smudged pixels.
Now we have a QR decoder! But the qr-backup process is a bit more complicated. We also:
- Combine the QRs in order (they have numbers at the beginning of each)
- Base-64 decode the contents of each
- Apply erasure coding which restores missing or damaged QRs.
- Decompress the zipped contents
- Decrypt using standard gpg, using a user-supplied password
- Do a checksum of the result to make sure the data is undamaged.
We do all of this with no libraries (other than libc).
The result is the qr_restore.c. It clocks in at 5300 lines (208K).
What's next? Why, we want to start trimming the fat of course. Let's remove any GPG features we don't need, redundant code, etc. We'll generate tables instead of hard-coding them. We'll remove intermediate debug outputs, like the .png s above showing where finders are.
This process takes multiple days and very hard work.
Now we have qr_strip.c, sitting at only 2000 lines of code. It's still human-readable, but much simpler.
Now the final pass. C code doesn't need whitespace. And why use all those long, descriptive variable names?
Running it through a custom minifier, we reduce the size even smaller.
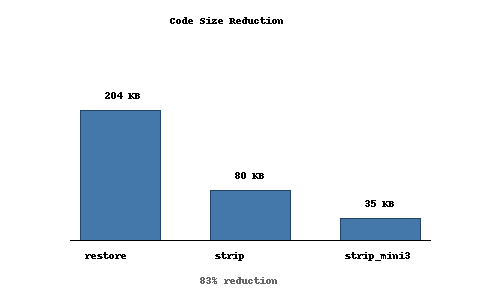
If we print in really tiny font, we can fit that on a single page.
Limitations. At the time of writing, decoded some rotated/skewed QRs is a bit broken. I'm not sure why, they used to be working. I'll fix it soon, and post updated code/PDFs.