Lashed furniture is made using sticks and rope or twine. Today’s project was to make one out of bamboo and brown paracord. The frame is shown–imagine boards or many pieces of bamboo forming a top.
Hello to the young lady who decided to pose and join in the photo!
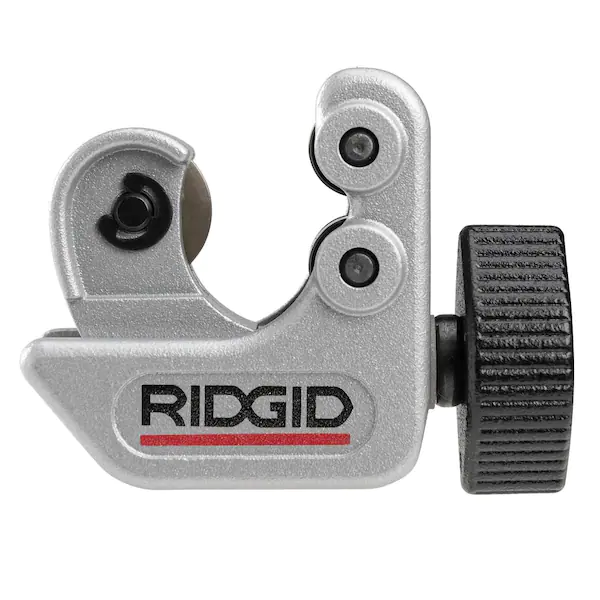
We found this little $5 tool to be incredibly good for cutting bamboo. It’s designed for almost the same thing, cutting metal pipes.
It wasn’t bad for a first try. That said, we decided the top wasn’t flat enough to give a good finish, so the whole thing is going to be burned at the next bonfire.
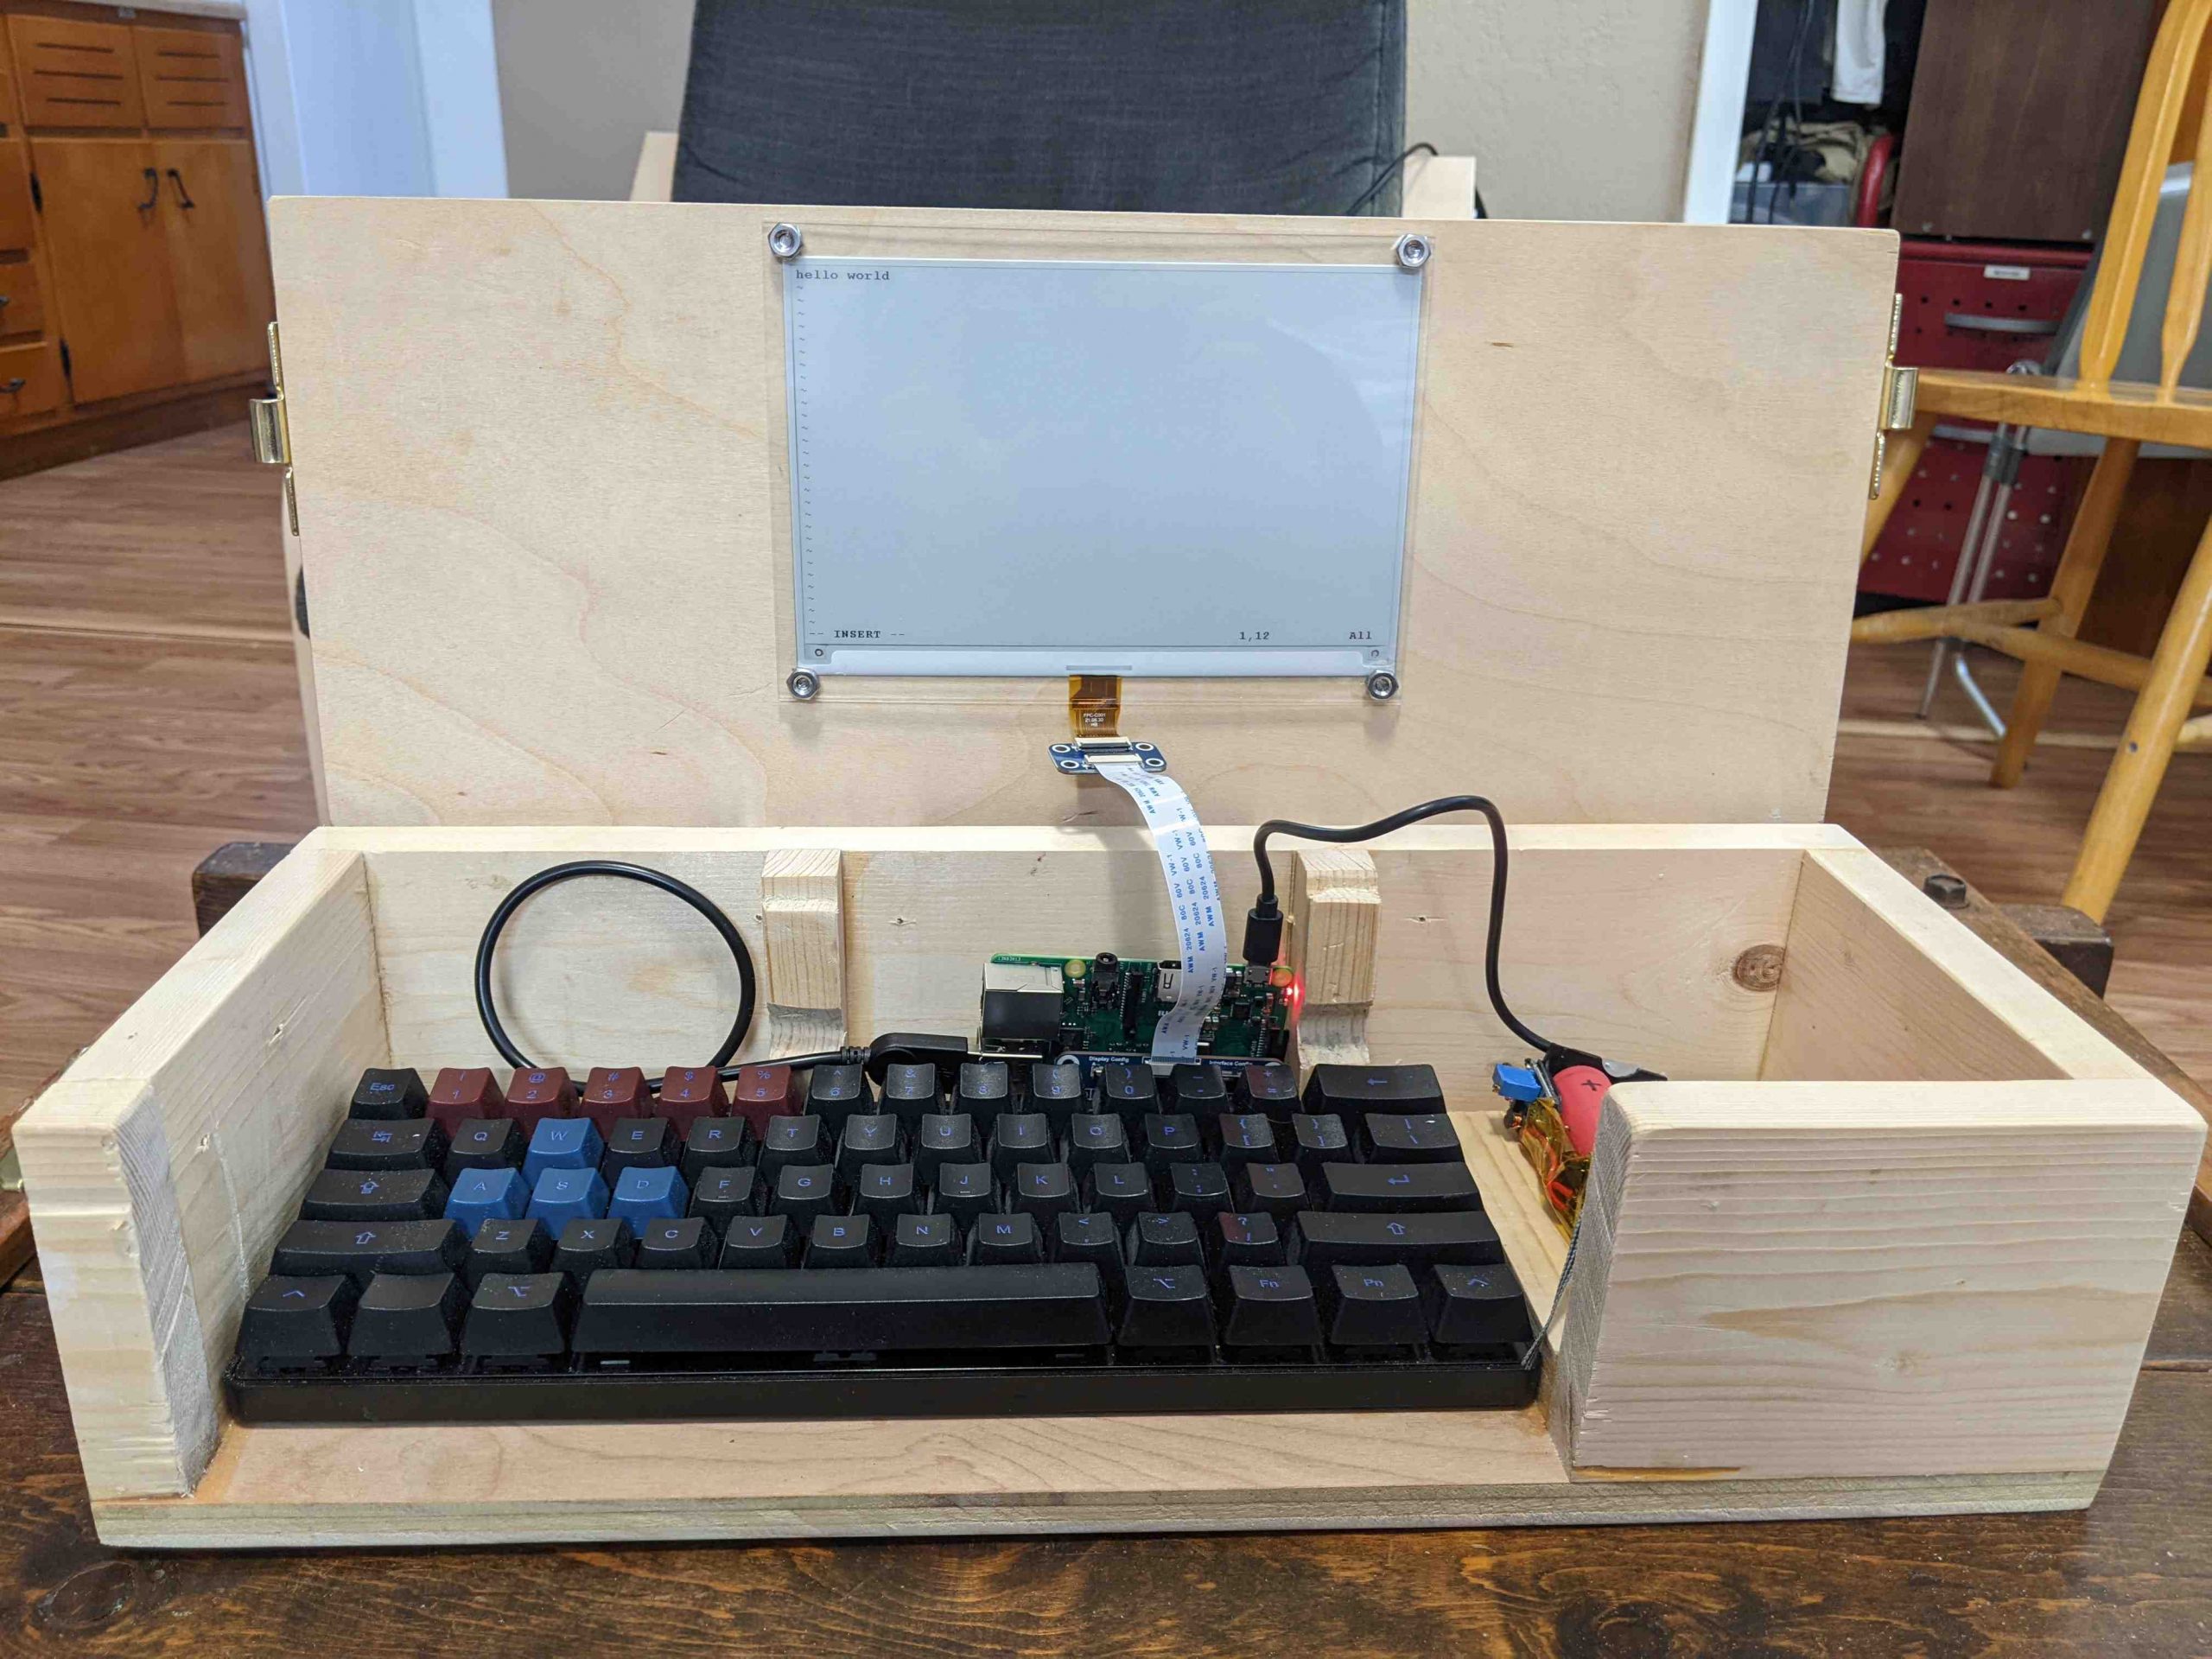
I’m not the first, there have been many other such devices before. I came up with the idea independently, but the specifics are heavily inspired by the Ultimate Writer by NinjaTrappeur in 2018. Similar to him, my use case is typing without distractions, and reading books. E-ink displays are quite slow to update, so I don’t think it can serve as a general purpose computer. Here’s a video of it in action. It operates at one frame per second.
The electronics are not fully done. They need better secured, and I’m going to redo the cabling and power back.
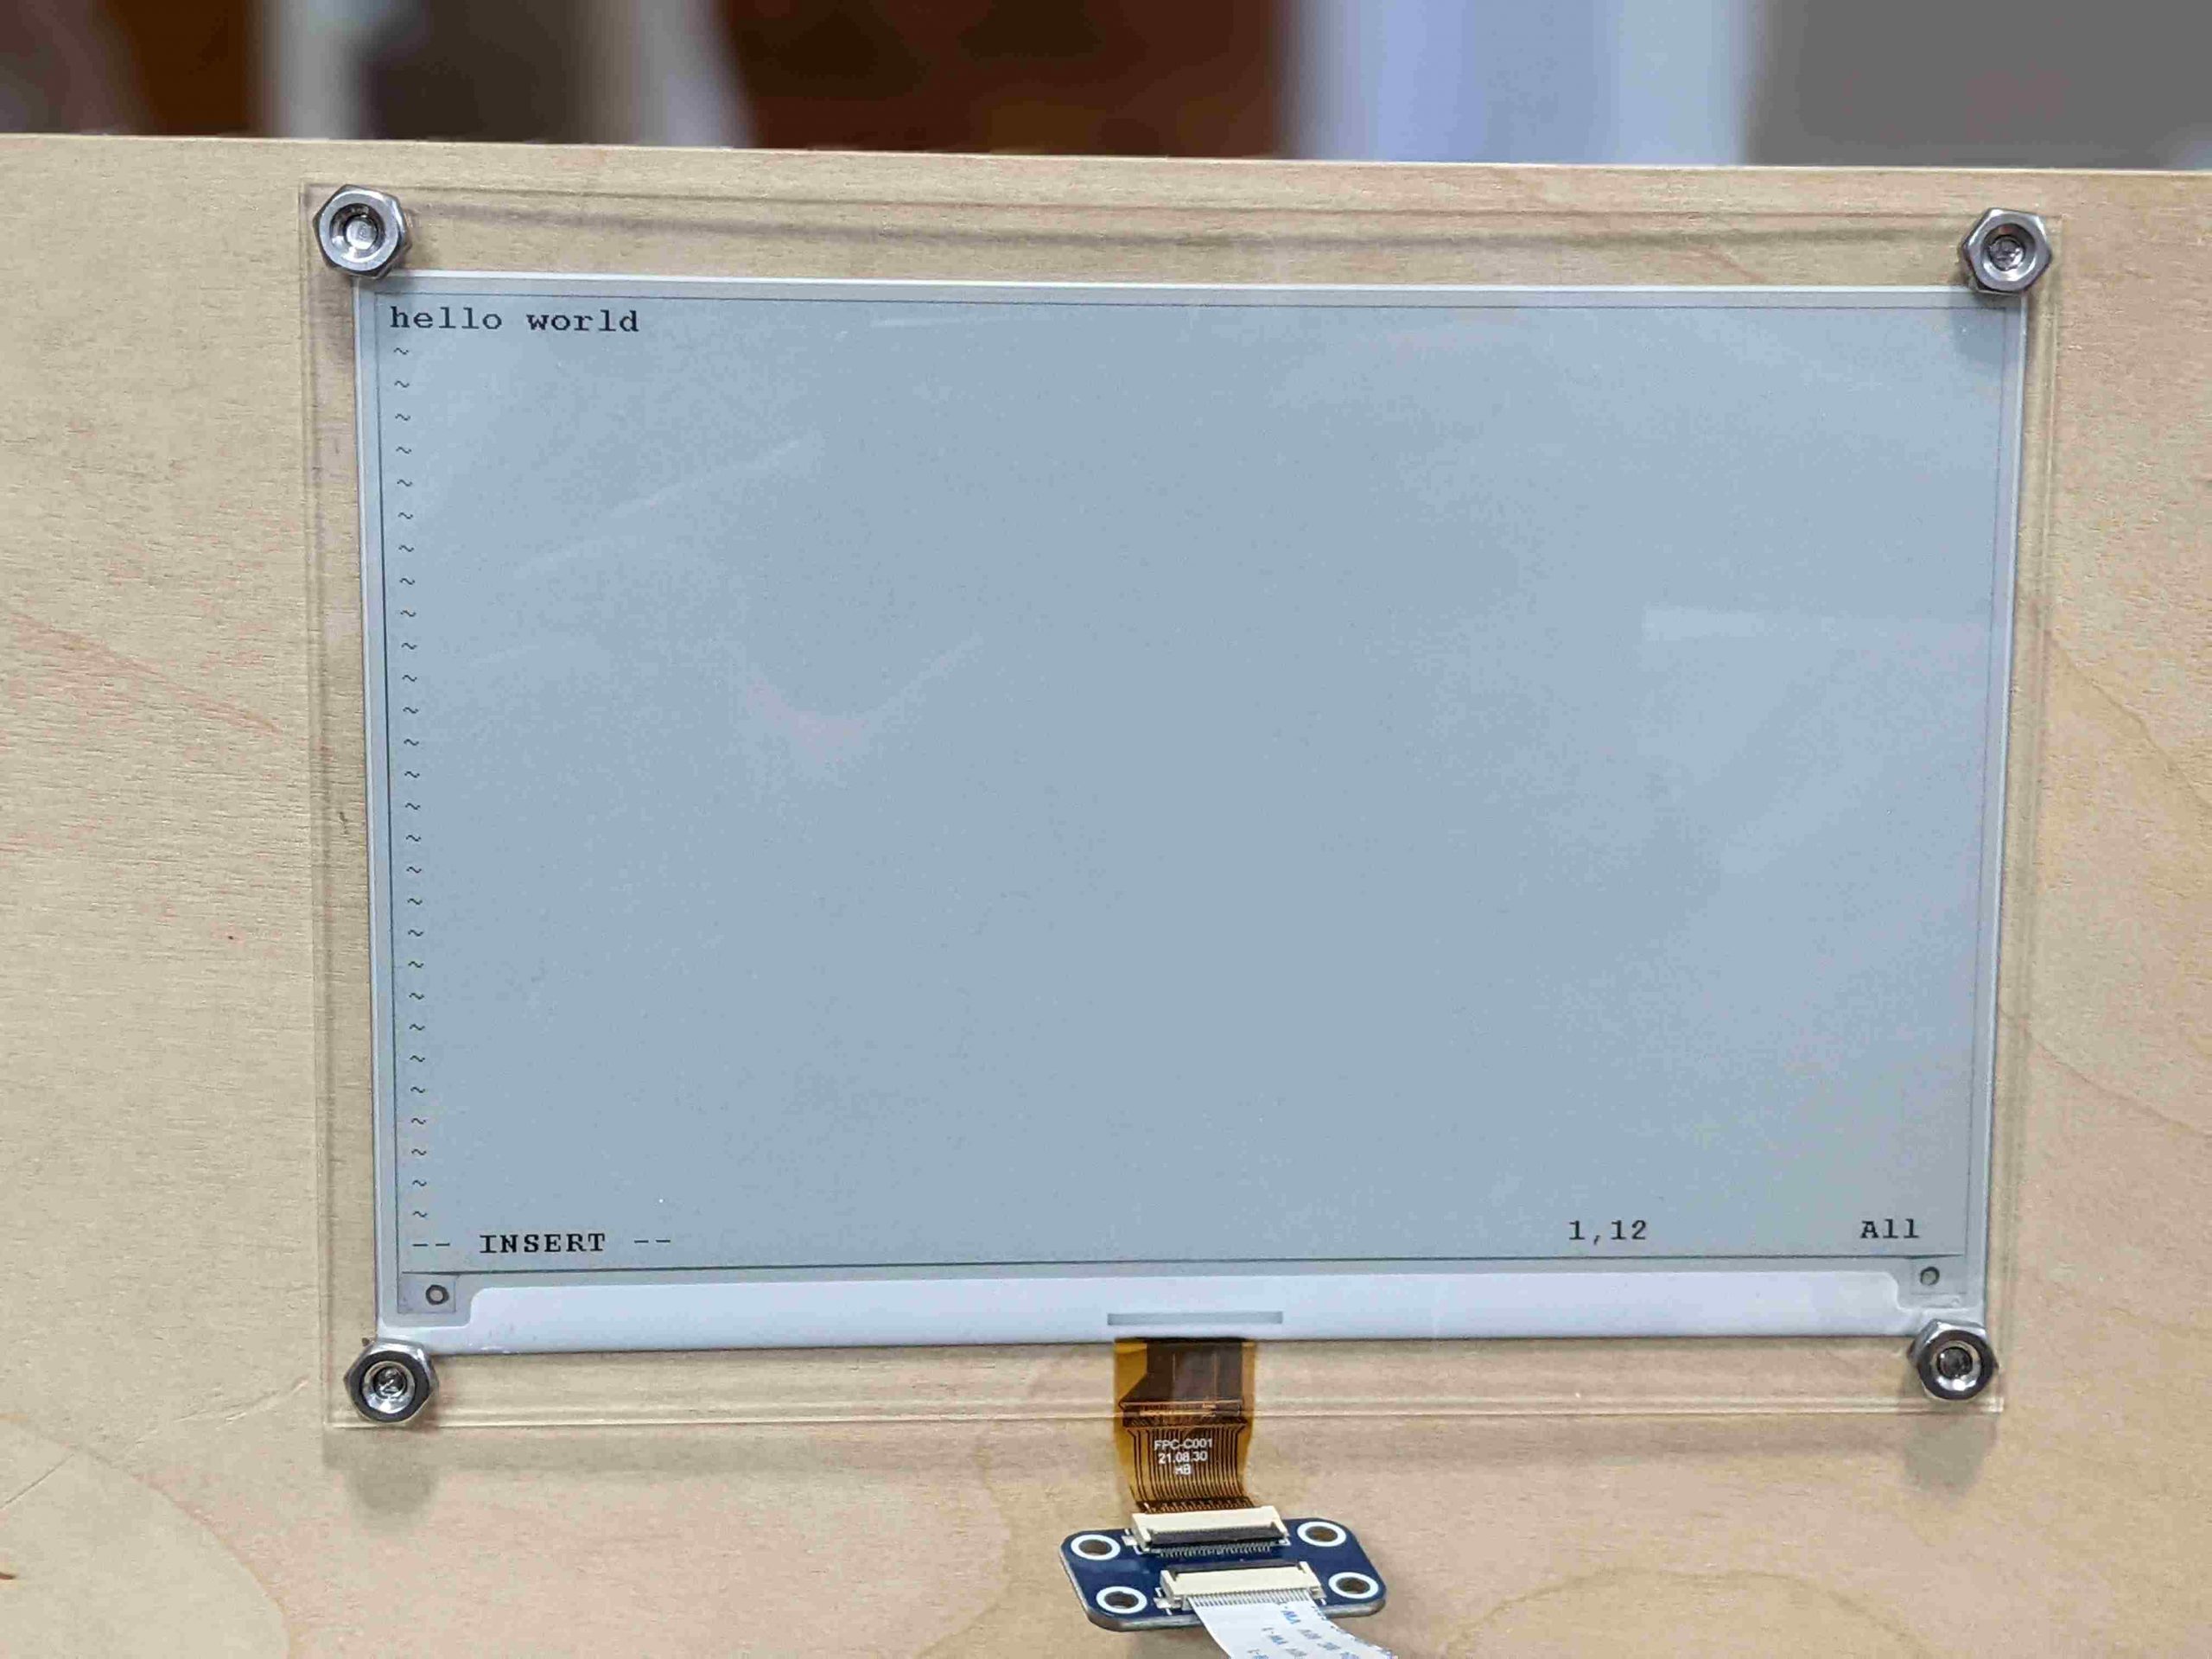
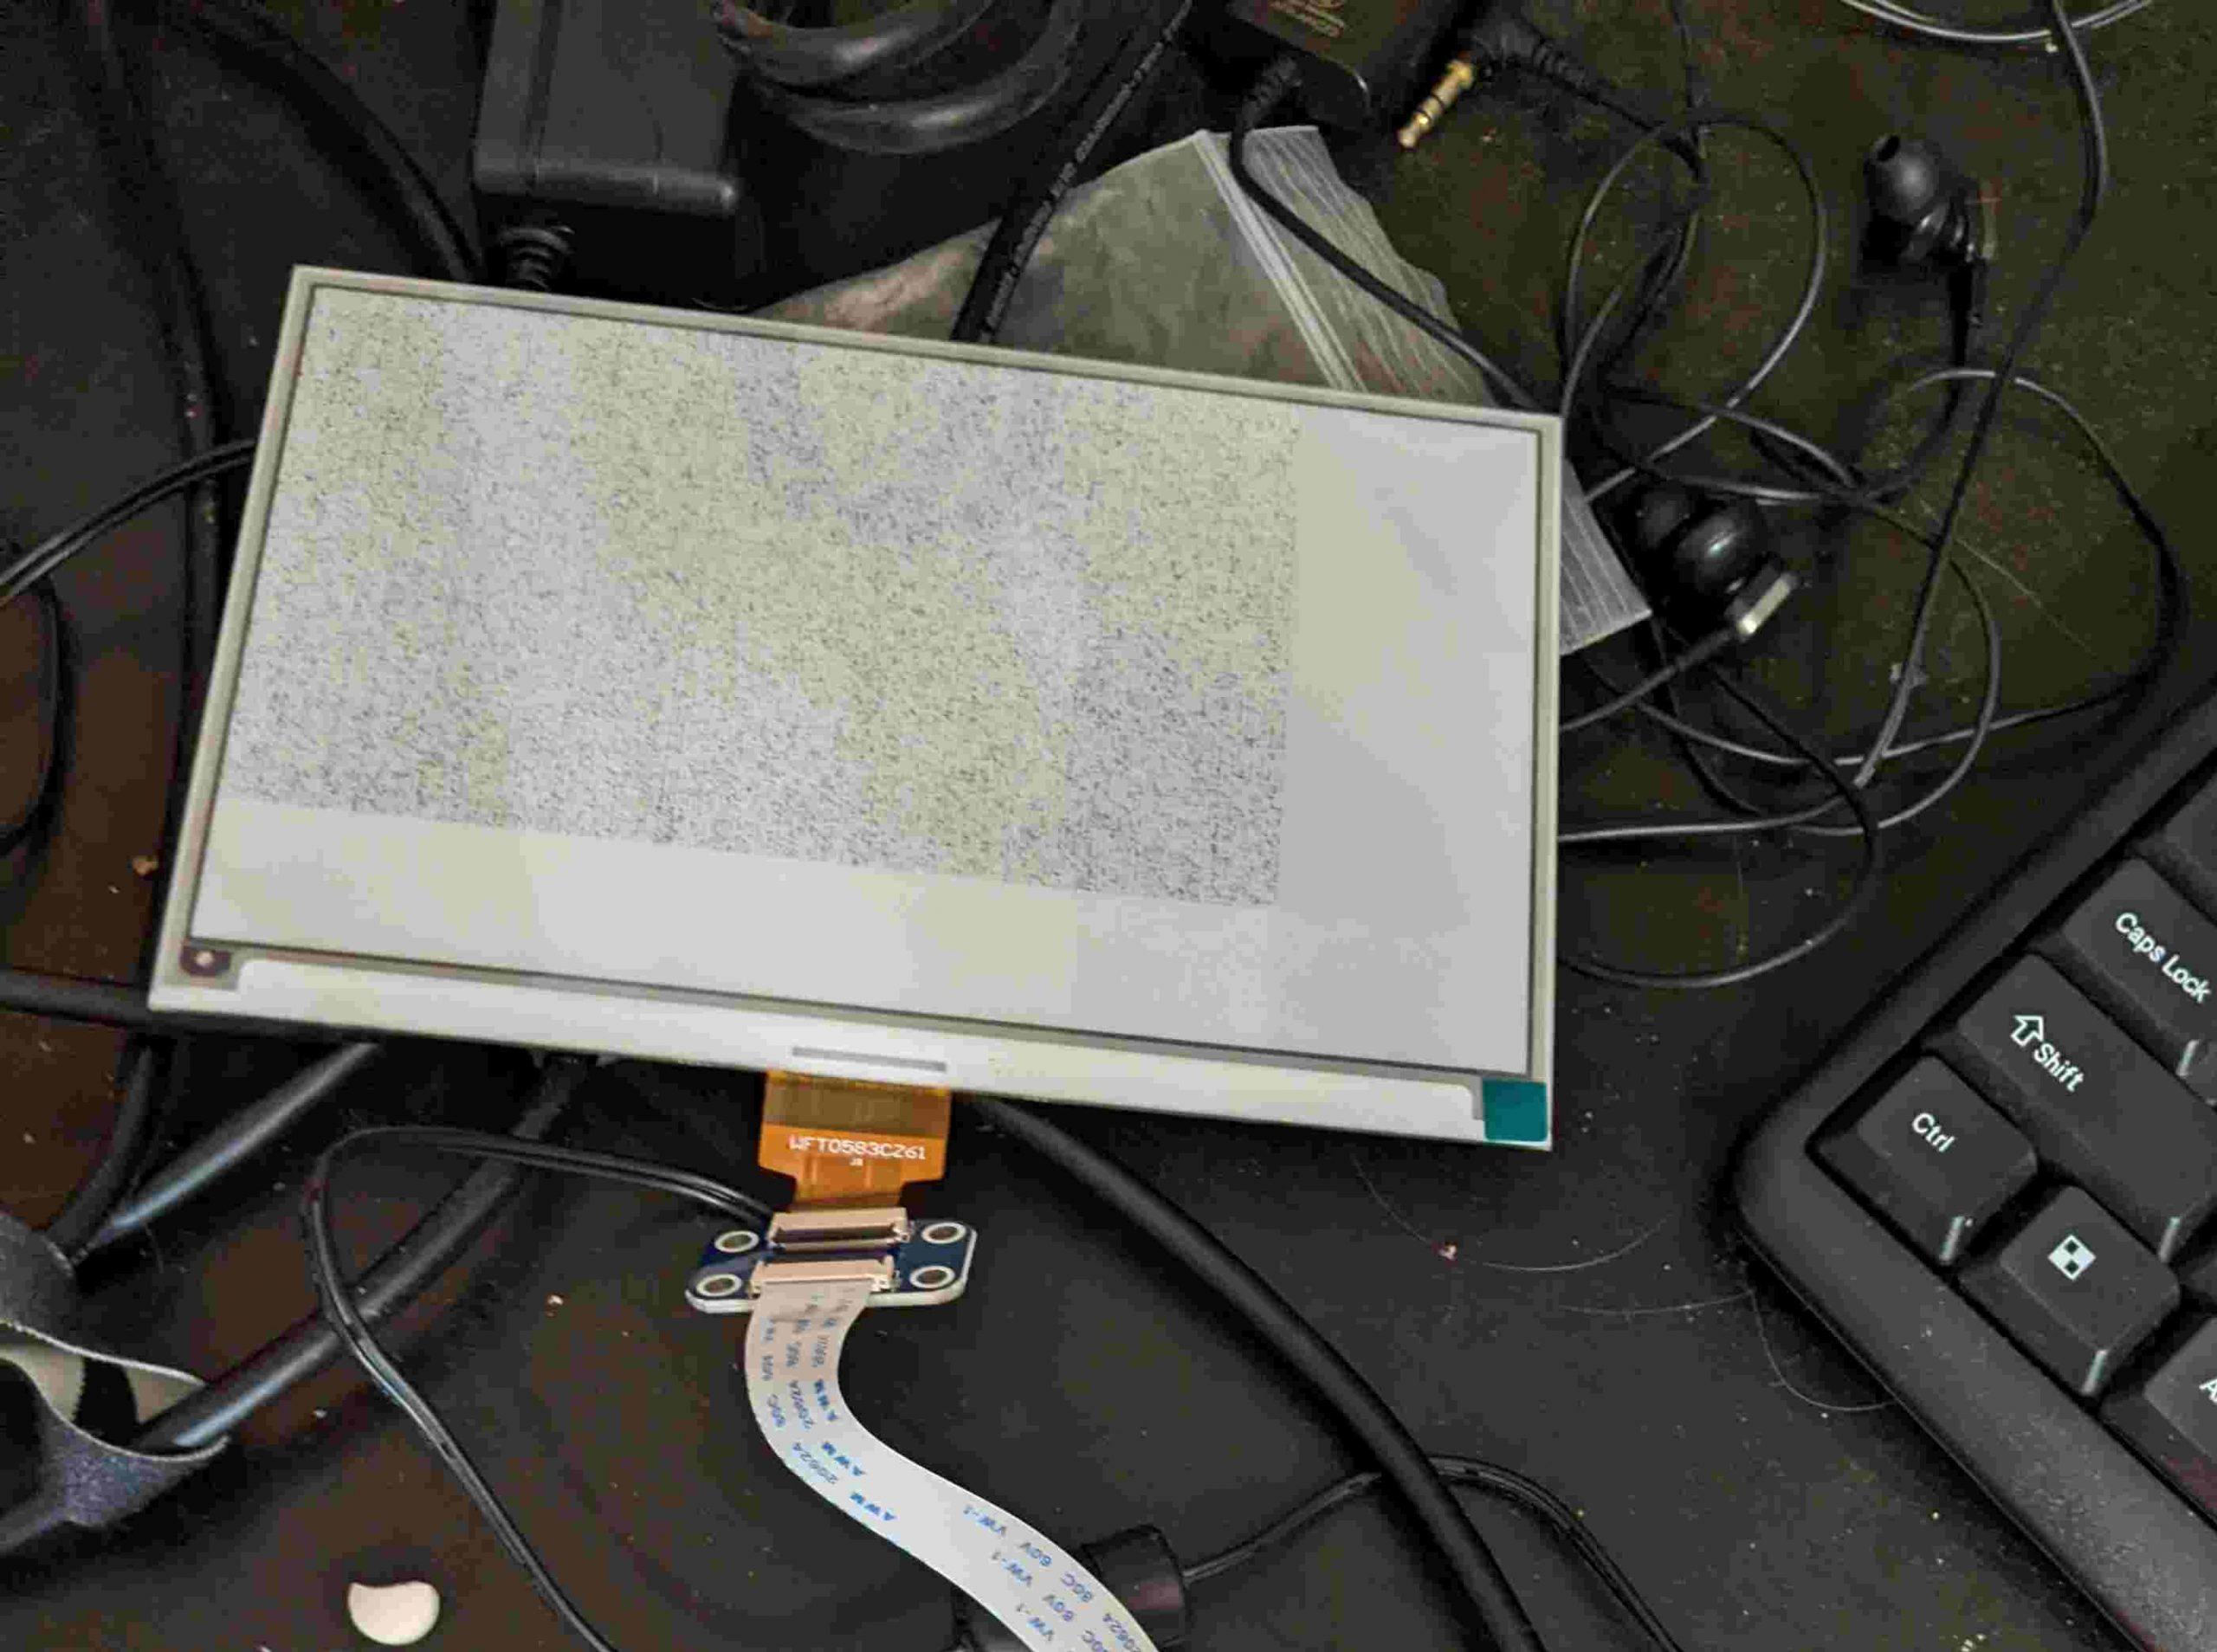
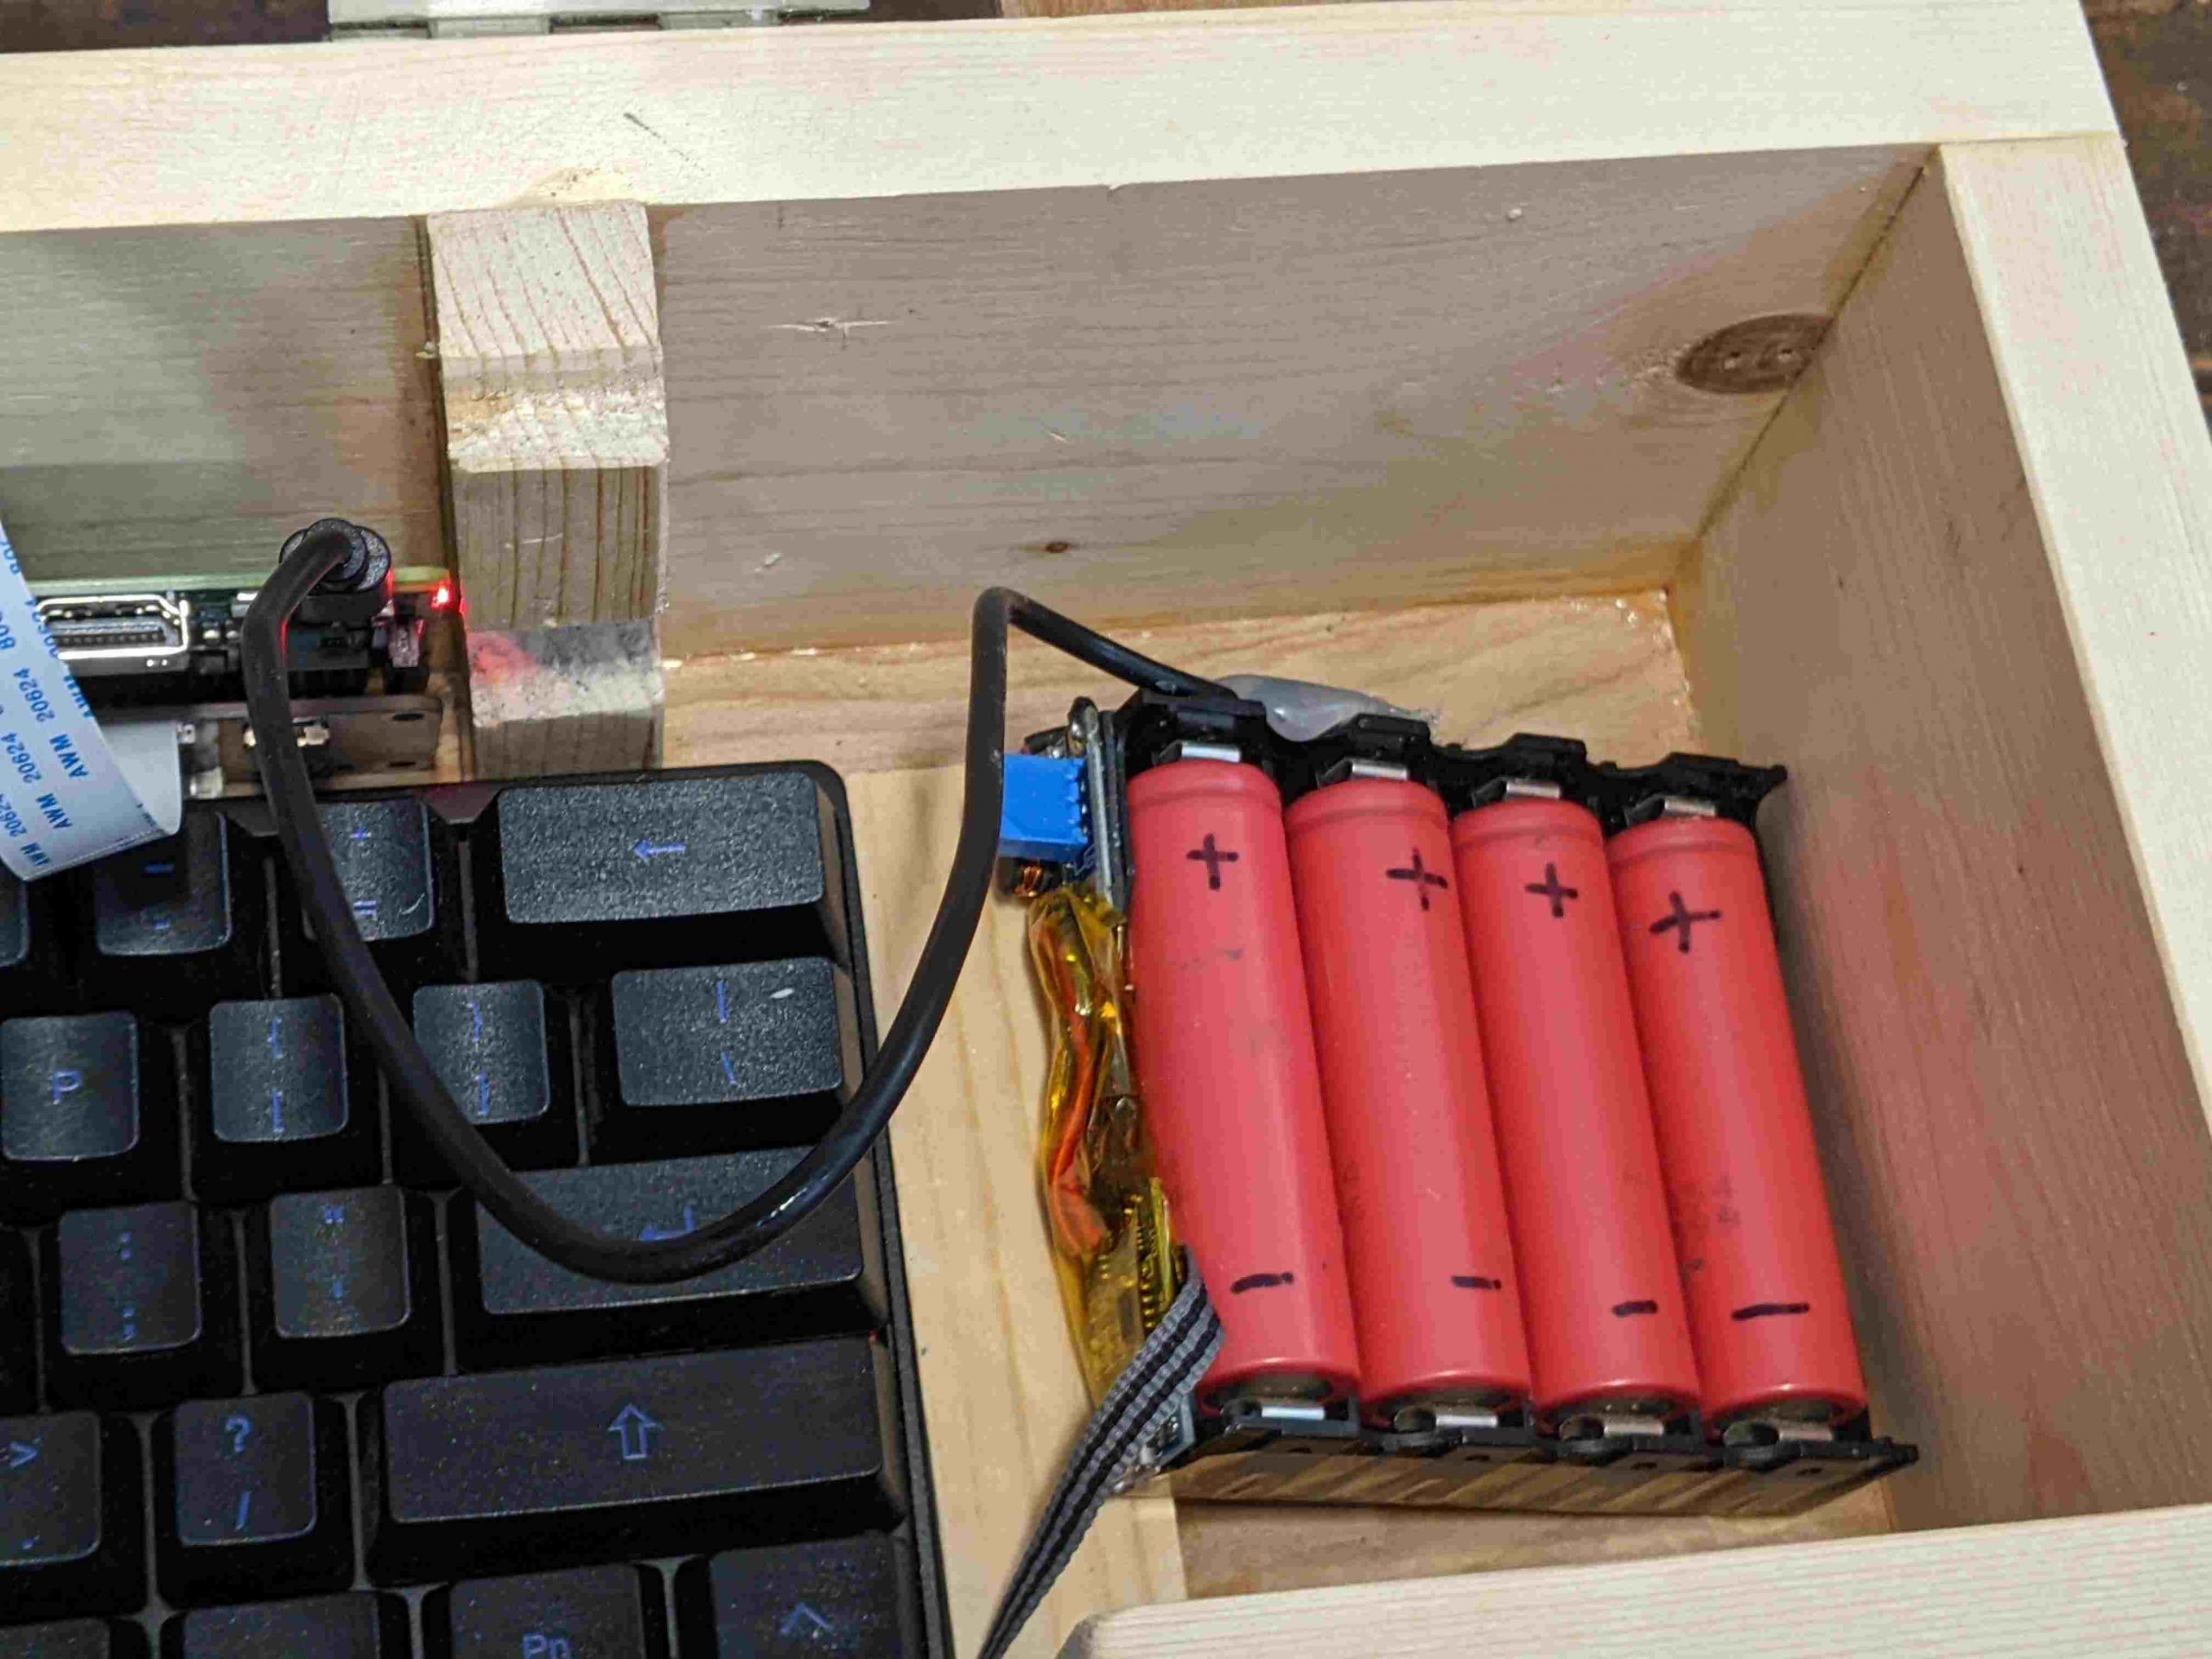
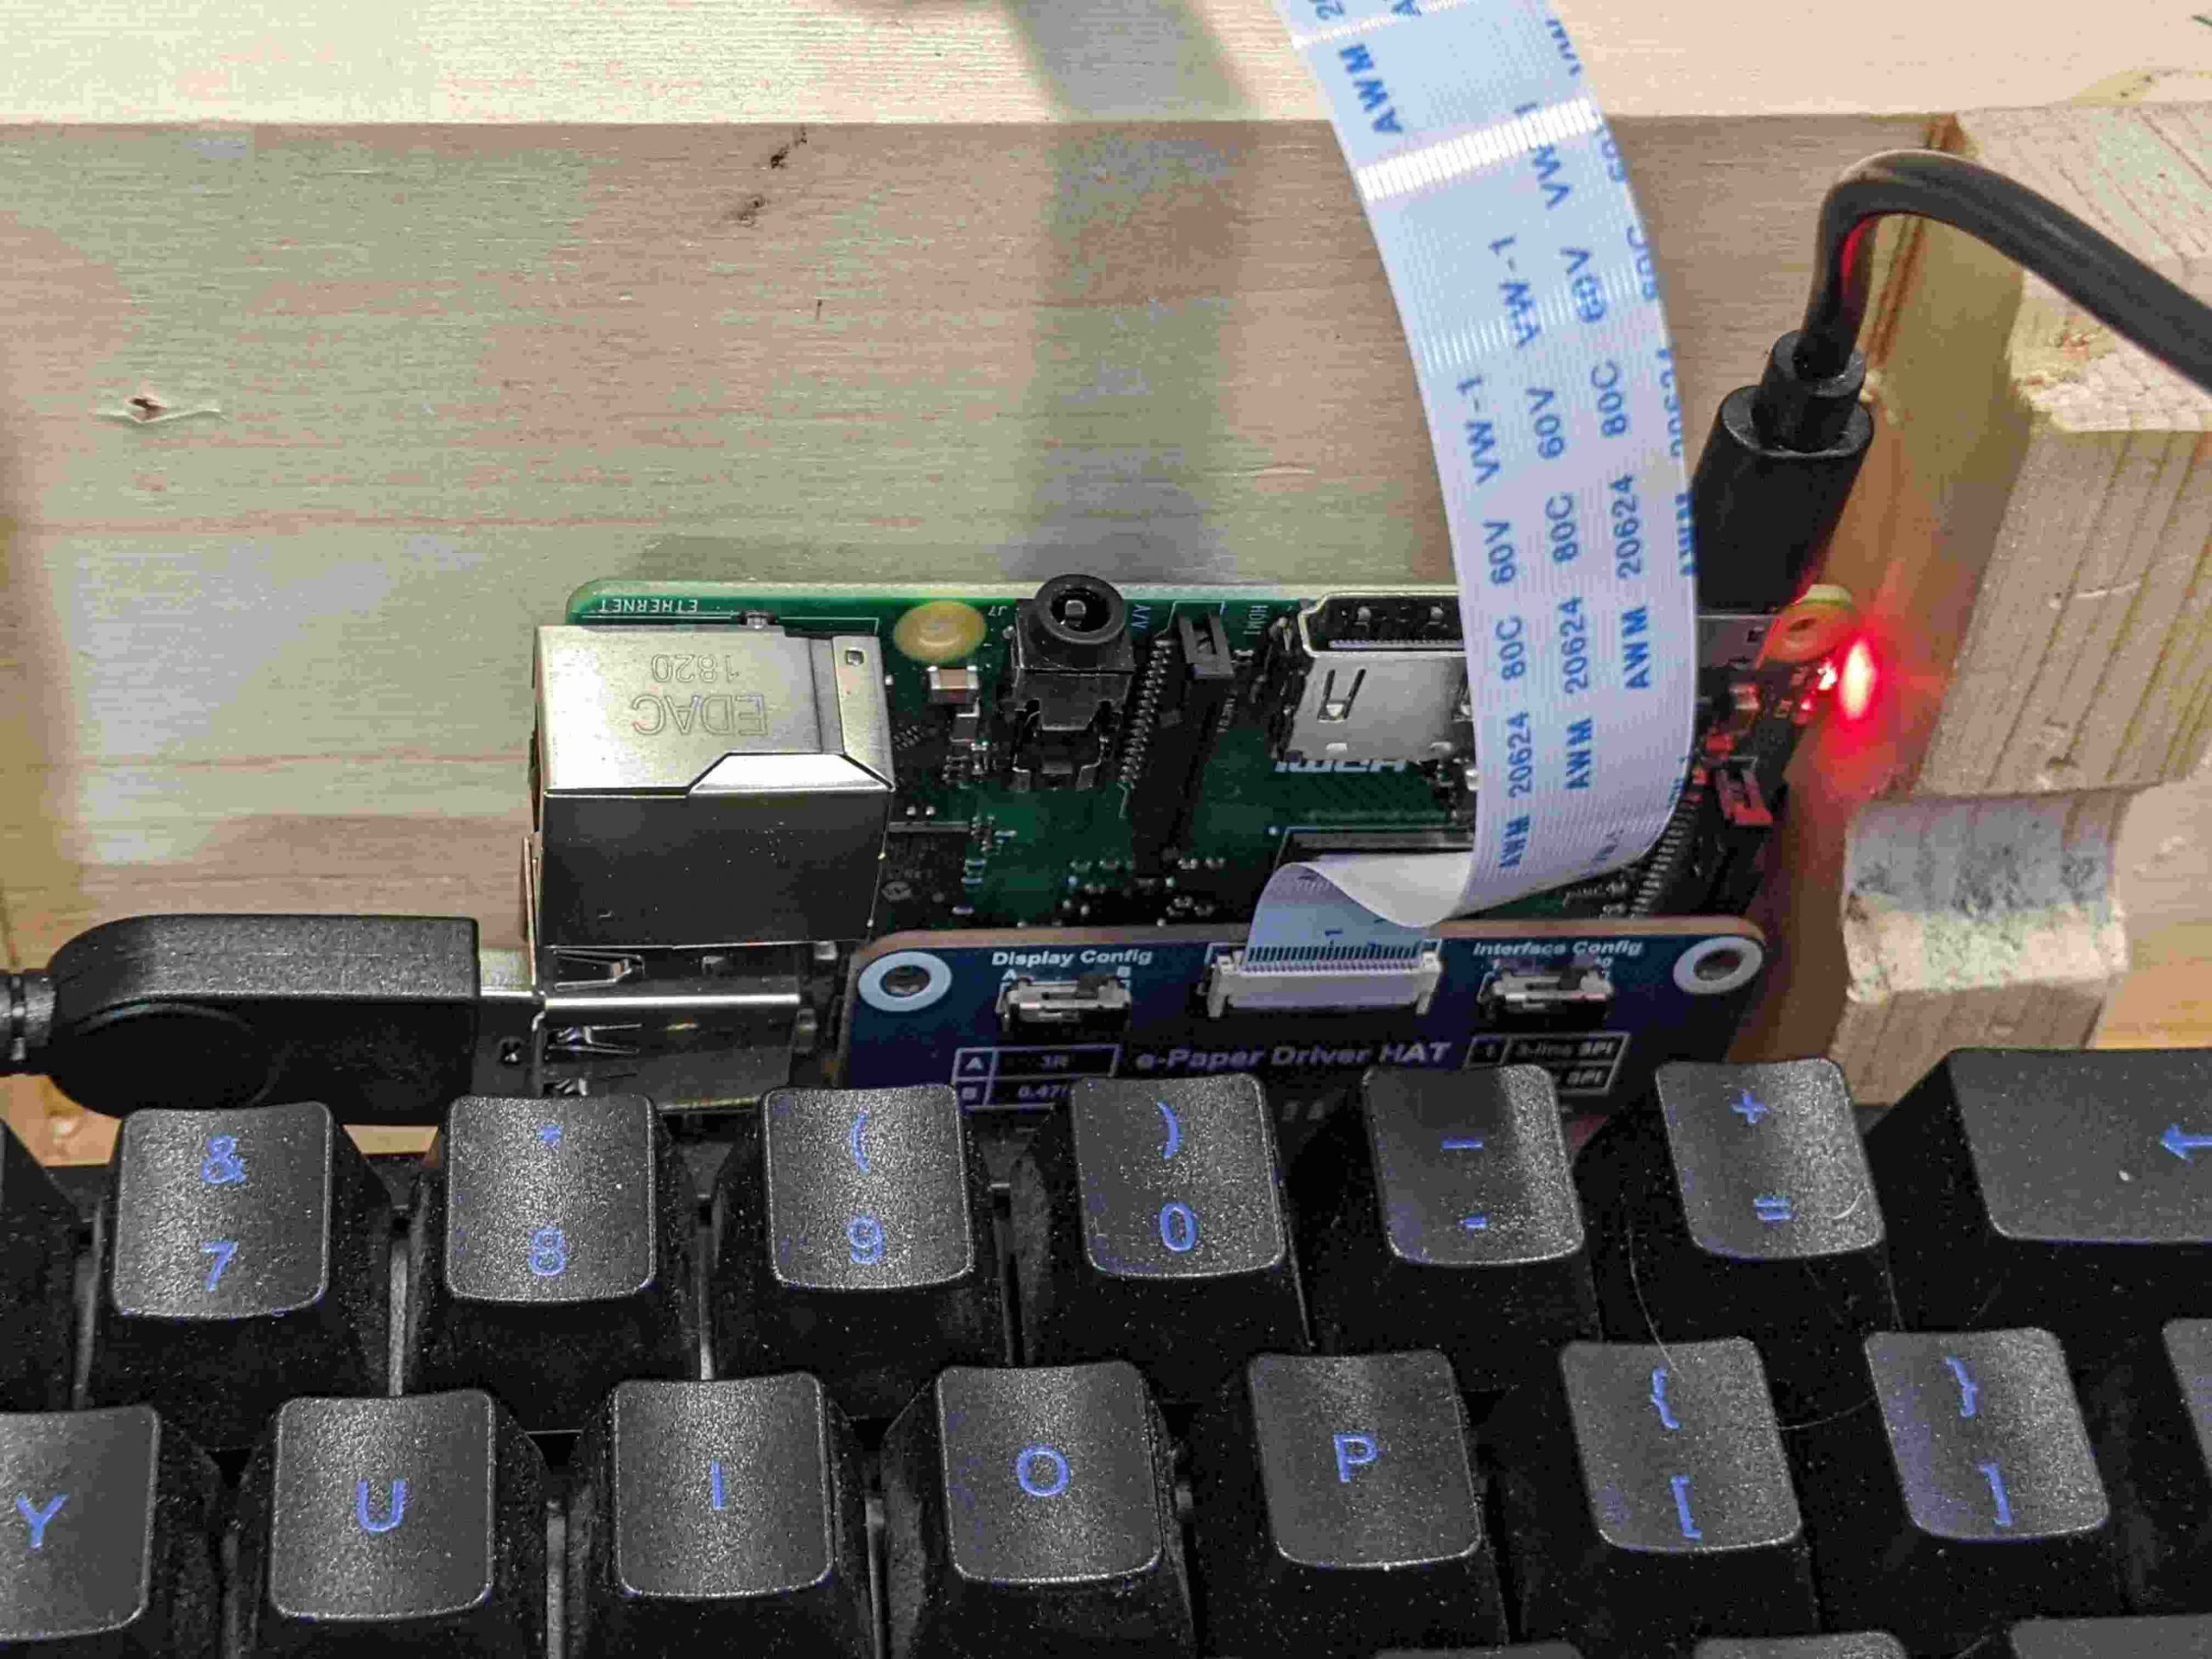
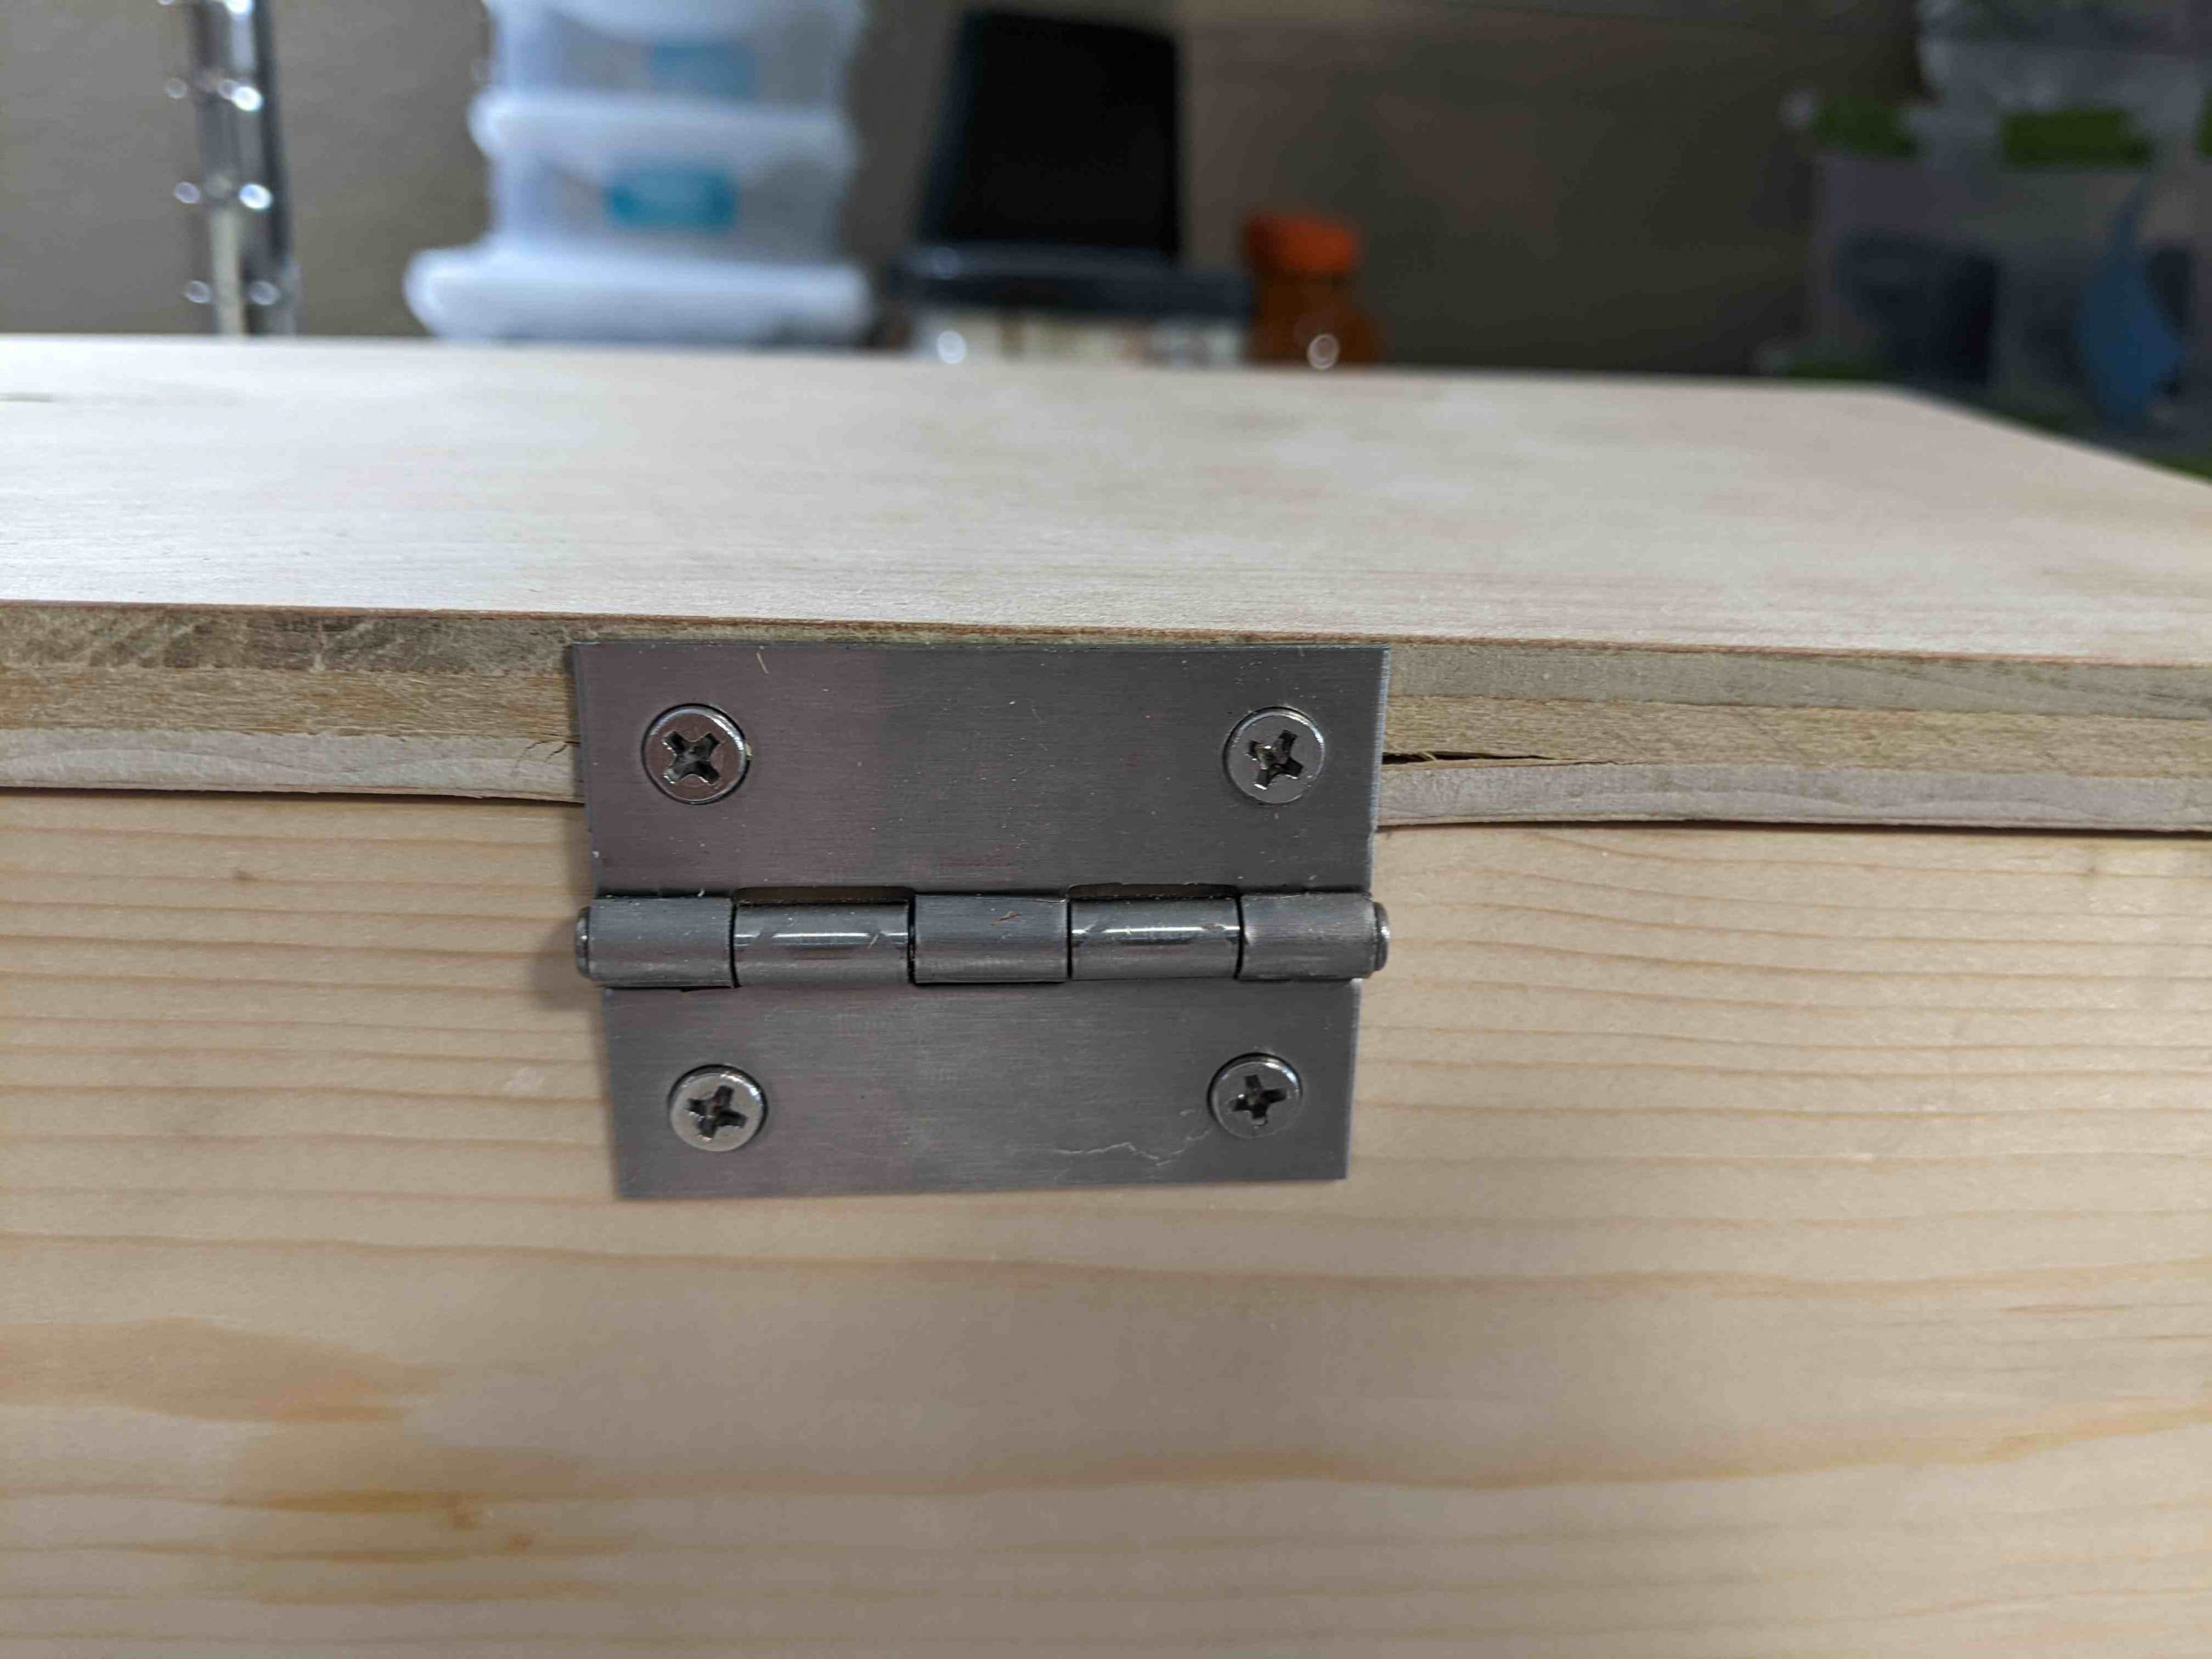
I broke a screen over-tightening a nut. That said, I like this look pretty well! If the lid was thicker, I know how to avoid screws on the other side, too.Early screen progress. I got something to display, but not what I wanted.I found a really nice, cheap mechanical keyboard on ebay. The main downside is that it’s heavy–730g. It also consumes heavy amounts of power, even when not in use. I have a nearly identical keyboard that doesn’t, which I’ll use for v2.I made my own lithium-ion battery pack. It works well, but it doesn’t quite fit so I’m going to redo it with one less cell. It also needs an on/off switch and a right angle USB cable.The prototype is powered by a Raspberry Pi 3. The final version will use a microcontroller to save power. The Pi Zero can also be swapped in with no changes, and uses a third of the power. But it’s noticeably slower and takes 30 seconds to boot. For prototyping I’m using the Pi 3 for now.
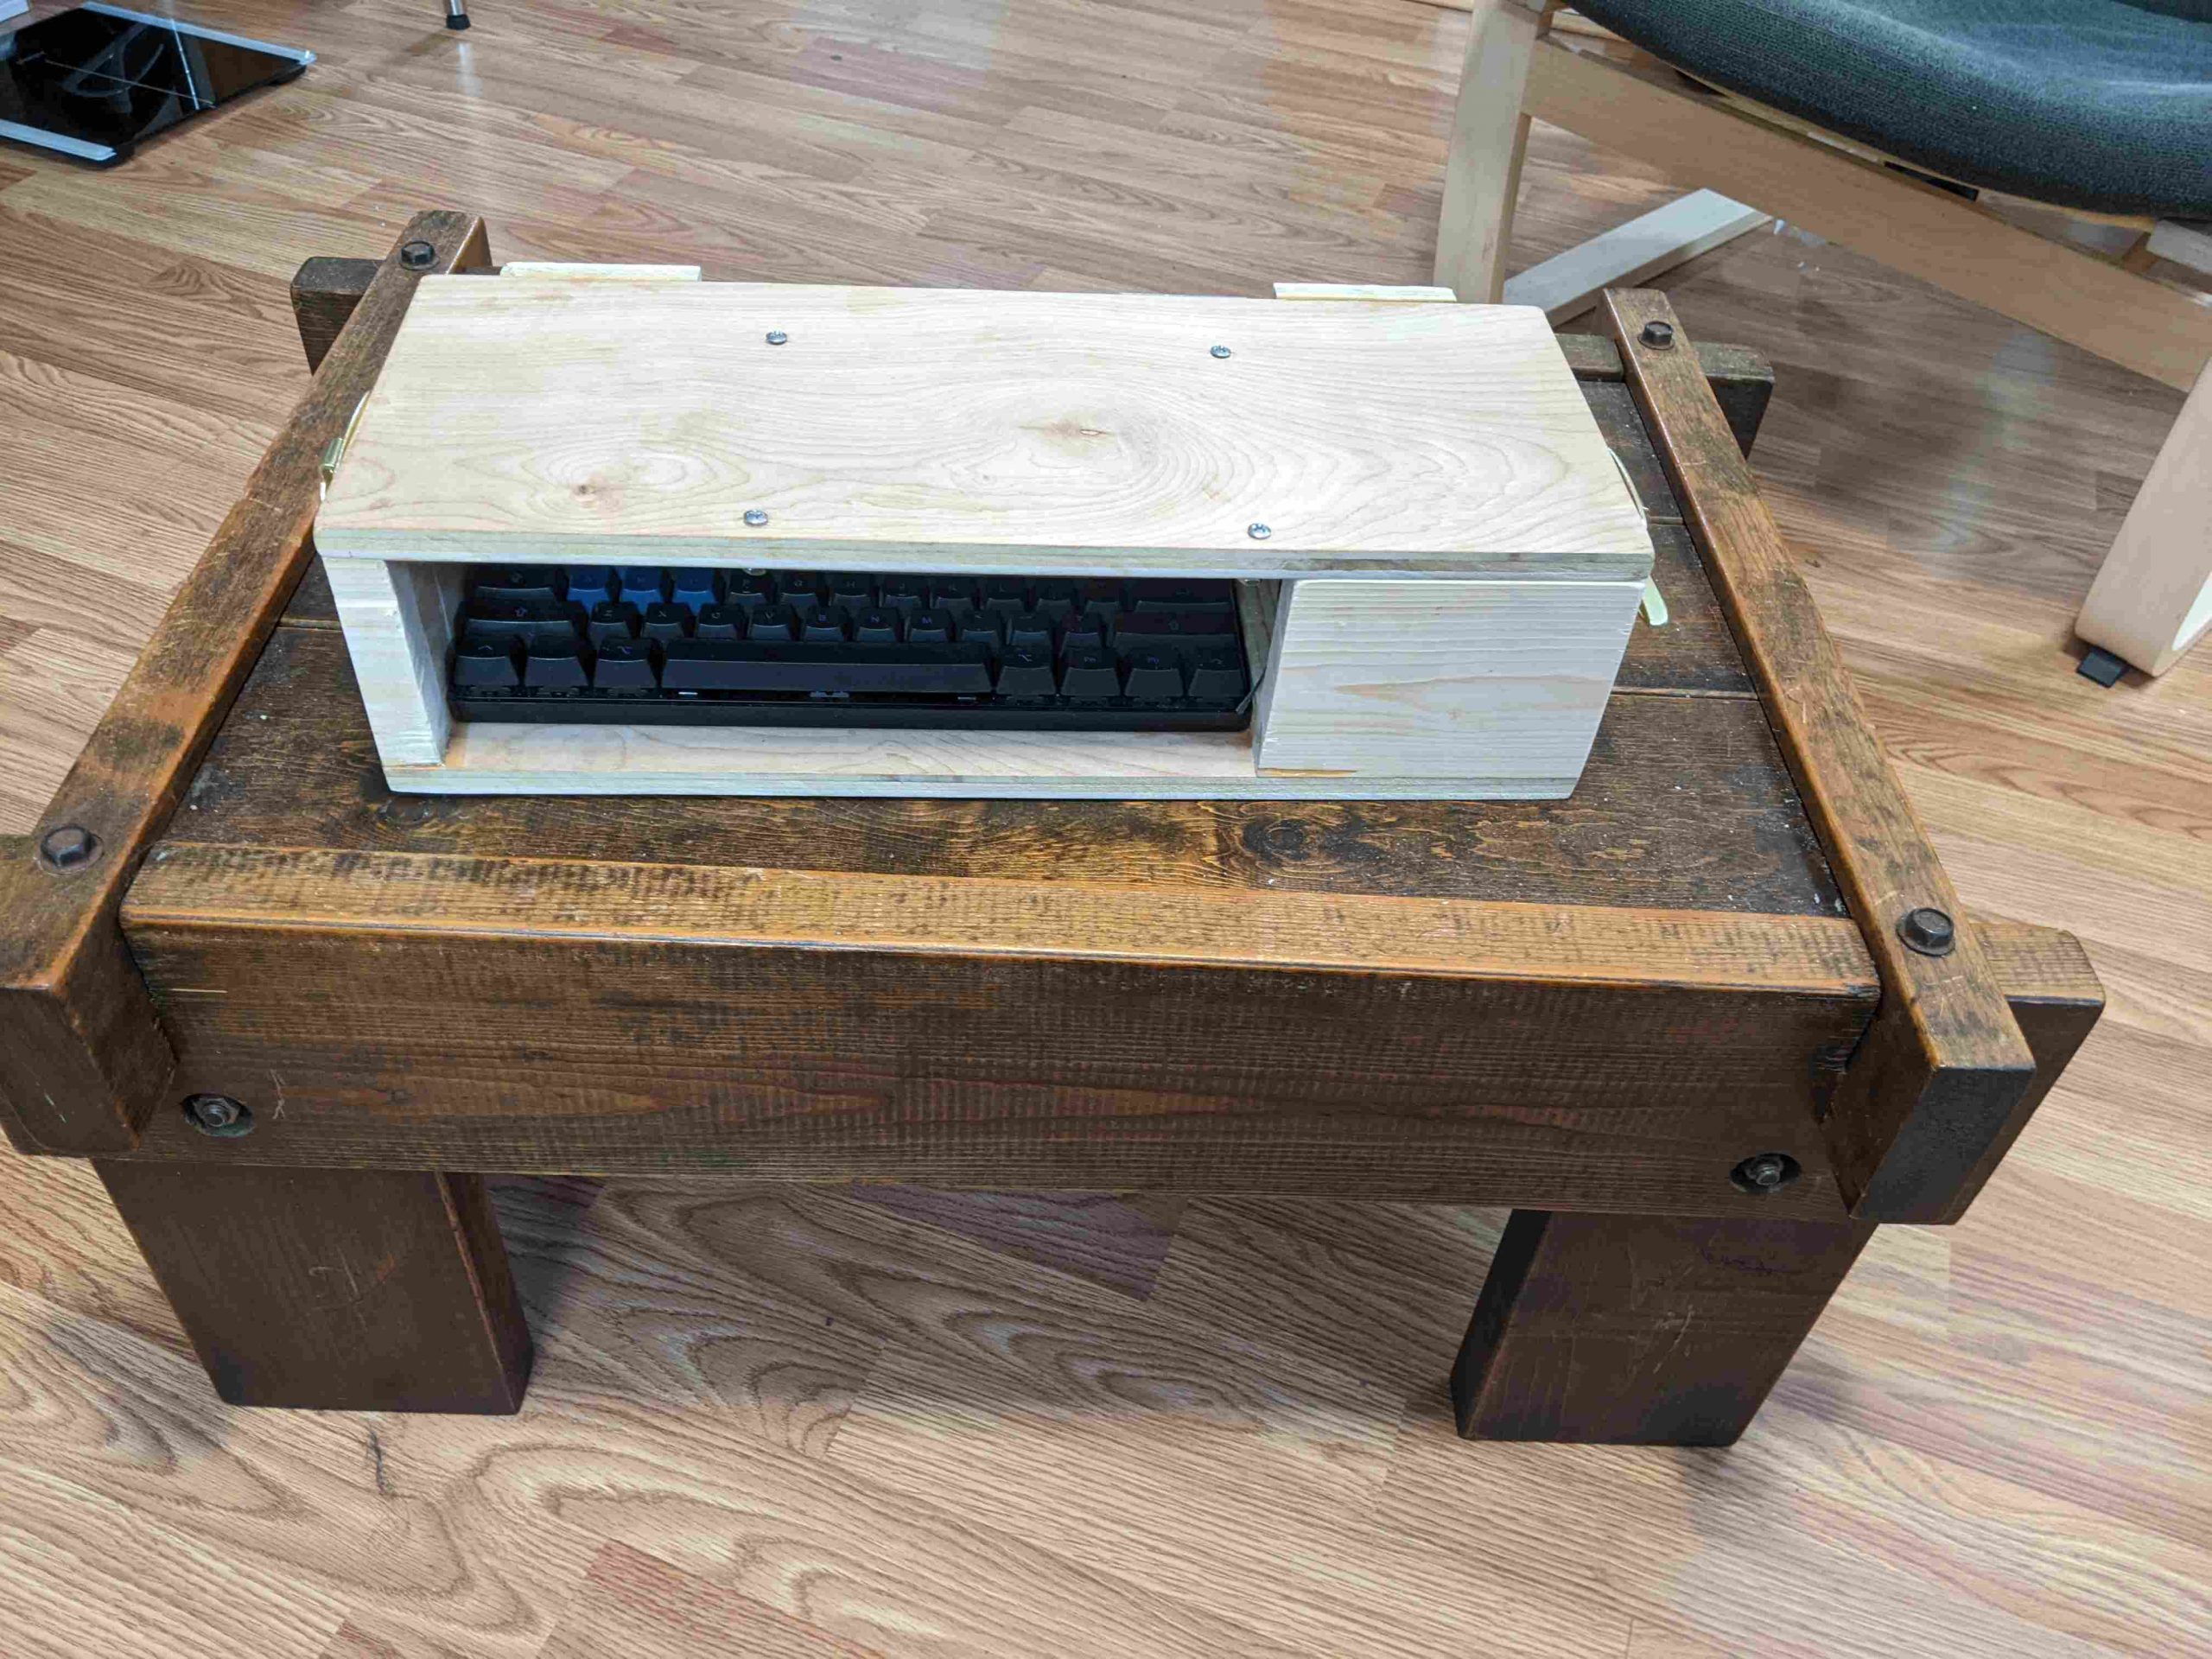
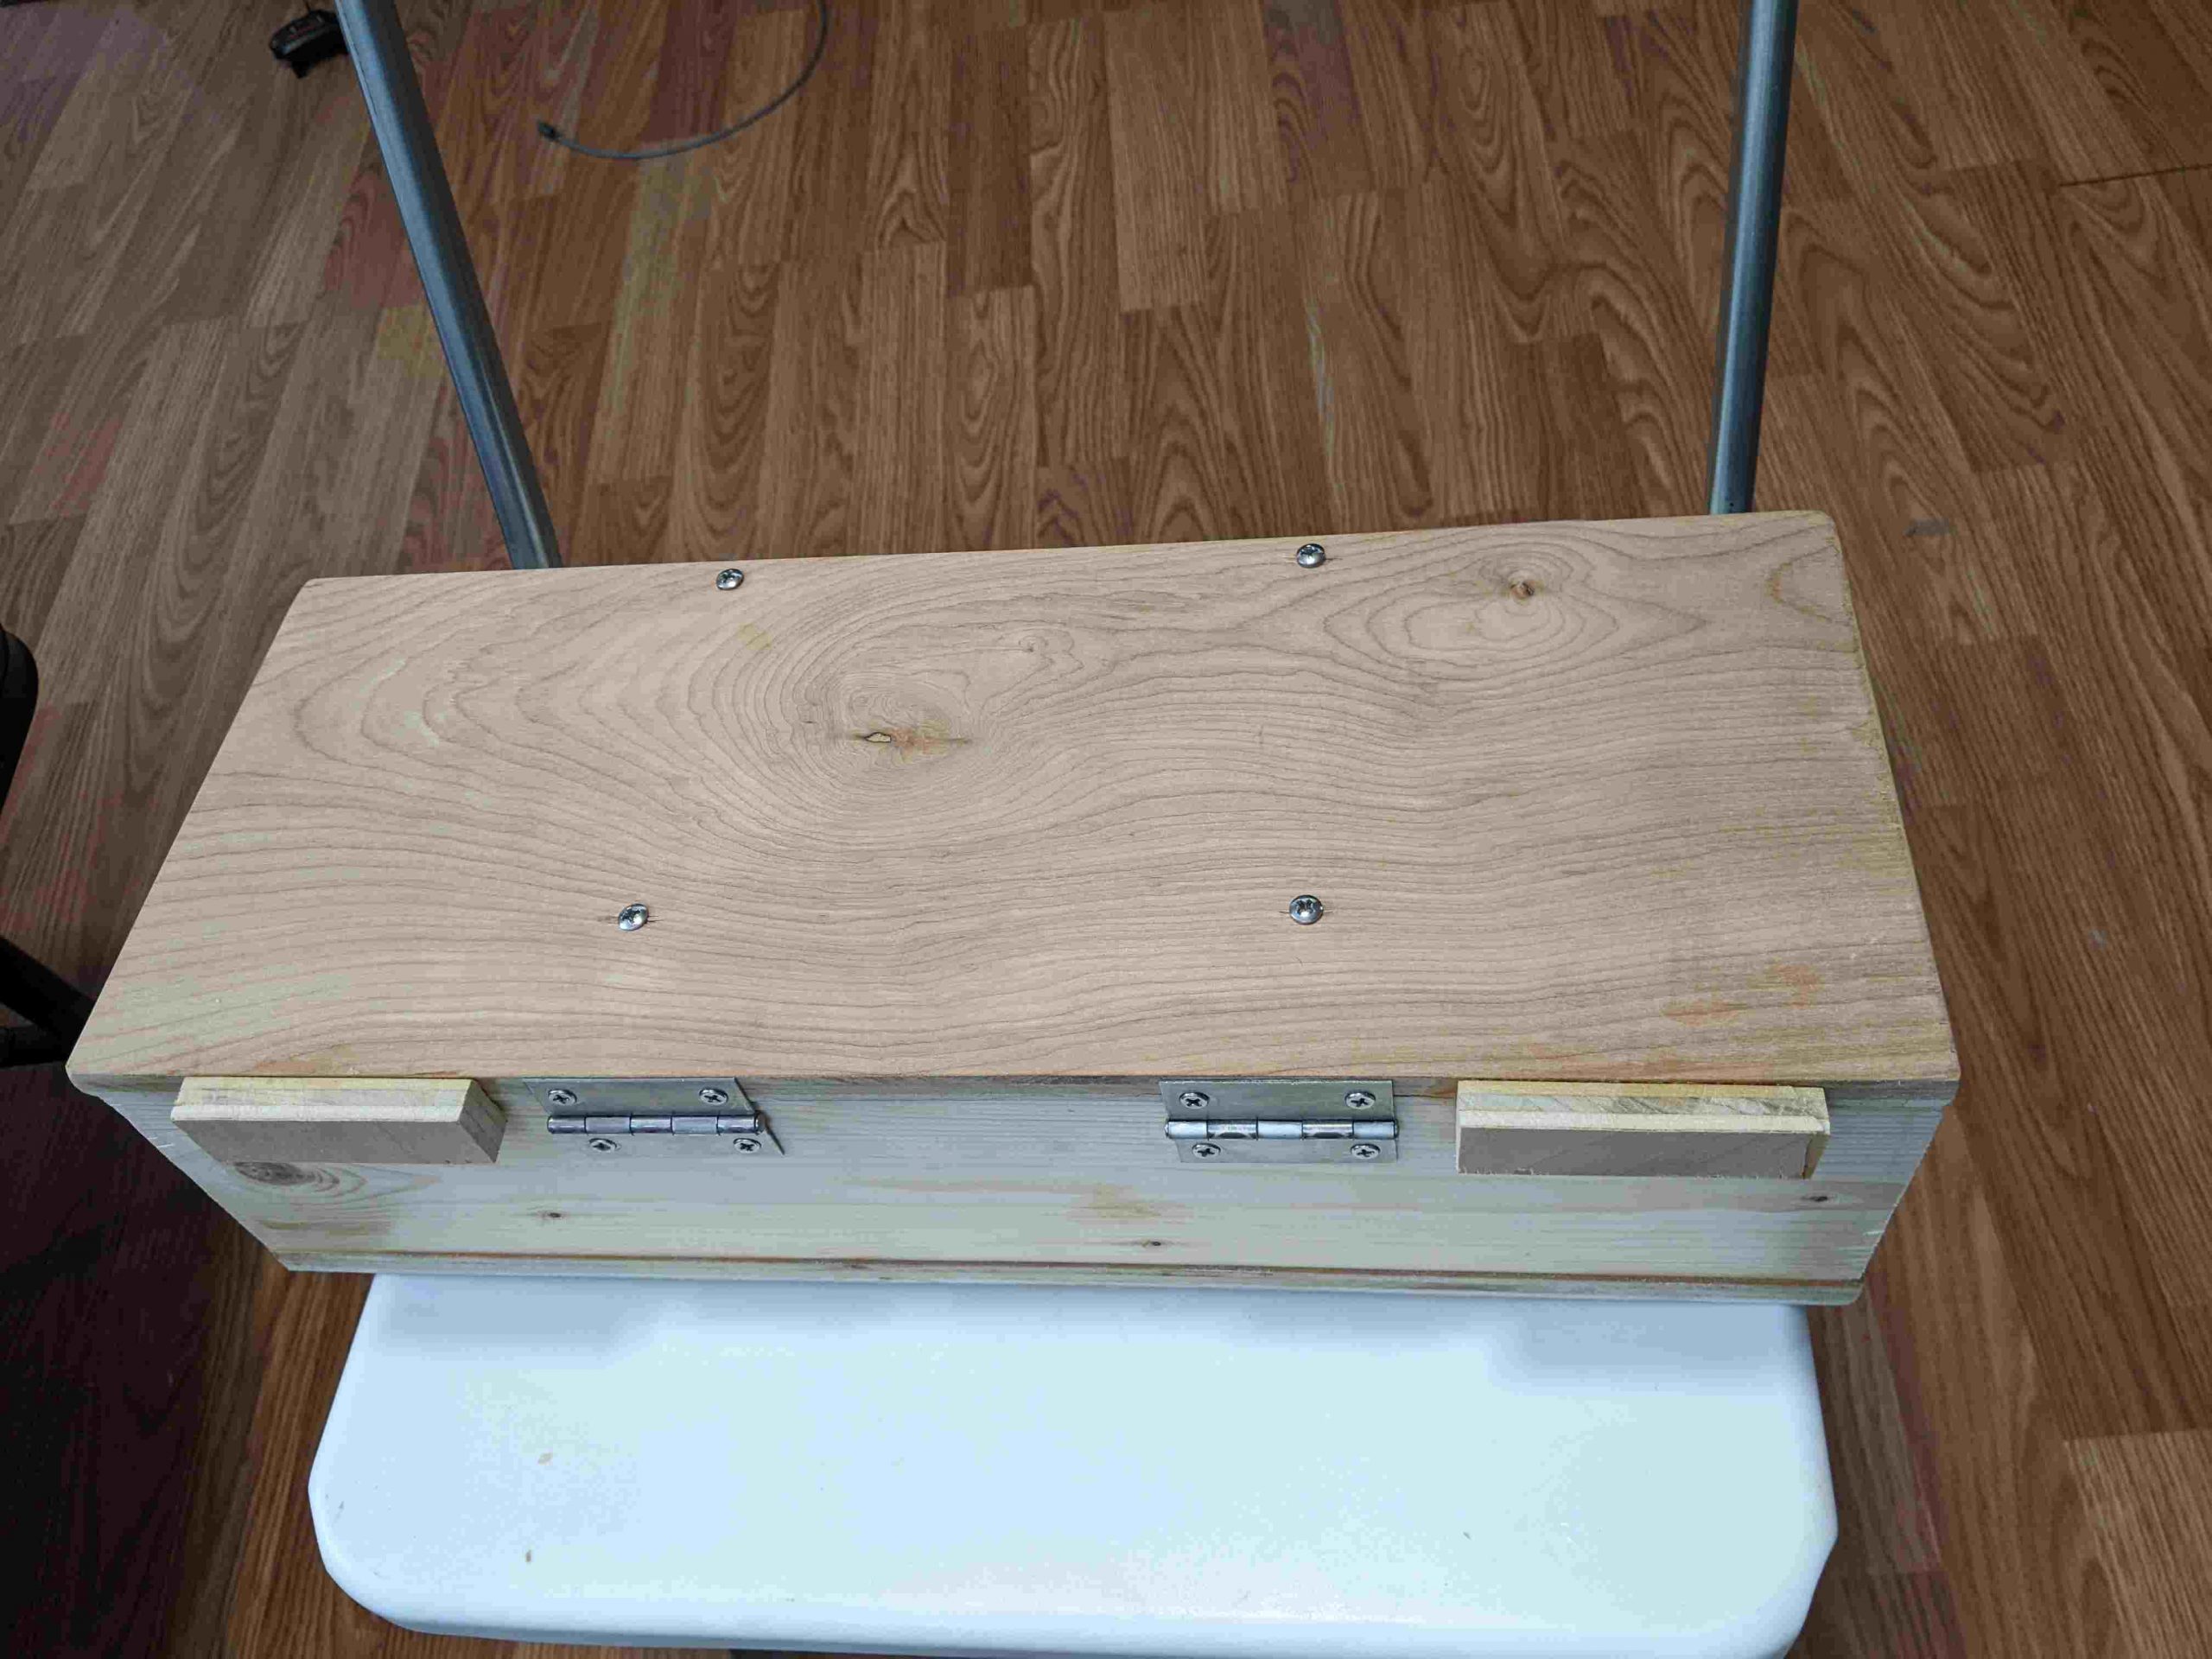
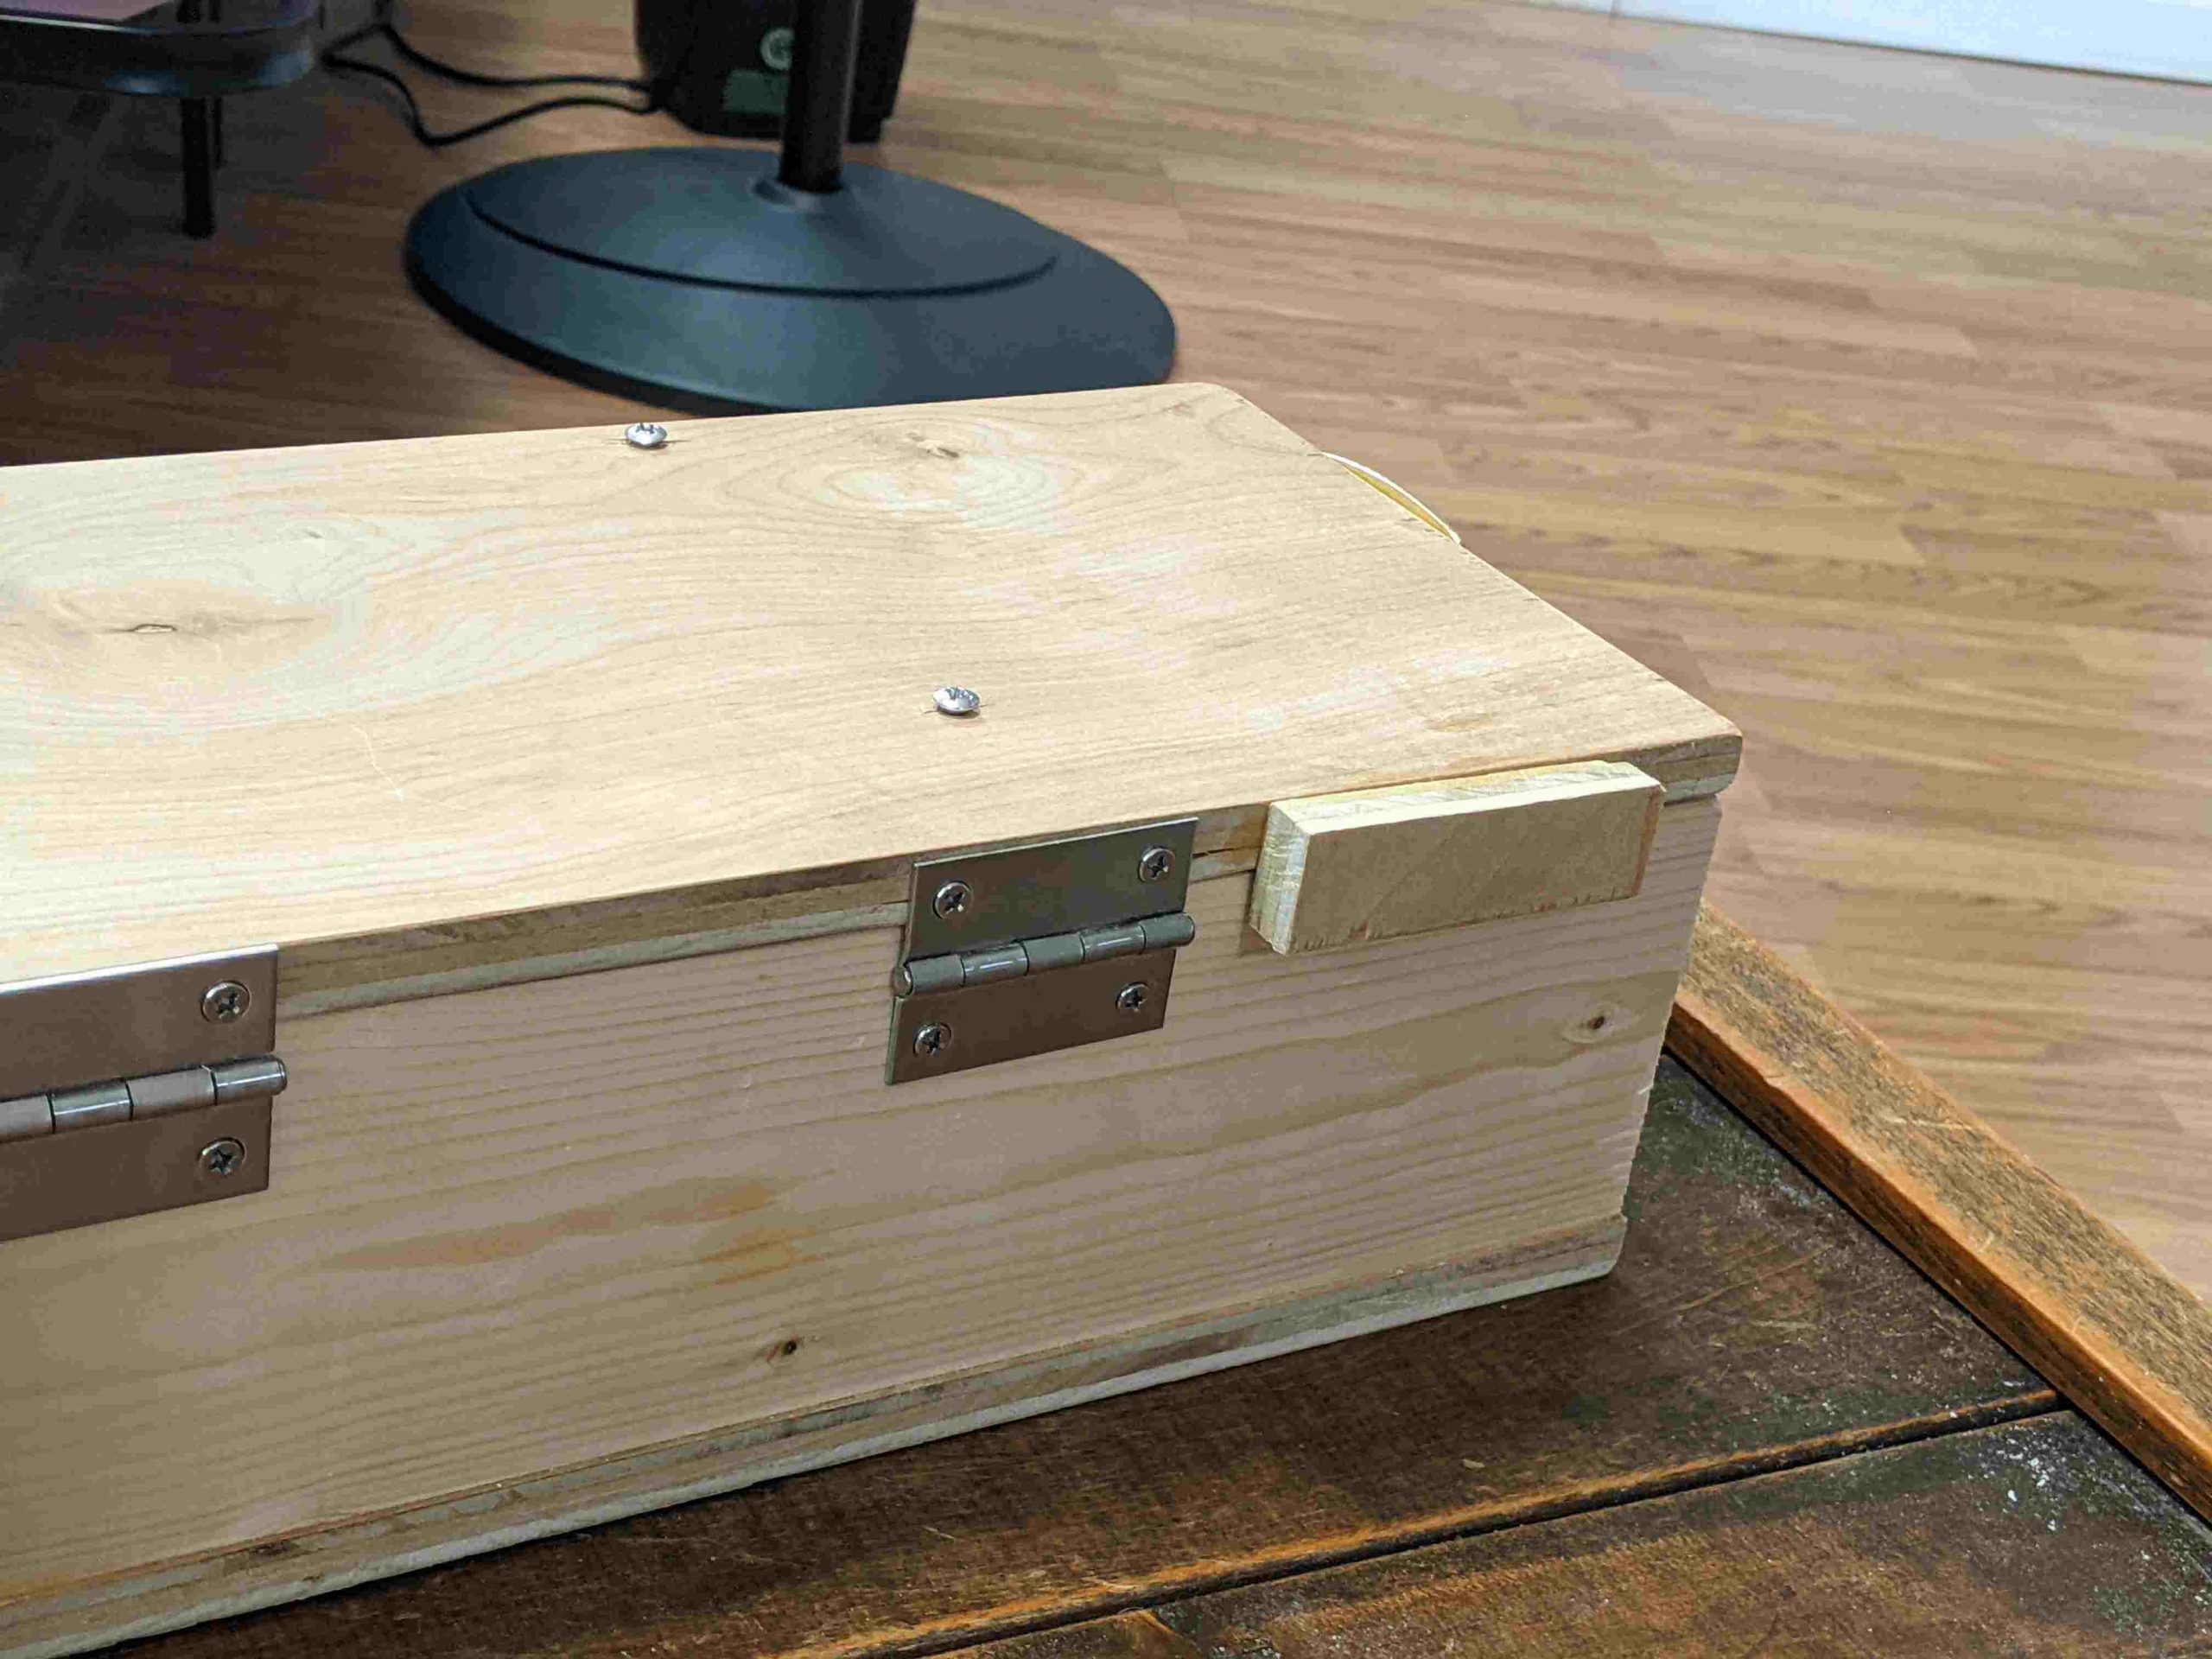
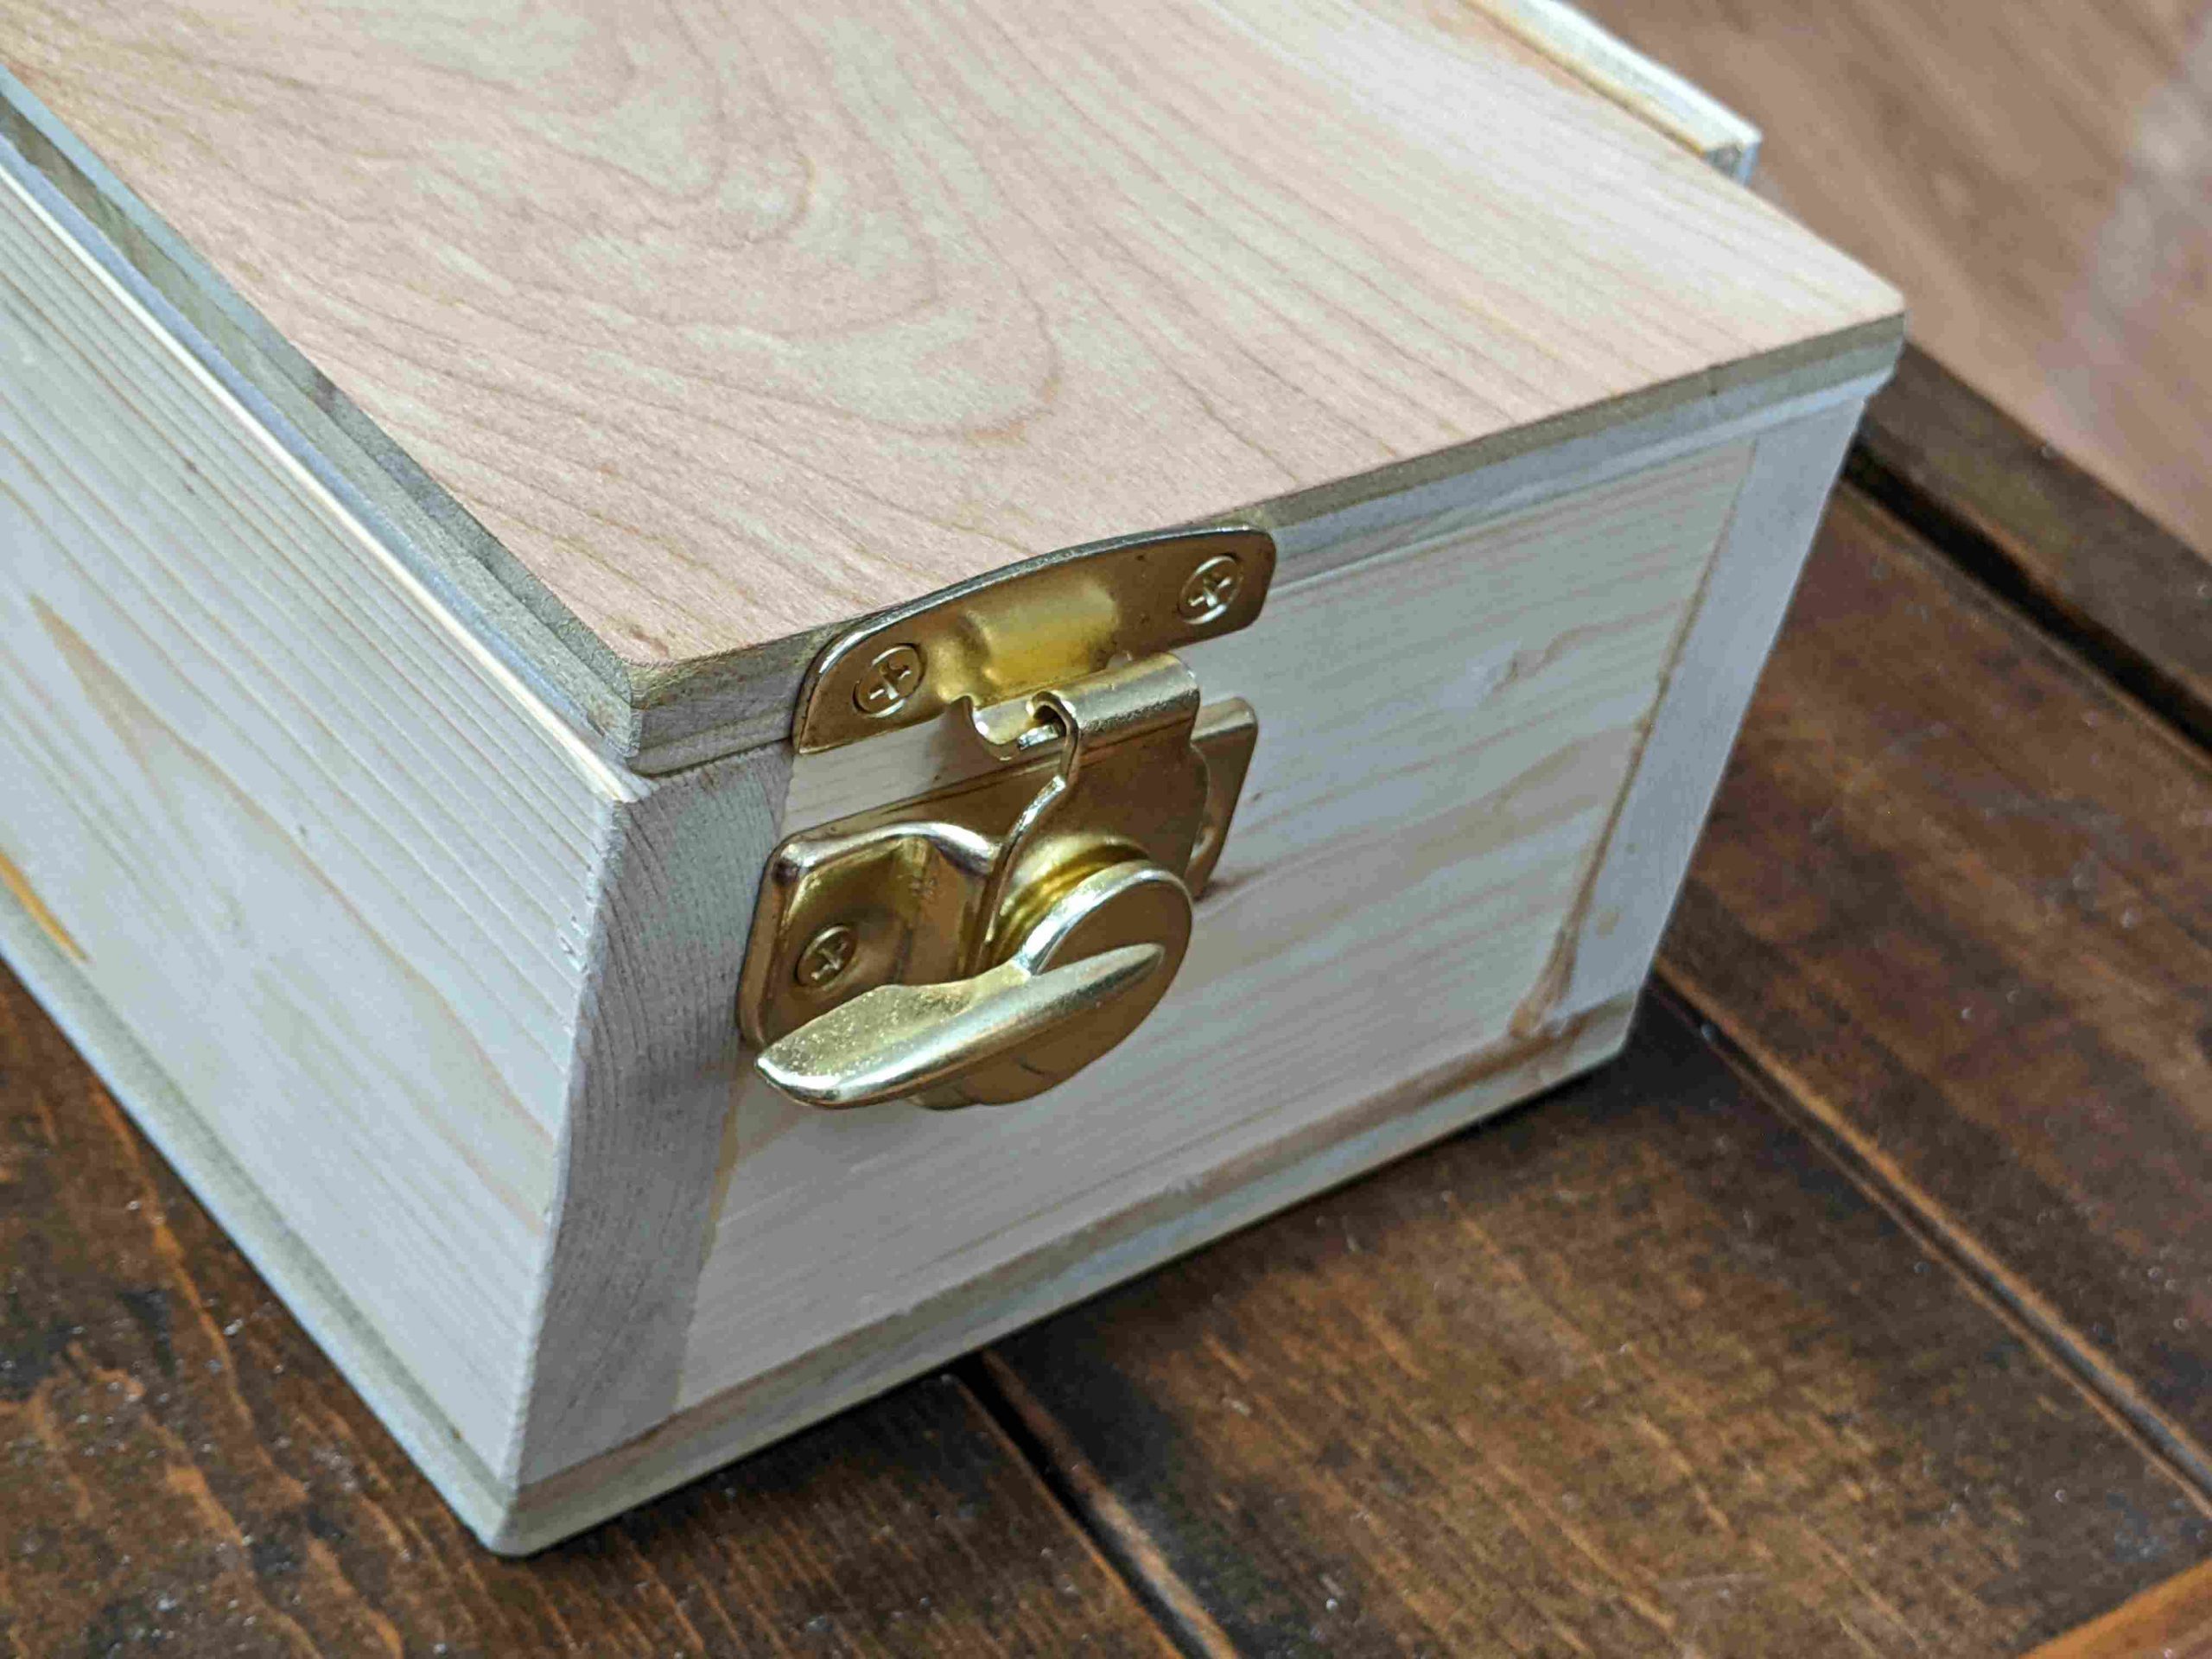
I’m not the best woodworker, but I’m slowly learning. Here are pictures of case and lid action.
Hinged lid. The screen is on the bottom of the lid.A wooden stop on each sideWooden stop with lid open. It hits the bottom, bringing the lid/screen to a rest at vertical.Latches on the sideDon’t put hinges sideways into plywood. But if you do, drill big pilot holes. Out of six screw, one cracked a little.
On the software end, shout outs to:
the creator of the ultimate-writer software, NinjaTrappeur, who has been encouraging (and explained the right way to rewrite the stack, if you wanted to today).
Ben Krasnow, who made a video about how to hack partial refresh on an e-ink display.
There’s a few things I’d like to polish still–even as a prototype this isn’t fully done.
The raspberry pi and battery pack are currently sitting loose. They need secured, especially since they can fall out the open front.
The software has some major problems. It doesn’t support Control-C, etc in linux, a must, and it doesn’t update the screen at boot until you press a key, which would be nice to fix.
There’s no power switch. Right now you have to unplug it manually.
I’d like to add a carrying handle.
I’d like to tuck away the electronics behind a panel. They’re ugly.
The wood looks rough in a few places. I want to hide some splintered wood, screw holes, etc.
The USB cables have too much stress on them. I need to make a little more room in the wood, and use a right-angled connector in one place.
There’s also no default software, but that’s a feature. A prototype is for figuring out how I want the interface to work, and what I want it to do.
Keyboard: 500mW. Other USB keyboards use zero to within my measurement abilities.
Screen: 0-250mW when updating. Hard to measure.
Pi 3: 2000mW. I have the wifi chip enabled (the default) but I’m not actively connected to wifi.
Pi Zero W: 650mW
A real-life test showed 5-6 hour battery life. Theory says (13Wh/battery * 4 batteries / 2.7 watts)=20 hours battery life. I’m investigating the discrepancy. In theory, swapping for a Pi Zero W and a better keyboard would give 72-hour battery life.
I scan each and every piece of paper that passes through my hands. All my old to-do lists, bills people send me in the mail, the manual for my microwave, everything. I have a lot of scans.
scan-organizer is a tool I wrote to help me neatly organize and label everything, and make it searchable. It’s designed for going through a huge backlog by hand over the course of weeks, and then dumping a new set of raw scans in whenever afterwards. I have a specific processing pipeline discussed below. However if you have even a little programming skill, I’ve designed this to be modified to suit your own workflow.
Input and output
The input is some raw scans. They could be handwritten notes, printed computer documents, photos, or whatever.
The final product is that for each file like ticket.jpg, we end up with ticket.txt. This has metadata about the file (tags, category, notes) and a transcription of any text in the image, to make it searchable with grep & co.
---
category: movie tickets
filename: seven psychopaths ticket.jpg
tags:
- cleaned
- categorized
- named
- hand_transcribe
- transcribed
- verified
---
Rialto Cinemas Elmwood
SEVEN PSYCHOPAT
R
Sun Oct 28 1
7:15 PM
Adult $10.50
00504-3102812185308

Rialto Cinemas Gift Cards
Perfect For Movie Lovers!
Here are some screenshots of the process. Apologizies if they’re a little big! I just took actual screenshots.
At any point I can exit the program, and all progress is saved. I have 6000 photos in the backlog–this isn’t going to be a one-session thing for me! Also, everything has keyboard shortcuts, which I prefer.
Phase 1: Rotating and Cropping
First, I clean up the images. Crop them, rotate them if they’re not facing the right way. I can rotate images with keyboard shortcuts, although there are also buttons at the bottom. Once I’m done, I press a button, and scan-organizer advanced to the next un-cleaned photo.
Phase 2: Sorting into folders
Next, I sort things into folders, or “categories”. As I browse folders, I can preview what’s already in that folder.
Phase 3: Renaming Images
Renaming images comes next. For convenience, I can browse existing images in the folder, to help name everything in a standard way.
Phase 4: Tagging images
I tag my images with the type of text. They might be handwritten. Or they might be printed computer documents. You can imagine extending the process with other types of tagging for your use case.
Not yet done: OCR
Printed documents are run through OCR. This isn’t actually done yet, but it will be easy to plug in. I will probably use tesseract.
Phase 5: Transcribing by hand
I write up all my handwritten documents. I have not found any useful handwriting recognition software. I just do it all by hand.
The point of scan-organizer is to filter based on tags. So only images I’ve marked as needing hand transcription are shown in this phase.
Phase 6: Verification
At the end of the whole process, I verify that each image looks good, and is correctly tagged and transcribed.
I started work on my publishing website again (Dead Tree Publishing). The idea is to make a really, really convenient way to get a physical copy of a PDF/epub book. Think: “send me a printed copy of this mailing list / tumblr”. Right now things are looking encouraging.
I use a “back end” publisher who does all the actual printing, and the one I was using before charged quite a lot and wasn’t amazingly fast; I just used them because they were the only publisher who was at all up to date. Seriously, order of $100 – $200 for a 100 page book, just absolutely ridiculous levels of expensive. I’m switching over to a new publisher who can offer that same book for something like $7 (maybe $12 in hardback), which is absolutely reasonable, and with similar 2-week turnaround times.
First you upload a PDF:
Uploading a book
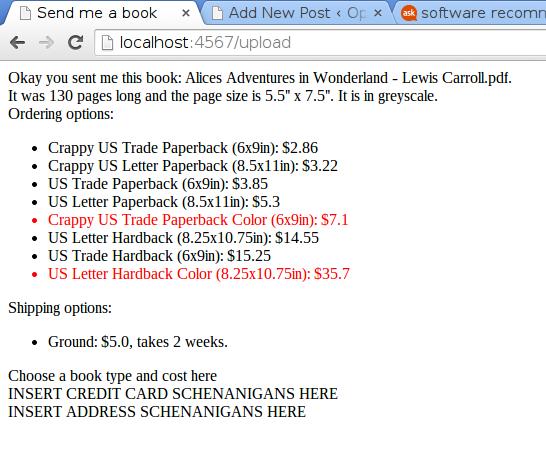
Then I tell you what your ordering options are (hardcover, softcover, color), and what they cost. I’m also supposed to ask you your address to ship the book, and for you to pay for it, but those aren’t done yet.
Book-buying options
Hopefully in the next day or two I’ll have something up and running so people can order books, and then make it gradually nicer! I’m very excited about this website existing.


