
I’ve been prototyping an e-ink laptop.
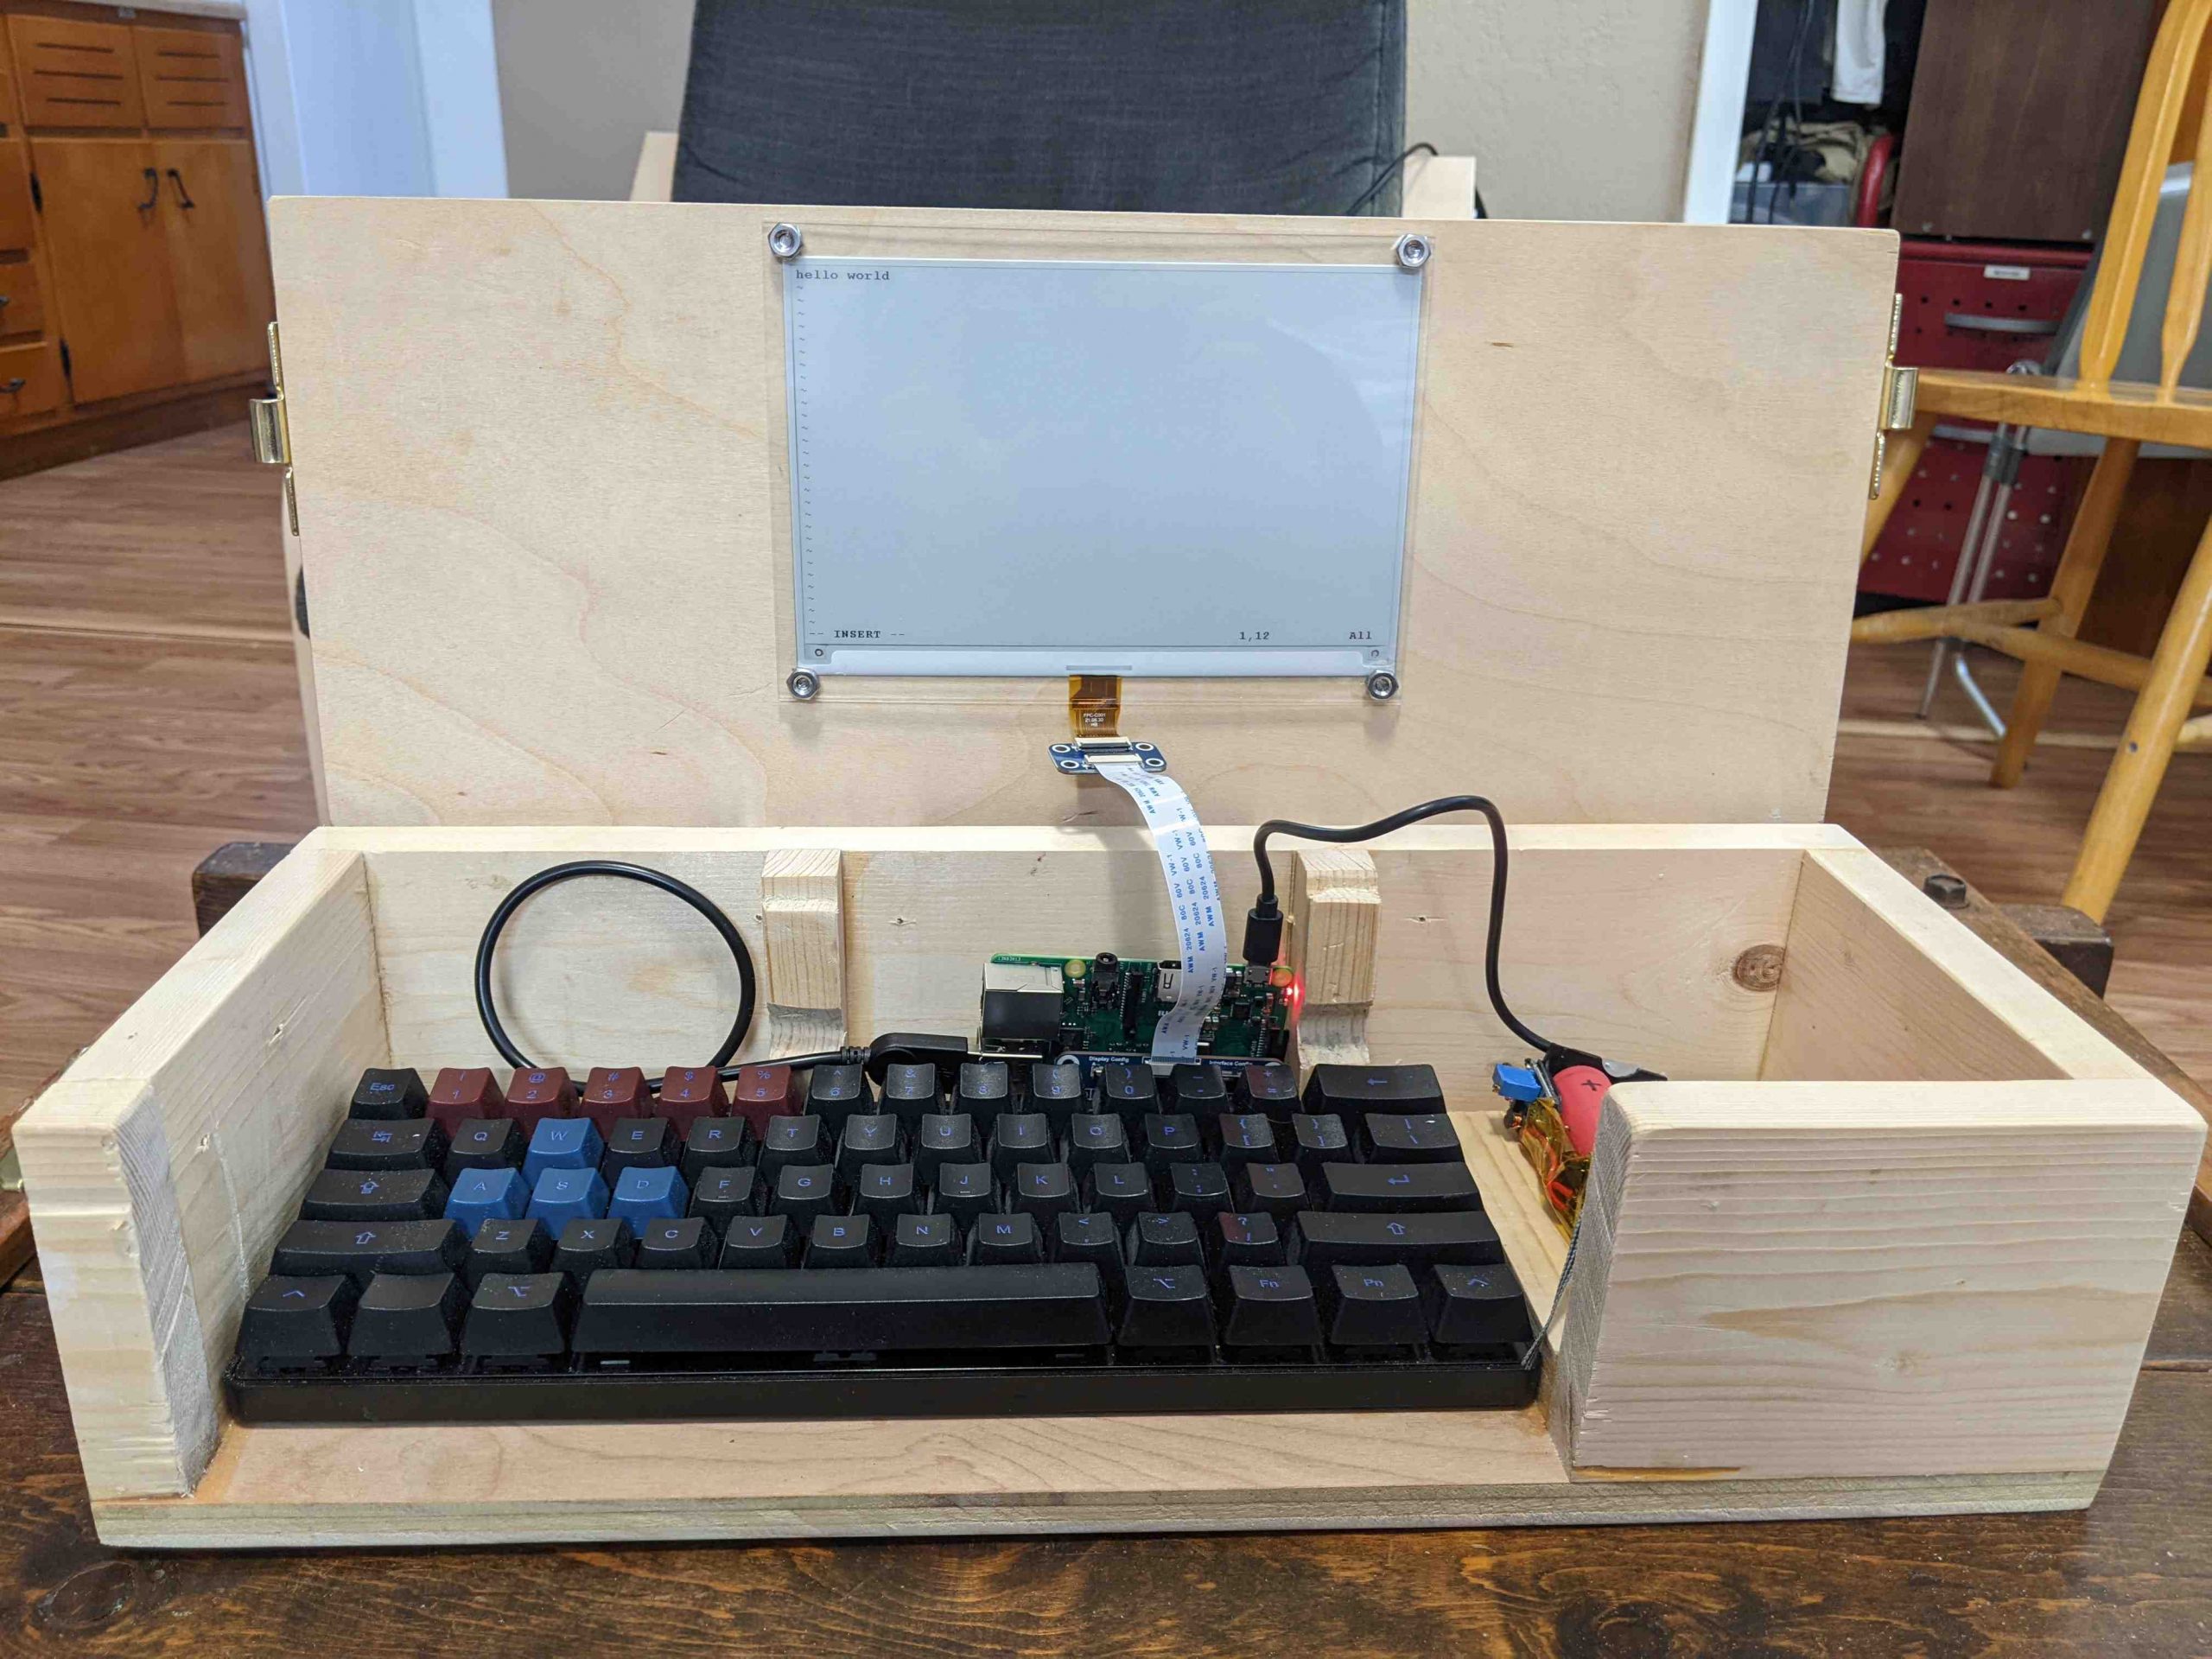
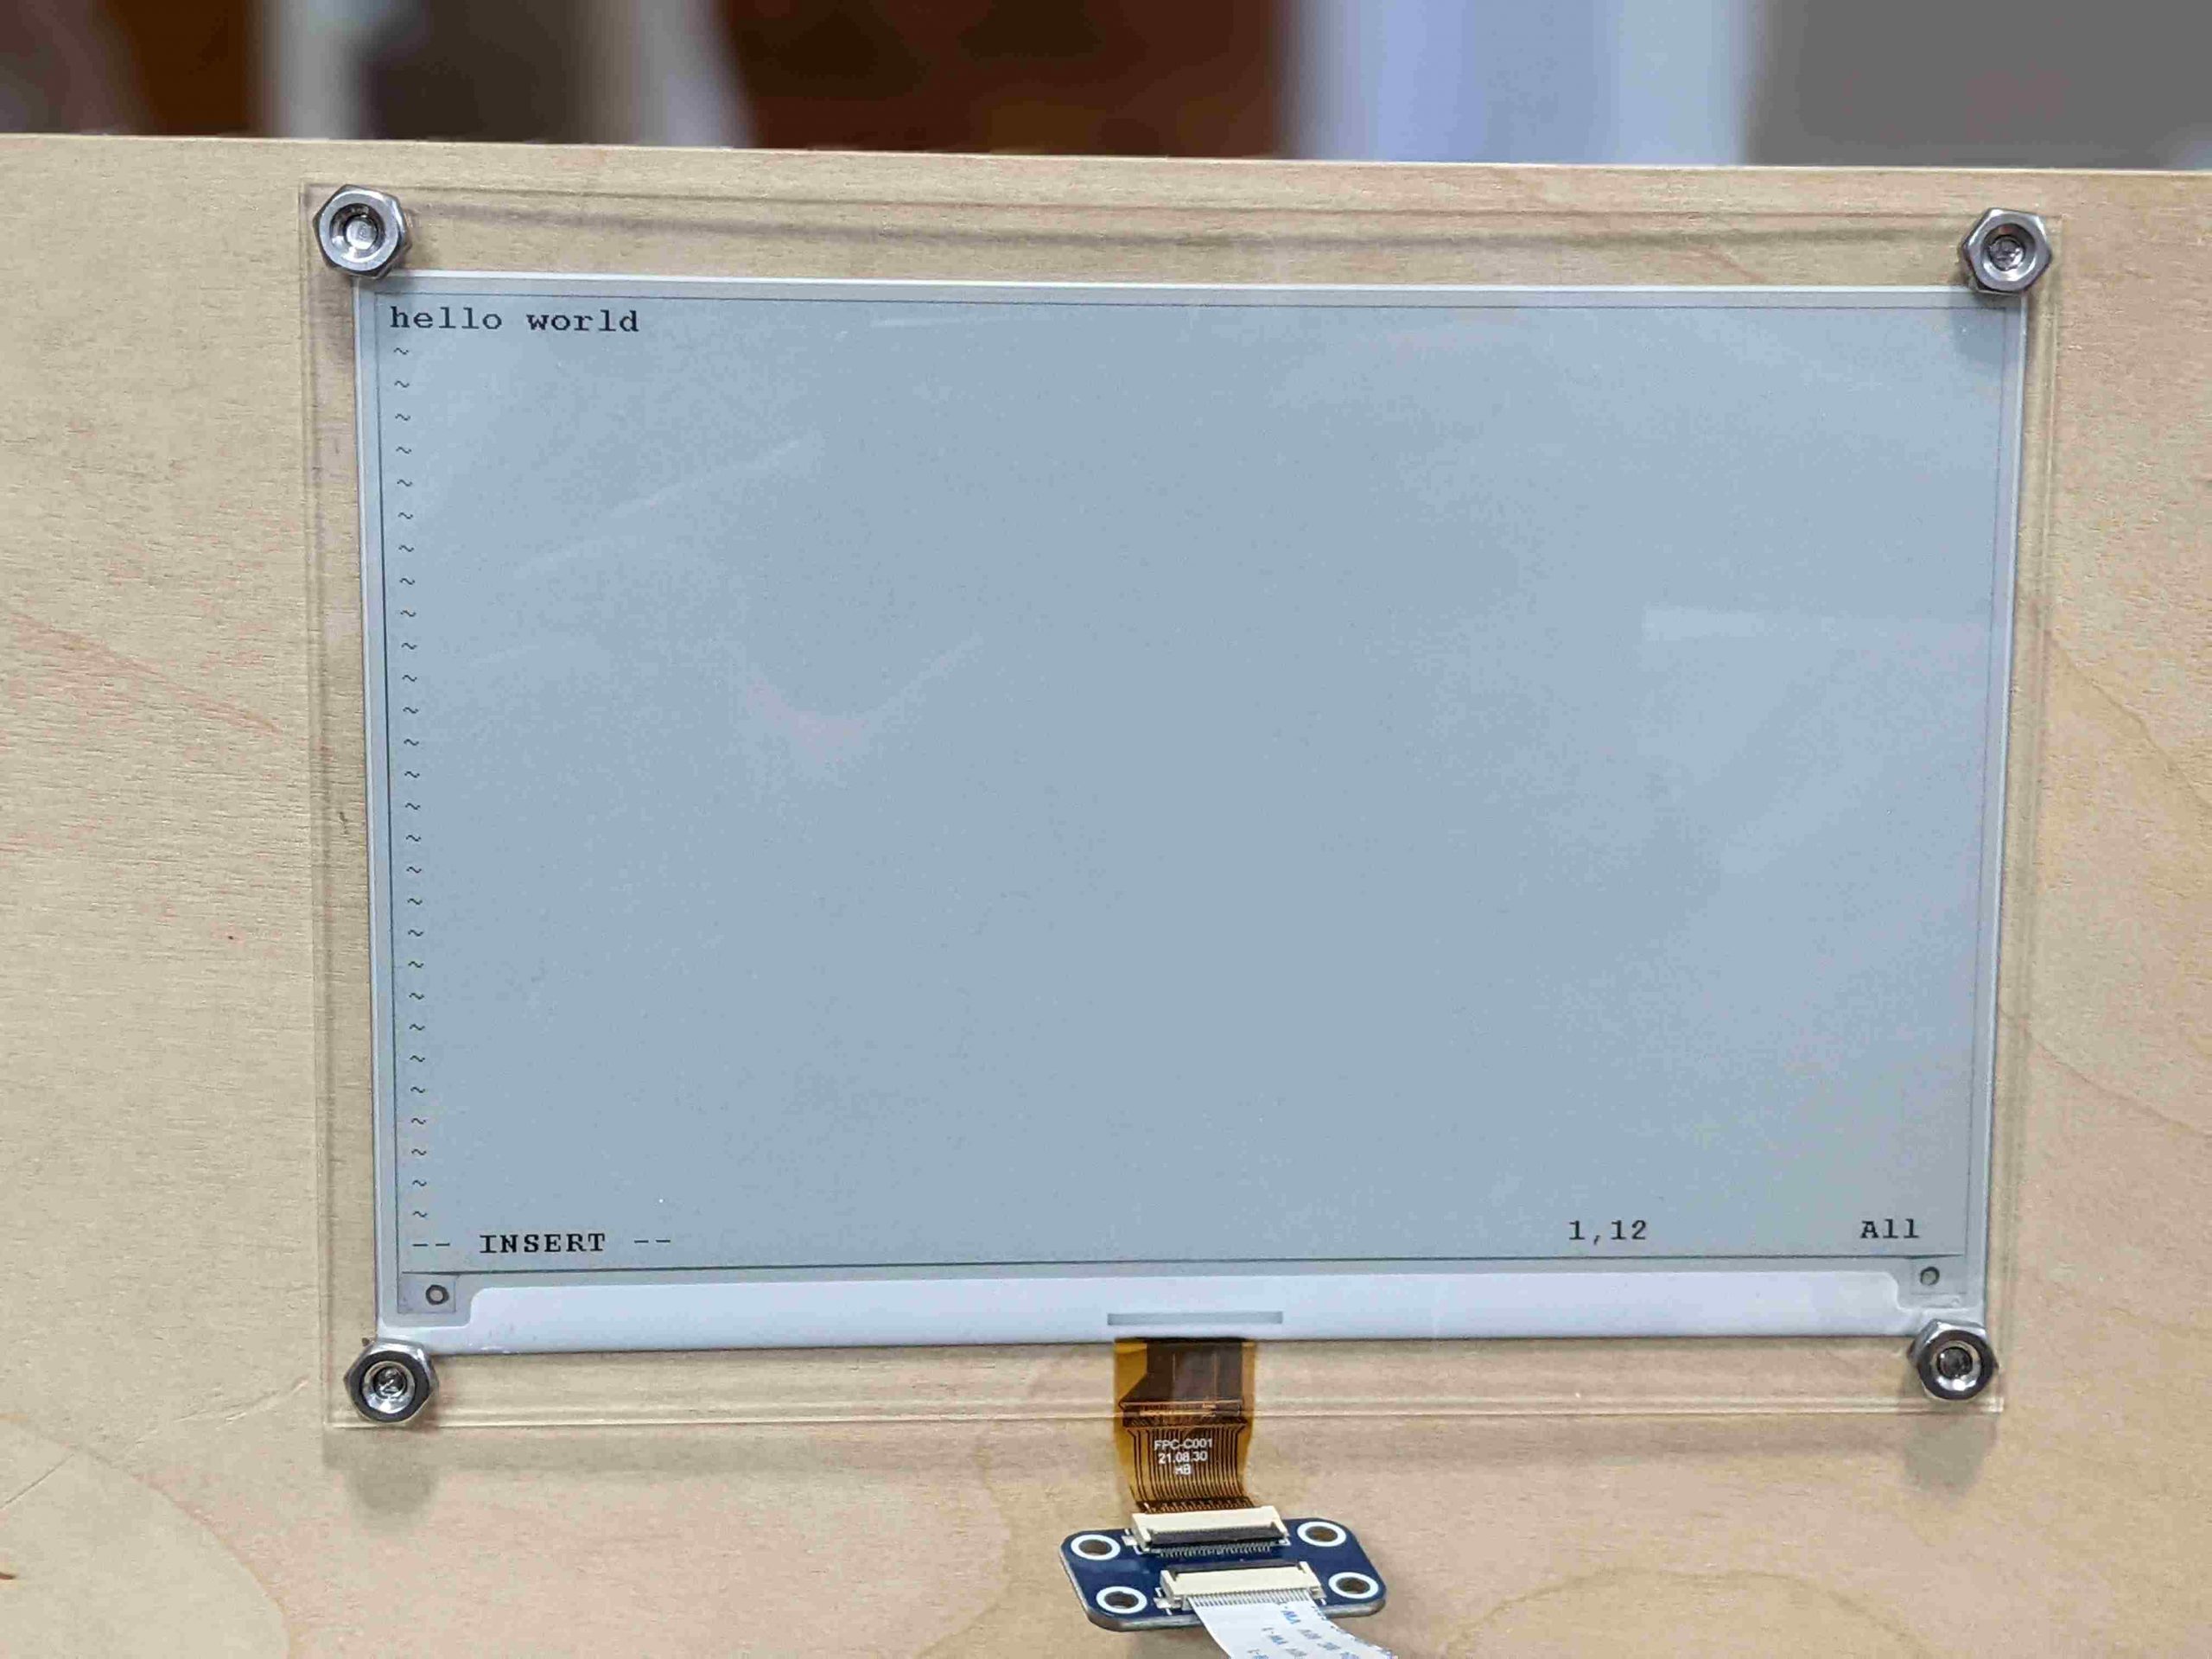
I’m not the first, there have been many other such devices before. I came up with the idea independently, but the specifics are heavily inspired by the Ultimate Writer by NinjaTrappeur in 2018. Similar to him, my use case is typing without distractions, and reading books. E-ink displays are quite slow to update, so I don’t think it can serve as a general purpose computer. Here’s a video of it in action. It operates at one frame per second.
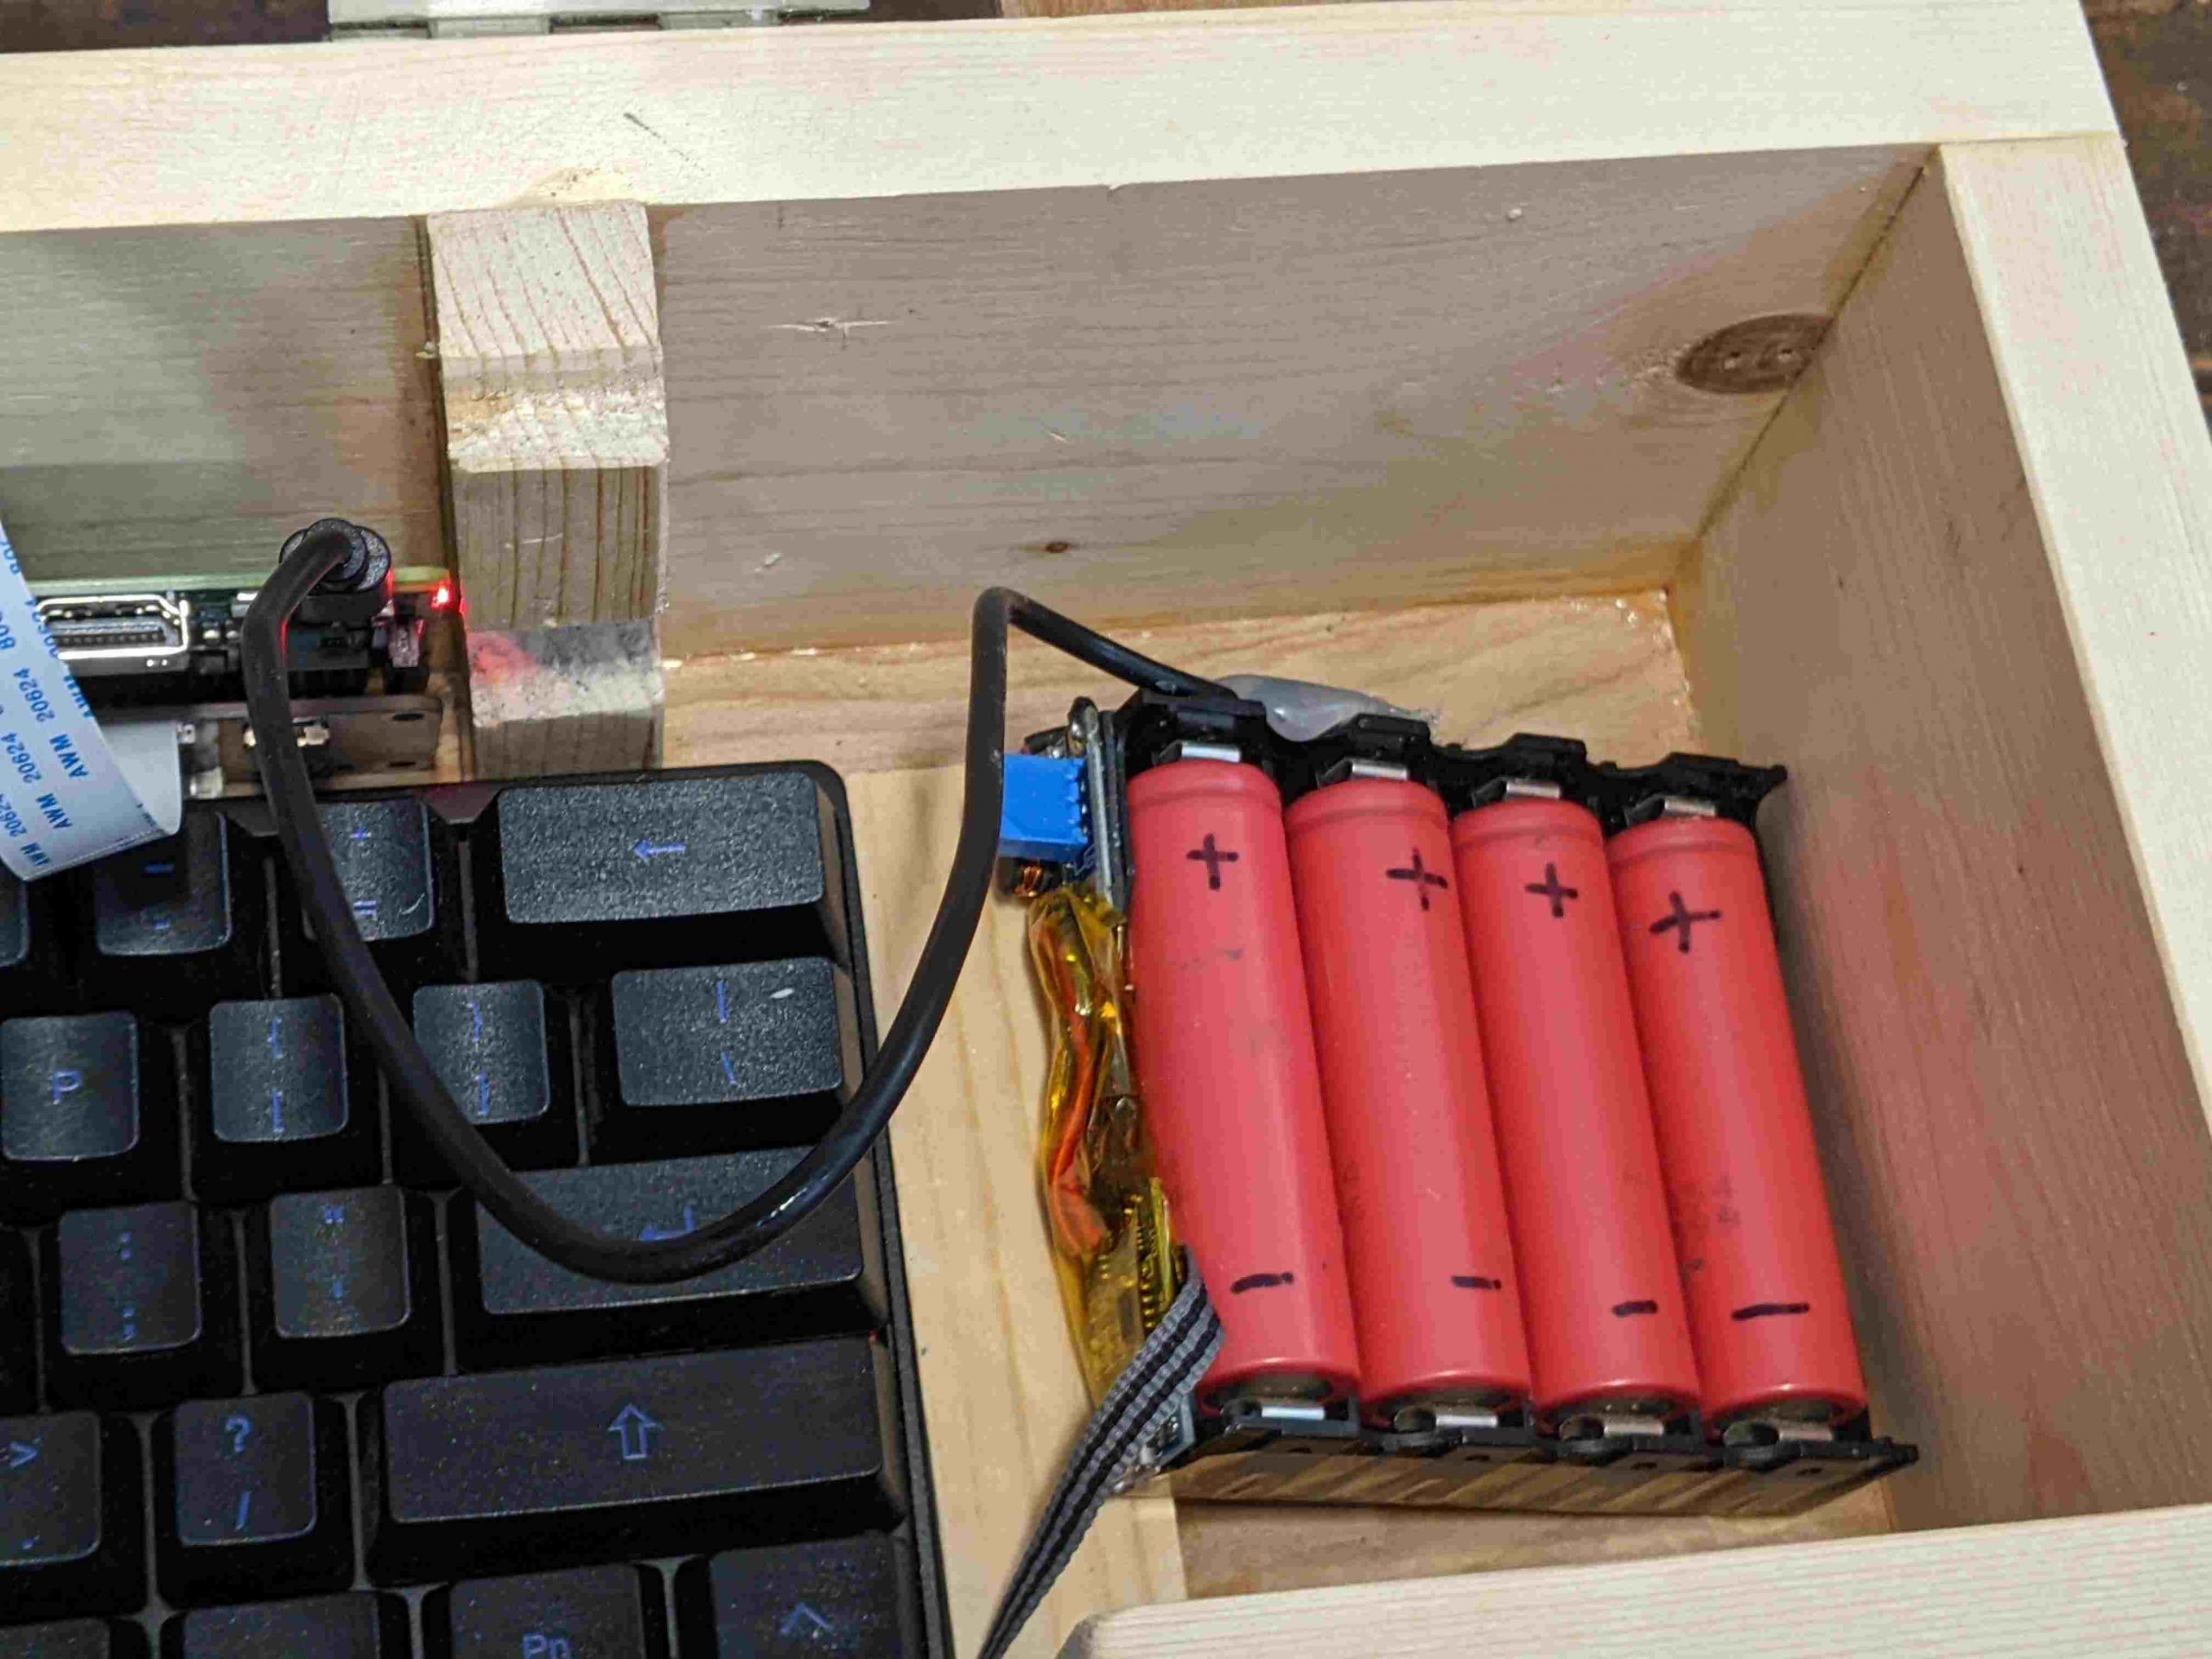
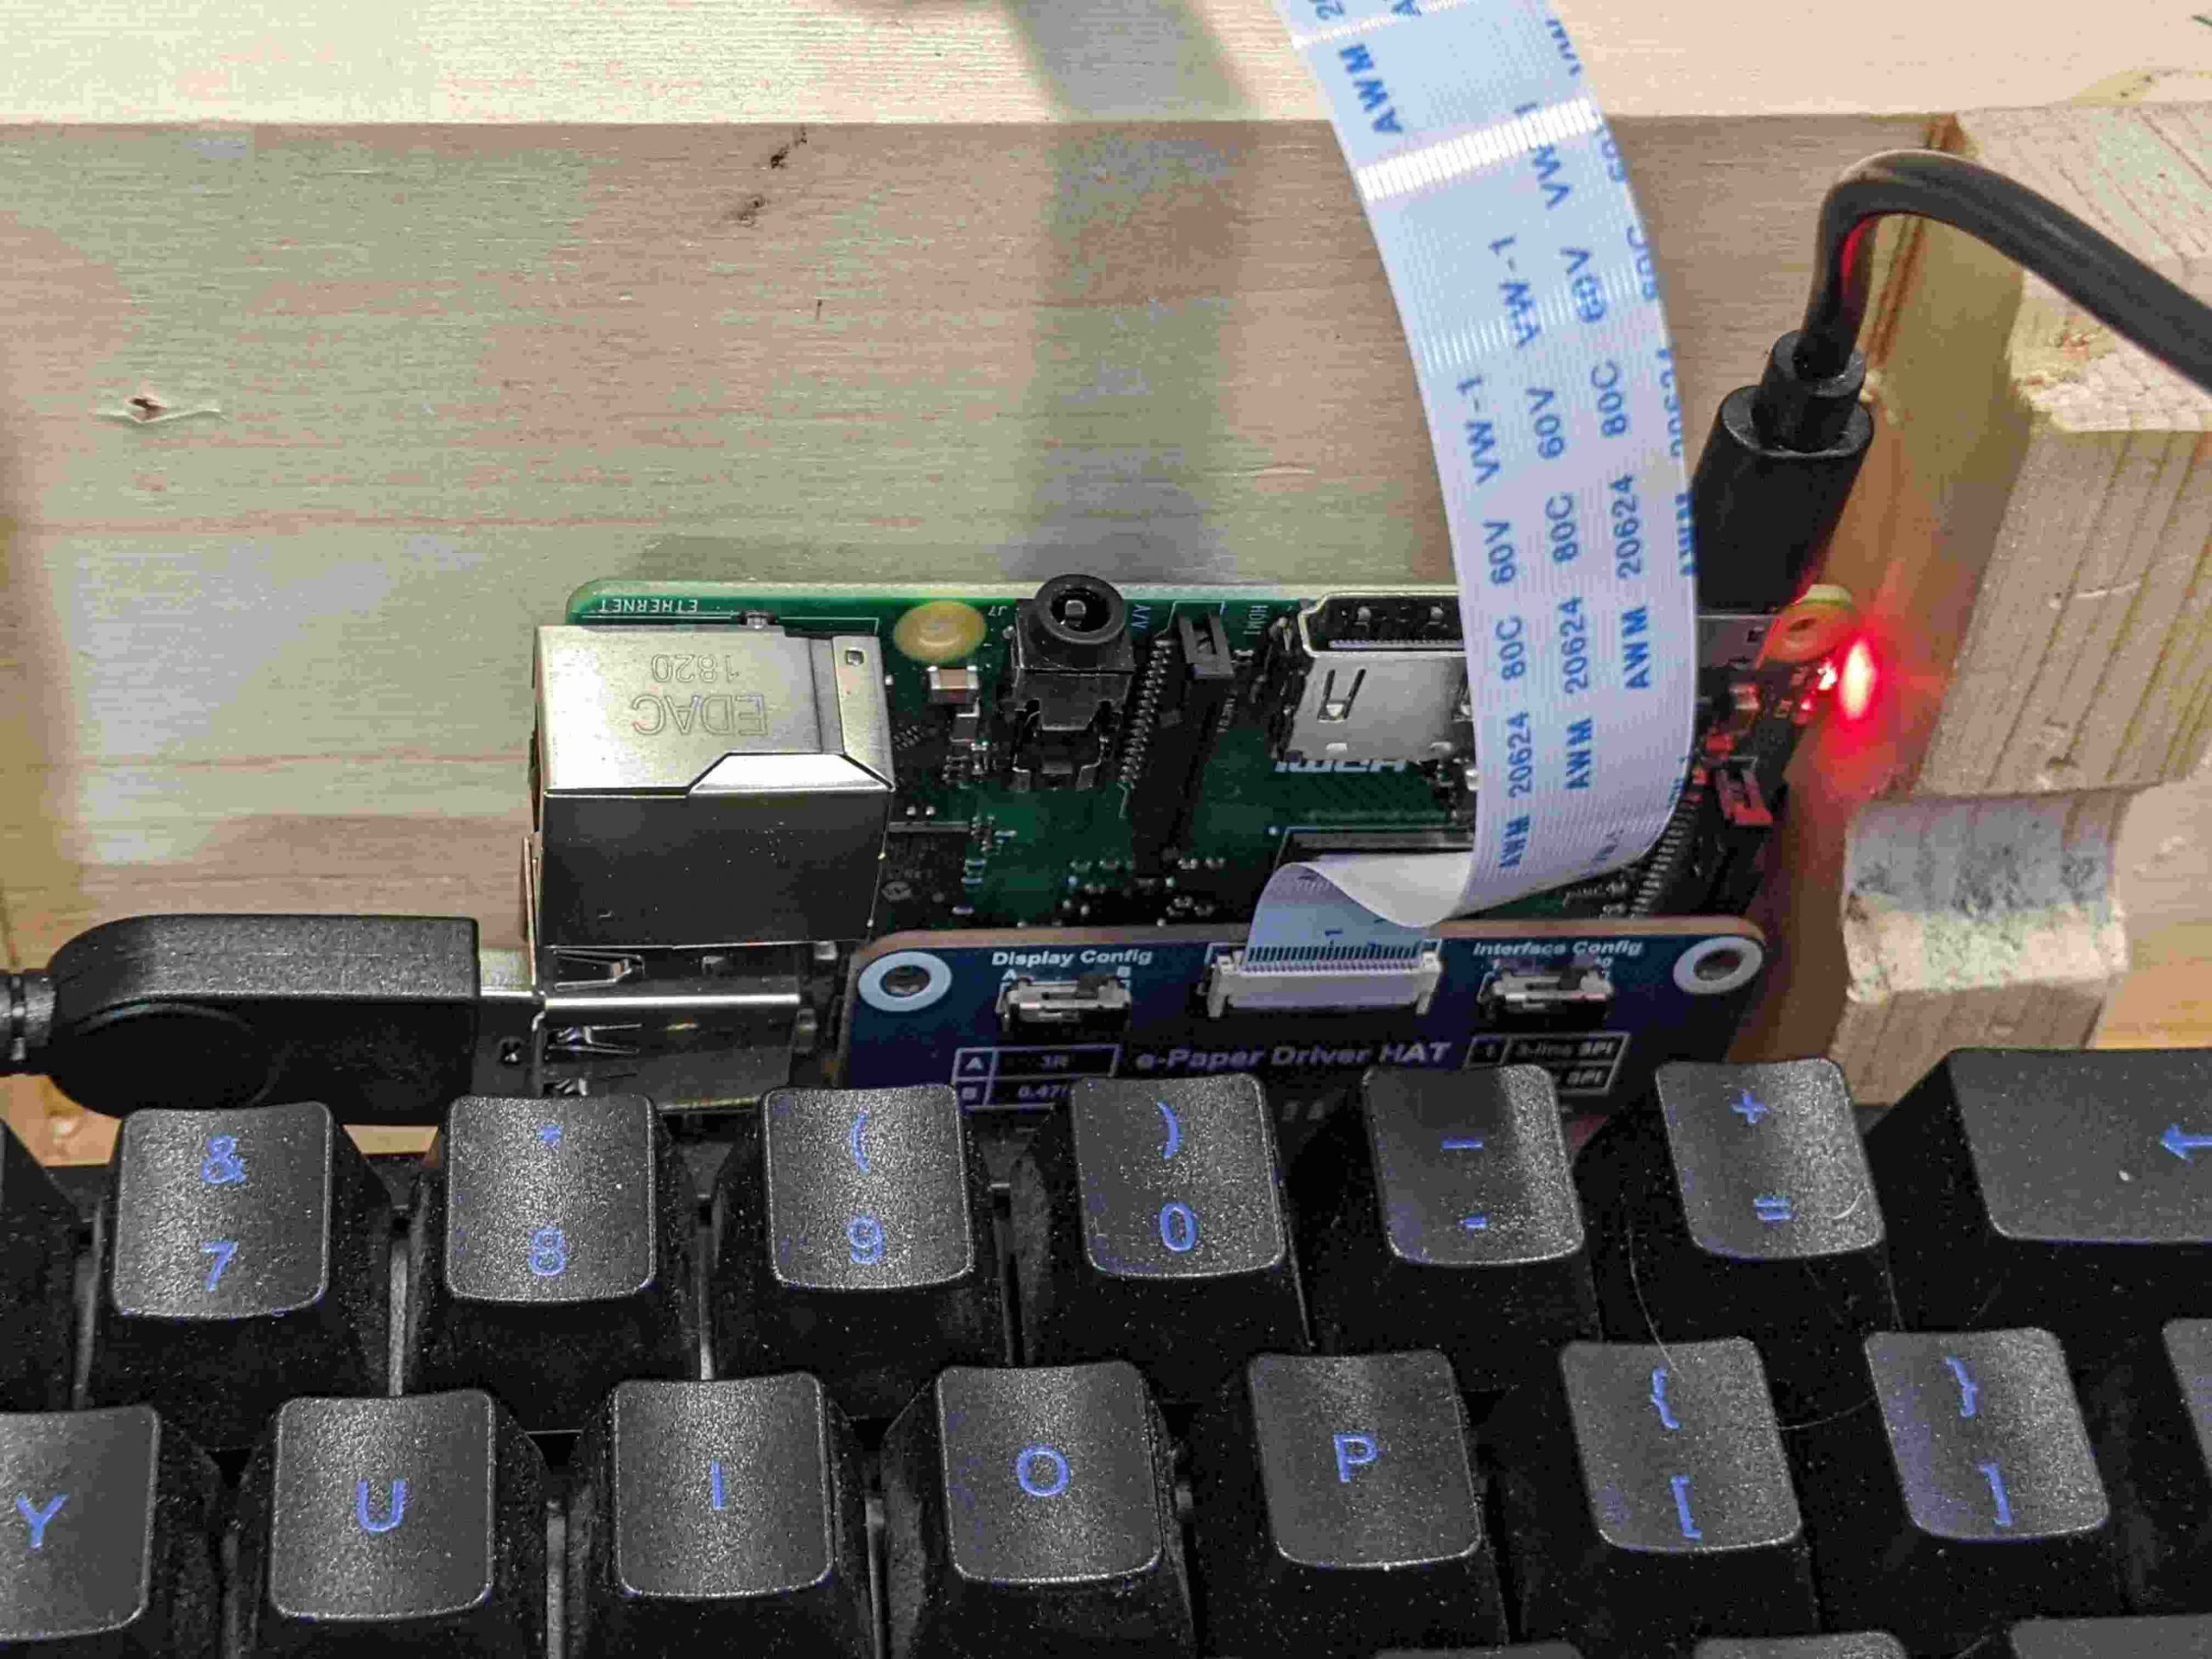
The electronics are not fully done. They need better secured, and I’m going to redo the cabling and power back.

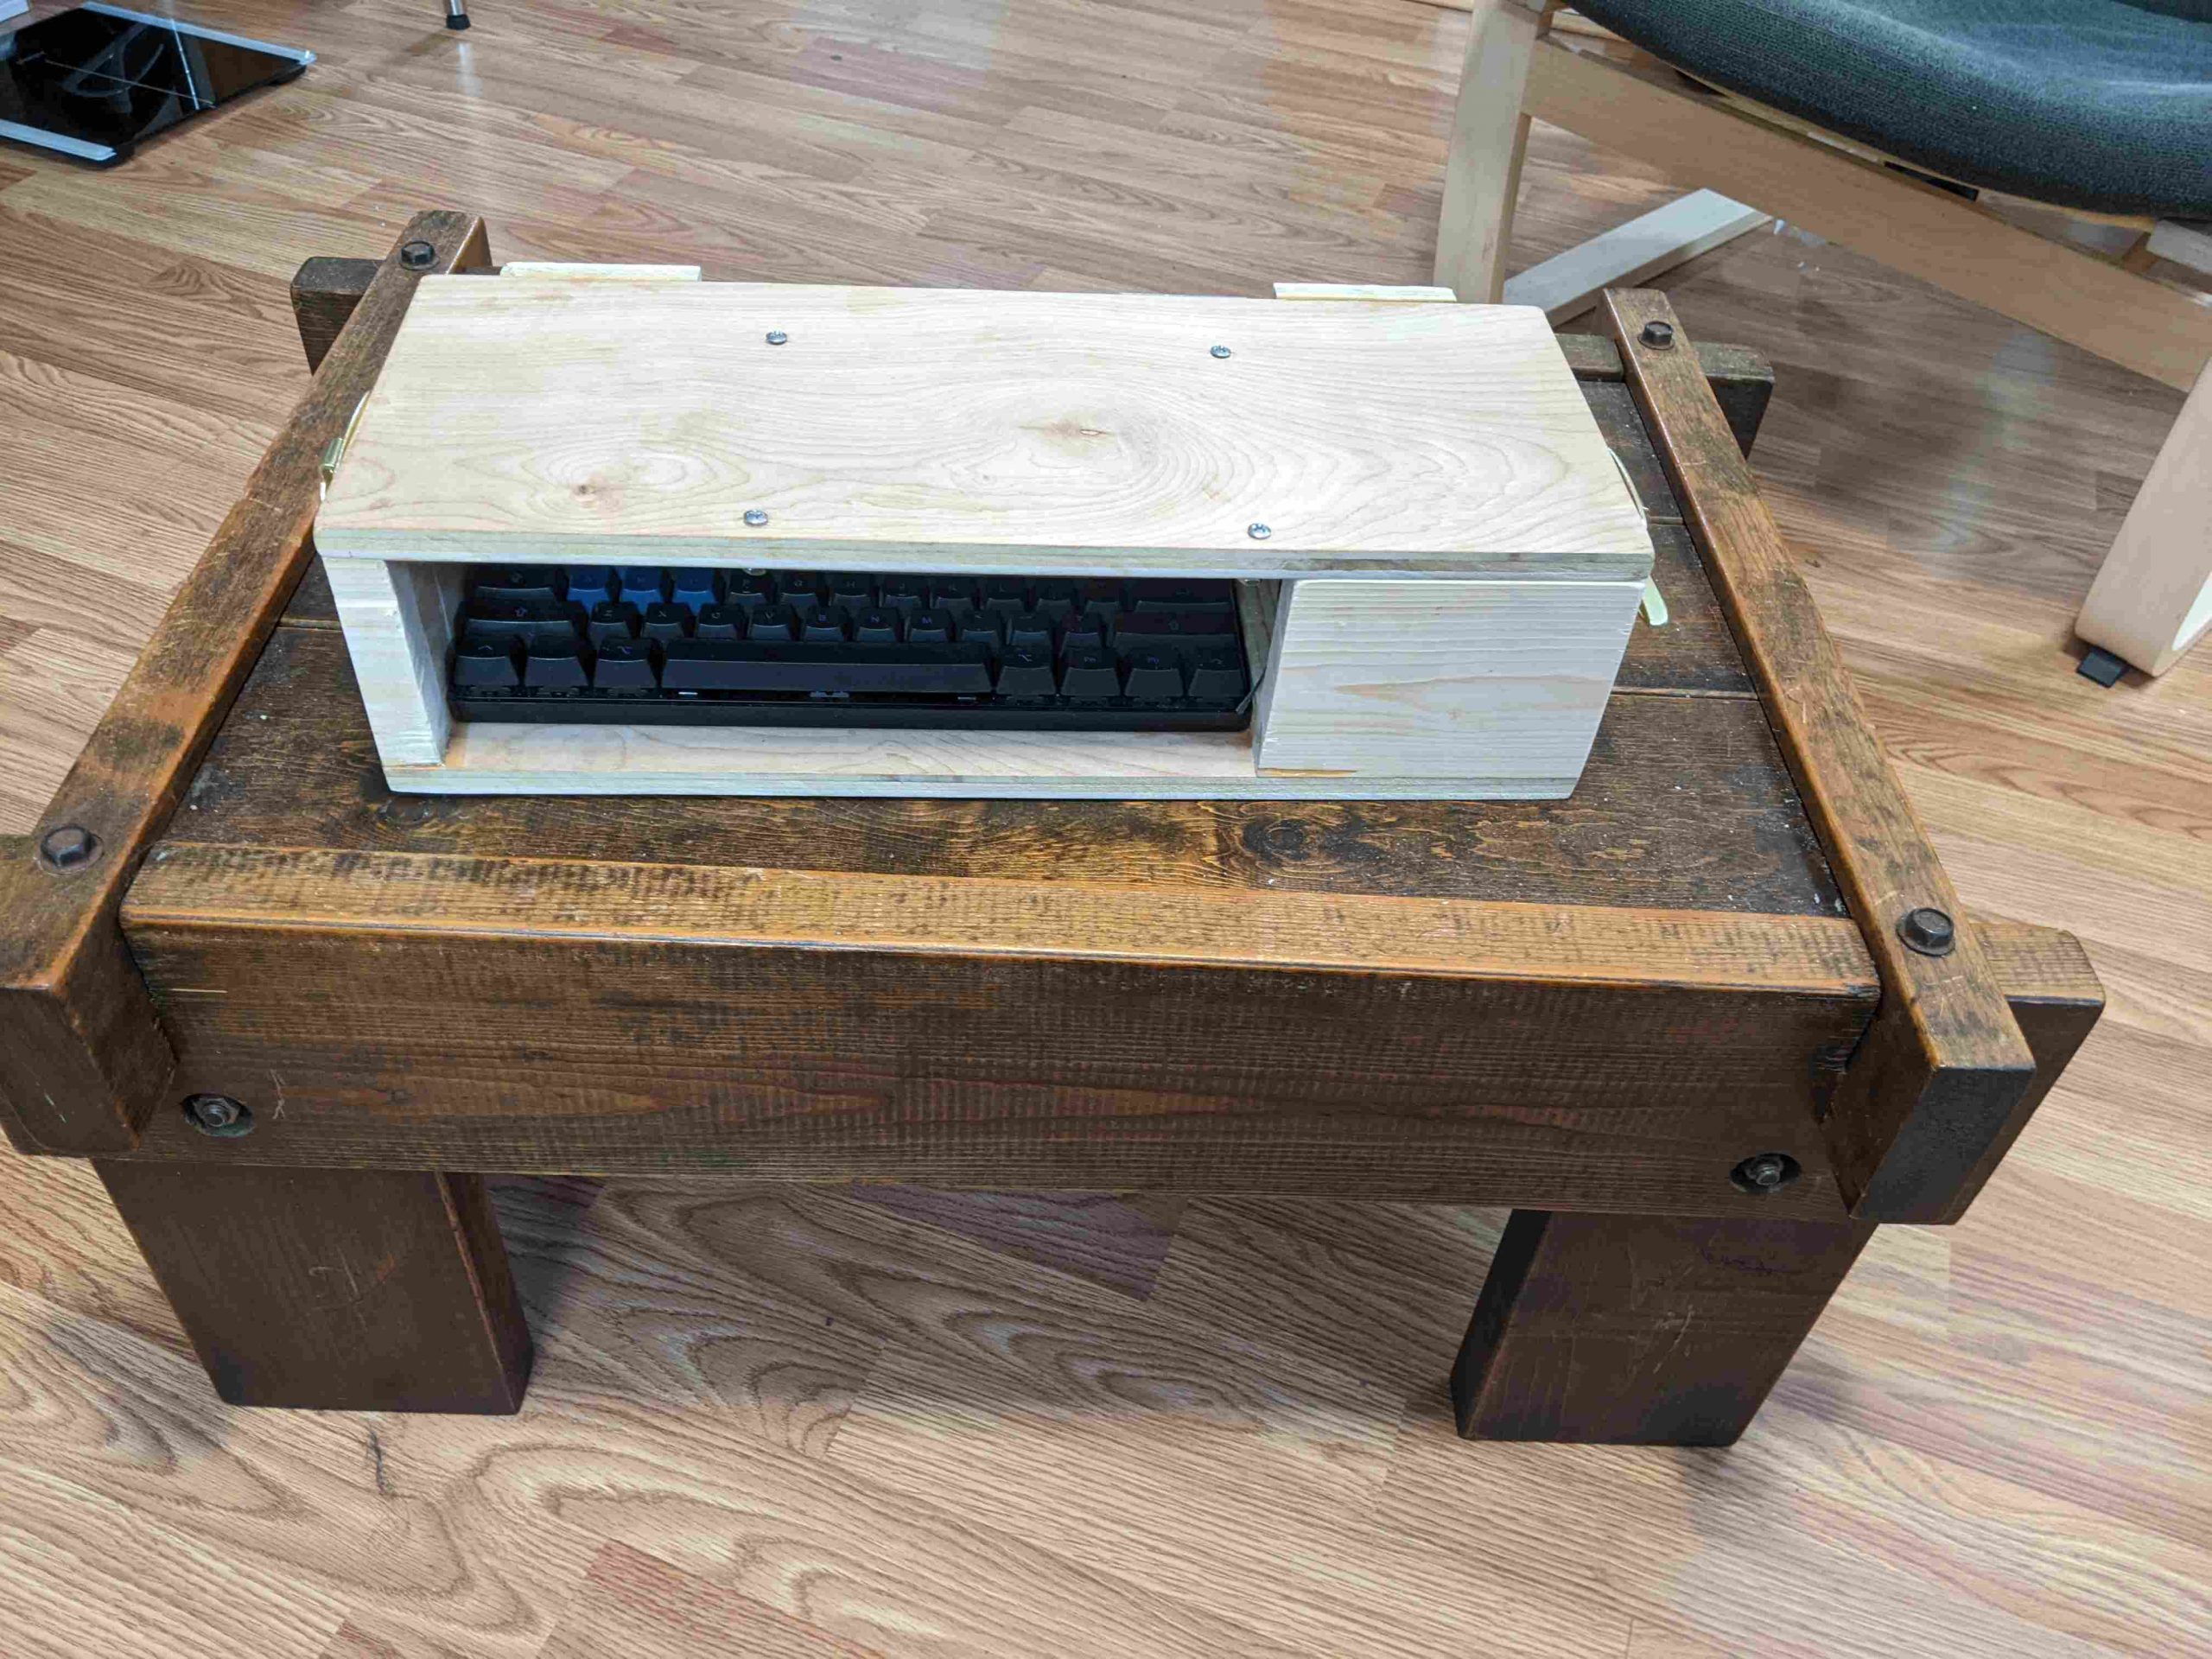
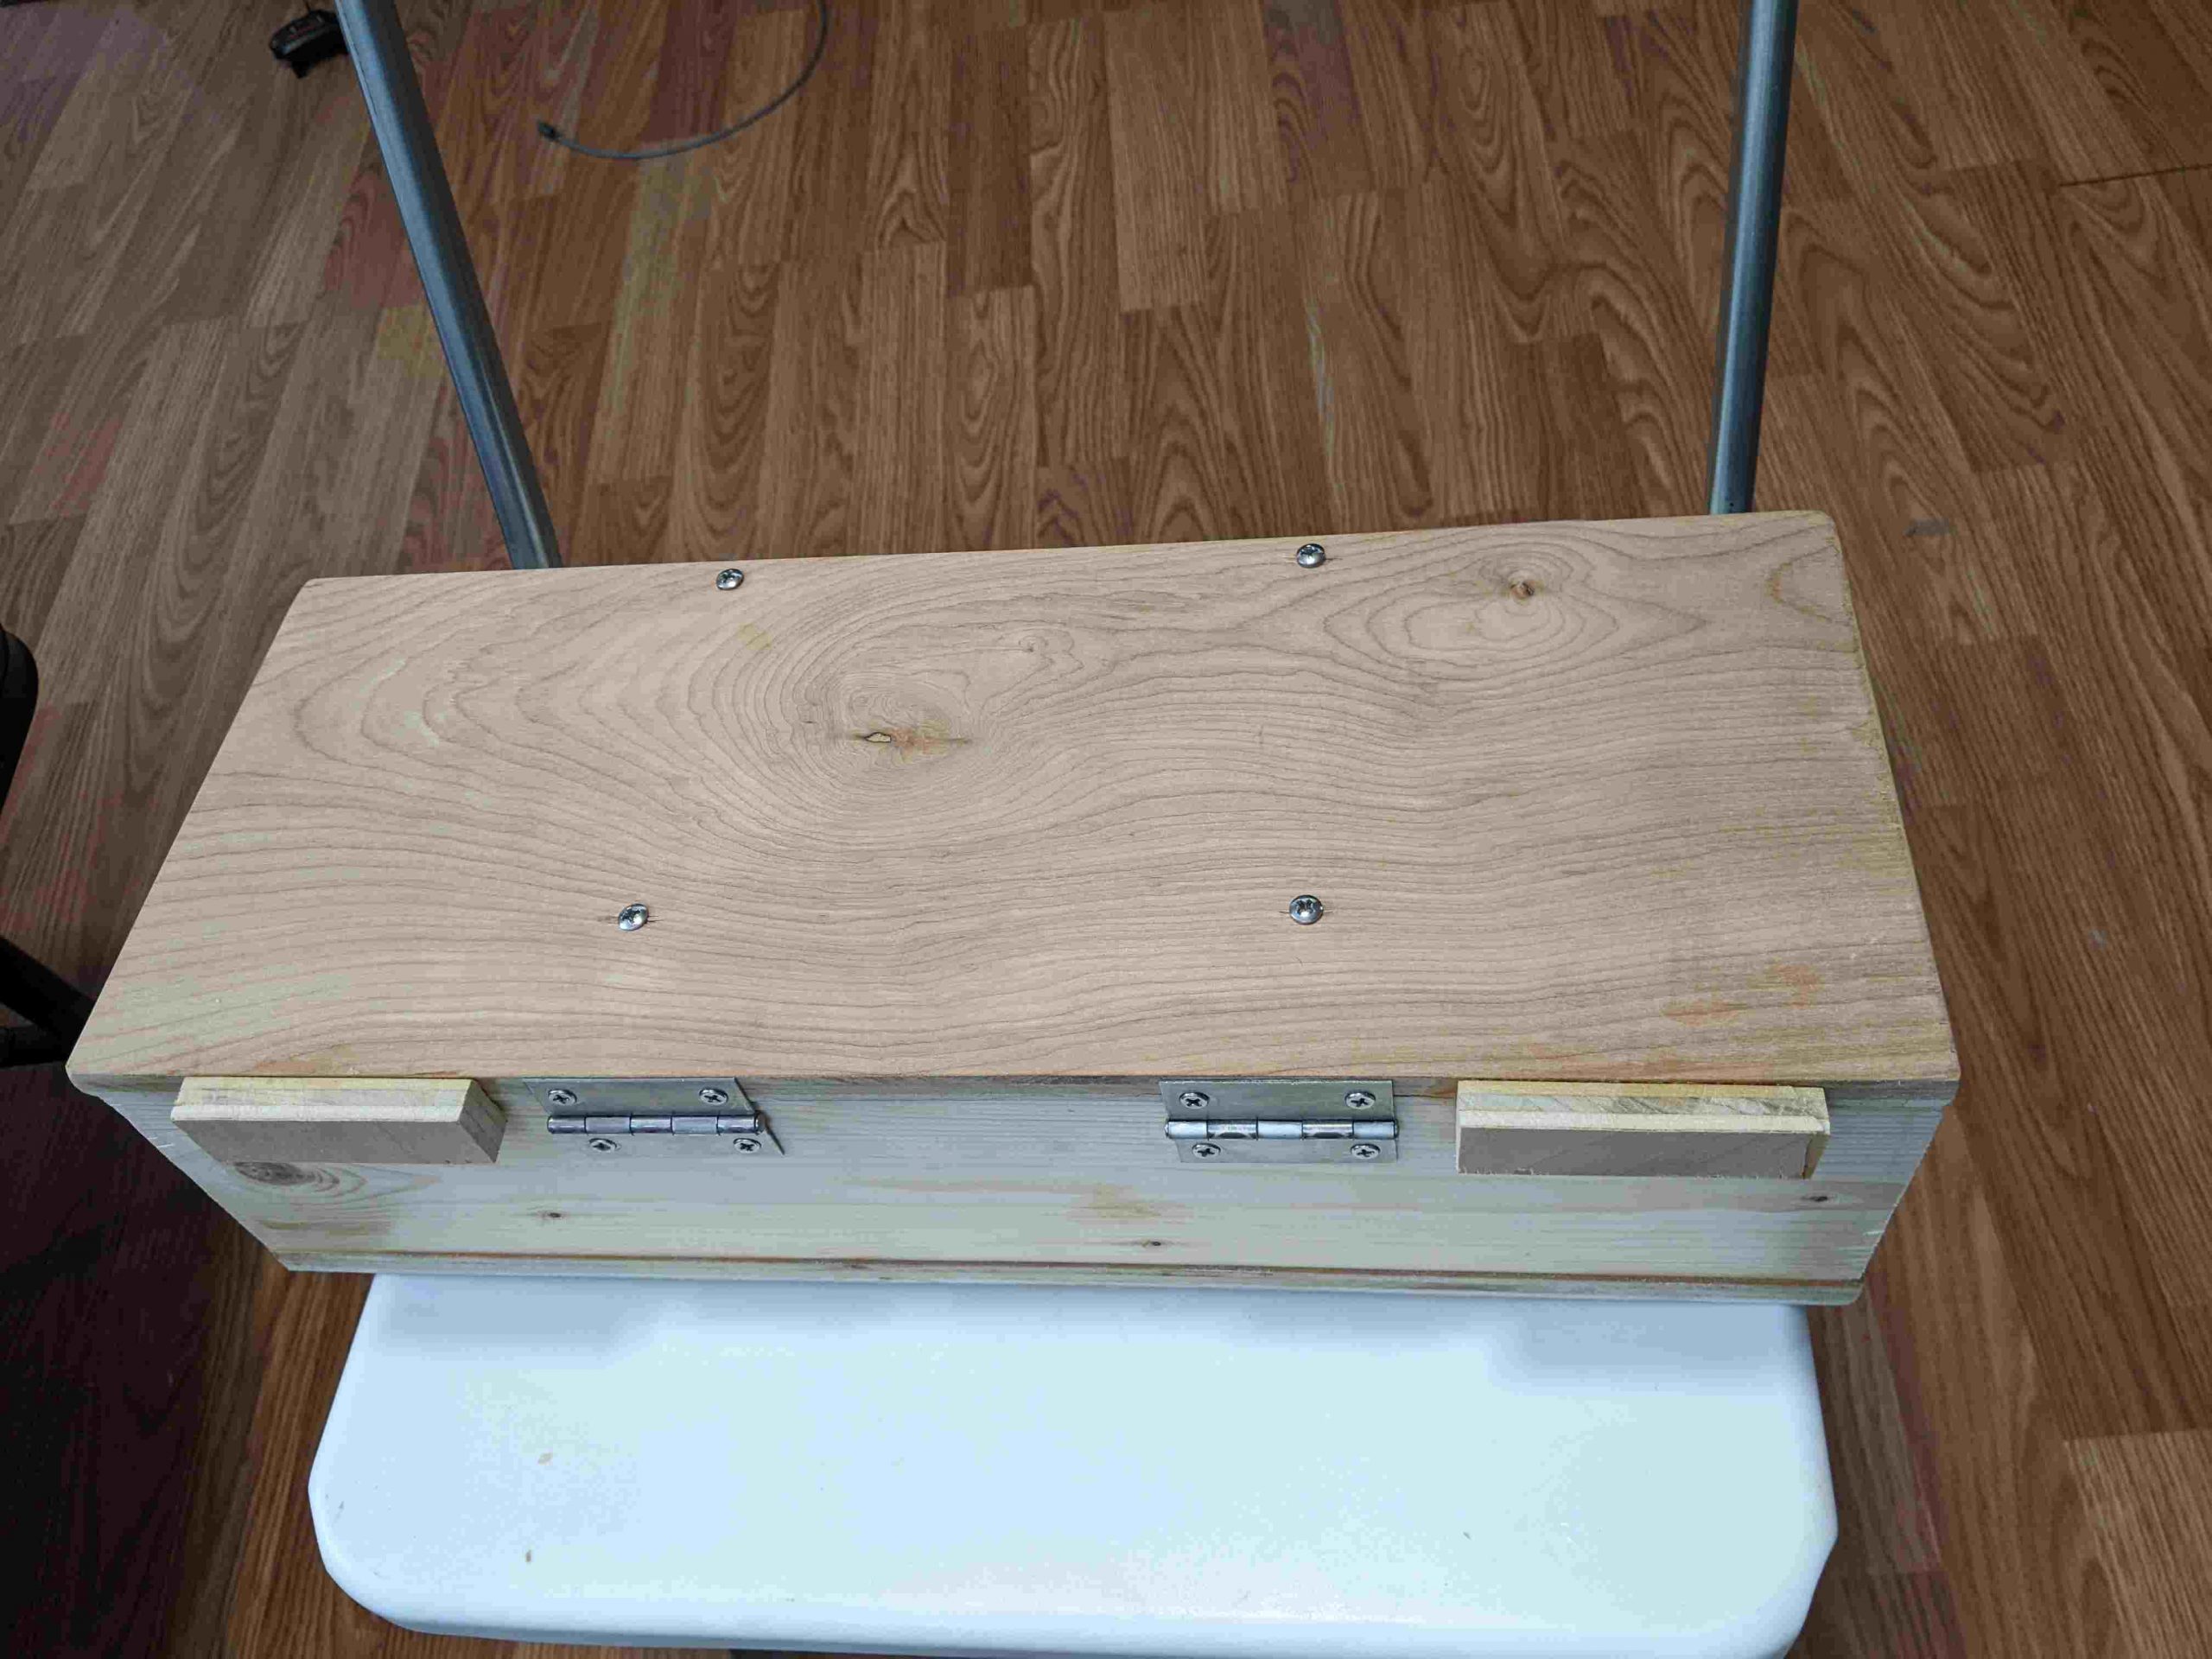
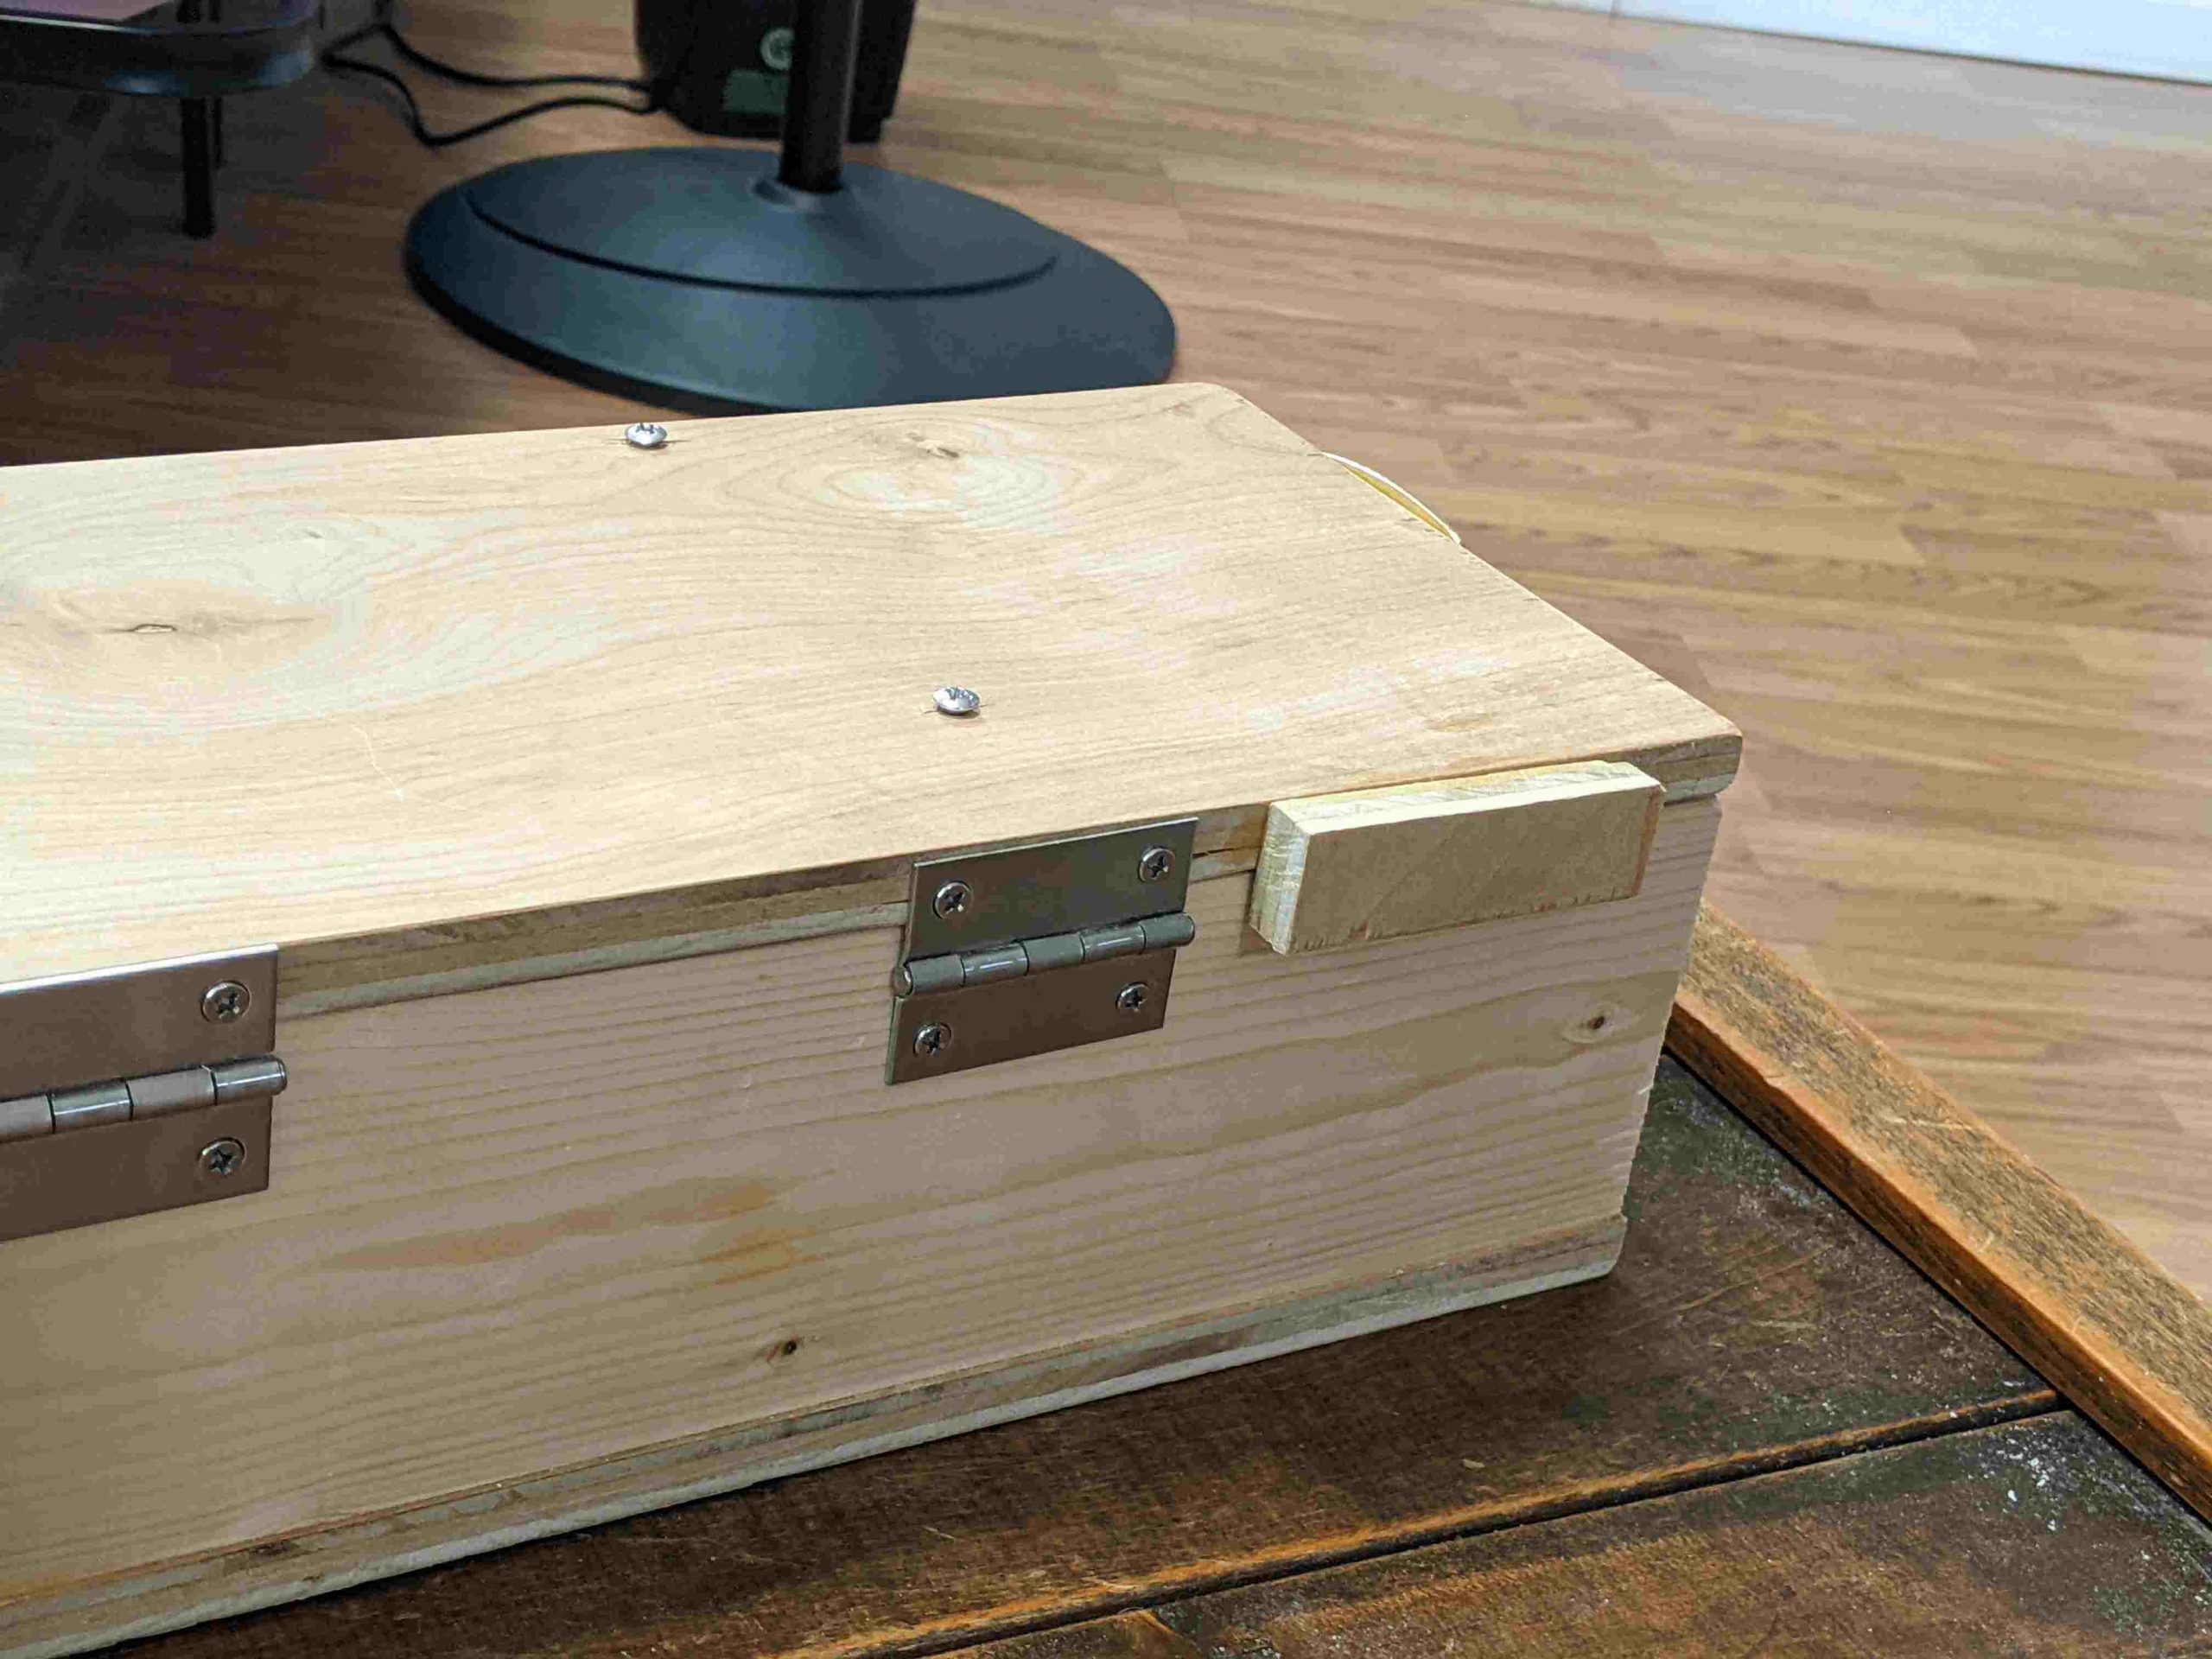
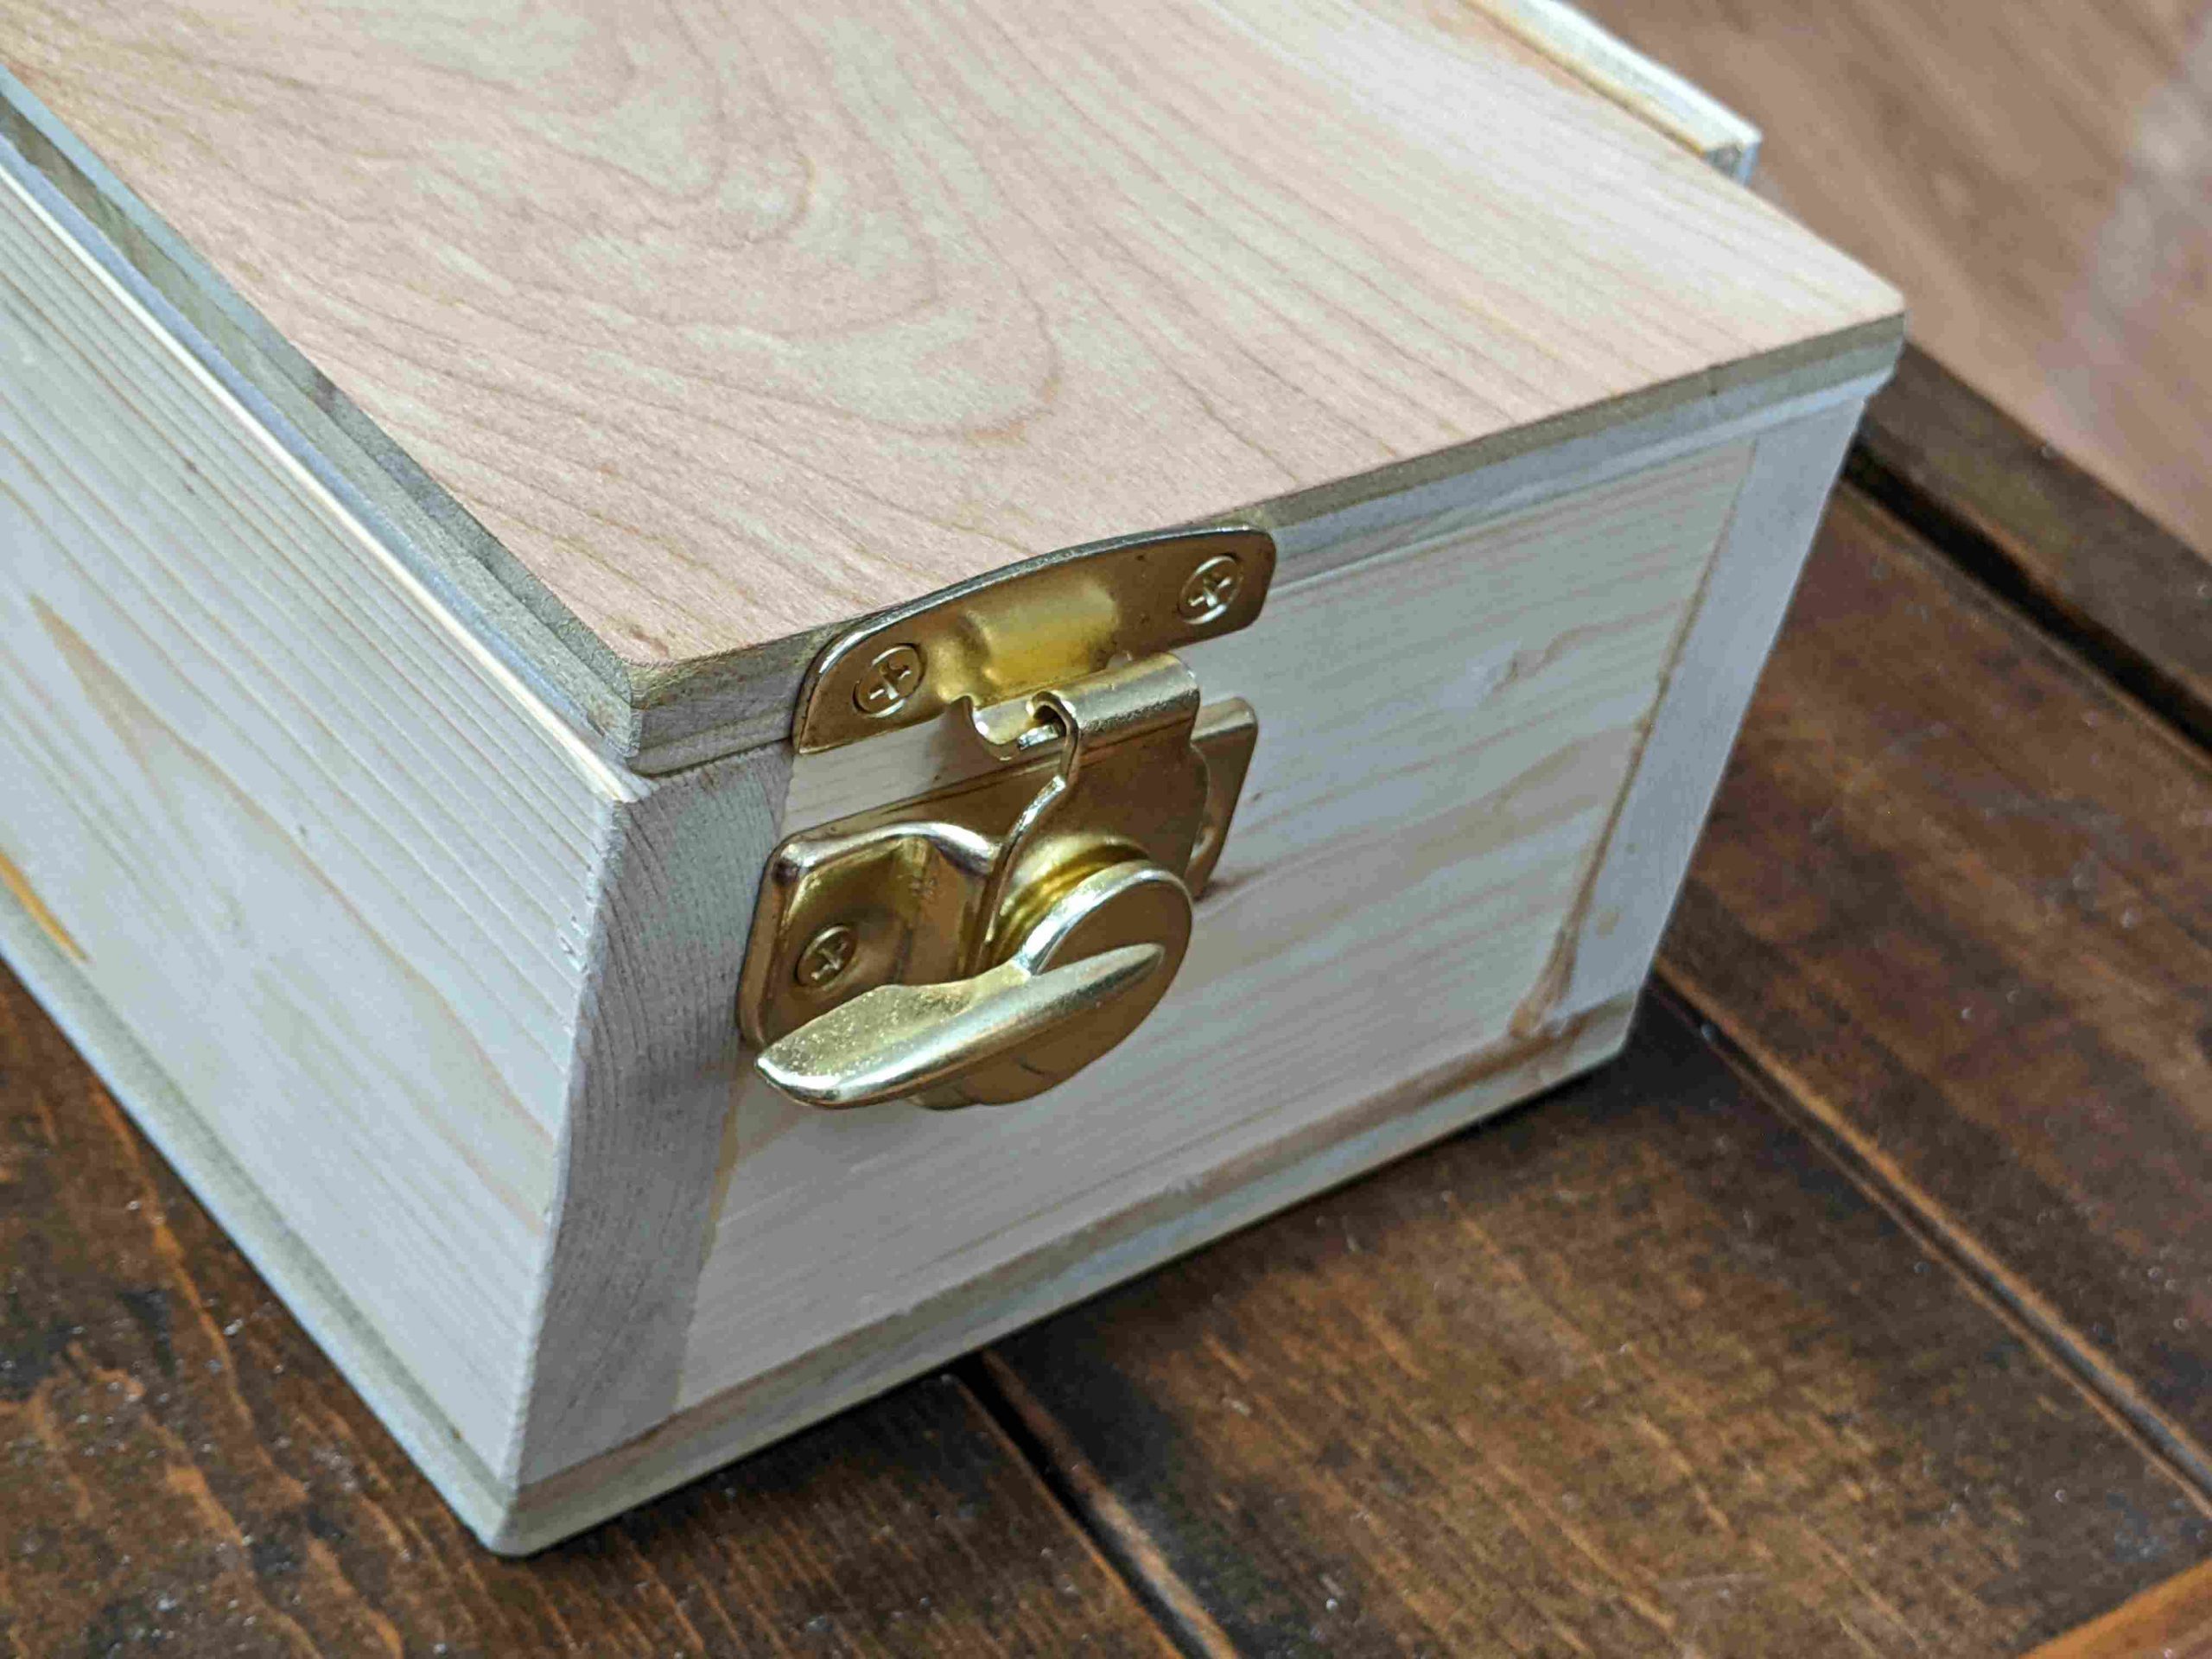
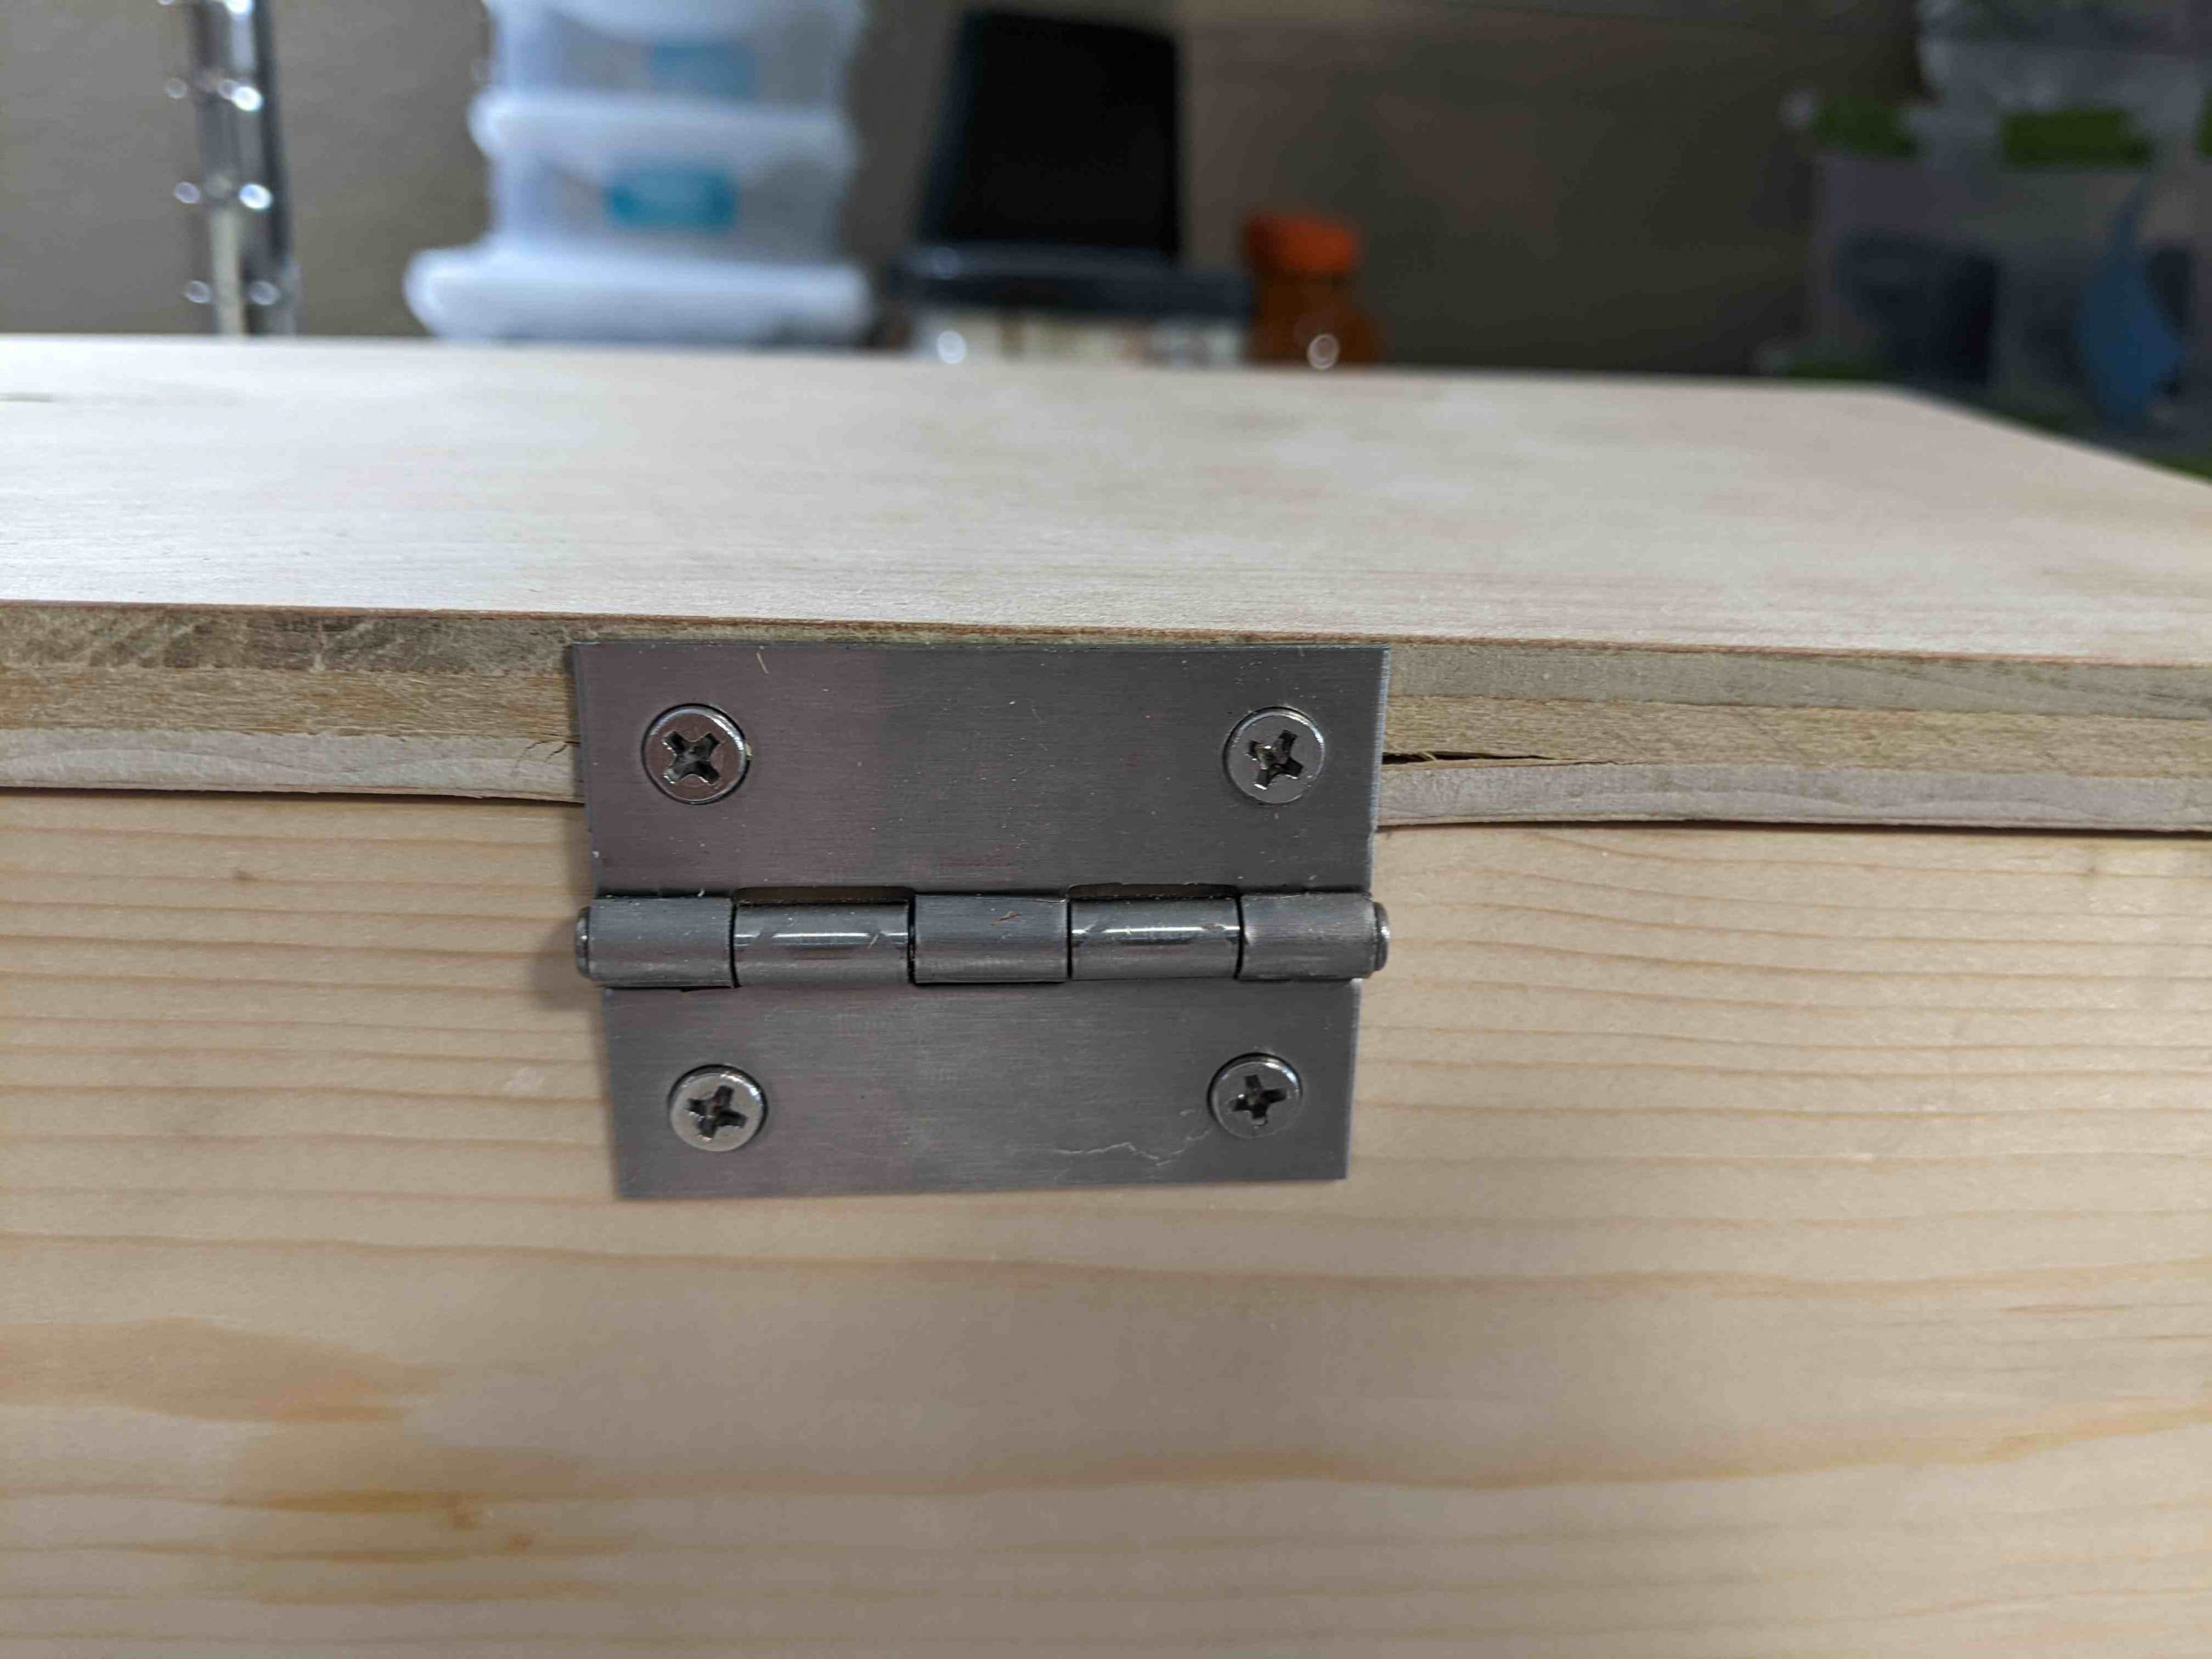
I’m not the best woodworker, but I’m slowly learning. Here are pictures of case and lid action.

On the software end, shout outs to:
- the creator of the ultimate-writer software, NinjaTrappeur, who has been encouraging (and explained the right way to rewrite the stack, if you wanted to today).
- Ben Krasnow, who made a video about how to hack partial refresh on an e-ink display.
There’s a few things I’d like to polish still–even as a prototype this isn’t fully done.
- The raspberry pi and battery pack are currently sitting loose. They need secured, especially since they can fall out the open front.
- The software has some major problems. It doesn’t support Control-C, etc in linux, a must, and it doesn’t update the screen at boot until you press a key, which would be nice to fix.
- There’s no power switch. Right now you have to unplug it manually.
- I’d like to add a carrying handle.
- I’d like to tuck away the electronics behind a panel. They’re ugly.
- The wood looks rough in a few places. I want to hide some splintered wood, screw holes, etc.
- The USB cables have too much stress on them. I need to make a little more room in the wood, and use a right-angled connector in one place.
There’s also no default software, but that’s a feature. A prototype is for figuring out how I want the interface to work, and what I want it to do.
Parts list
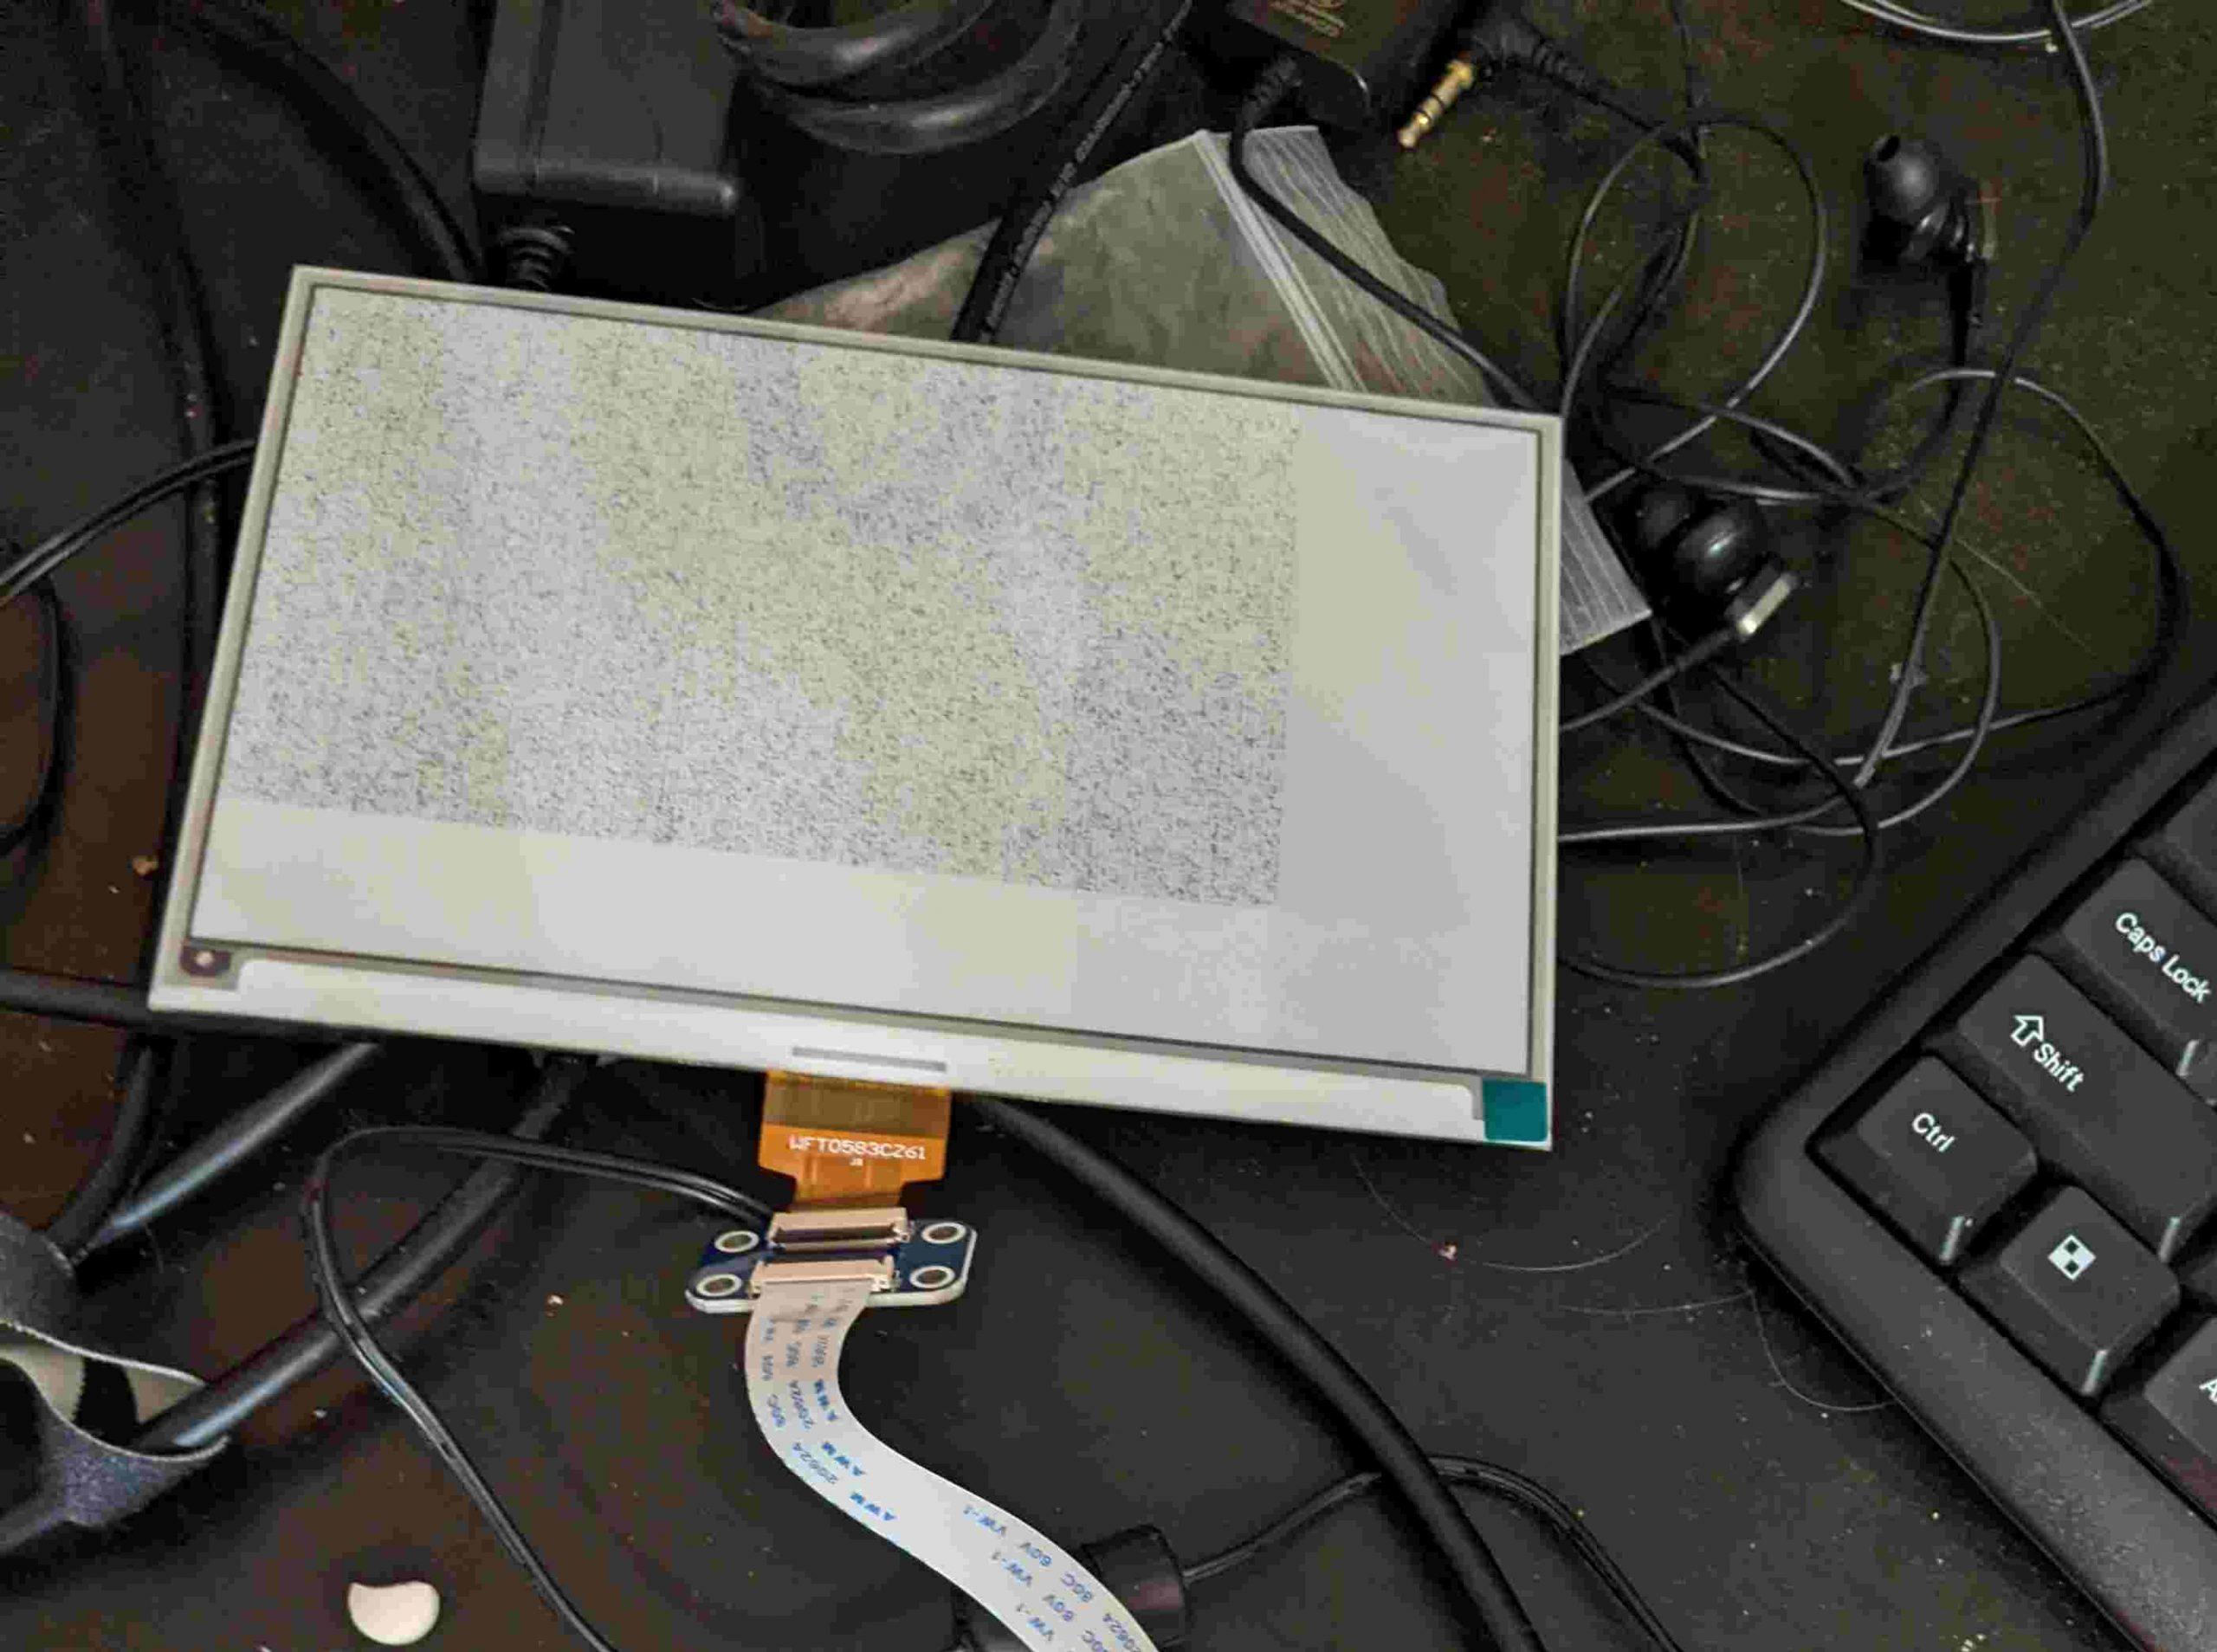
- 7.5 inch e-ink screen from Waveshare (not particularly good) – $60
- Raspberry Pi 3 (Pi Zero, etc also work with no changes) – $35 (but unavailable)
- microsd card – $7
- Plywood and boards, wood glue – $15
- Plexiglass (to cover screen) – $10
- Bolts, washers, and nuts to secure it. – $5
- Circular window latch x2 – $8 (or use $10 smaller version)
- Hinge x2 – $2
- Total: $142
Power budget (at 5V):
- Keyboard: 500mW. Other USB keyboards use zero to within my measurement abilities.
- Screen: 0-250mW when updating. Hard to measure.
- Pi 3: 2000mW. I have the wifi chip enabled (the default) but I’m not actively connected to wifi.
- Pi Zero W: 650mW
A real-life test showed 5-6 hour battery life. Theory says (13Wh/battery * 4 batteries / 2.7 watts)=20 hours battery life. I’m investigating the discrepancy. In theory, swapping for a Pi Zero W and a better keyboard would give 72-hour battery life.