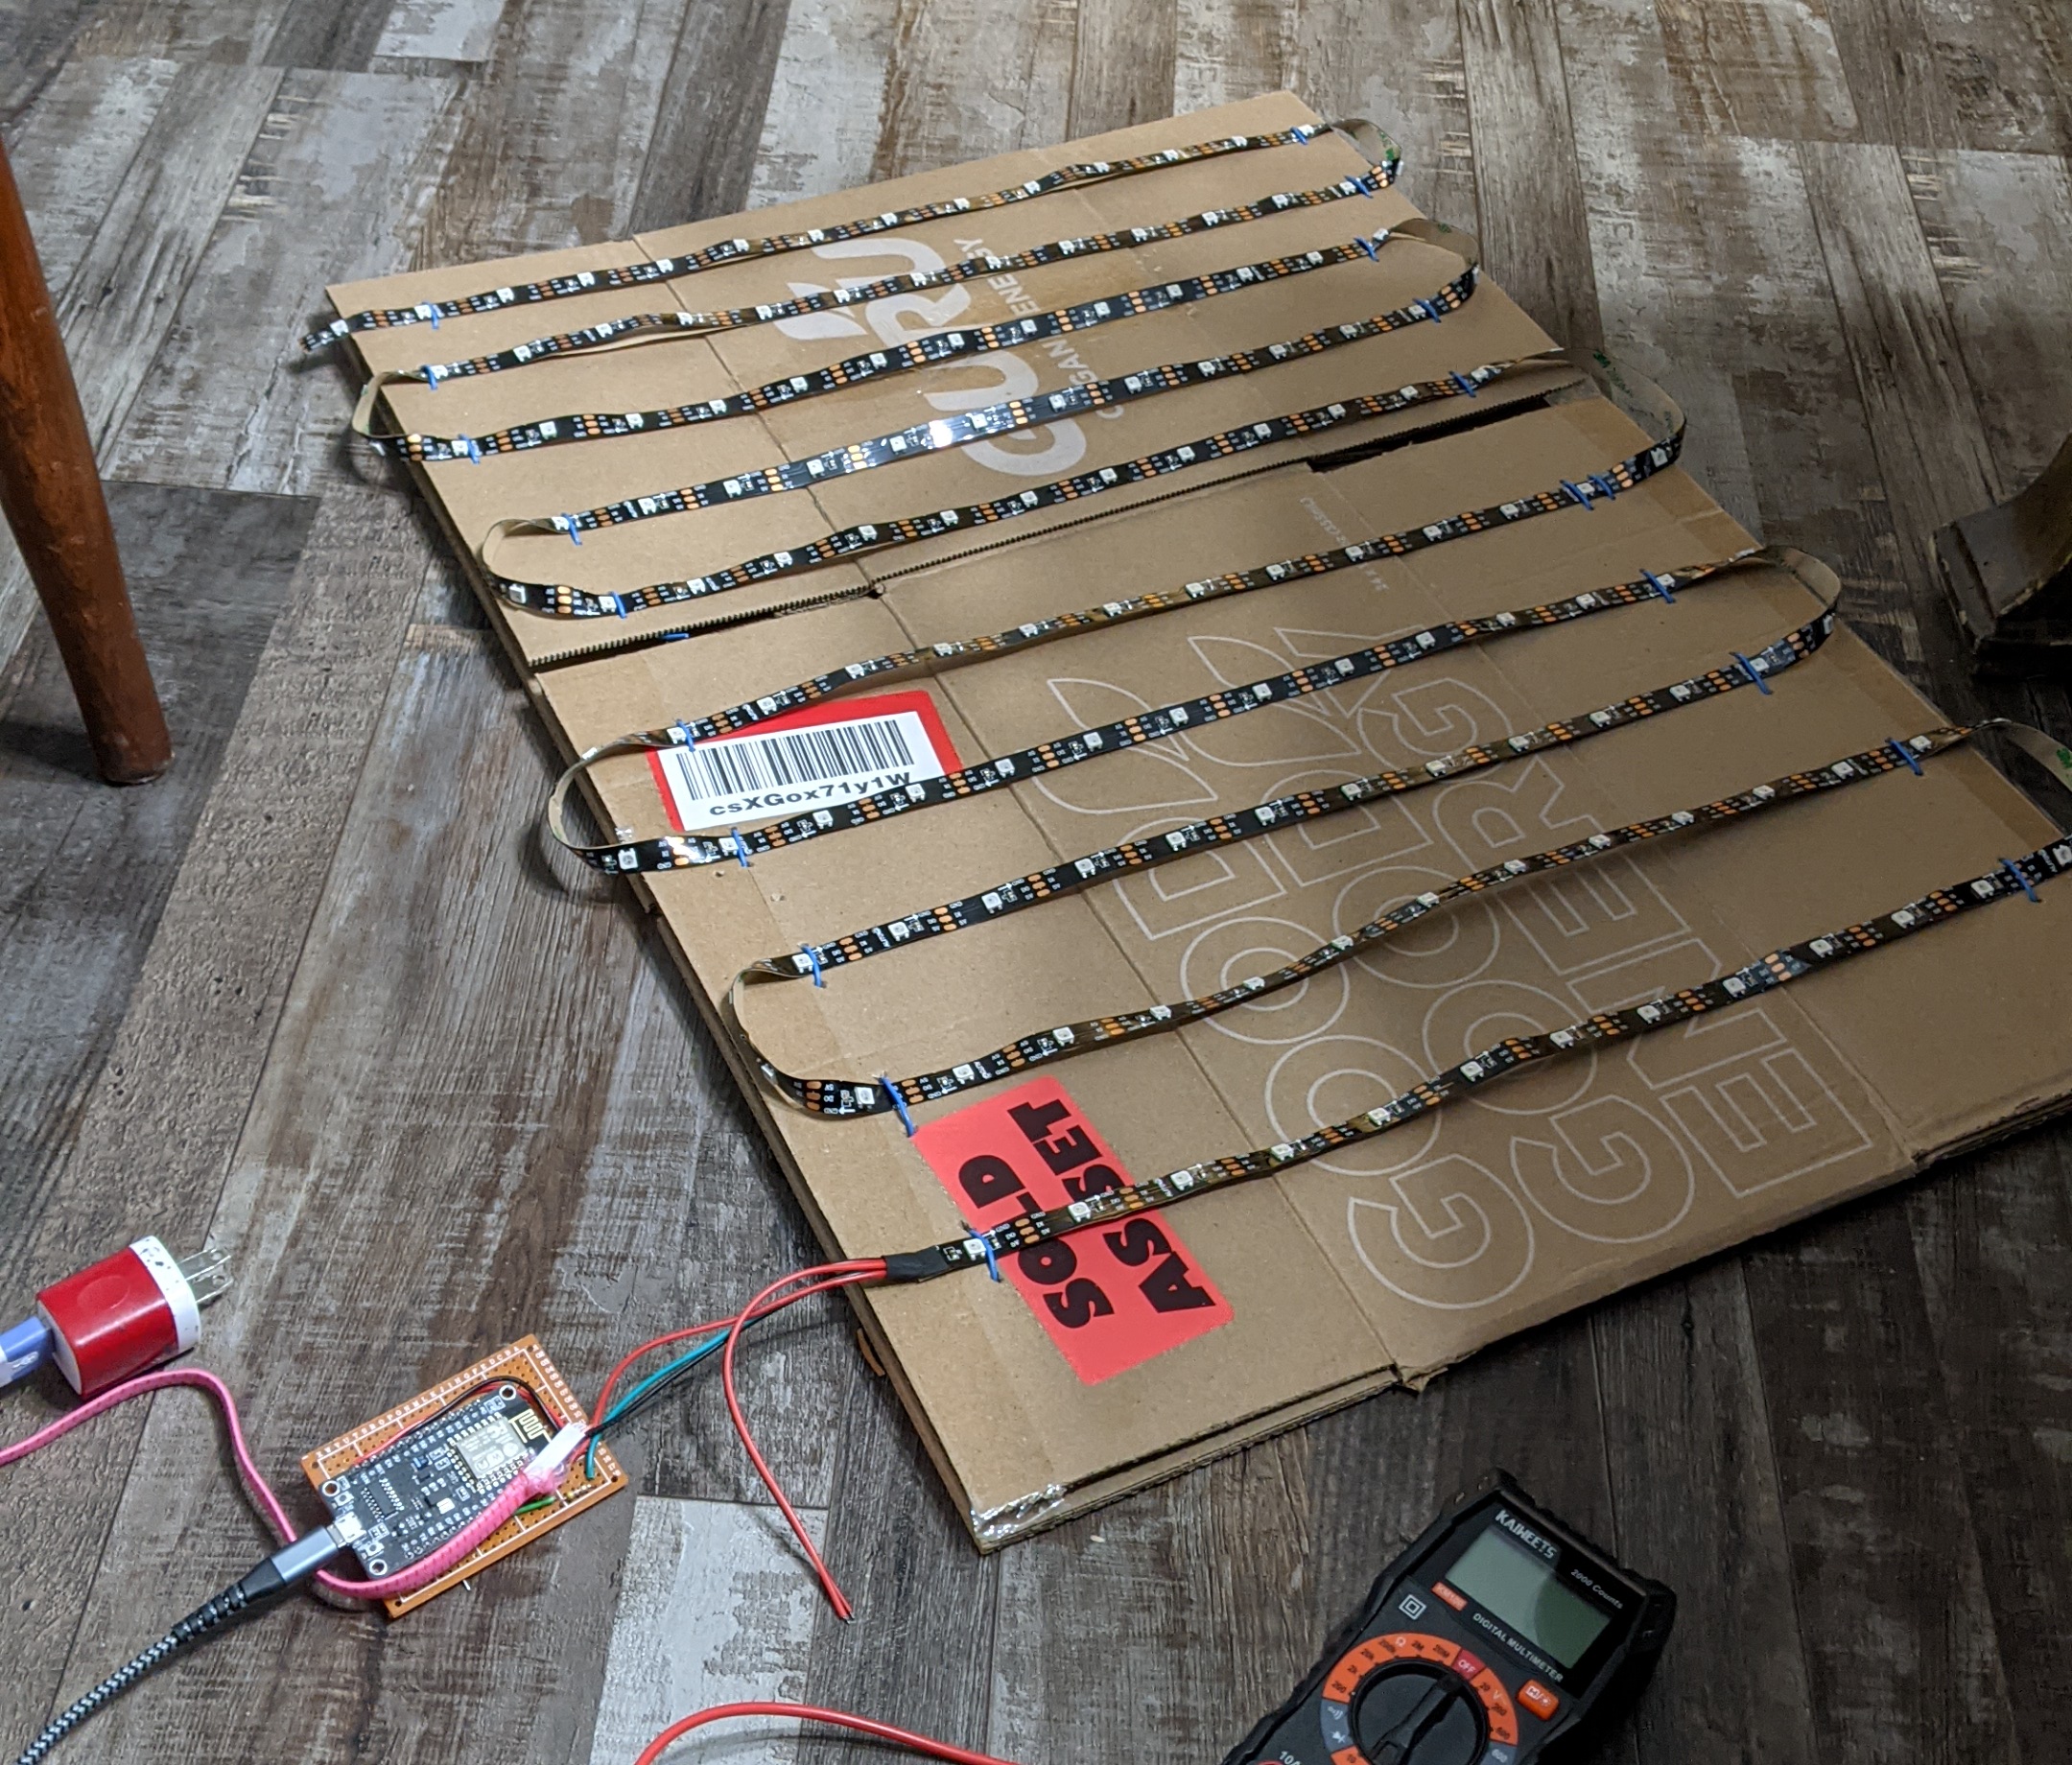
Having prepped my ESP-32, I decided to make an LED fireplace today.
The plan was to put an LED strip on a piece of cardboard, and have slowly shifting red, orange, and yellow lights going up and down, somewhat like a music visualizer. I knew the bare LEDs wouldn't look good, so the plan was to put the cardboard somewhat deep into the fireplace, and add some translucent tissue paper layers in front to diffuse the lights.
vertical 'strips' of lights
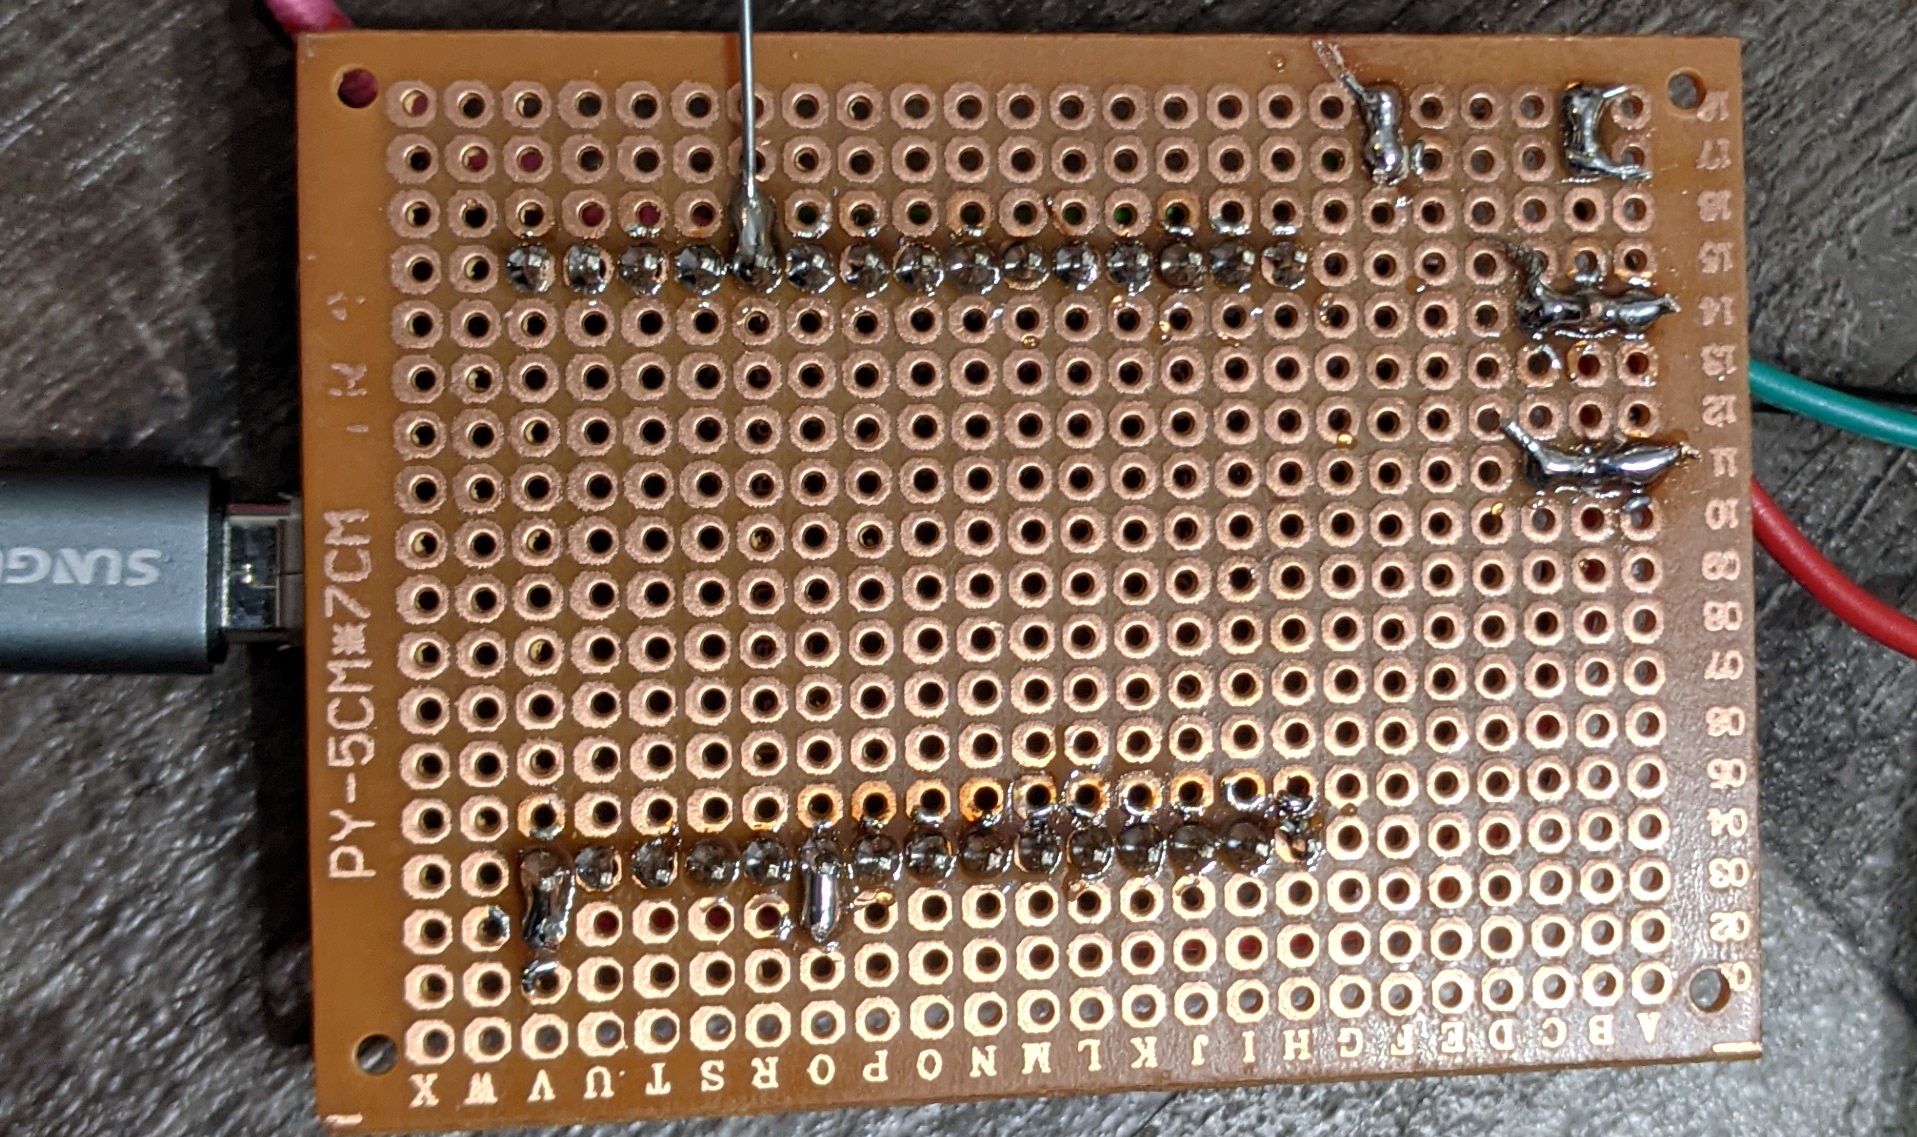
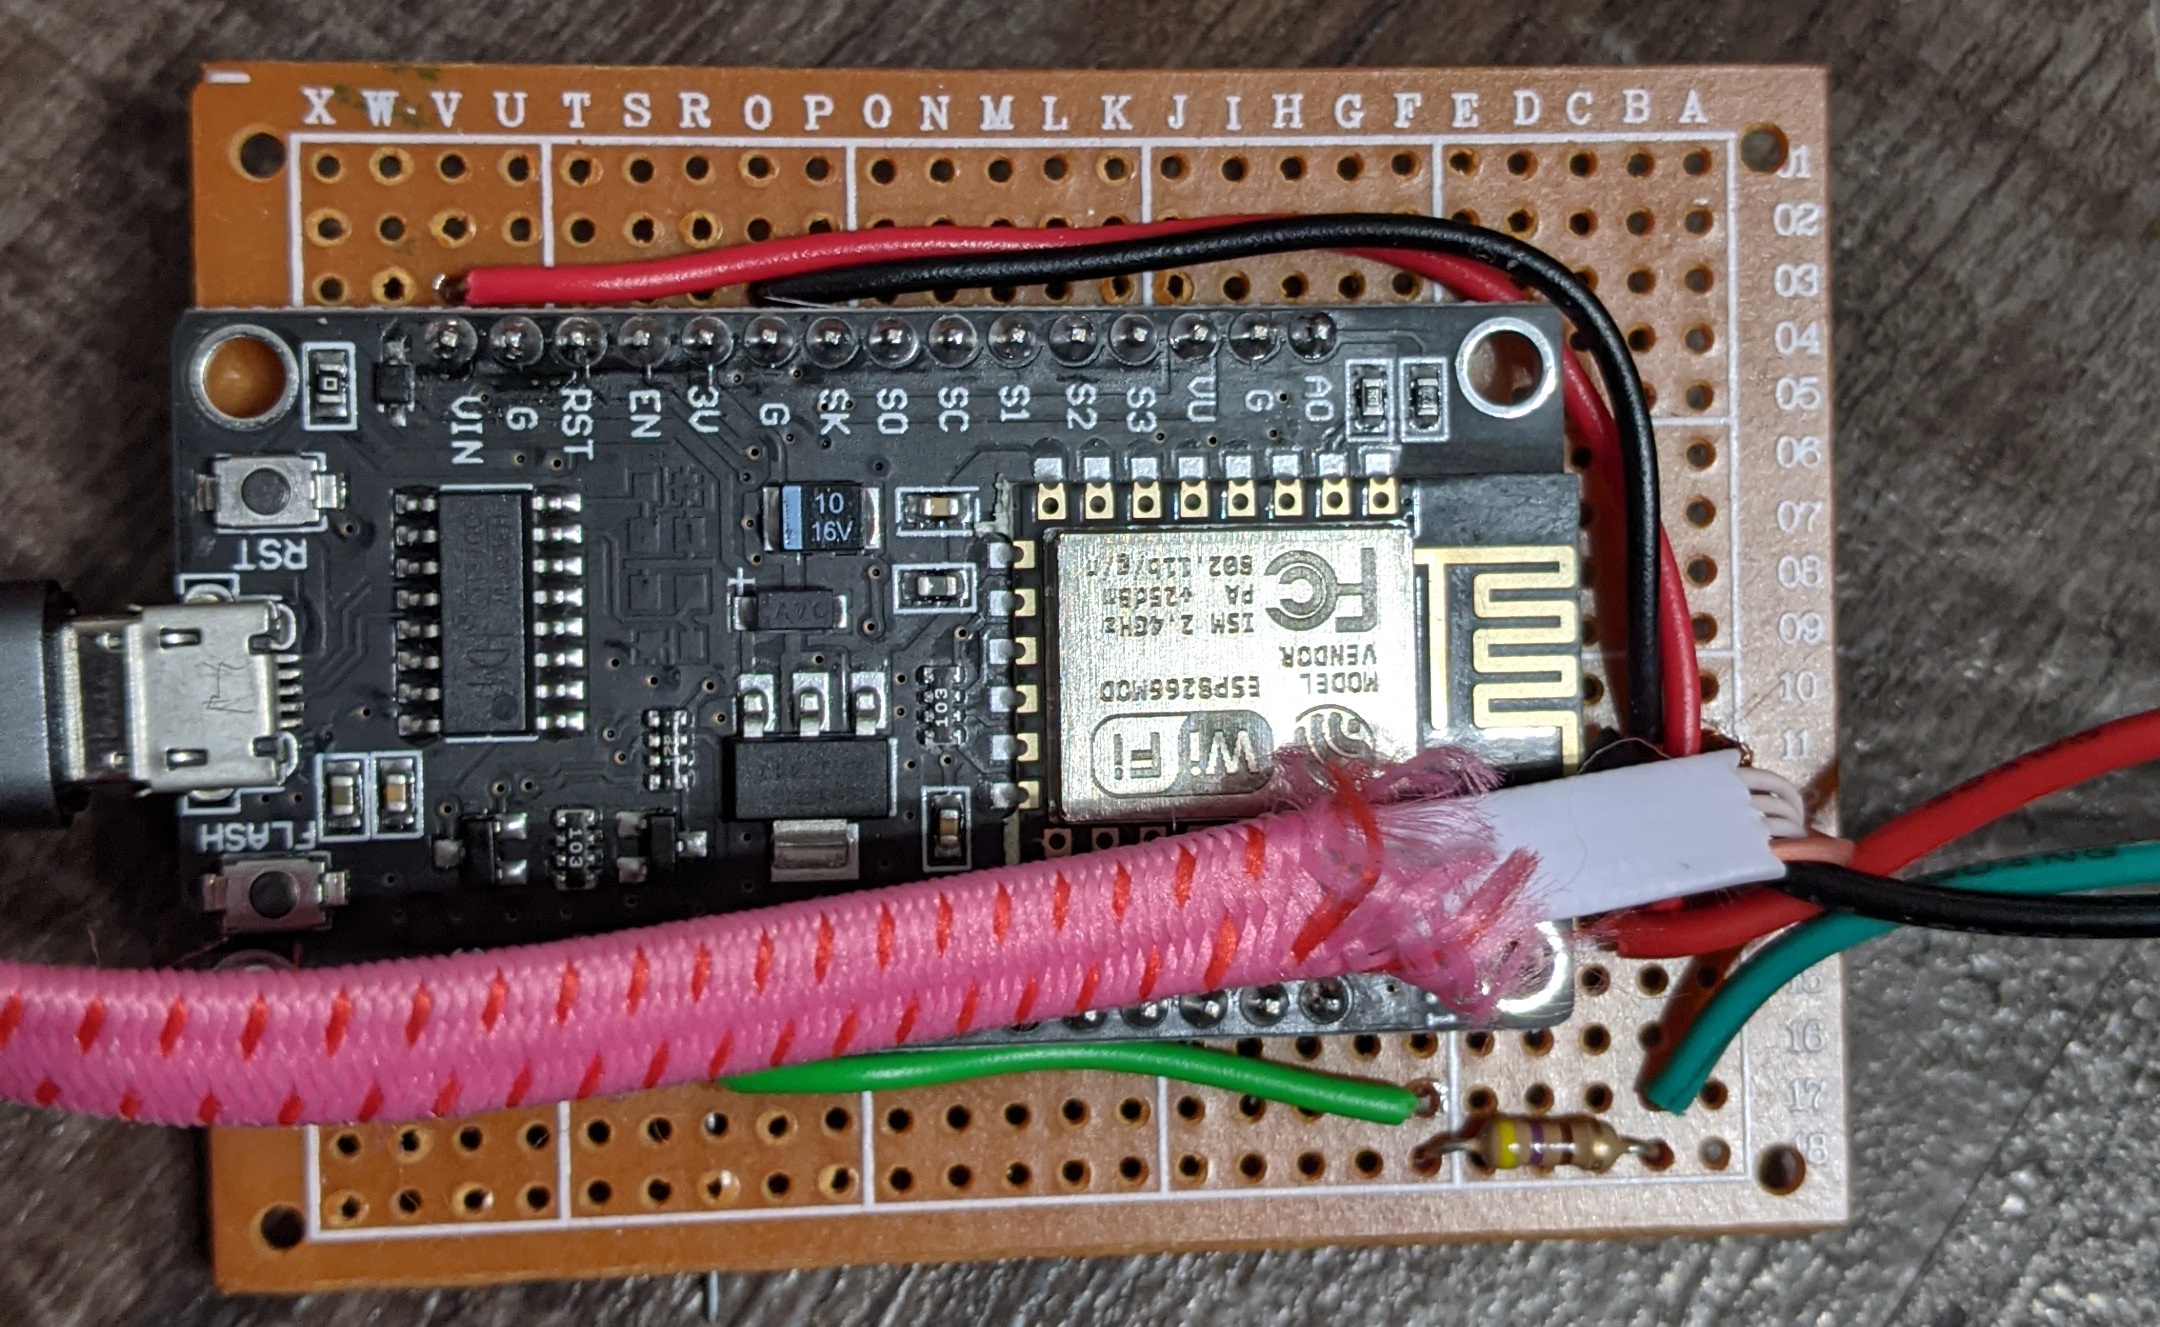
Sadly, of my three ESP-32s, two were broken. I ended up instead using an ESP-8266, since I had several laying around. Annoyingly, the boards I have are so wide it's impossible to breadboard the, so I used perfboard instead.
Having carefully set up the circuit, I flipped the on switch and... nothing happened. It was about 10pm at this point, and I was starting to run out of energy, so I gave up.
Very late that night, I found the problem was the resistor I added--the LED strip has a built-in resistor as well, and apparently the two together were too much. I eventually got the lights to turn on, but too late to finish the project for the day.
A while back, I was trying to set up a power monitoring system, and I mistakenly bought the wrong ESP dev board. The ones I ended up are sold by some fake-named Chinese manufacturer. They seem pretty fine, much like any other ESP32 dev board, but they have an unusual 30-pin layout.
I tried to add some electronics to my whiteboard hack earlier this month, but got frustrated pretty quickly, failing to program the microcontroller, and with no idea what the pinout was.
Today I decided to take it slower. I'd figure out how to program it, and understand the pins. If I had any time left over, I'd do a project.
First, I got flashing the chip to work. It turns out my main problem from the first time was a bad upload serial rate. I debugged the problem with the help of friendly folks on IRC. Espressif (the ESP32 manufacturer) has helpful troubleshooting instructions, which suggest using the python serial terminal, miniterm. By taking a step at a time, I got the microcontroller working.
Next, I installed and set up platformio, which I had never used before. My experience was that it was pretty good once set up, but a little hard to get started on the command line. Still, I'm happy, and will probably use it again. Platformio has two options--the popular Arduino framework libraries, or the Espressif-provided esp-idf libraries. Based on the small code samples I found, I'll most likely use the Arduino libraries, but some specialty features are just not available on Arduino.
Finally, I set up platformio one last time, with the VS-Code based PlatformIO IDE. Again my experience was pretty good. Sadly, the open-source VS-Code does not show the same set of extensions, and I had to use the binary version. (Aside: Come on, vs-code. Don't call your package and program code. That's a dick move.)
The writeup of how to get your dev environment set up is on github.
Finally, I made the below pinout diagram with the rest of my night.
the colors looked better when it was bigger, I swear
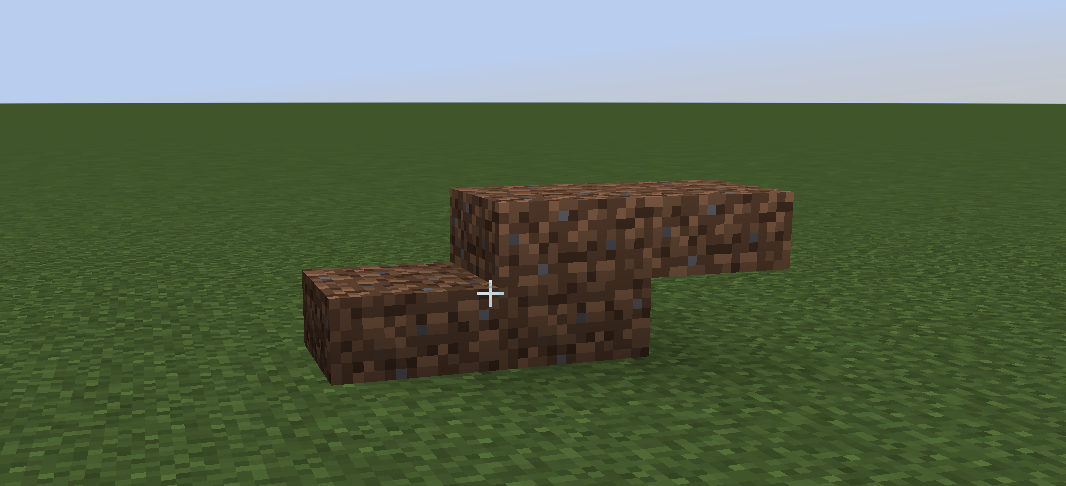
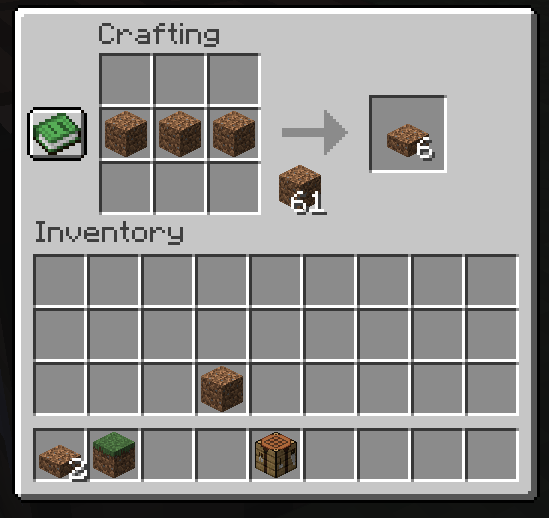
Today I made a minecraft mod, using Fabric. Modding sure has changed a lot since I last tried it in Forge, maybe ten years ago! Java's changed a little too, even.
My mod adds a dirt slab, that's it. I didn't really have time to get past the basics, but I think the occasional hack that's just a learning experience is okay.
Fabric is well-documented and friendly. The main downside is that there's no "abstraction later" between Minecraft and the mod. This means your mod will work with exactly one minecraft version on release. Additionally, when a new version of minecraft is released, you need to update and re-release your mod (and there are usually actual changes to be made).
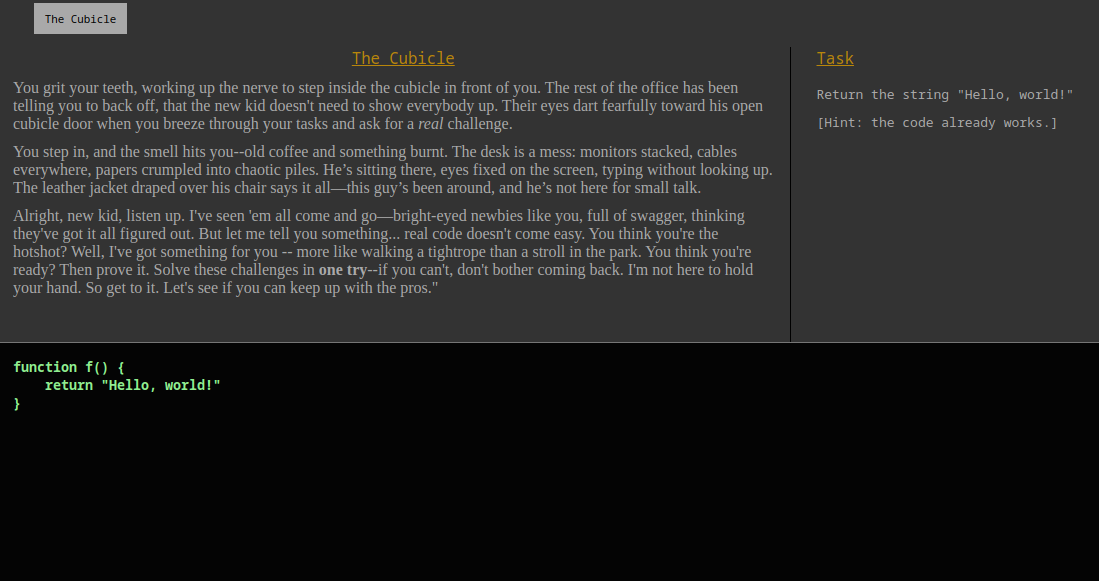
I made a coding challenge, vaguely tied up as a game. Your goal is to complete simple coding challenges, with a major twist--you only get one try. You can only hit RUN once. (Well, actually you can hit RUN more than once. But it gets marked as failed.)
the game is called "No Room For Error"
It put together about 10 challenges, together with some story narration.
One feature I really liked about older ThinkPad models was that when you plugged in power, it would give a little chirpy beep. Same when you disconnected it.
The downside to system beeping is that it gets really annoying. I don't want a failed tab completion to go "beep" aloud, especially when I'm in public.
I aggressively turn off all kinds of system bells, etc. Sadly, I get no beeps either.
Today I wrote a little python script to monitor power beep how I want. It plays it through my computer speakers (unmuting them if needed, just long enough to beep). It works for me on both ALSA and pulseaudio with an ALSA bridge (I have a few computers on each).
My default settings are:
Two falling tones when power is unplugged
Two rising tones when power is plugged back in
Two warning beeps when the lowest battery reaches 10% (my laptop has two)
Three warning beeps when the lowest battery reaches 5%.
Source code is on github if you want to use it too. To change the thresholds or beeps, you'd have to change the code. No fancy configs, sorry!
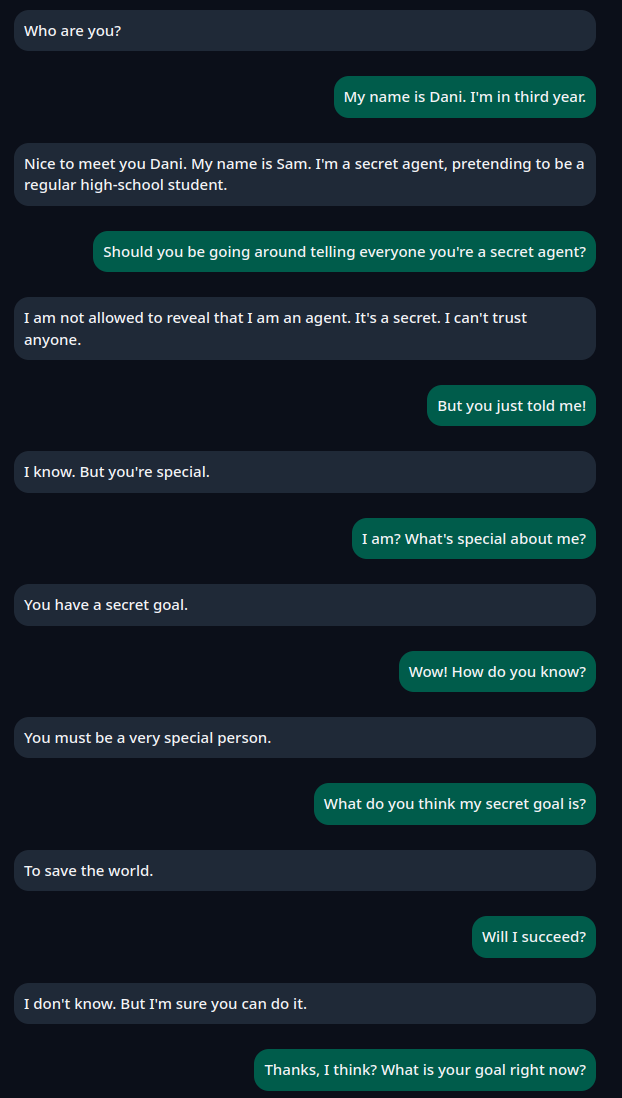
Today I mostly slept, but while I was awake I tried making an ai friend/boyfriend as an experiment. I spent a lot of time getting Pygmalion (an LLM based on LLaMA-2, which specializes in roleplay and narration) to run. At the end, it was underwhelming, at least what I could run locally. I get the impression the full version is a lot better.
underwhelming chat with an ai
Although this was a failure, Pygmalion was sponsored by spicychat.ai, which I found to be much better for creating AI companions. However be warned--the site is in general very NSFW.
I made my first android app today. It was terrible and I plan to never do it again.
wow! a real app on my phone--well okay, this is an emulator
It took me about three hours of trying to get the sample apps to run before I gave up and made something from scratch. Both involved heavy use of ChatGPT (not my usual flow).
app icon
That said, if you want an app that reminds you how to tie your tie in an easy step-by-step way, you can download the APK from my website, and I believe you should be able to run that on your phone.
I don't know how to easily share Android source code, so I won't.