Hack-a-Day is my self-imposed challenge to do one project a day, for all of November.
This is my first exception this year - a project that took TWO days (despite best efforts). About 15 hours.
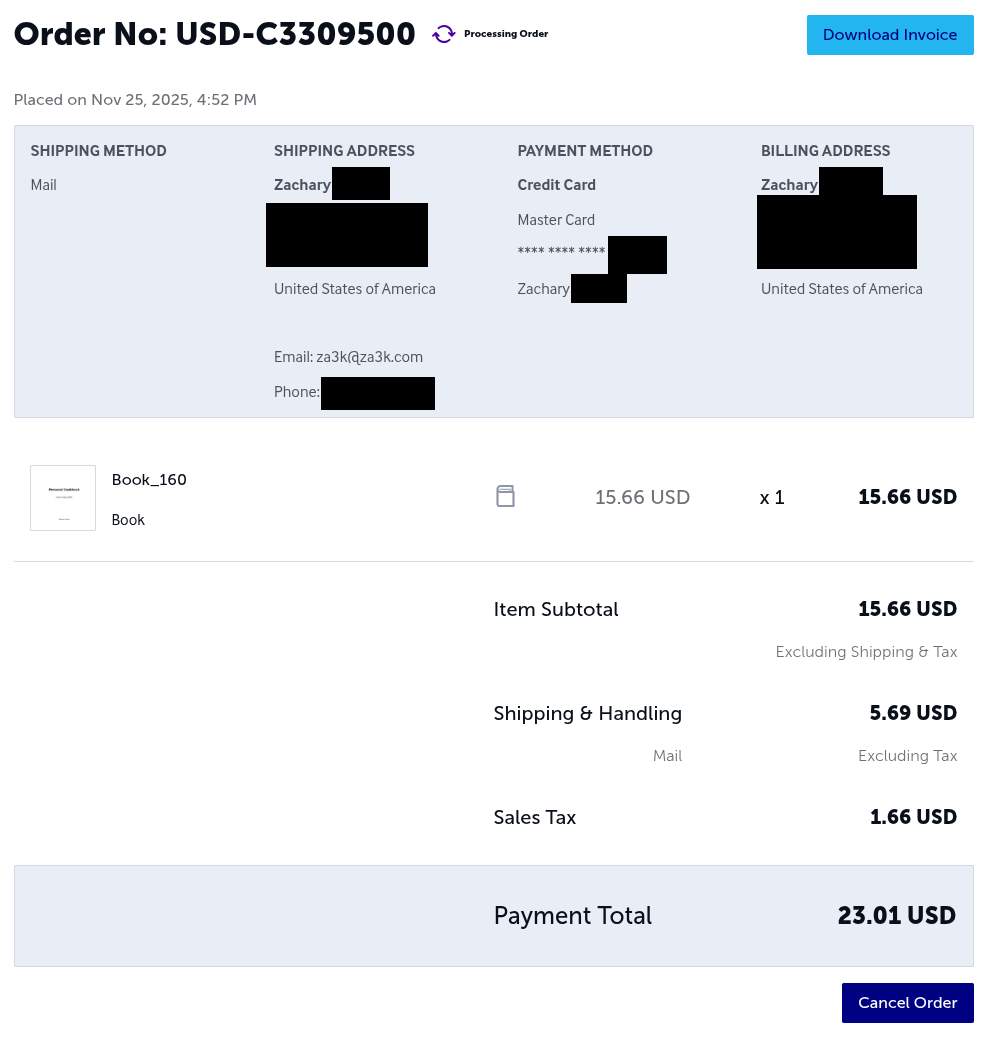
I wrote a program which can take a PDF, and then get it self-published (through lulu.com), and sent to my house.
Source code is on github. This project was co-written with AI, with Claude doing the heavy lifting.
I learned some Playwright along the way.
Expect to see me posting about a bunch of wacky books in the future. Today's is reasonable -- just my recent cookbook update
This book was ordered by a computer with no human interaction.
Hack-a-Day is my self-imposed challenge to do one project a day, for all of November.
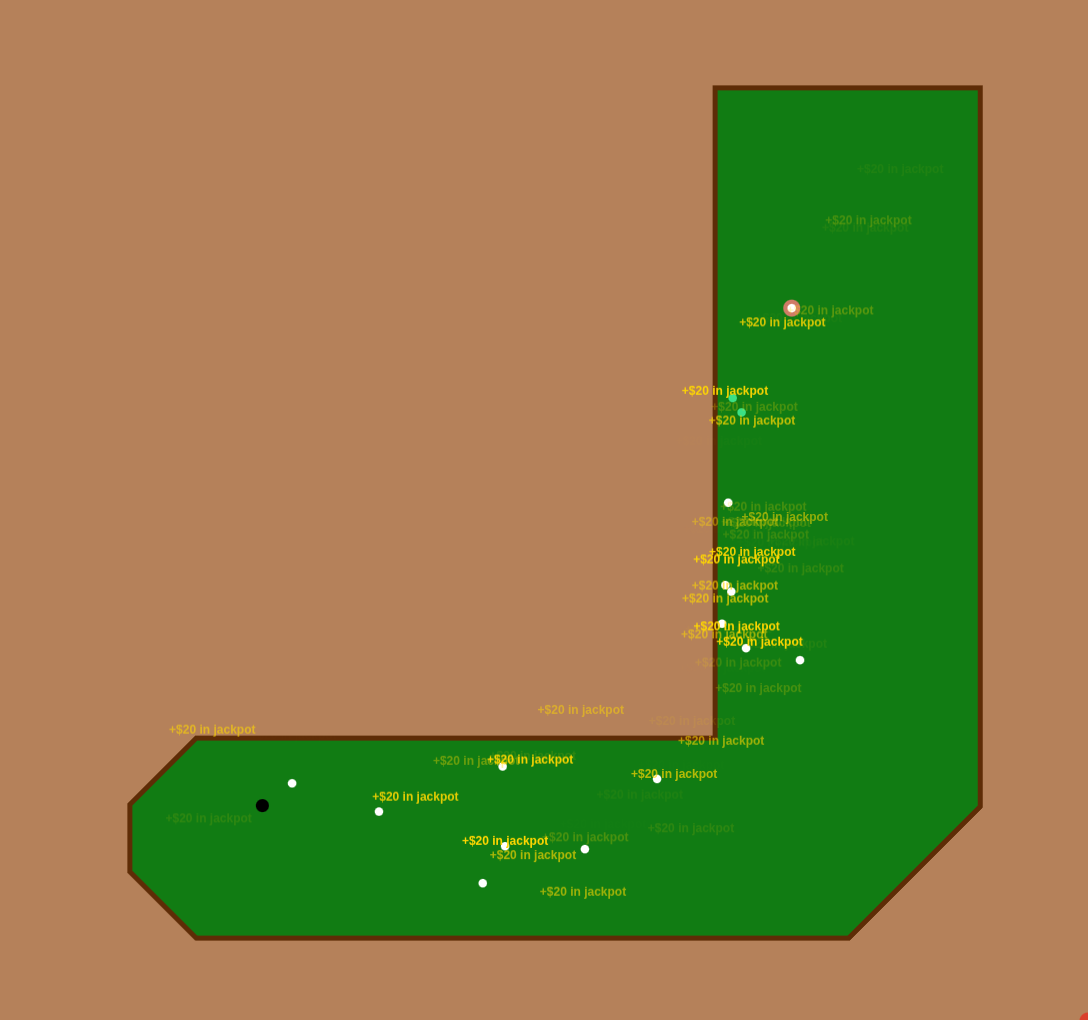
computer mini-golf)
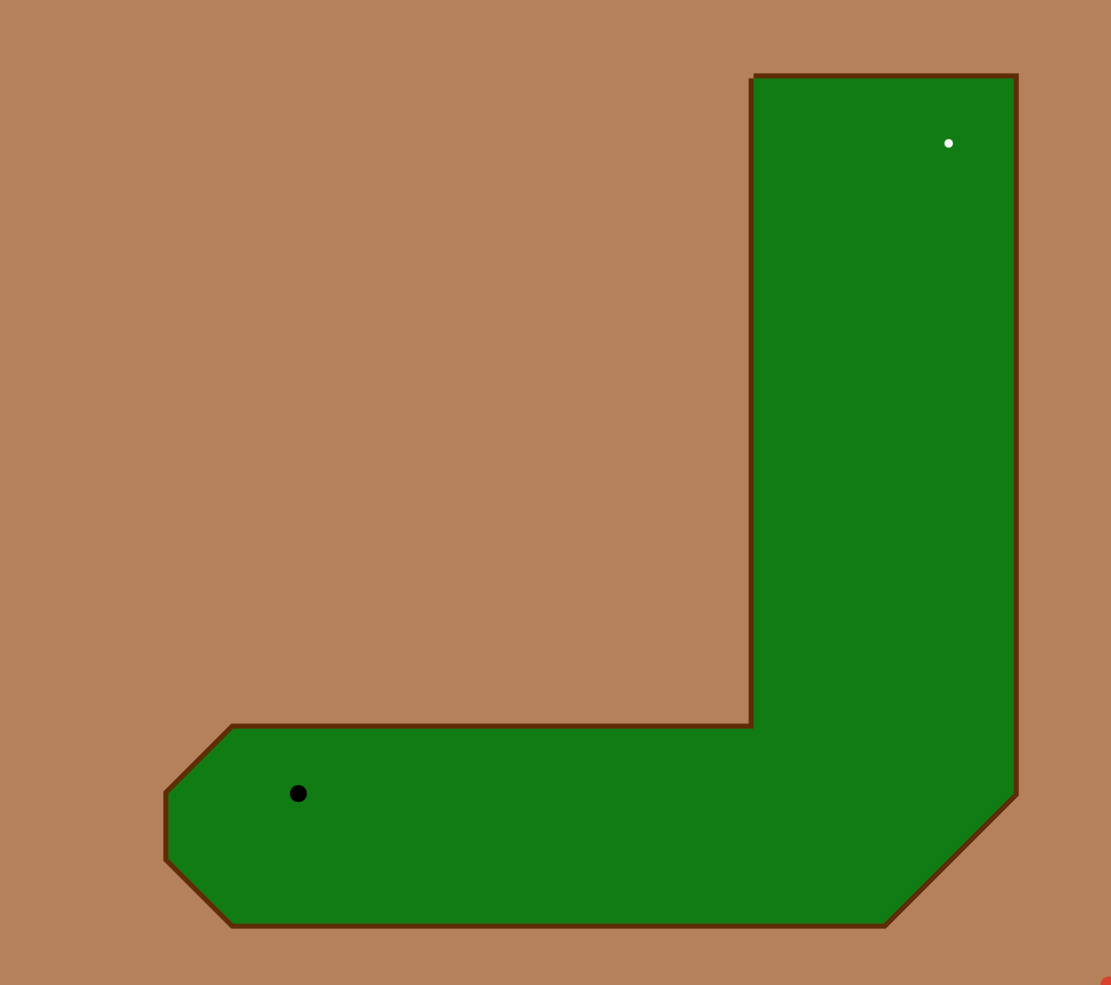
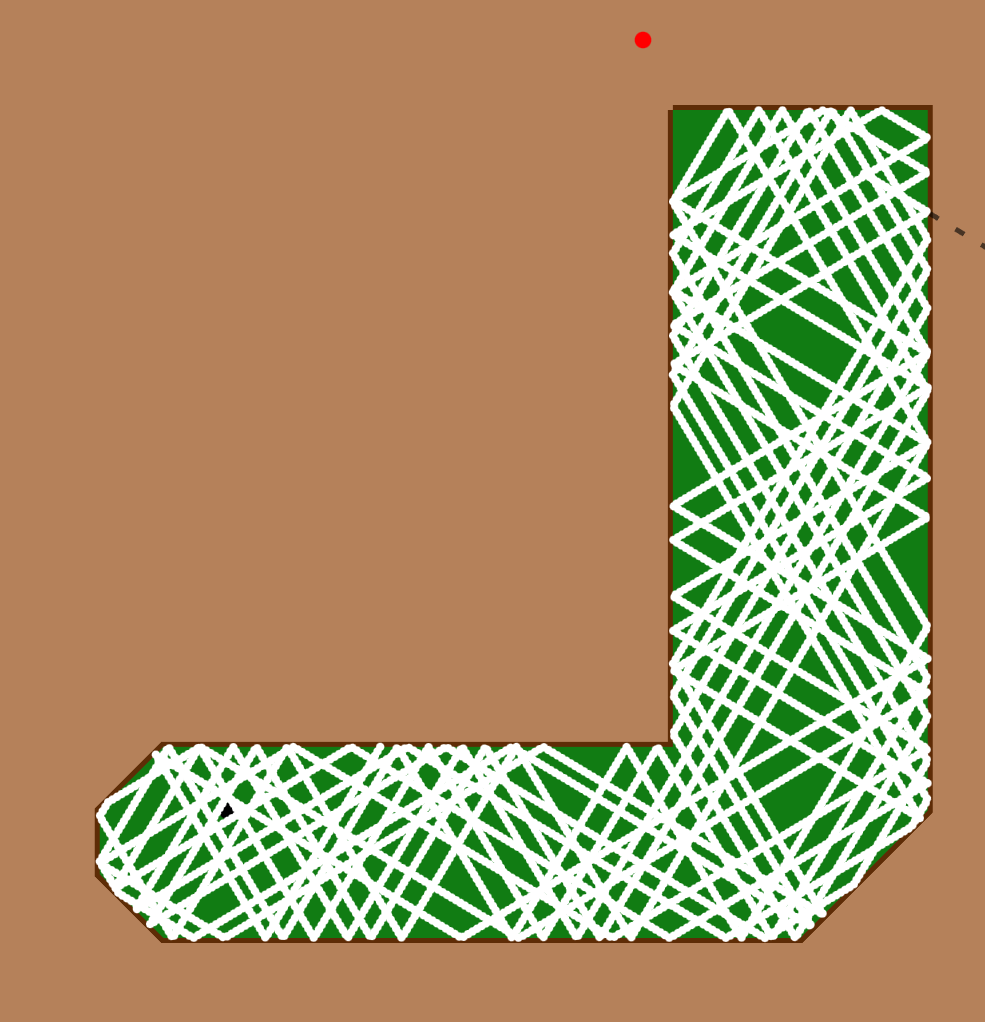
Today's project was mini-golf. I've seen these online, and I thought it was an easy problem (I was mostly right).
It turns out finding the intersection of two lines is really hard, though! It kind of seems easy mathematically, but in practice it's really fiddly with a lot of edge cases. Reflecting is also harder to figure out on a computer than by hand.
My little demo only has one level, but the hard part was the engine -- adding 8 more holes would be pretty easy, I think. There's no hilly slopes or other special features in this verion.
I stayed up too late finishing this one, heh. You can play online here or view the source code on github.
the path of a ball without friction)
Hack-a-Day is my self-imposed challenge to do one project a day, for all of November.
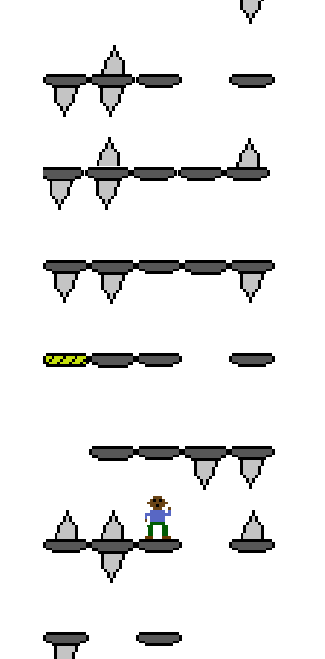
1-D platfomer (the levels scroll left/right)
Today's project was a simple platformer. I got something playable, but I wouldn't say it's to the point of actually being a game. Hopefully I'll have time to go back and finish it before the month is out.
I had a lot of fun making this one. I love visual stuff. You can play online here or view the source code on github.
Today's project struck me out of nowhere. What if connect-the-dots... but wrong?
Hack-a-Day is a challenge to complete one project a day in November from scratch.
Today's "hack" was a blitz of the Python Challeng. I didn't finish it -- I got through about 10 of the 33 total levels.
Since the goal is really to practice your python and have fun with riddles, no code shared on this one.
Peace out!
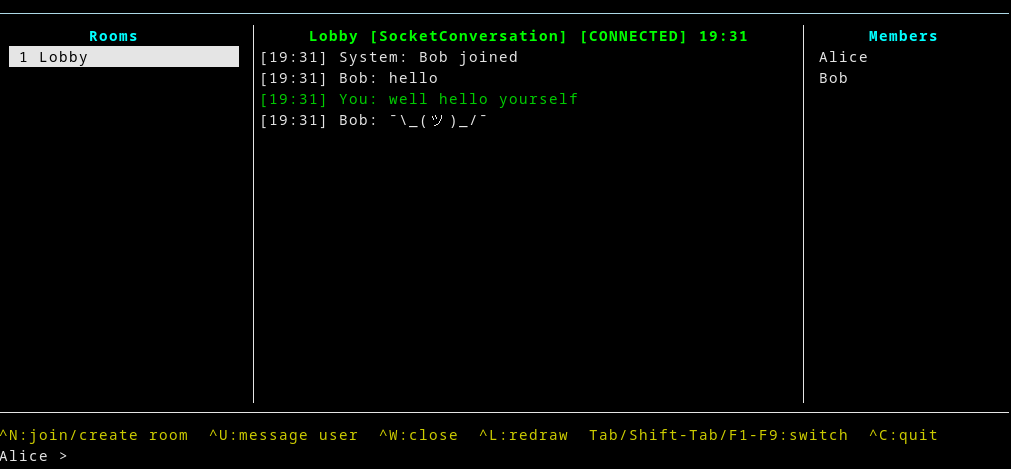
Today's project was a vibe-coded chat program. For those unfamiliar, "vibe coding" is programming where an AI does the majority of the coding, and in fact is often undertaken by non-programmers. In my case I took an approach a bit closer to "architect" than entirely hands-off, but an LLM did all the heavy lifting.
The code is here -- roughly one commit per interaction, with a few combined. The prompts are not included.
I've mostly been using AI very little during hack-a-day... sometimes to help debug, and in one case to write another "boring bit" (convert Minecraft world to JSON, for the voxel engine). It might get stuff done, but it's not going to improve the same set of skills to do stuff with an AI. And I'm generally a bit wary of using AI, because it can really just spew some absolute bullshit, which is in my head afterwards.
I've had a relatively better experience using Anthropic's Claude than most other products (for which I have a paid plan). Unfortunately they have very opaque usage caps, and I'd hit limits repeatedly during this project. Then it would say "please try again at 4pm" (in 3 hours). So I pretty much ran out of LLM usage on this one.
Overall I'd say I got to do some coding I usually wouldn't. The project was a curses frontend for a chat (and backend, but that didn't really get done yet). Something like making a curses interface would usually be a bit too boring for me--being able to collaborate with an LLM, who doesn't find such things boring, is great. Other than tooling issues, the main problem is that Claude doesn't write the best code. It generally has a very "junior programmer" vibe, with no use of abstraction, and tends toward the verbose.
My general take on AI though is that someone showed me a horse than can write an essay, and I'm complaining its penmanship is atrocious. It's pretty amazing stuff, and we're probably all going to be dead soon.
In the meantime it's pretty fun to mess about with.
PS: I do plan to update this one further, it just will require a bit of work each day given the rate limits. I had really grand plans, but we only got the bare minimum done.
Peace out!
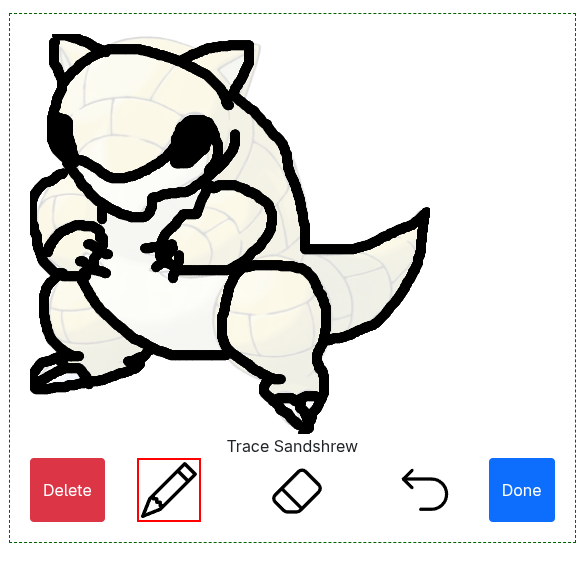
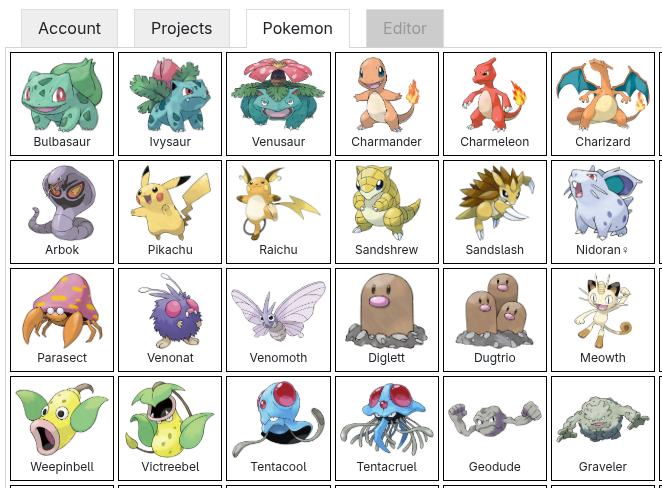
Today's hack-a-day project was Pokétrace. Did you ever, as a little kid, trace stuff you liked? It's how we learn art! I made this as a way to relax for adult (and for kiddos, of course!). And to improve my art skills.
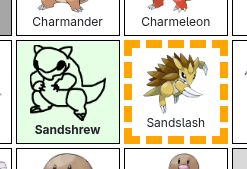
You can trace pokemon in your browser. Let me know if you want any generations other than the first one, or show me any fan art you make! I'd love to see it.
This one should work on phones and tablets. Let me know if you run into any problems.
You can save your finished pokemon as an HTML file, and it should save progress (but only on your computer).
Open offer: if you trace all 150 pokemon, I'll make it into a coloring book version for everyone. And if you draw fan art of all 150 pokemon, I'll send you a poster of your art! (as long as you don't live somewhere with crazy shipping for me)