
I’ve been pondering simple input methods for microcontrollers. One obvious idea is, a keyboard! But for some reason, my USB keyboards use a staggering amount of power compared to my microcontrollers–1W of power for my mechanical keyboards, maybe 0.1W for the regular ones.
Let’s look inside a commercial keyboard, and see if we can hook up to it:
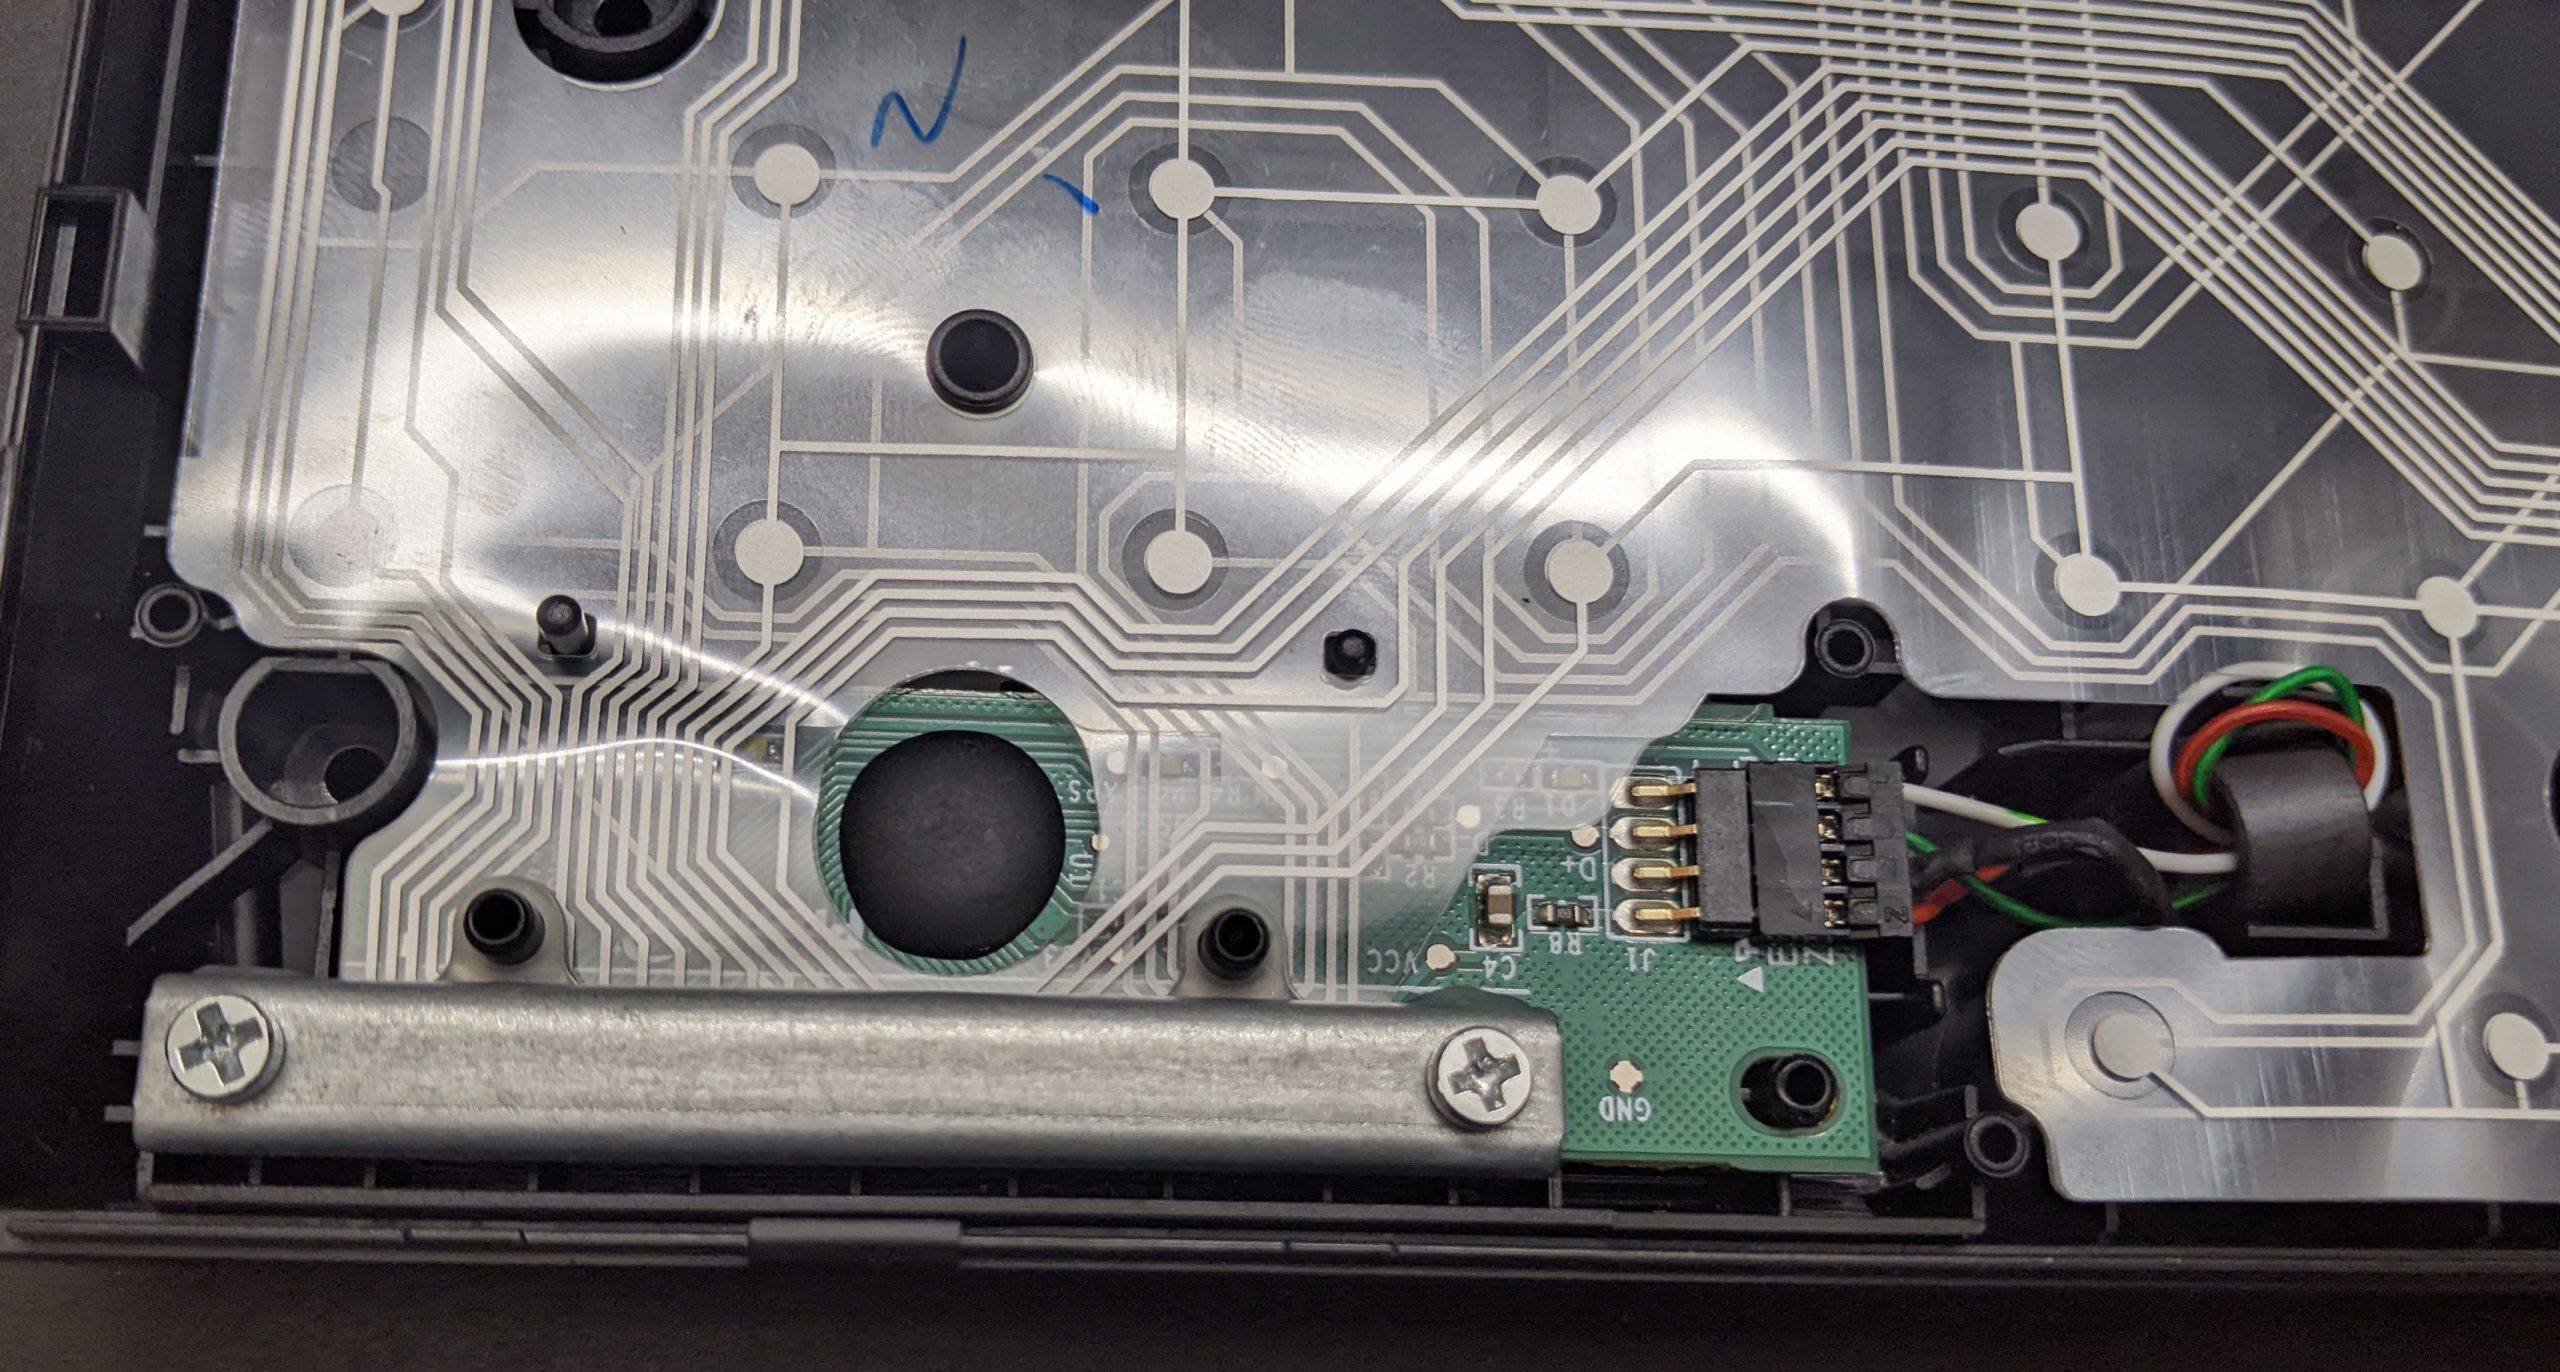
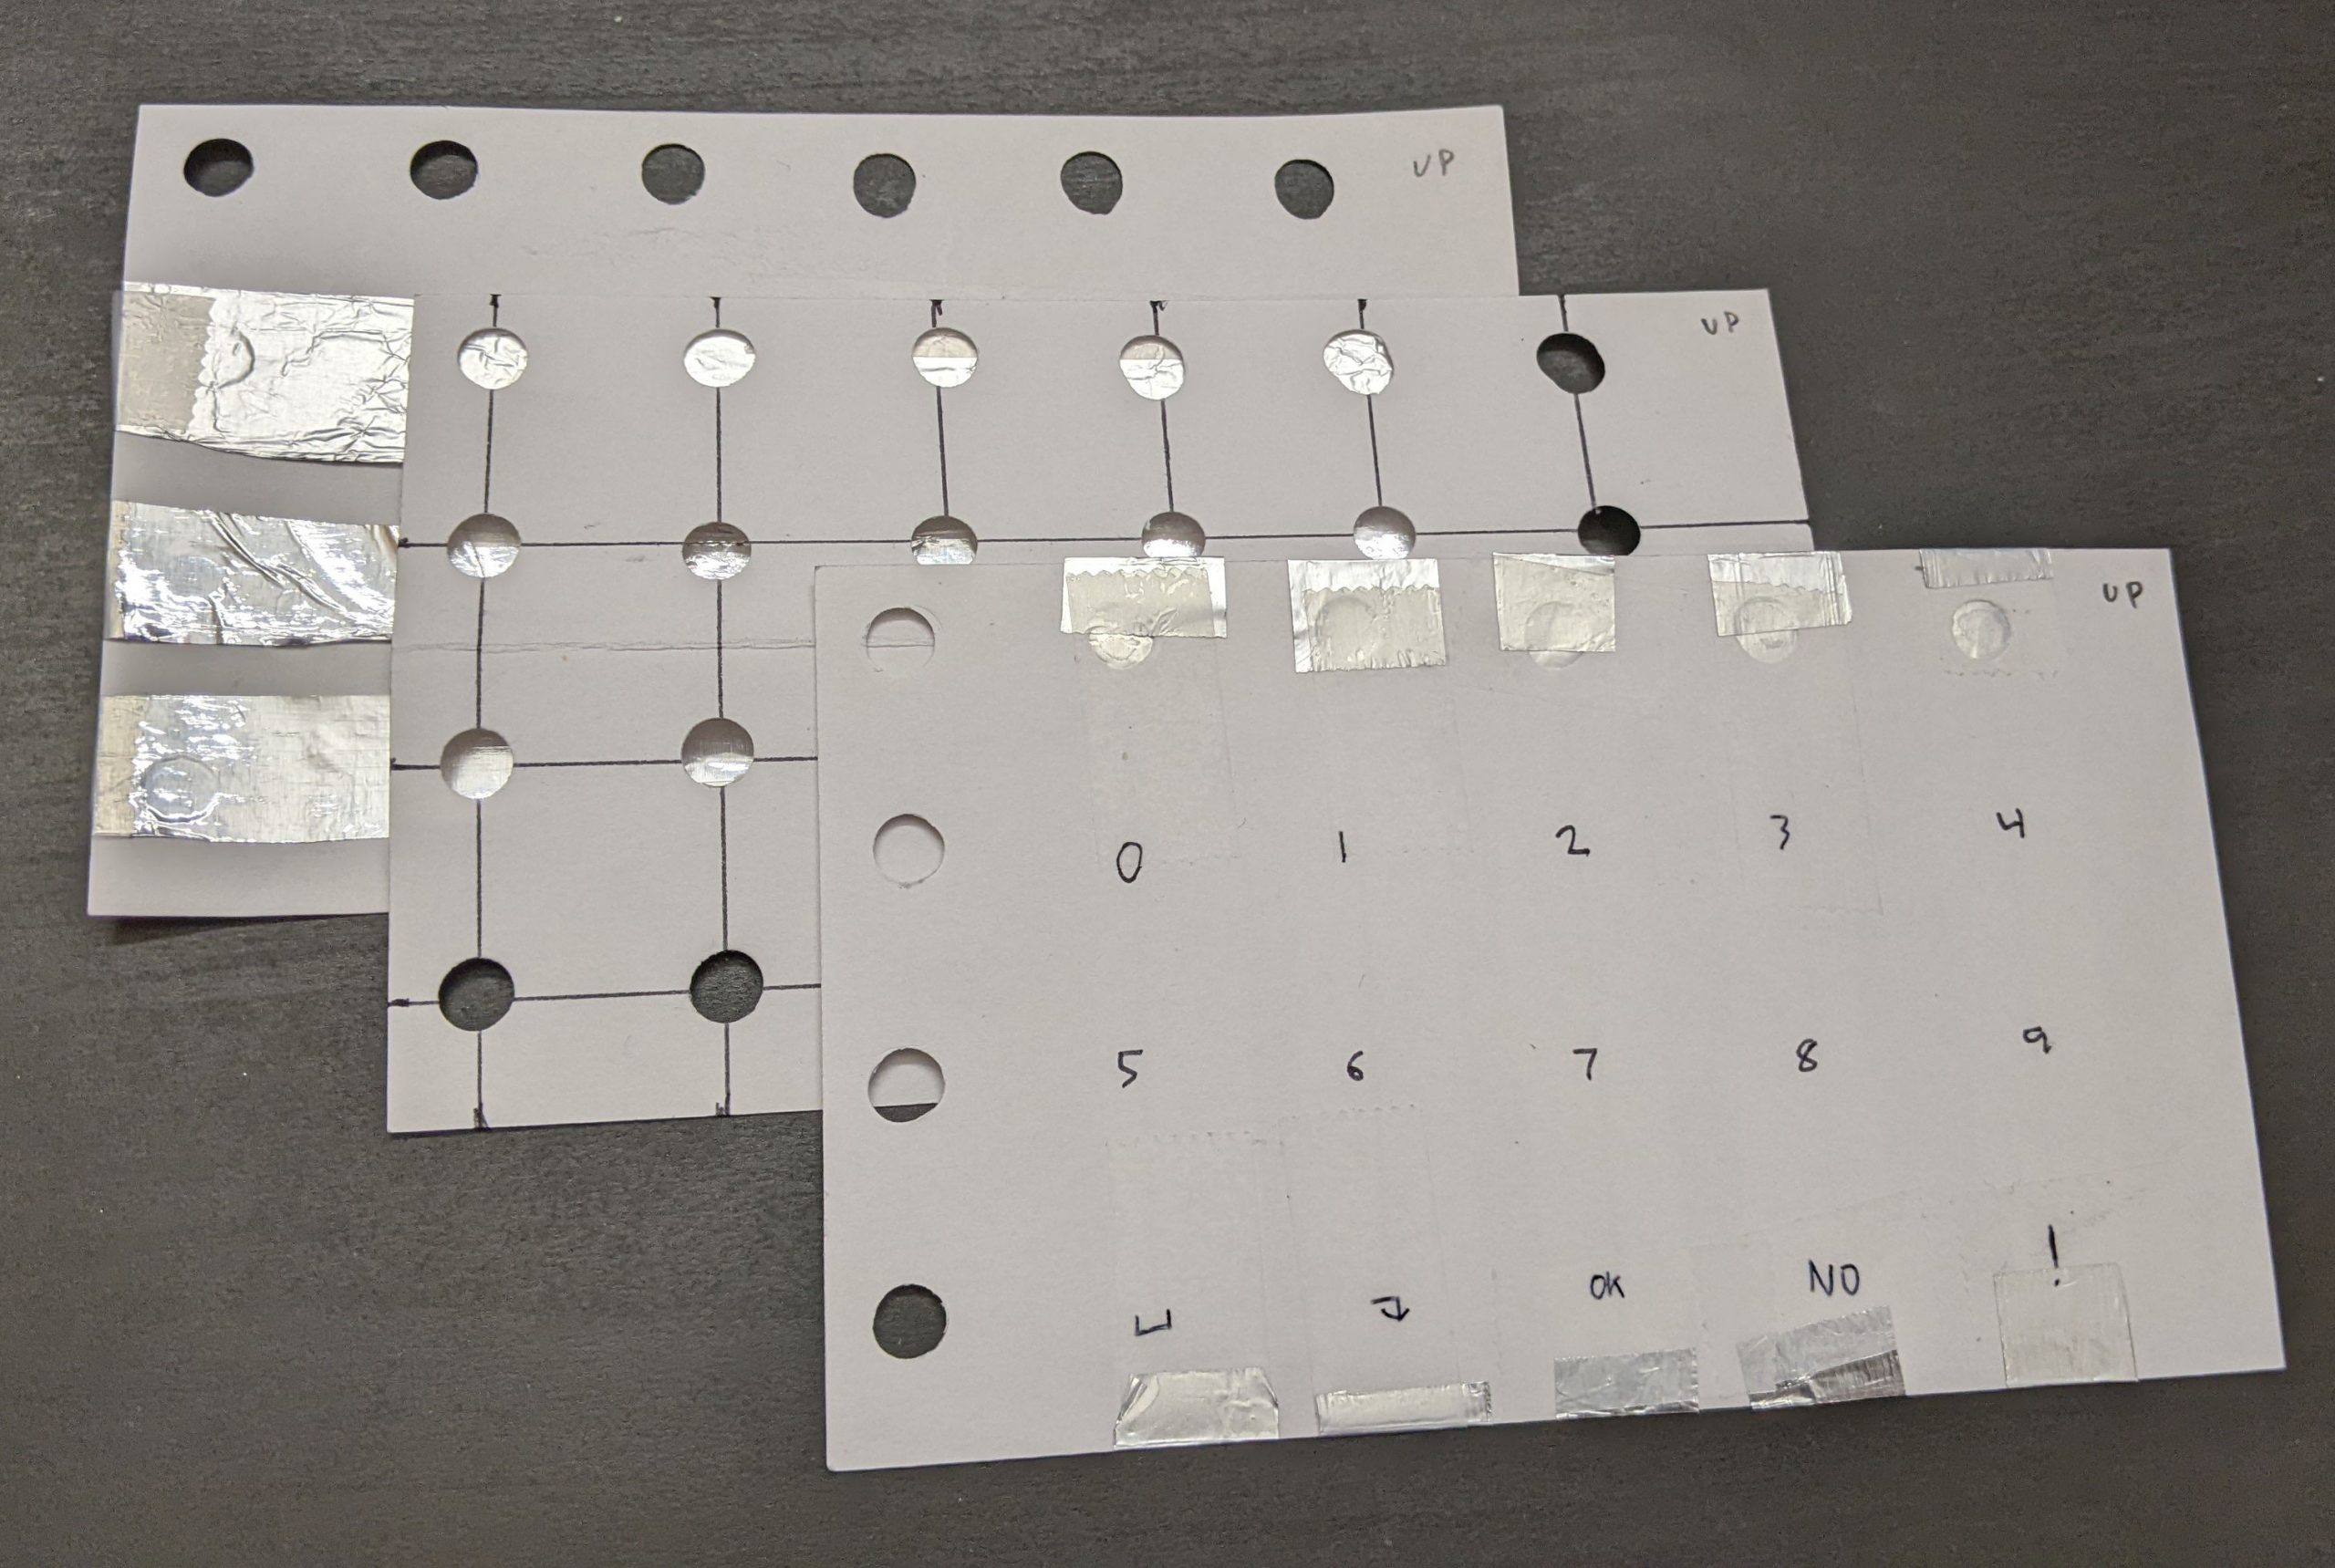
Yikes. What’s going on? Well, let’s make our own little keyboard, and explore what’s going on. We’ll build it in three layers, or “index cards”:
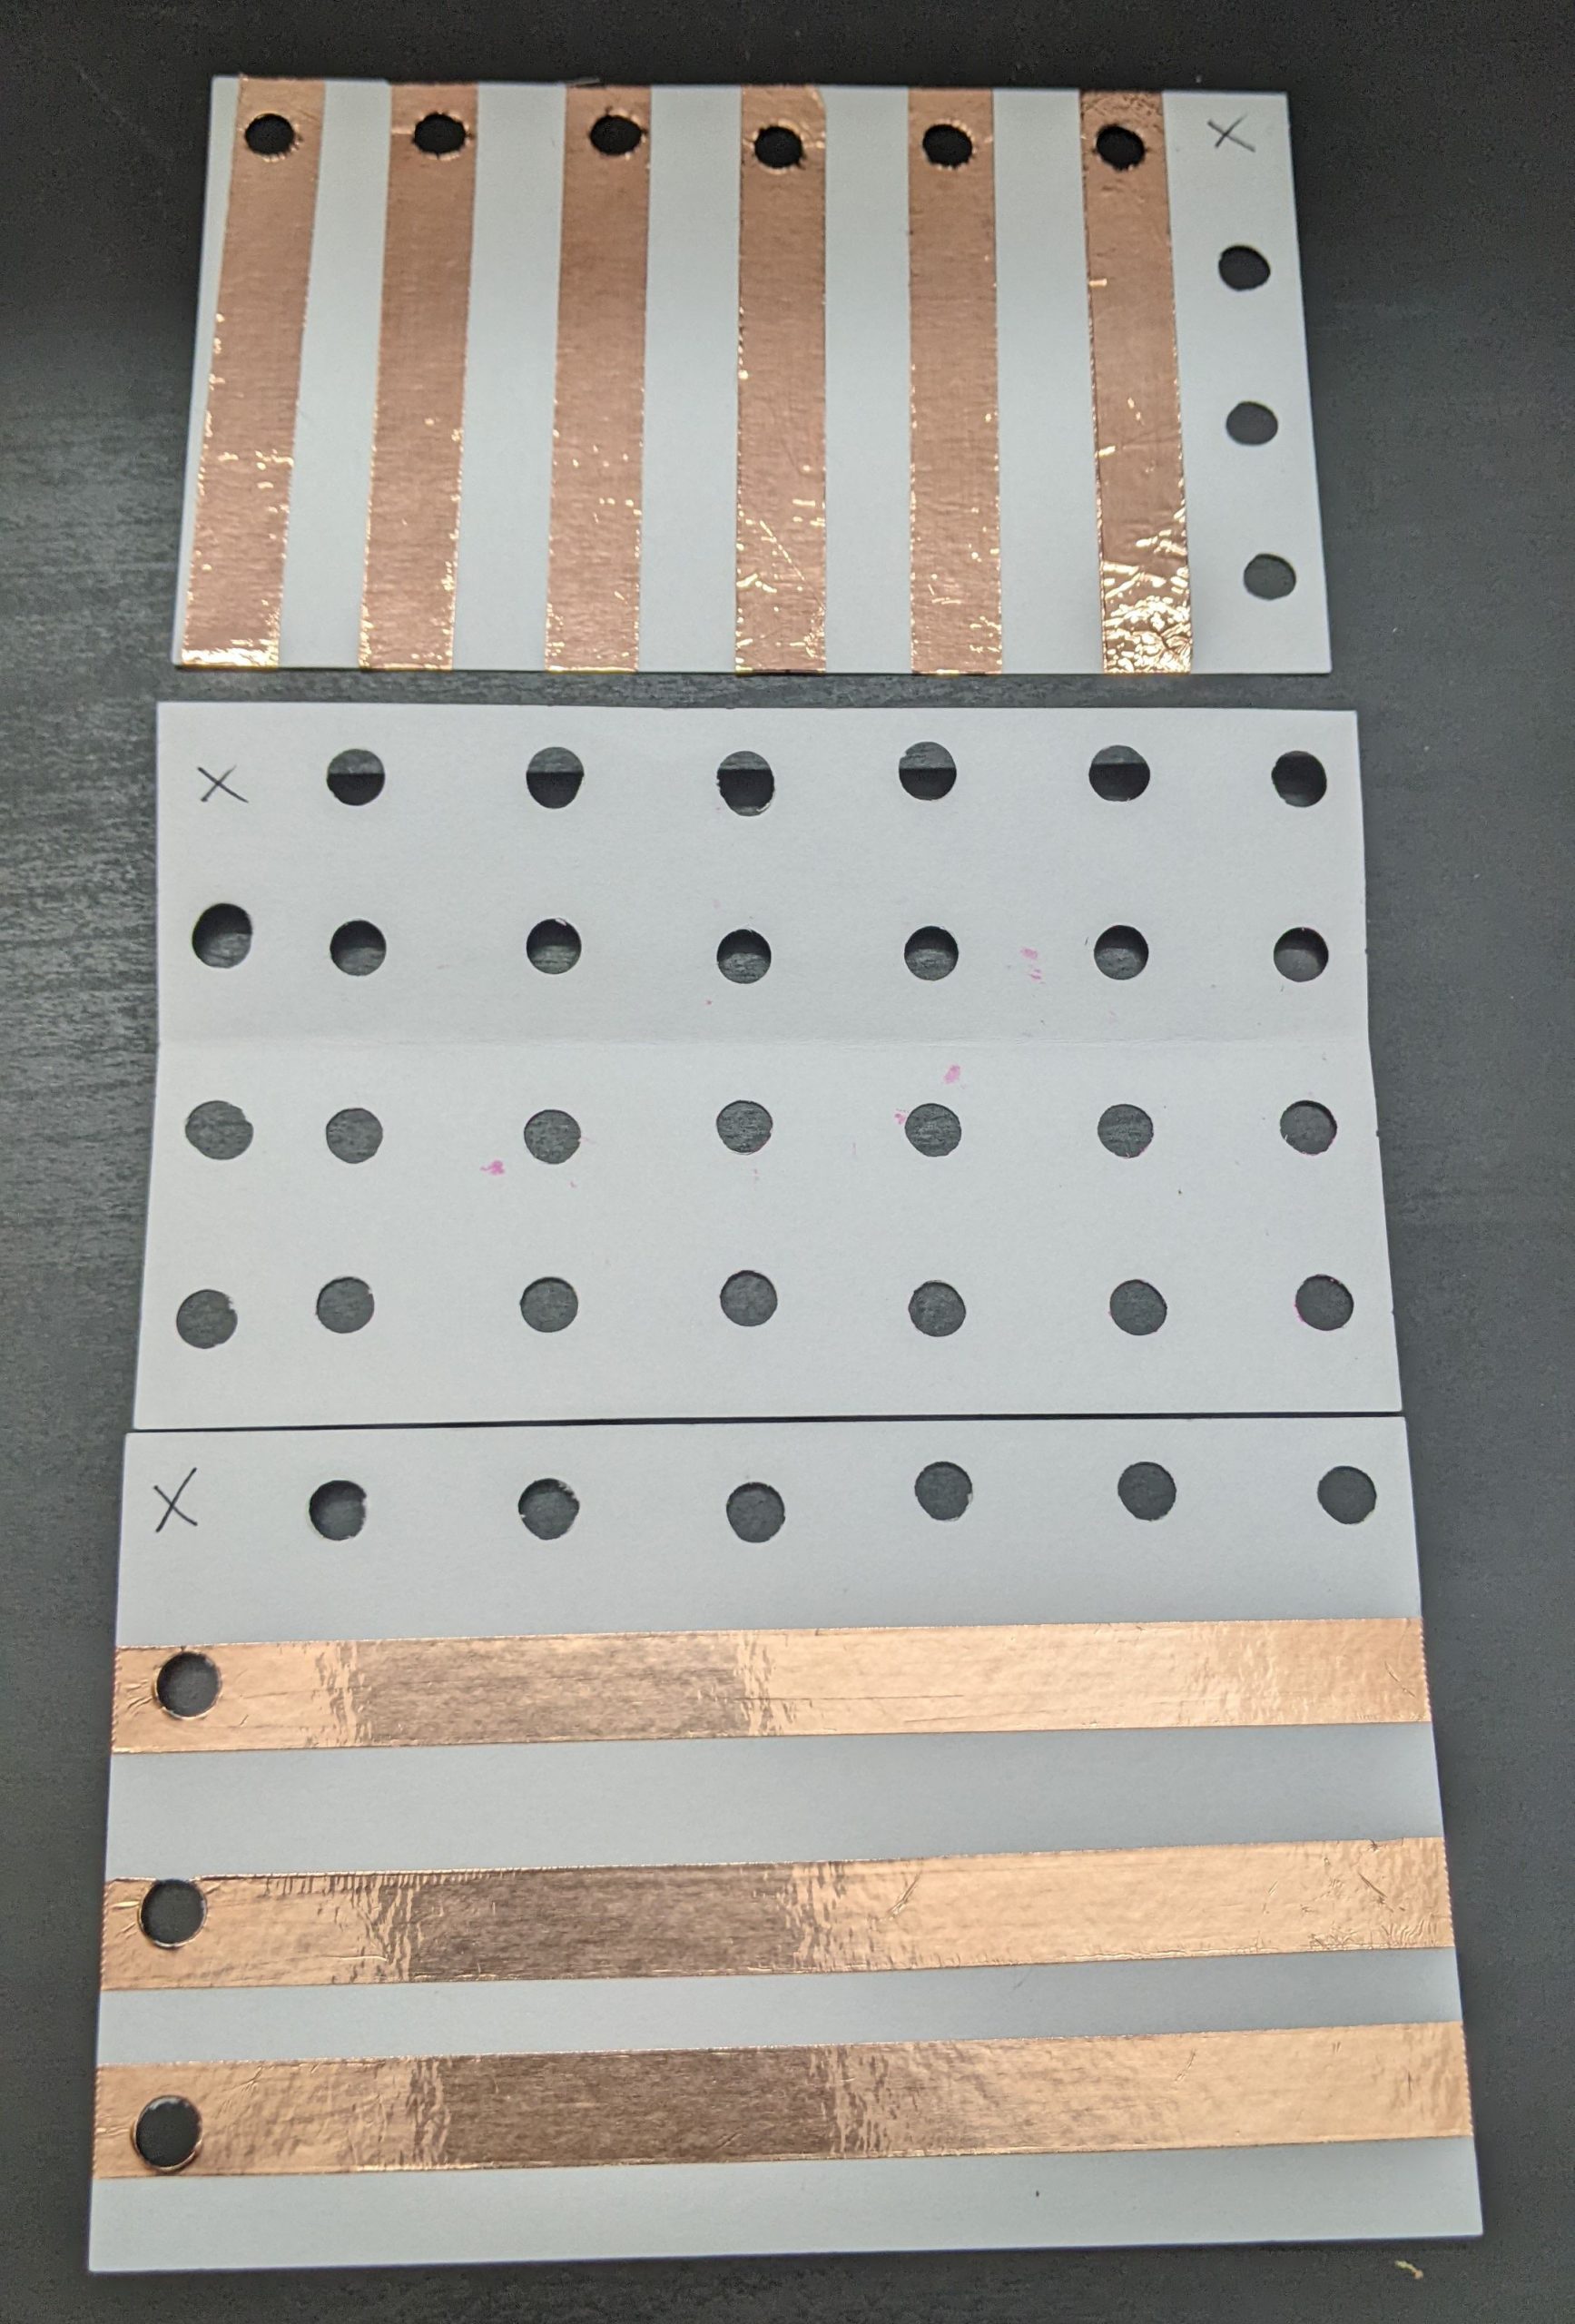
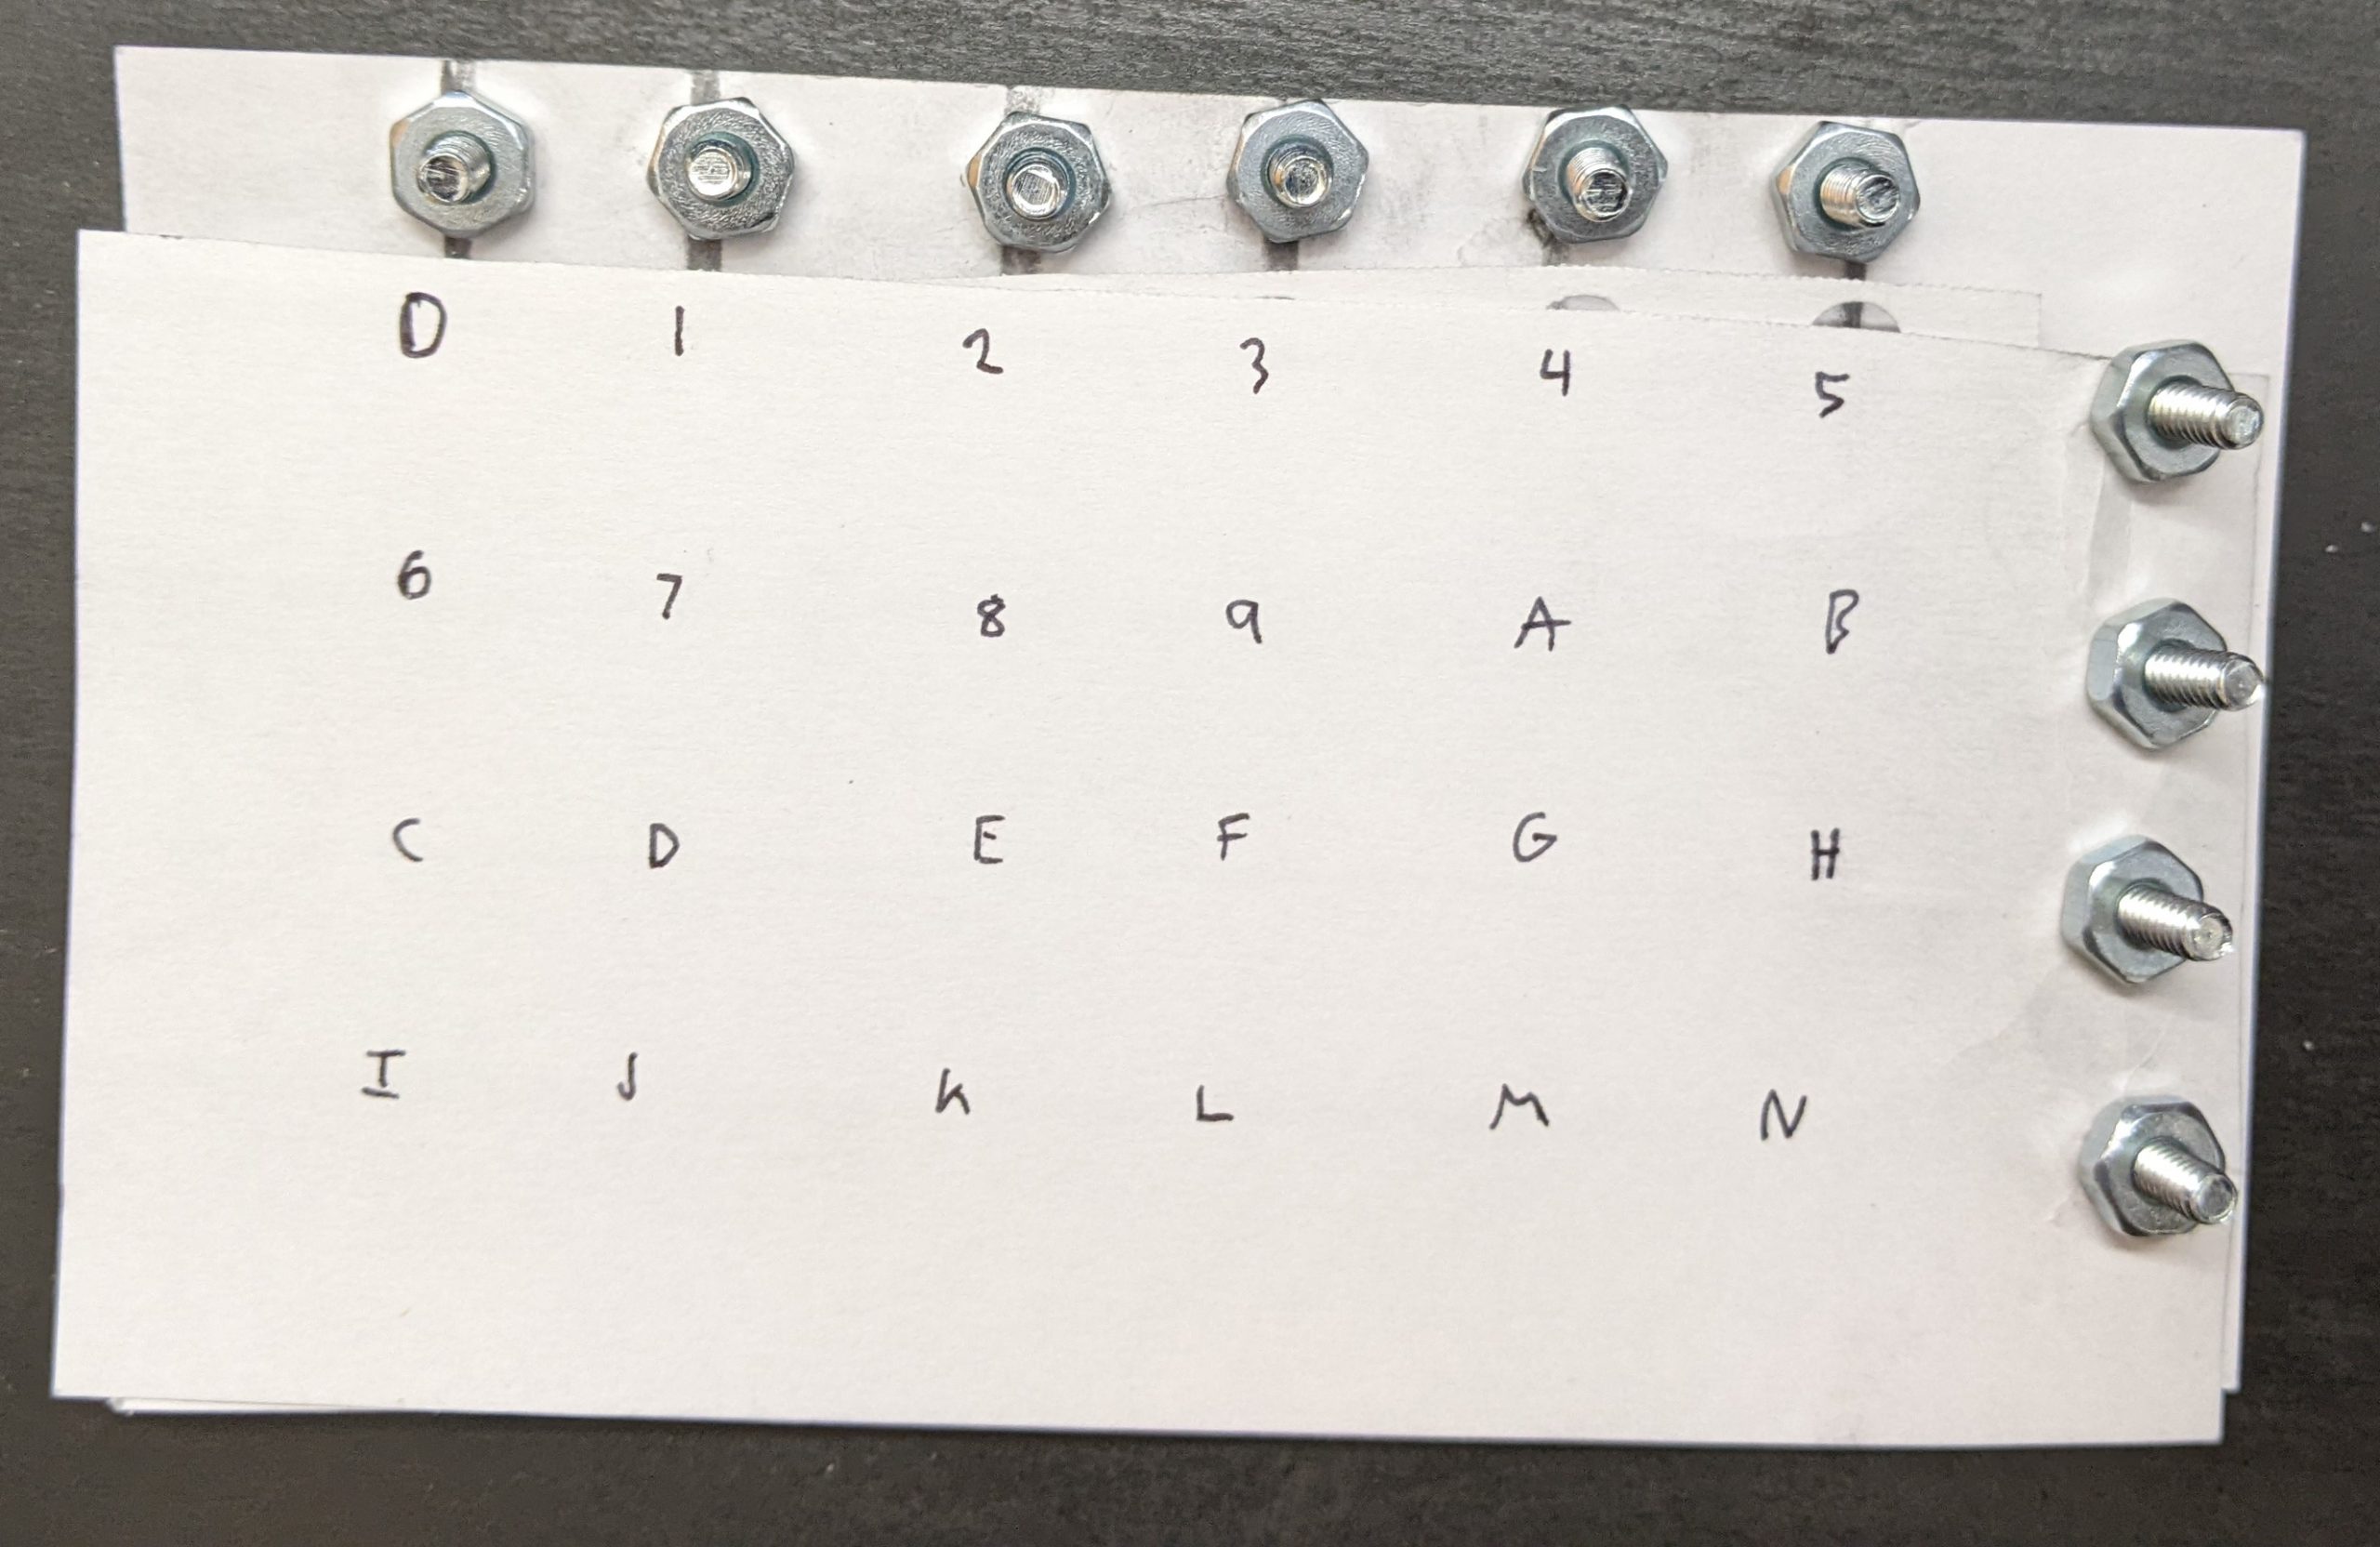
The bottom layer has 6 vertical stripes. The top layer has 3 horizontal stripes. Each place they cross will be a “key” you can press.
In between them, we add a spacer layer (punched holes) so they keys are “up” by default, and you have to press them to make them connect.
This picture might help explain how they will go together:
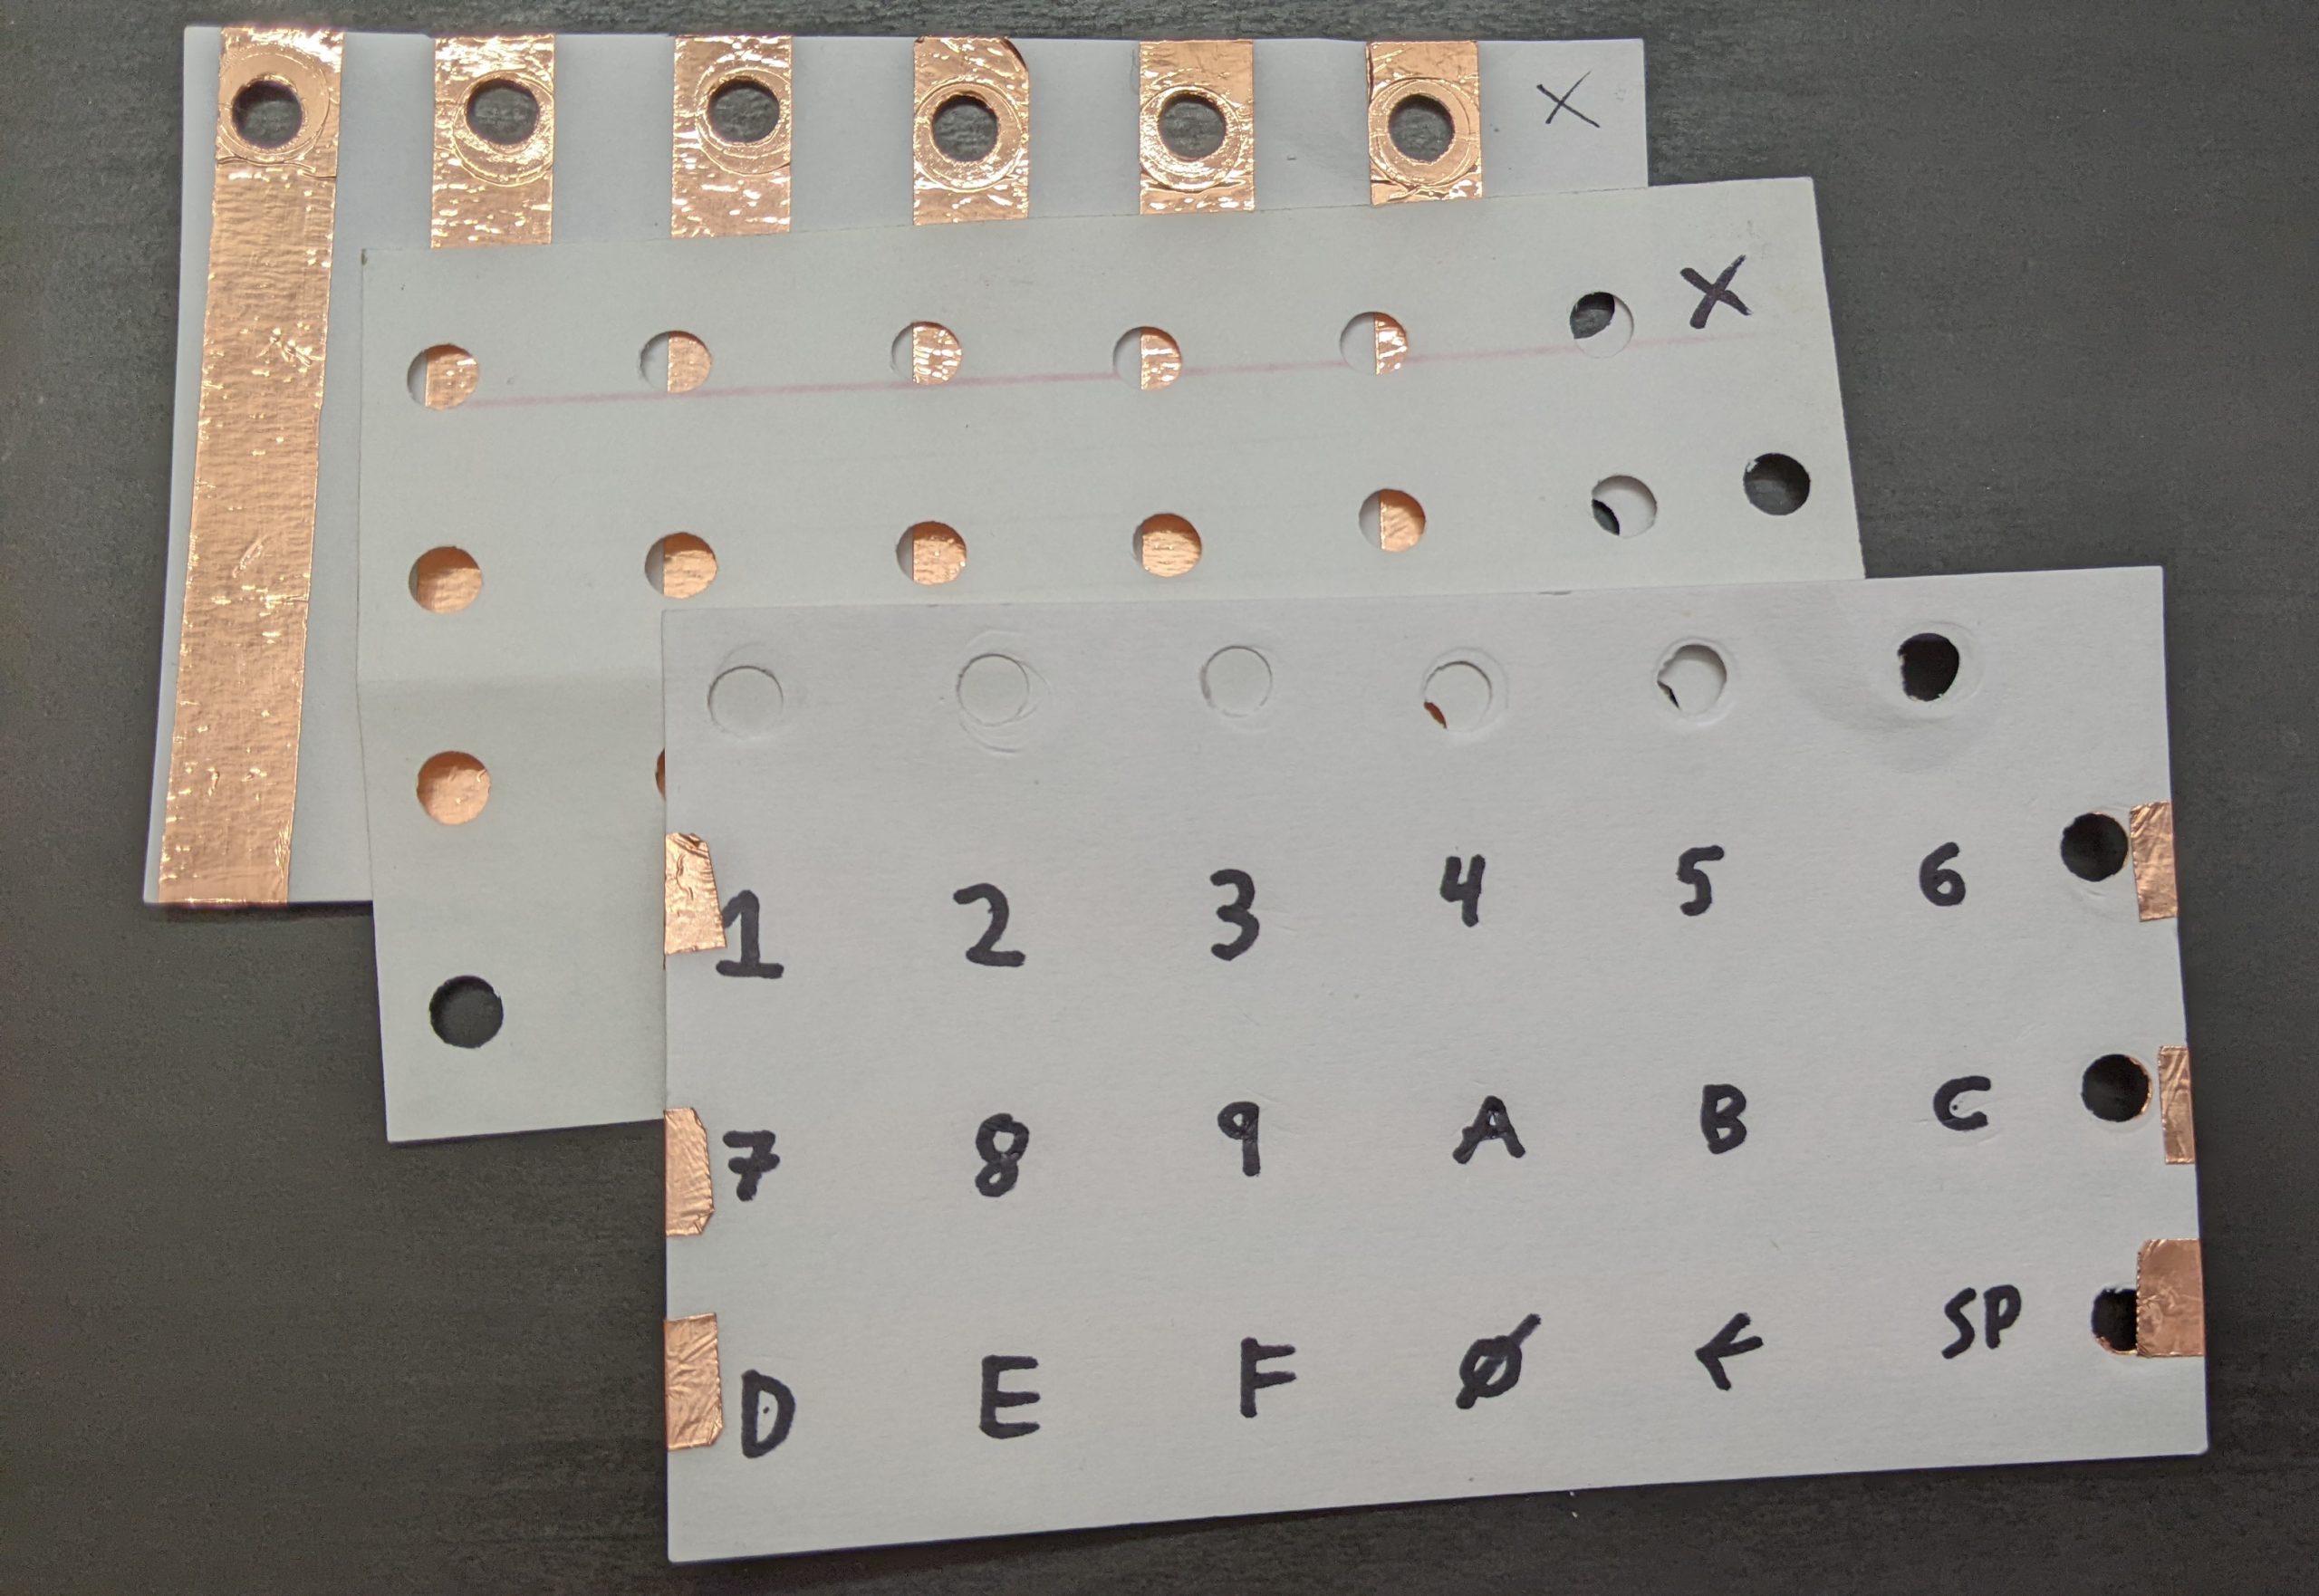
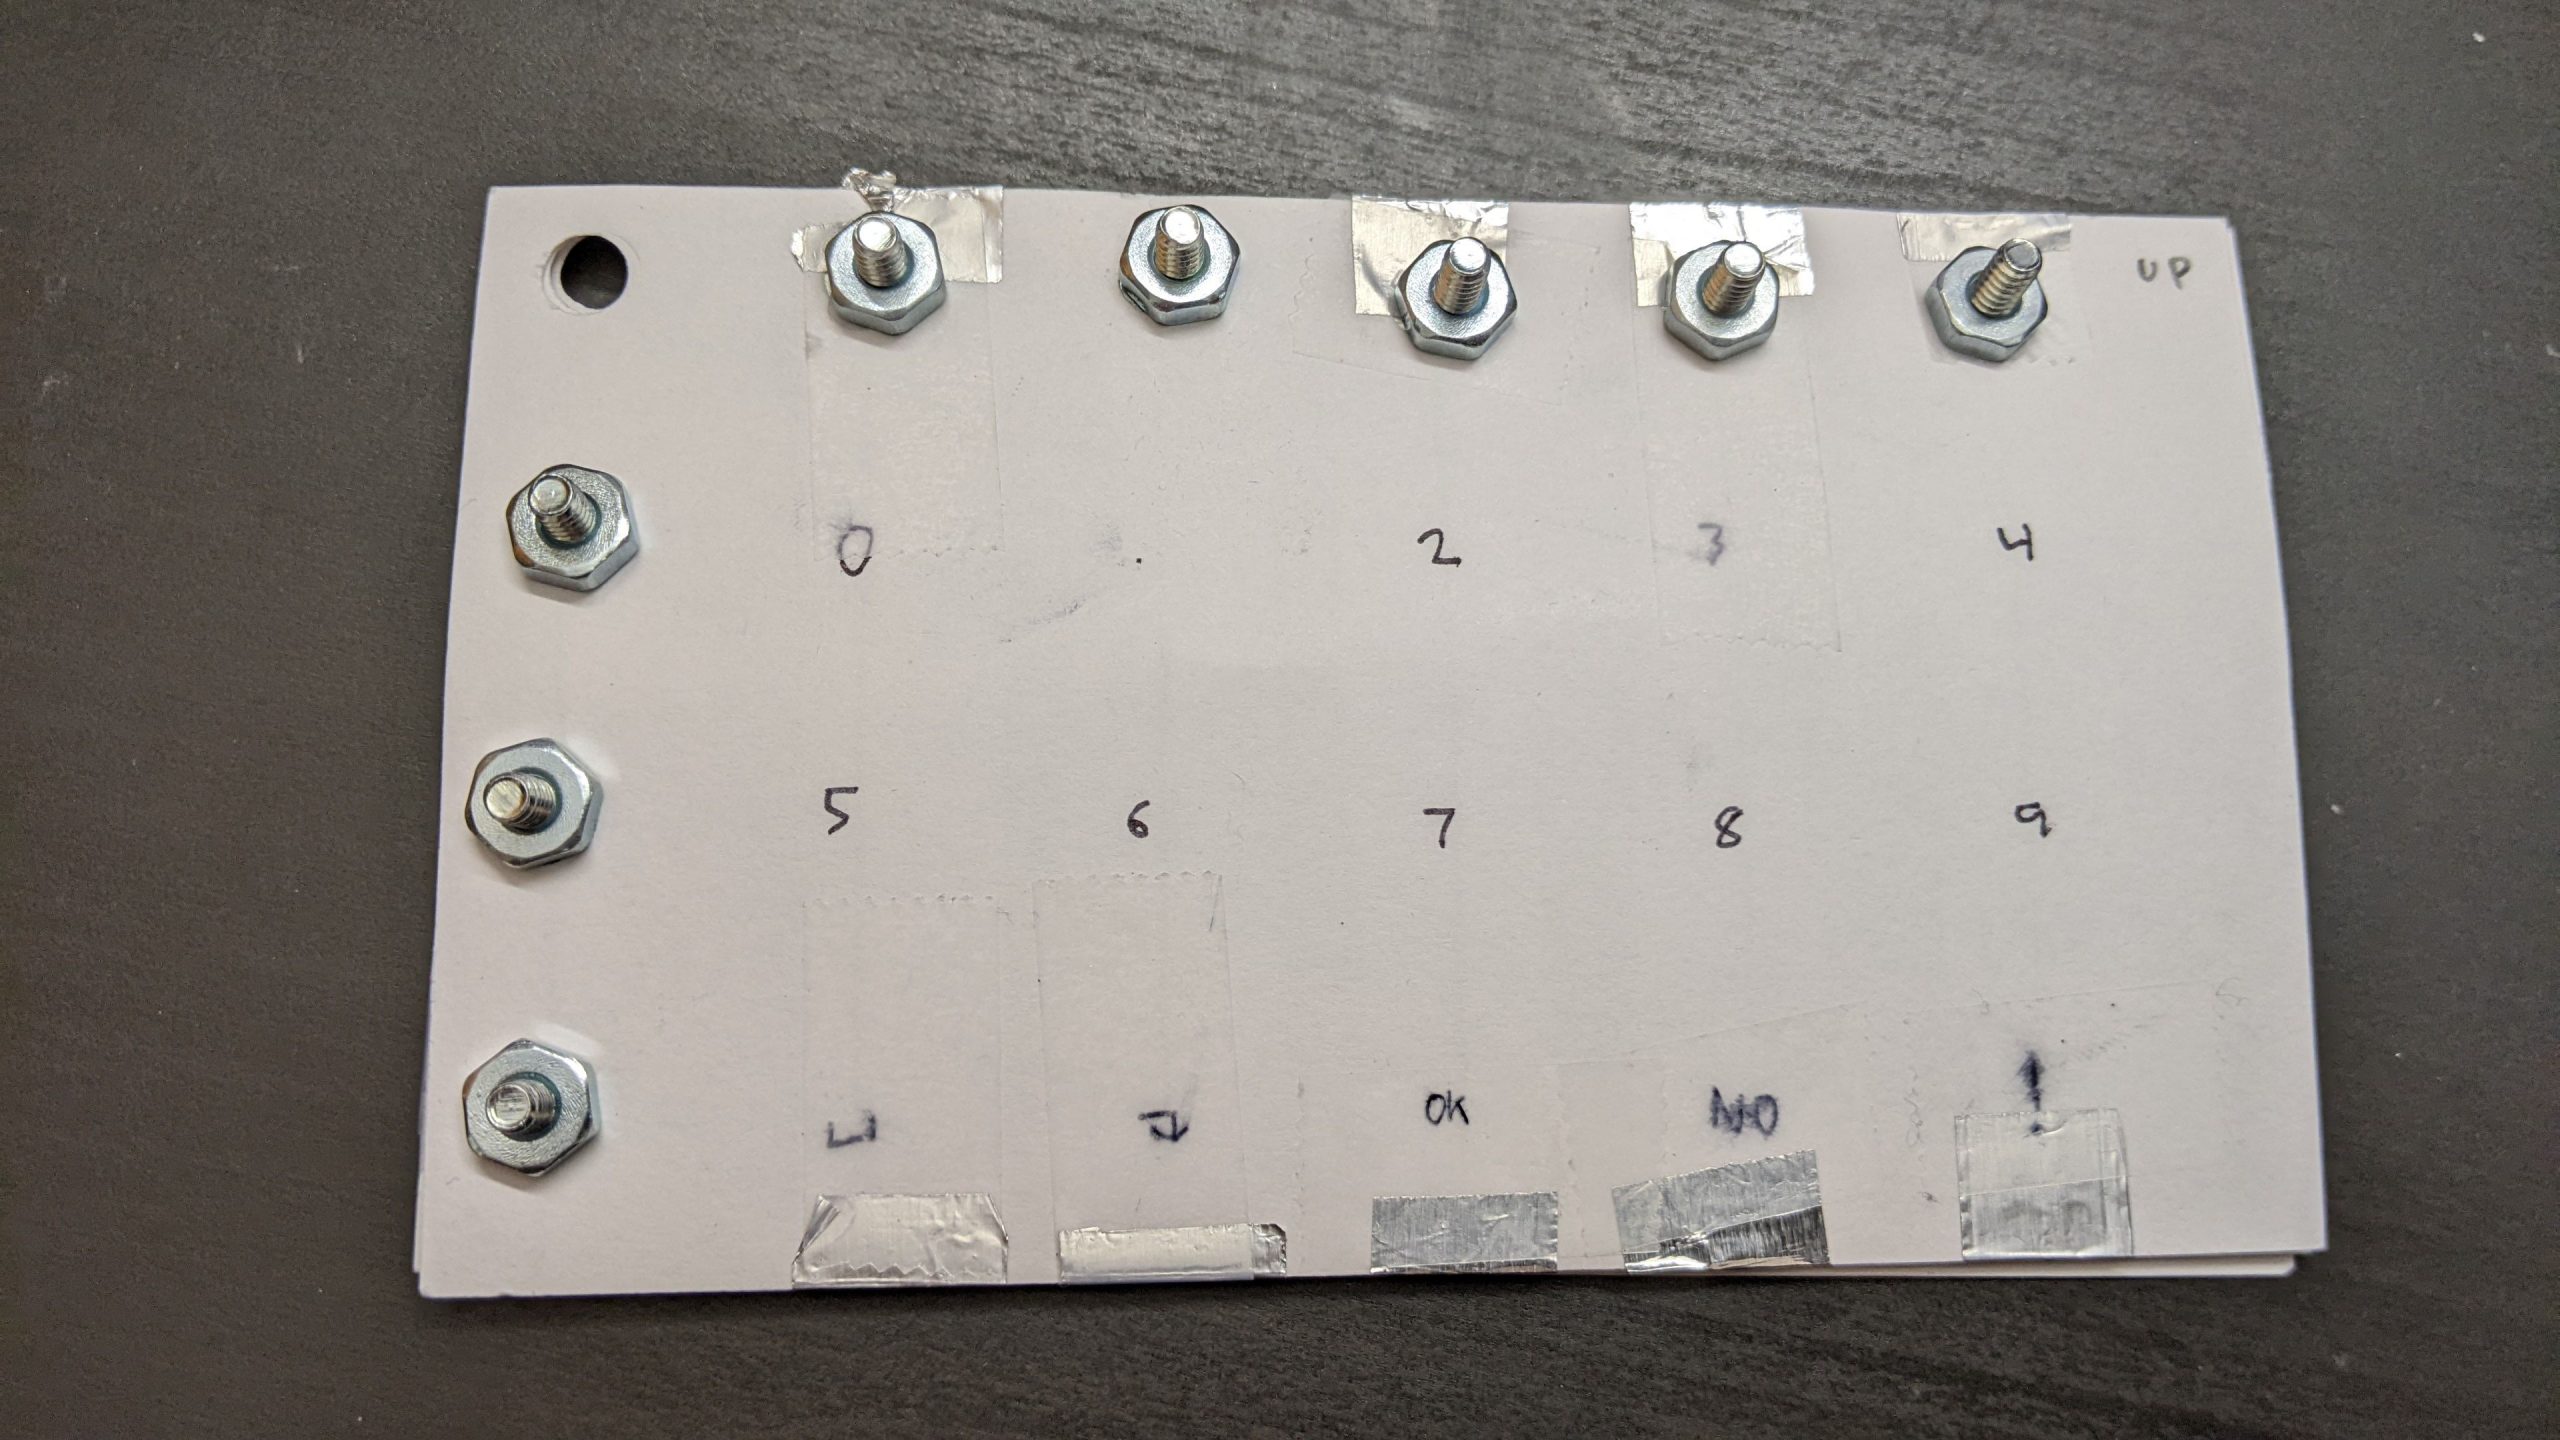
Now we assemble:
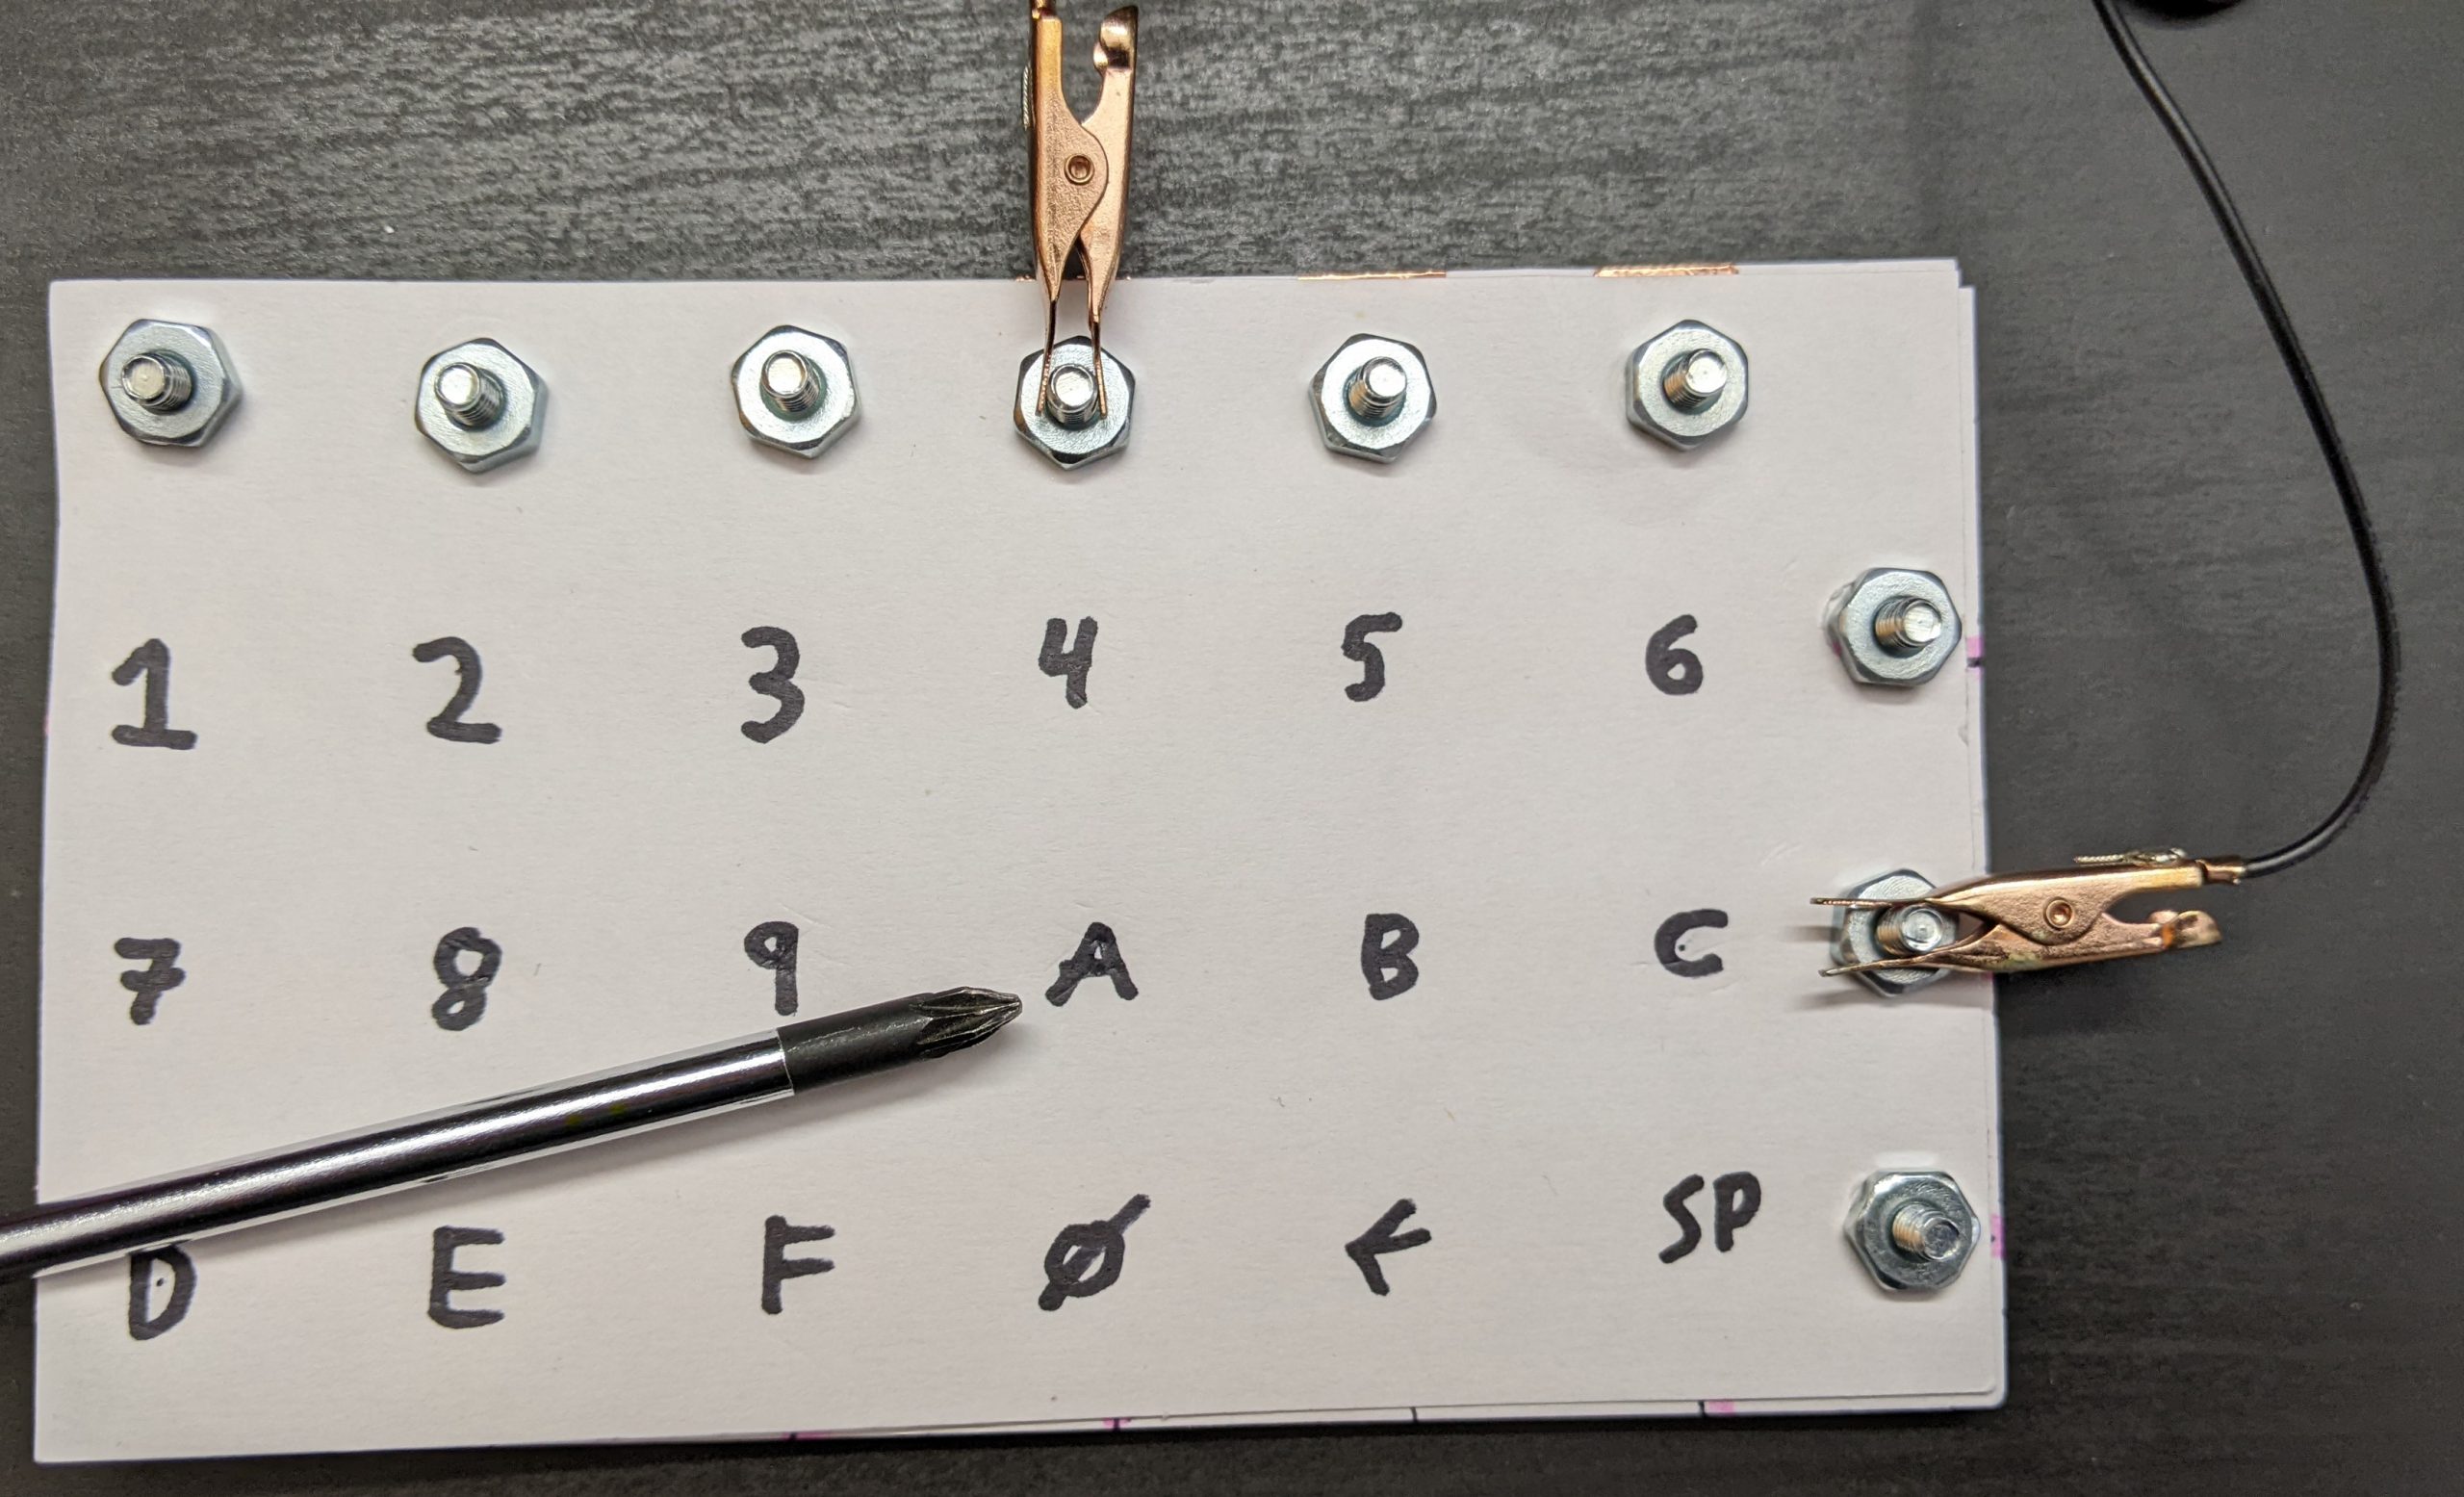
The final keyboard has 6 x 3 = 18 “keys”. We write the hex digits plus a couple extra keys with marker.
If I attach alligator clips to the second horizontal screw terminal, and fourth vertical screw terminals, and wire a battery and buzzer with the terminals, I get a connection beep only when I press the key “A”:
In a real computer, we obviously can’t just move alligator clips around. Instead, we attach wires to all 9 posts–three outputs wires for the horizontal lines, and six inputs for the vertical lines. We output a signal on the first horizontal line, and see if we can read it from any of the six vertical lines inputs. Then we output a signal on the second horizontal line, and see if we can read it, and so on for the third. Assuming only one key is pressed (or none), we can identify the key. This “scanning” process could be done thousands of times a second, rapidly enough that it can’t miss our slowpoke human fingers.
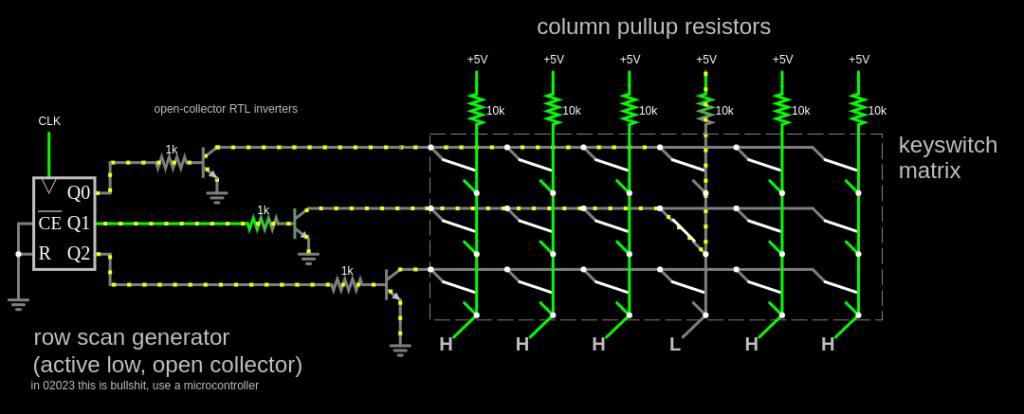
And this is how most keyboards work. There are some special keys–Shift, Ctrl, Alt, etc might be on their very own line, since we want to detect key combos. And better keyboards can detect multiple keys being pressed at once (N-key rollover), which I think they do by having a completely separate wire to each key which multiple people tell me they do with a diode next to each key.
For the above project, I used:
- Three index cards
- A hole punch
- Scissors
- A ruler
- A pen (NOT a pencil, since graphite is conductive)
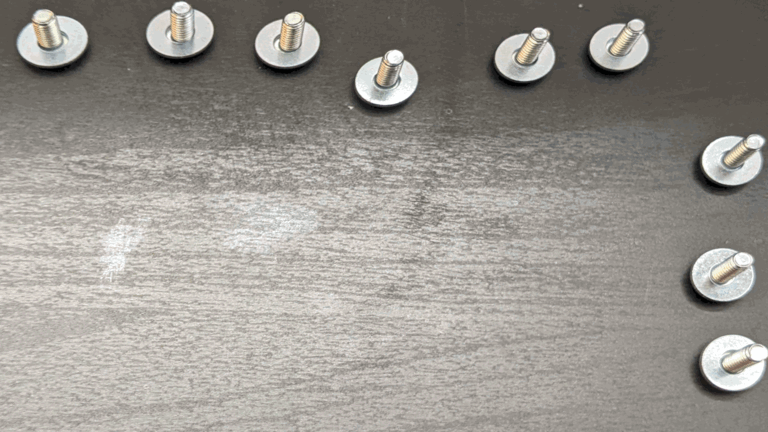
- 9 screws, 9 nuts, and 18 washes. I selected #6 American Wire Gauge, which is about 4mm thickness
- Copper tape
Did this work perfectly? Definitely not.
- On some keyboards I’ve made, you have to press quite hard.
- My multimeter takes a while to register a press. I think a microcontroller would be better.
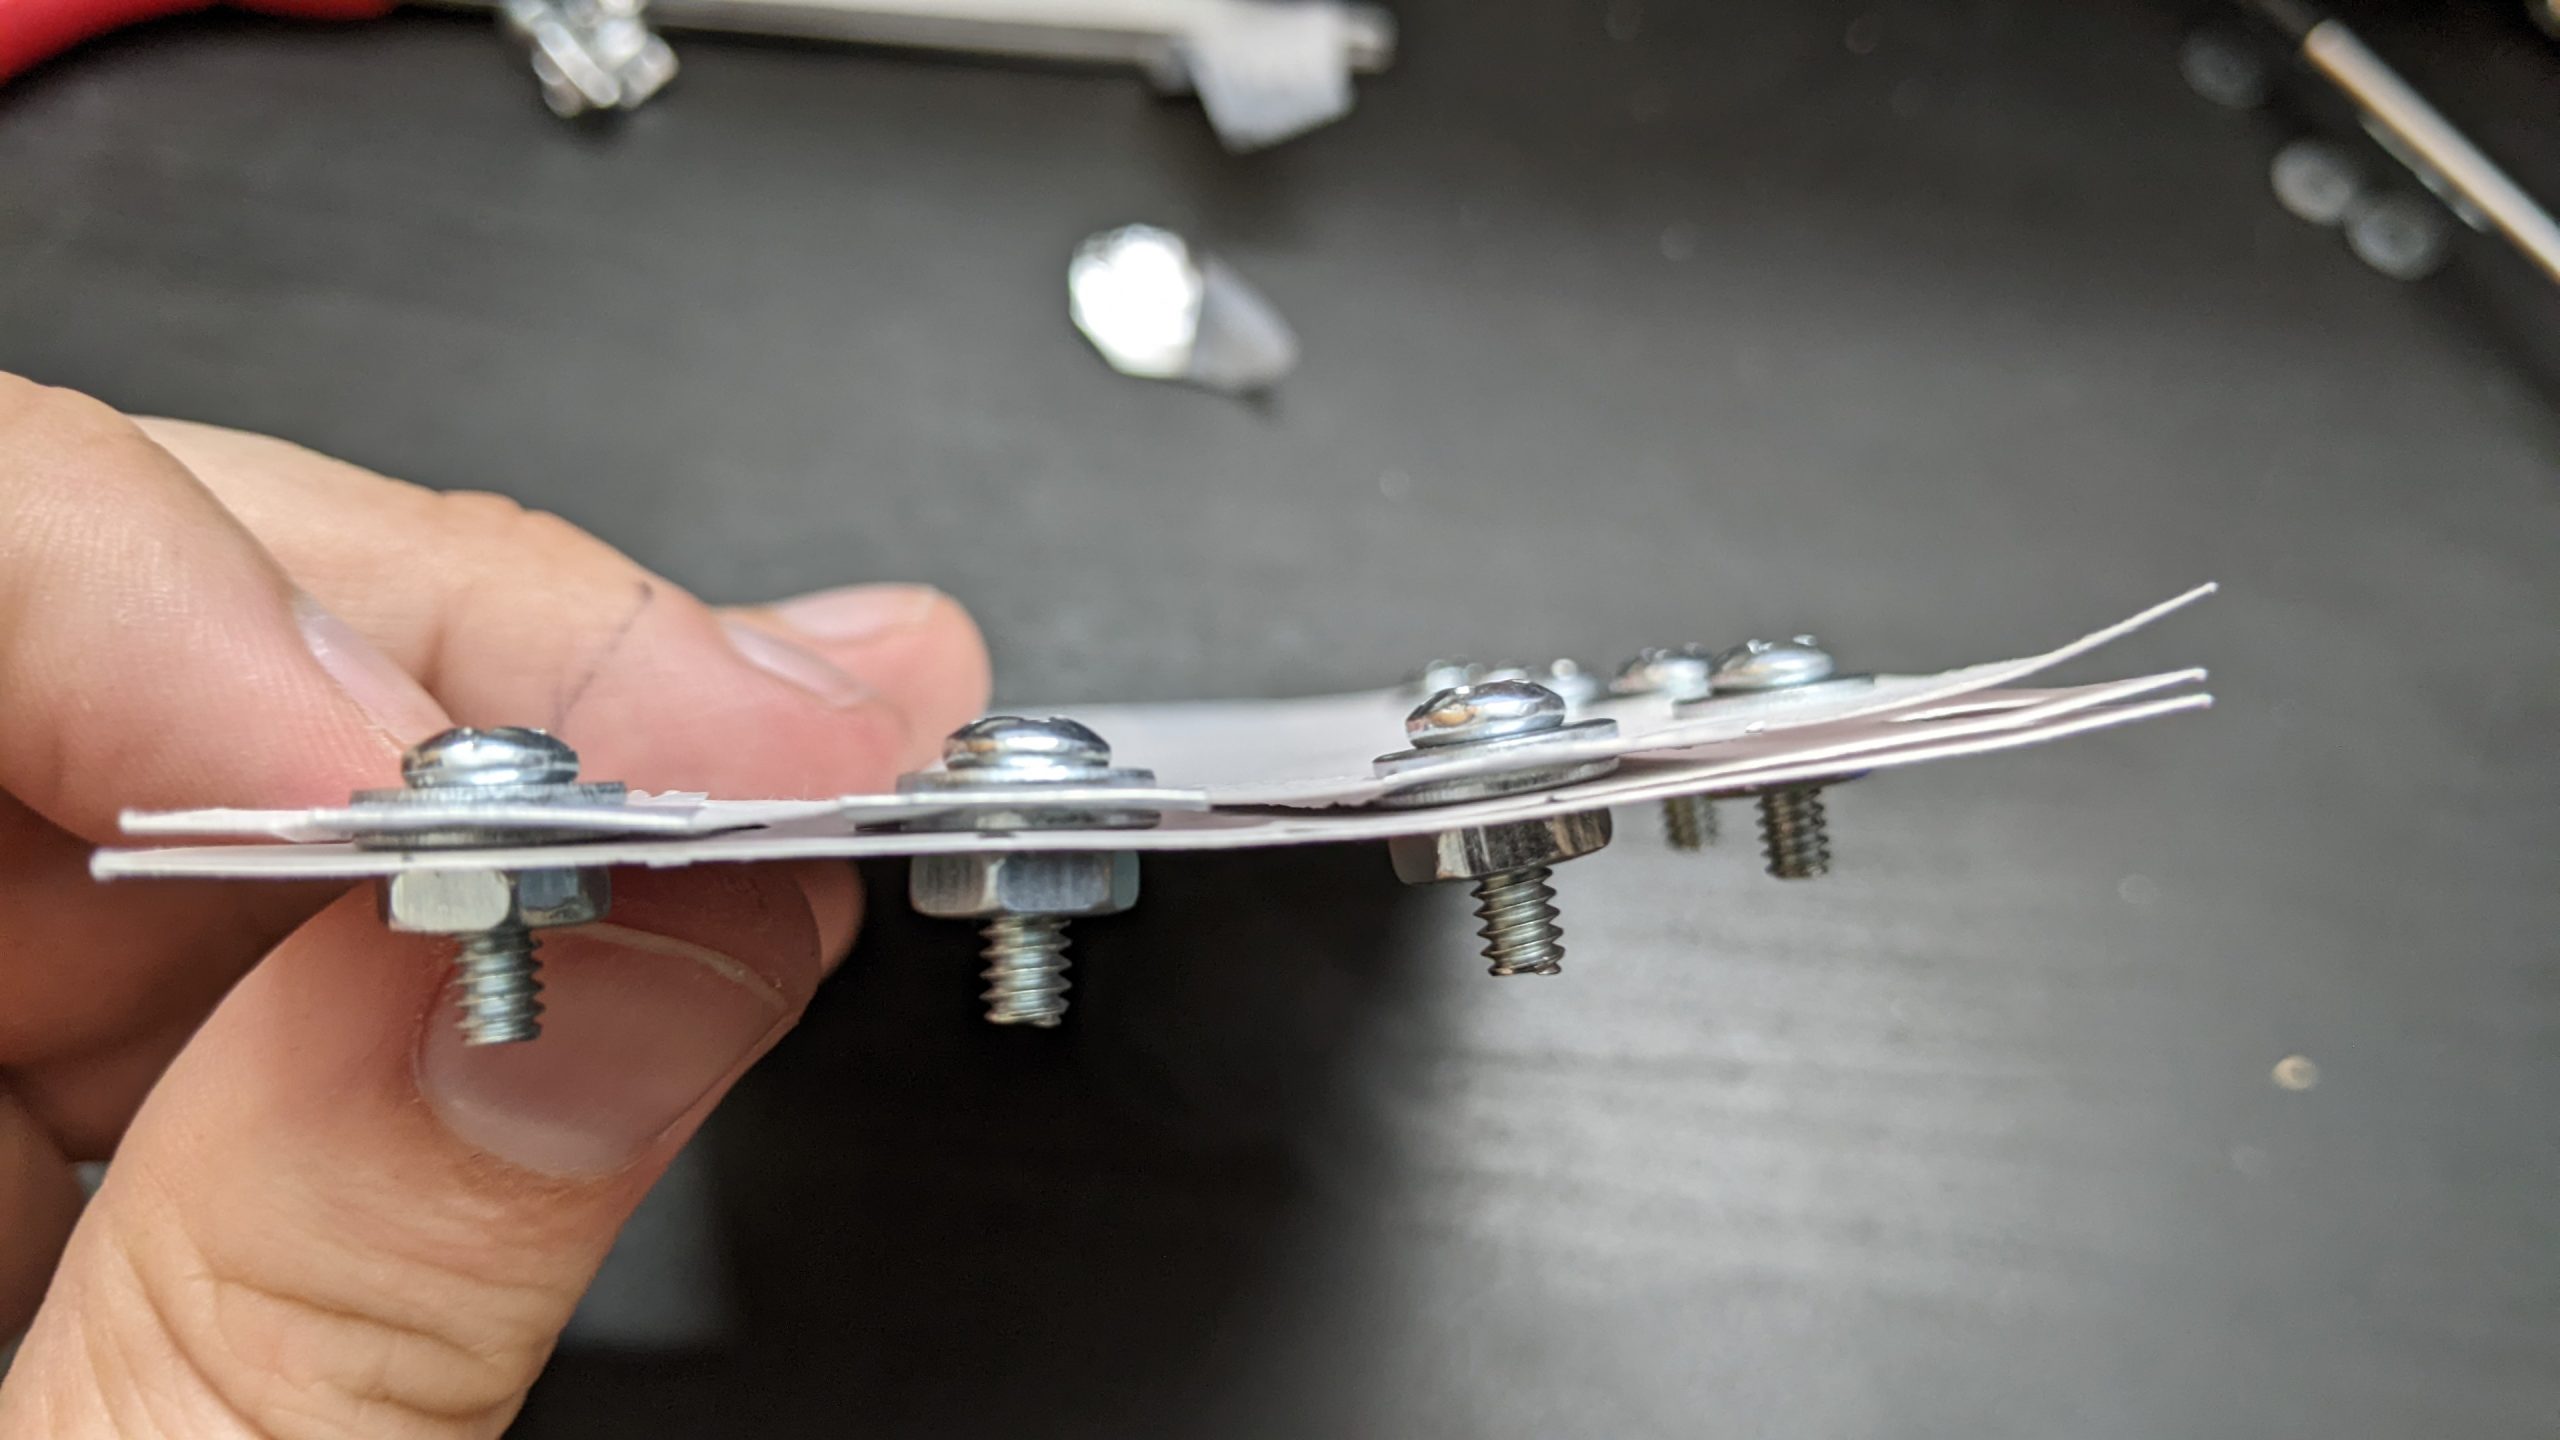
- You have to attach the terminals carefully. I think what’s going on is that you can actually put the screw exactly through the center of the washer which is actually making contact with the strips, so that only the washer is attached, and the screw doesn’t rub against the washer.
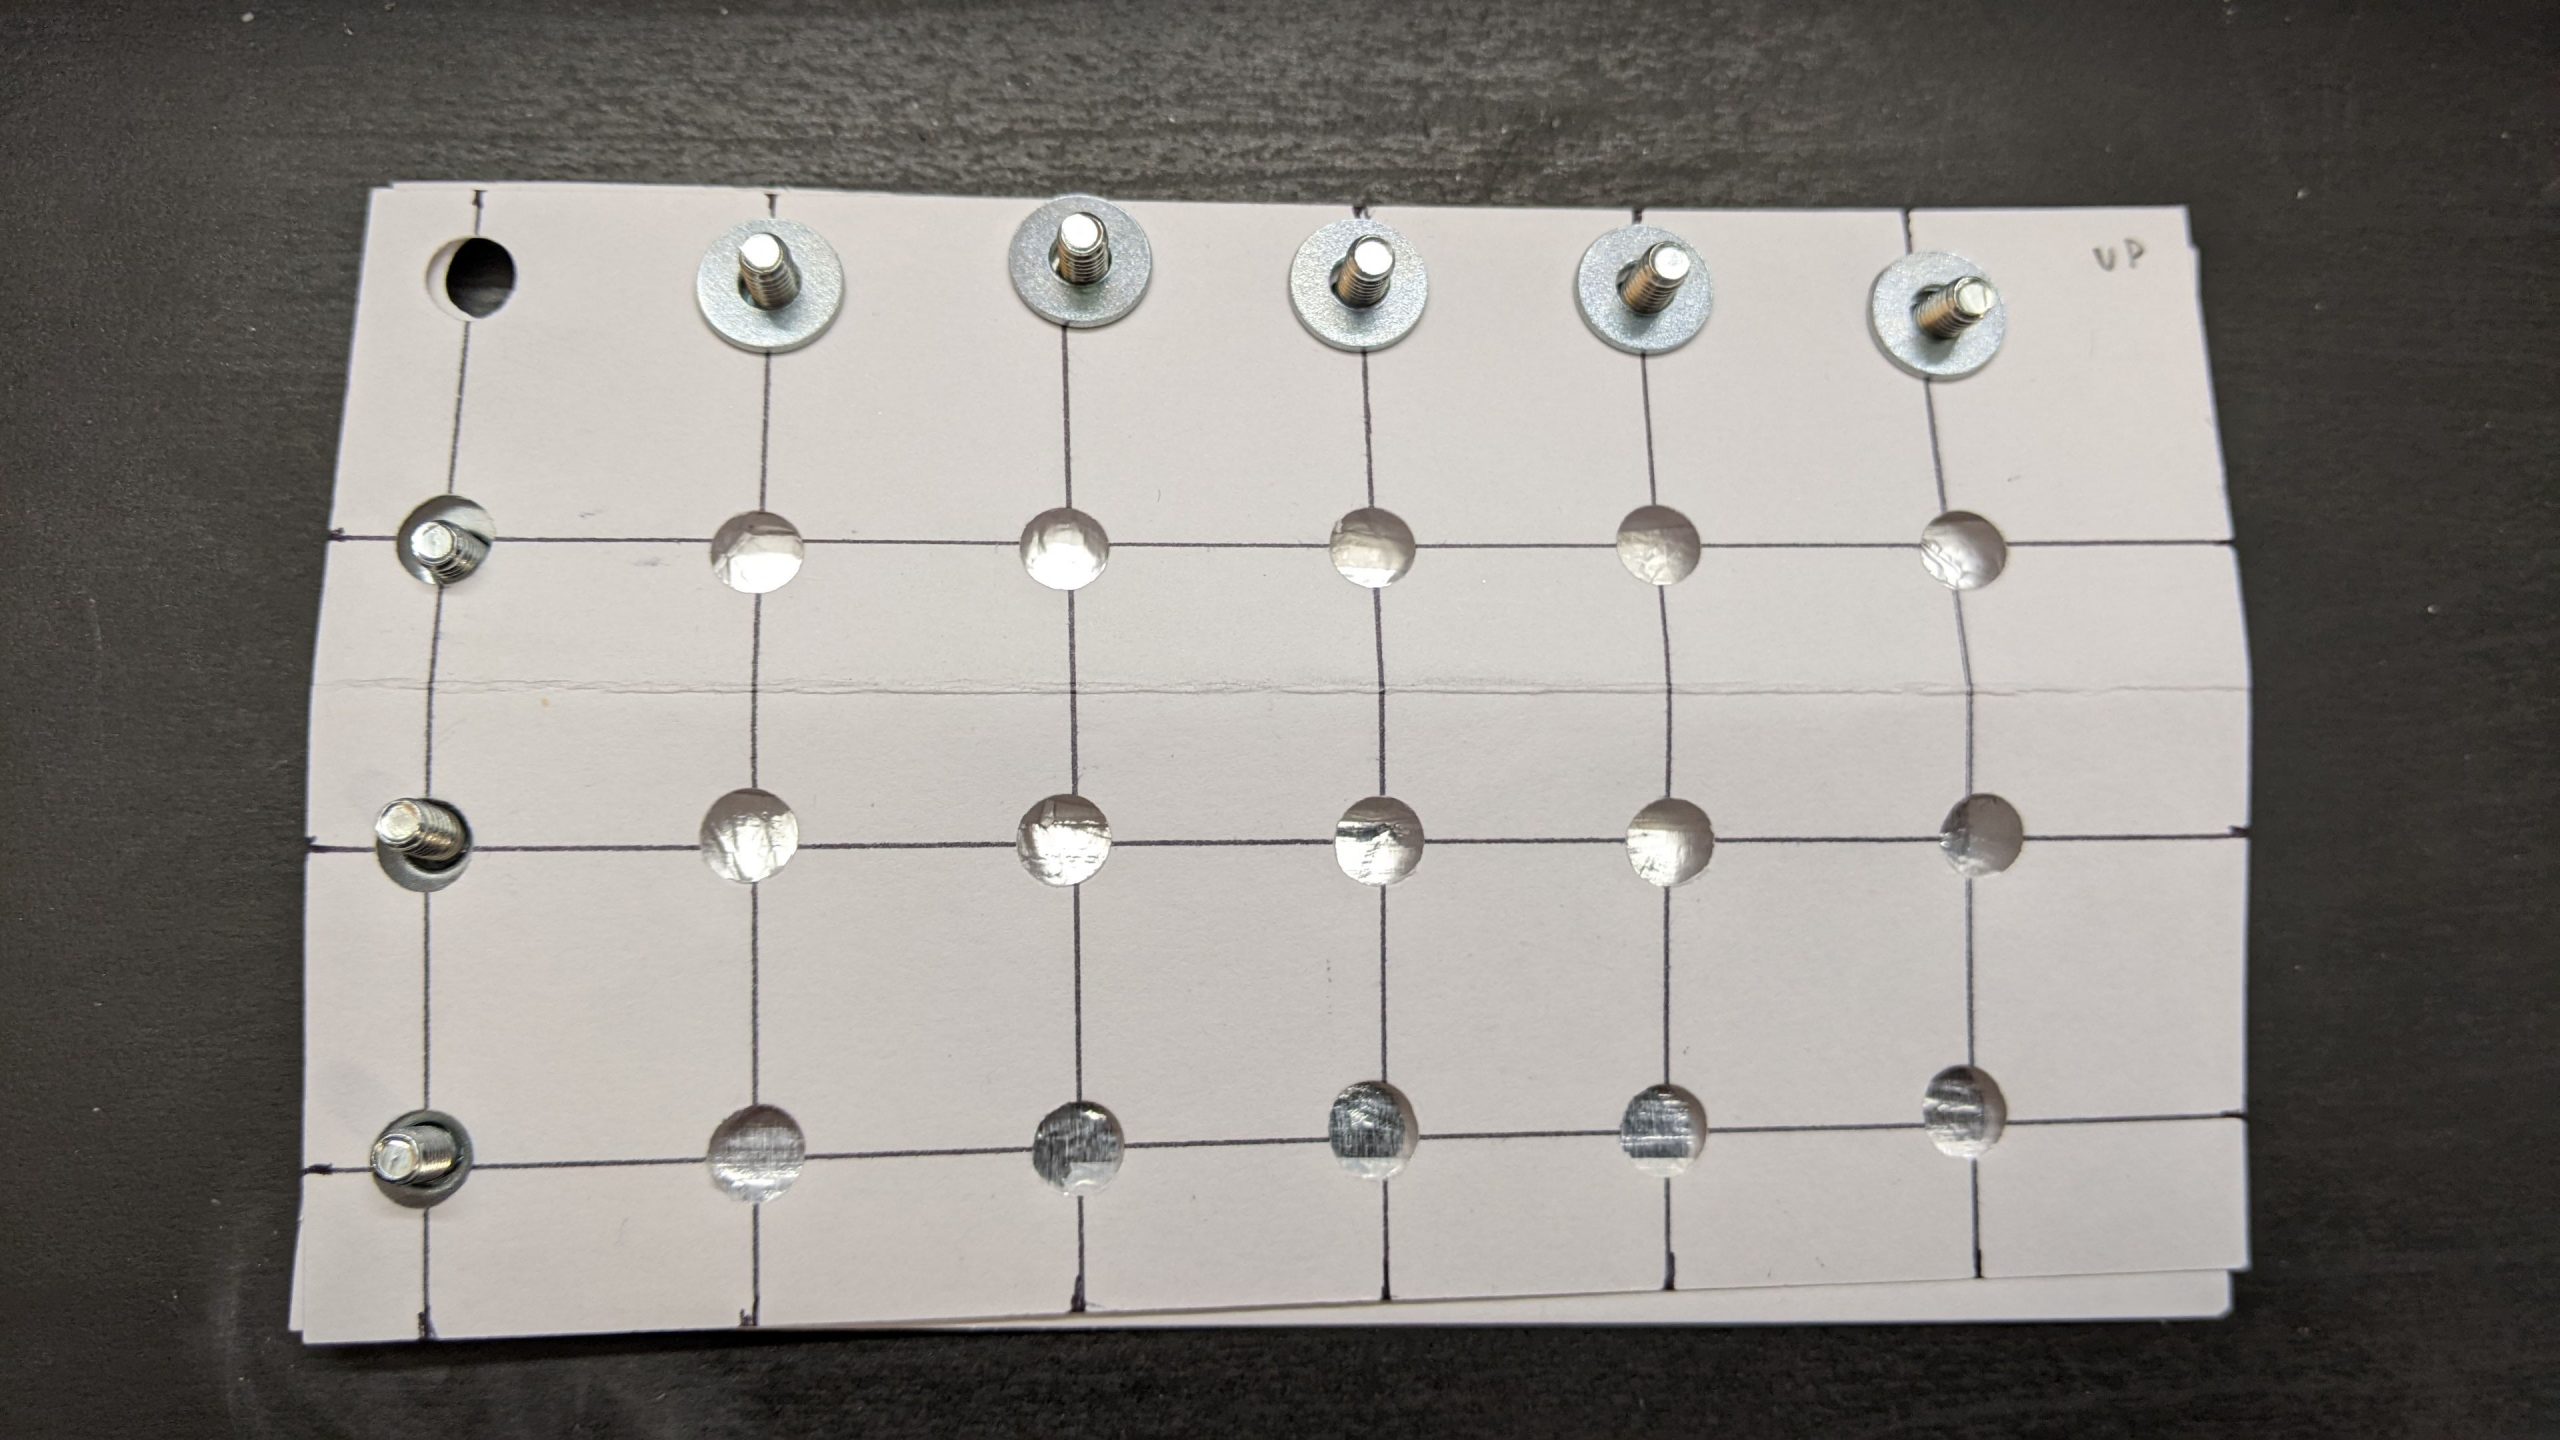
- It’s of course fairly easy to mis-align anything. This is pretty easy to fix with care. I used the “spacer” grid to draw the centerpoint of the printed letters.
- The screw heads are a bit thick, so it’s hard to press the keys in the column/row next to the screws. A piece of backing cardboard might fix this.
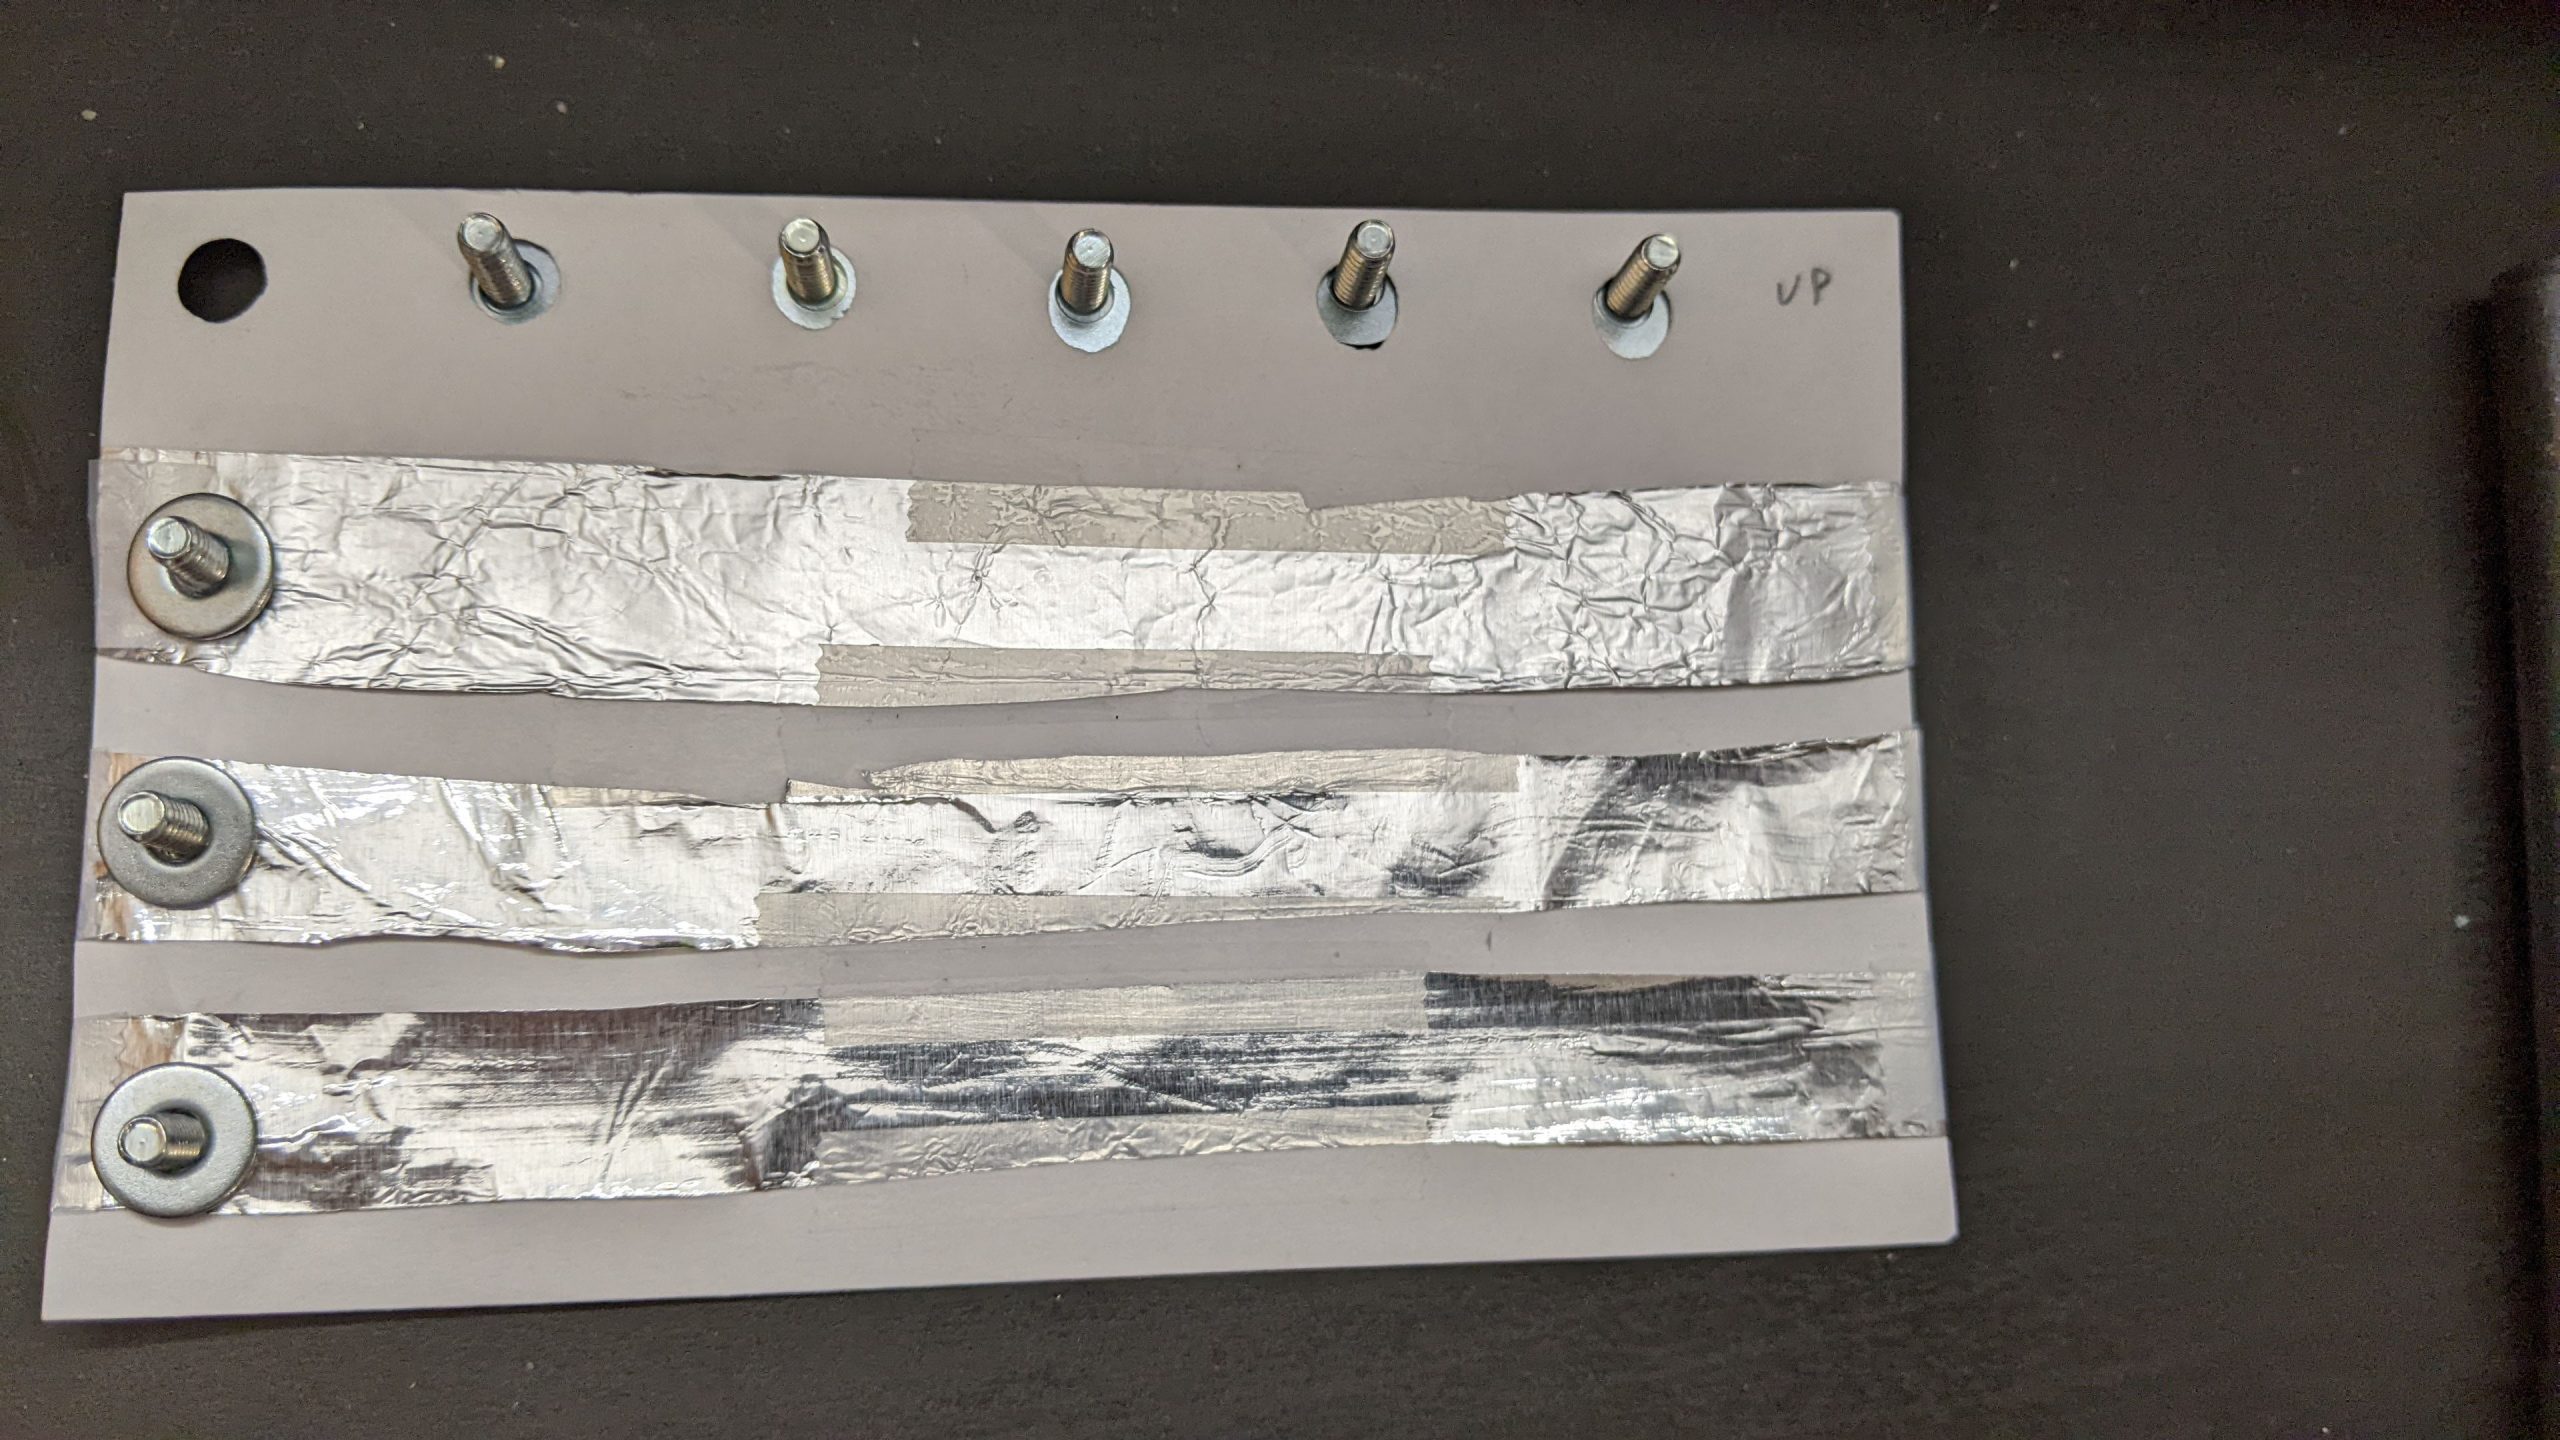
This was my third attempt. Here’s the second, using aluminium foil. It worked at least as well, maybe better, but it was harder to make. I just taped the foil down, taking care not to cover the contact points. I am told the aluminium will gradually oxidize, making it non-conductive.

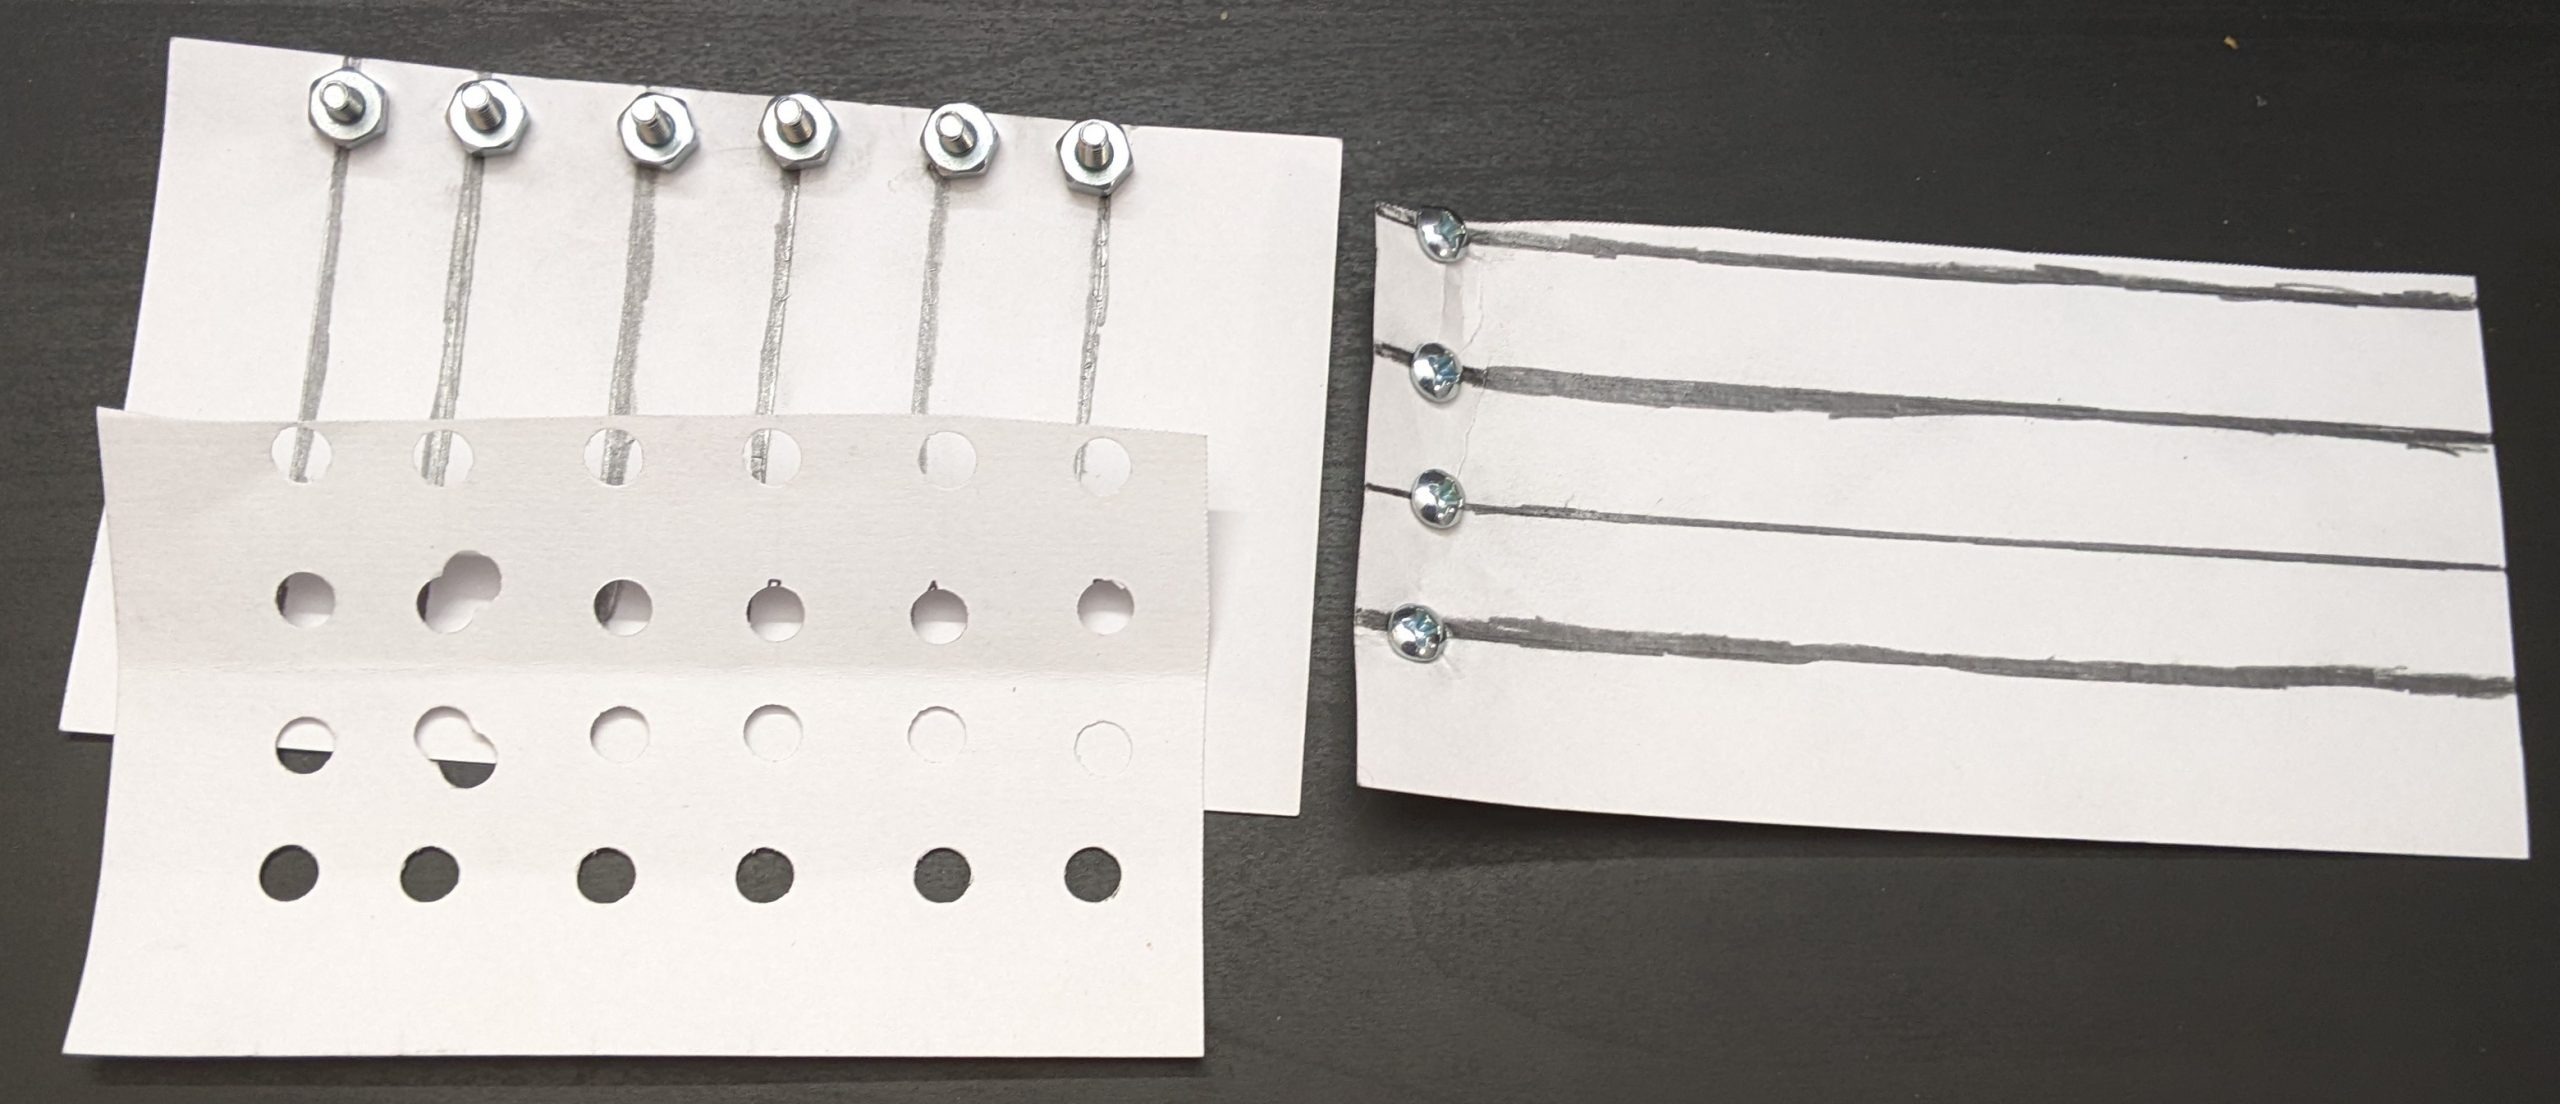
And here’s one using graphite from drawing hard with a #2 pencil.. Graphite, it turns out, works terribly, and I couldn’t read a signal halfway down the index card. Despite what people have told me, I’m not yet convinced you can make a conductive wire out of it.
“And better keyboards can detect multiple keys being pressed at once (N-key rollover), which I think they do by having a completely separate wire to each key.”
You can keep a matrix arrangement and have N-key rollover by putting a diode in series with every switch