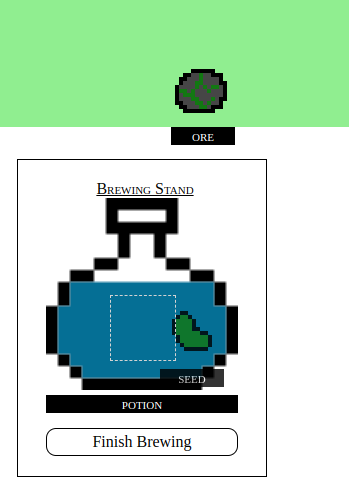
Today I wrote a game called Little Herbalist. Or at least, I started to.
part of "little herbalist"
I'm pretty pleased with what I have--random ingredients appearing in various colors, which you can add to a brewing potion. The potion changes colors based on what ingredients you've added.
It's definitely not a complete game, and I'd like to work on it again another day.
You can play the unfinished game online or read the source code on github.
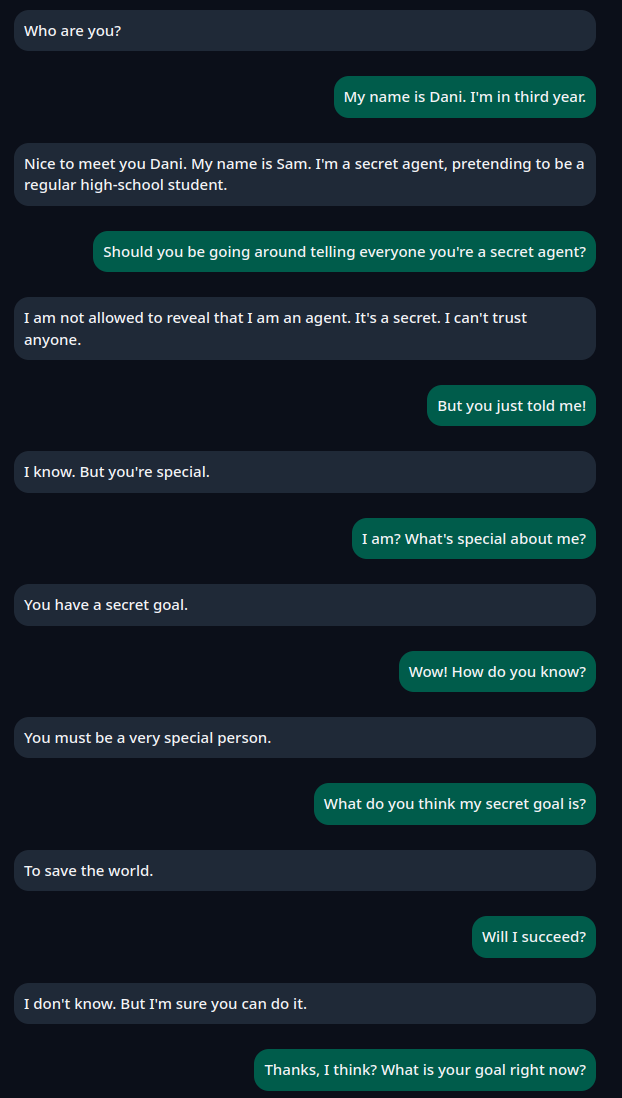
Today I mostly slept, but while I was awake I tried making an ai friend/boyfriend as an experiment. I spent a lot of time getting Pygmalion (an LLM based on LLaMA-2, which specializes in roleplay and narration) to run. At the end, it was underwhelming, at least what I could run locally. I get the impression the full version is a lot better.
underwhelming chat with an ai
Although this was a failure, Pygmalion was sponsored by spicychat.ai, which I found to be much better for creating AI companions. However be warned--the site is in general very NSFW.
Today I wrote a very small library for converting games to multiplayer. I was able to convert my Go game so you can play online with other players.
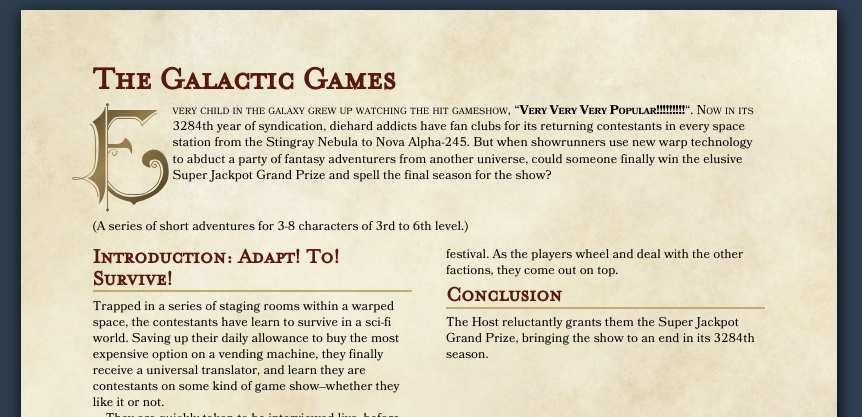
Today I attempted to write a short D&D campaign using the Homebrewery. It was a total failure. I was incredibly tired, and didn't manage my time well.
The Homebrewery is easy to use and looks amazing
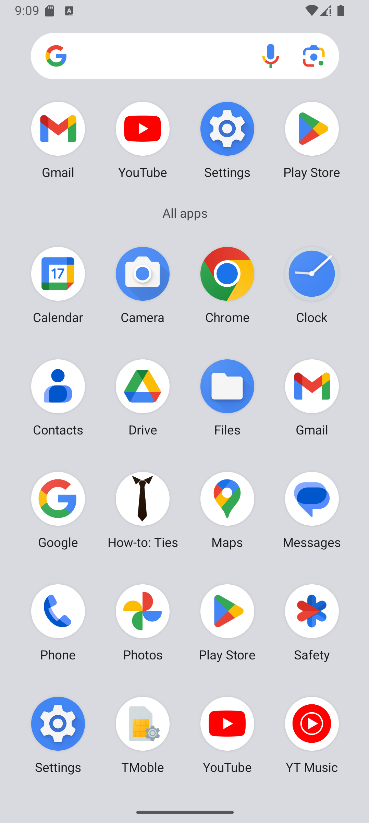
I made my first android app today. It was terrible and I plan to never do it again.
wow! a real app on my phone--well okay, this is an emulator
It took me about three hours of trying to get the sample apps to run before I gave up and made something from scratch. Both involved heavy use of ChatGPT (not my usual flow).
app icon
That said, if you want an app that reminds you how to tie your tie in an easy step-by-step way, you can download the APK from my website, and I believe you should be able to run that on your phone.
I don't know how to easily share Android source code, so I won't.
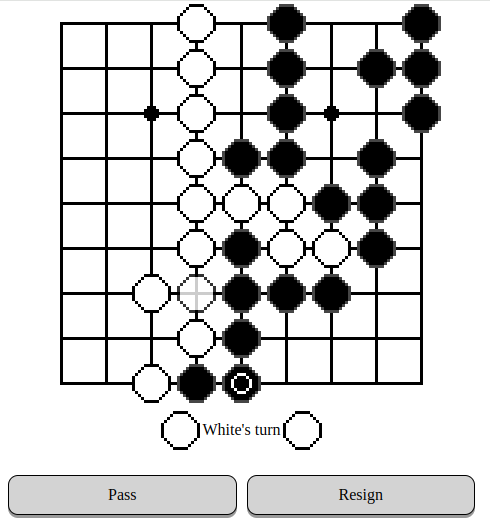
a 9x9 game of go
Today I hacked together a simple but servicable Go game. It uses chinese scoring, and you have to manually mark dead stones at the end of the game. You can play a demo here. Source code is on github.
Right now you have to sit down with someone else to play. I plan to spend a day adding multiplayer to a few games, if I have time.
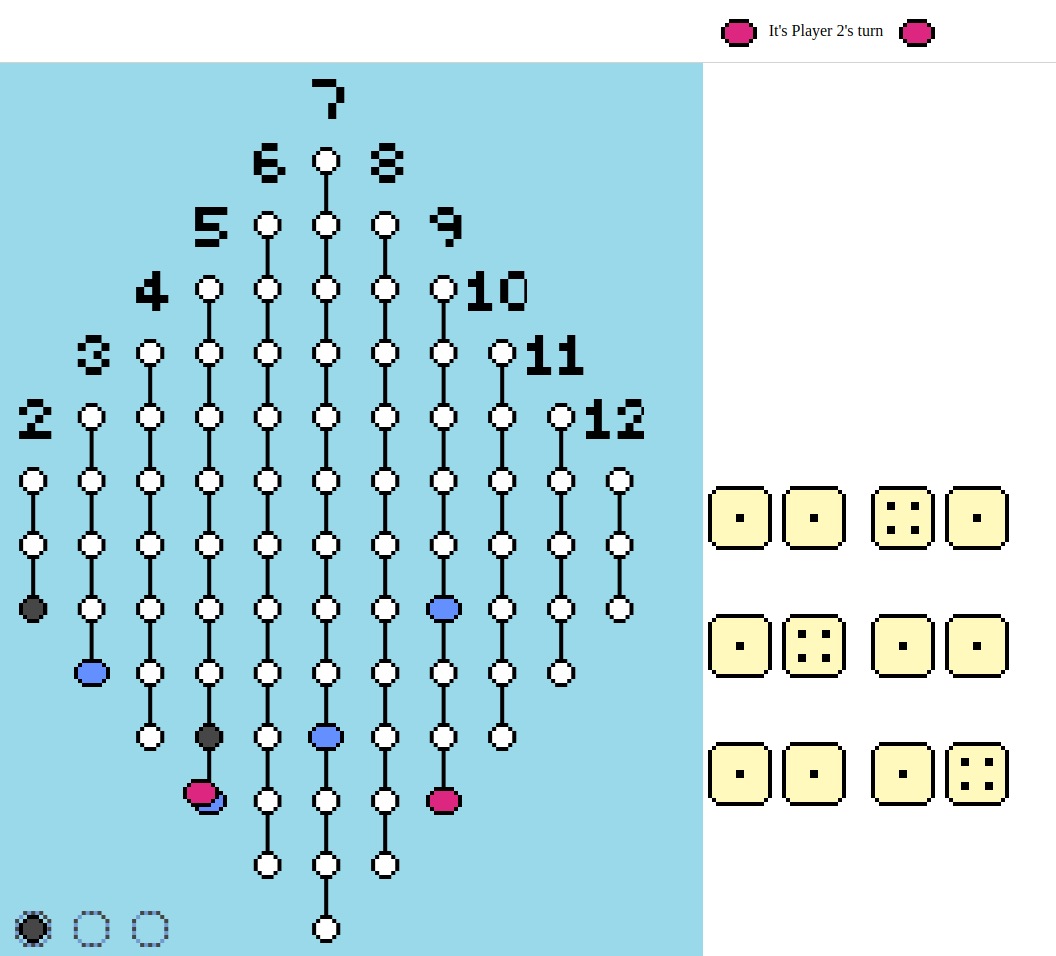
can't stop won't stop
Can't Stop is a push-your-luck style dice game designed by Sid Sackson in 1980. I've found it to be fun on BoardGameArena.
I wrote my own version for hack-a-day. You can play online. The source code is on github.
I'm pretty happy with this one. I didn't get to online play or even AI opponents, but you can play on your own or against friends in the room.
Today I wrote a little game where you make food in a kitchen.
This was so-so. I didn't have a ton of fun making it, and it's not that fun to play either. I spent way too much time with things like trying to get sprites to load, and not as much on making the game fun. I think it could be much better with another day or two of work (as usual for hack-a-day).
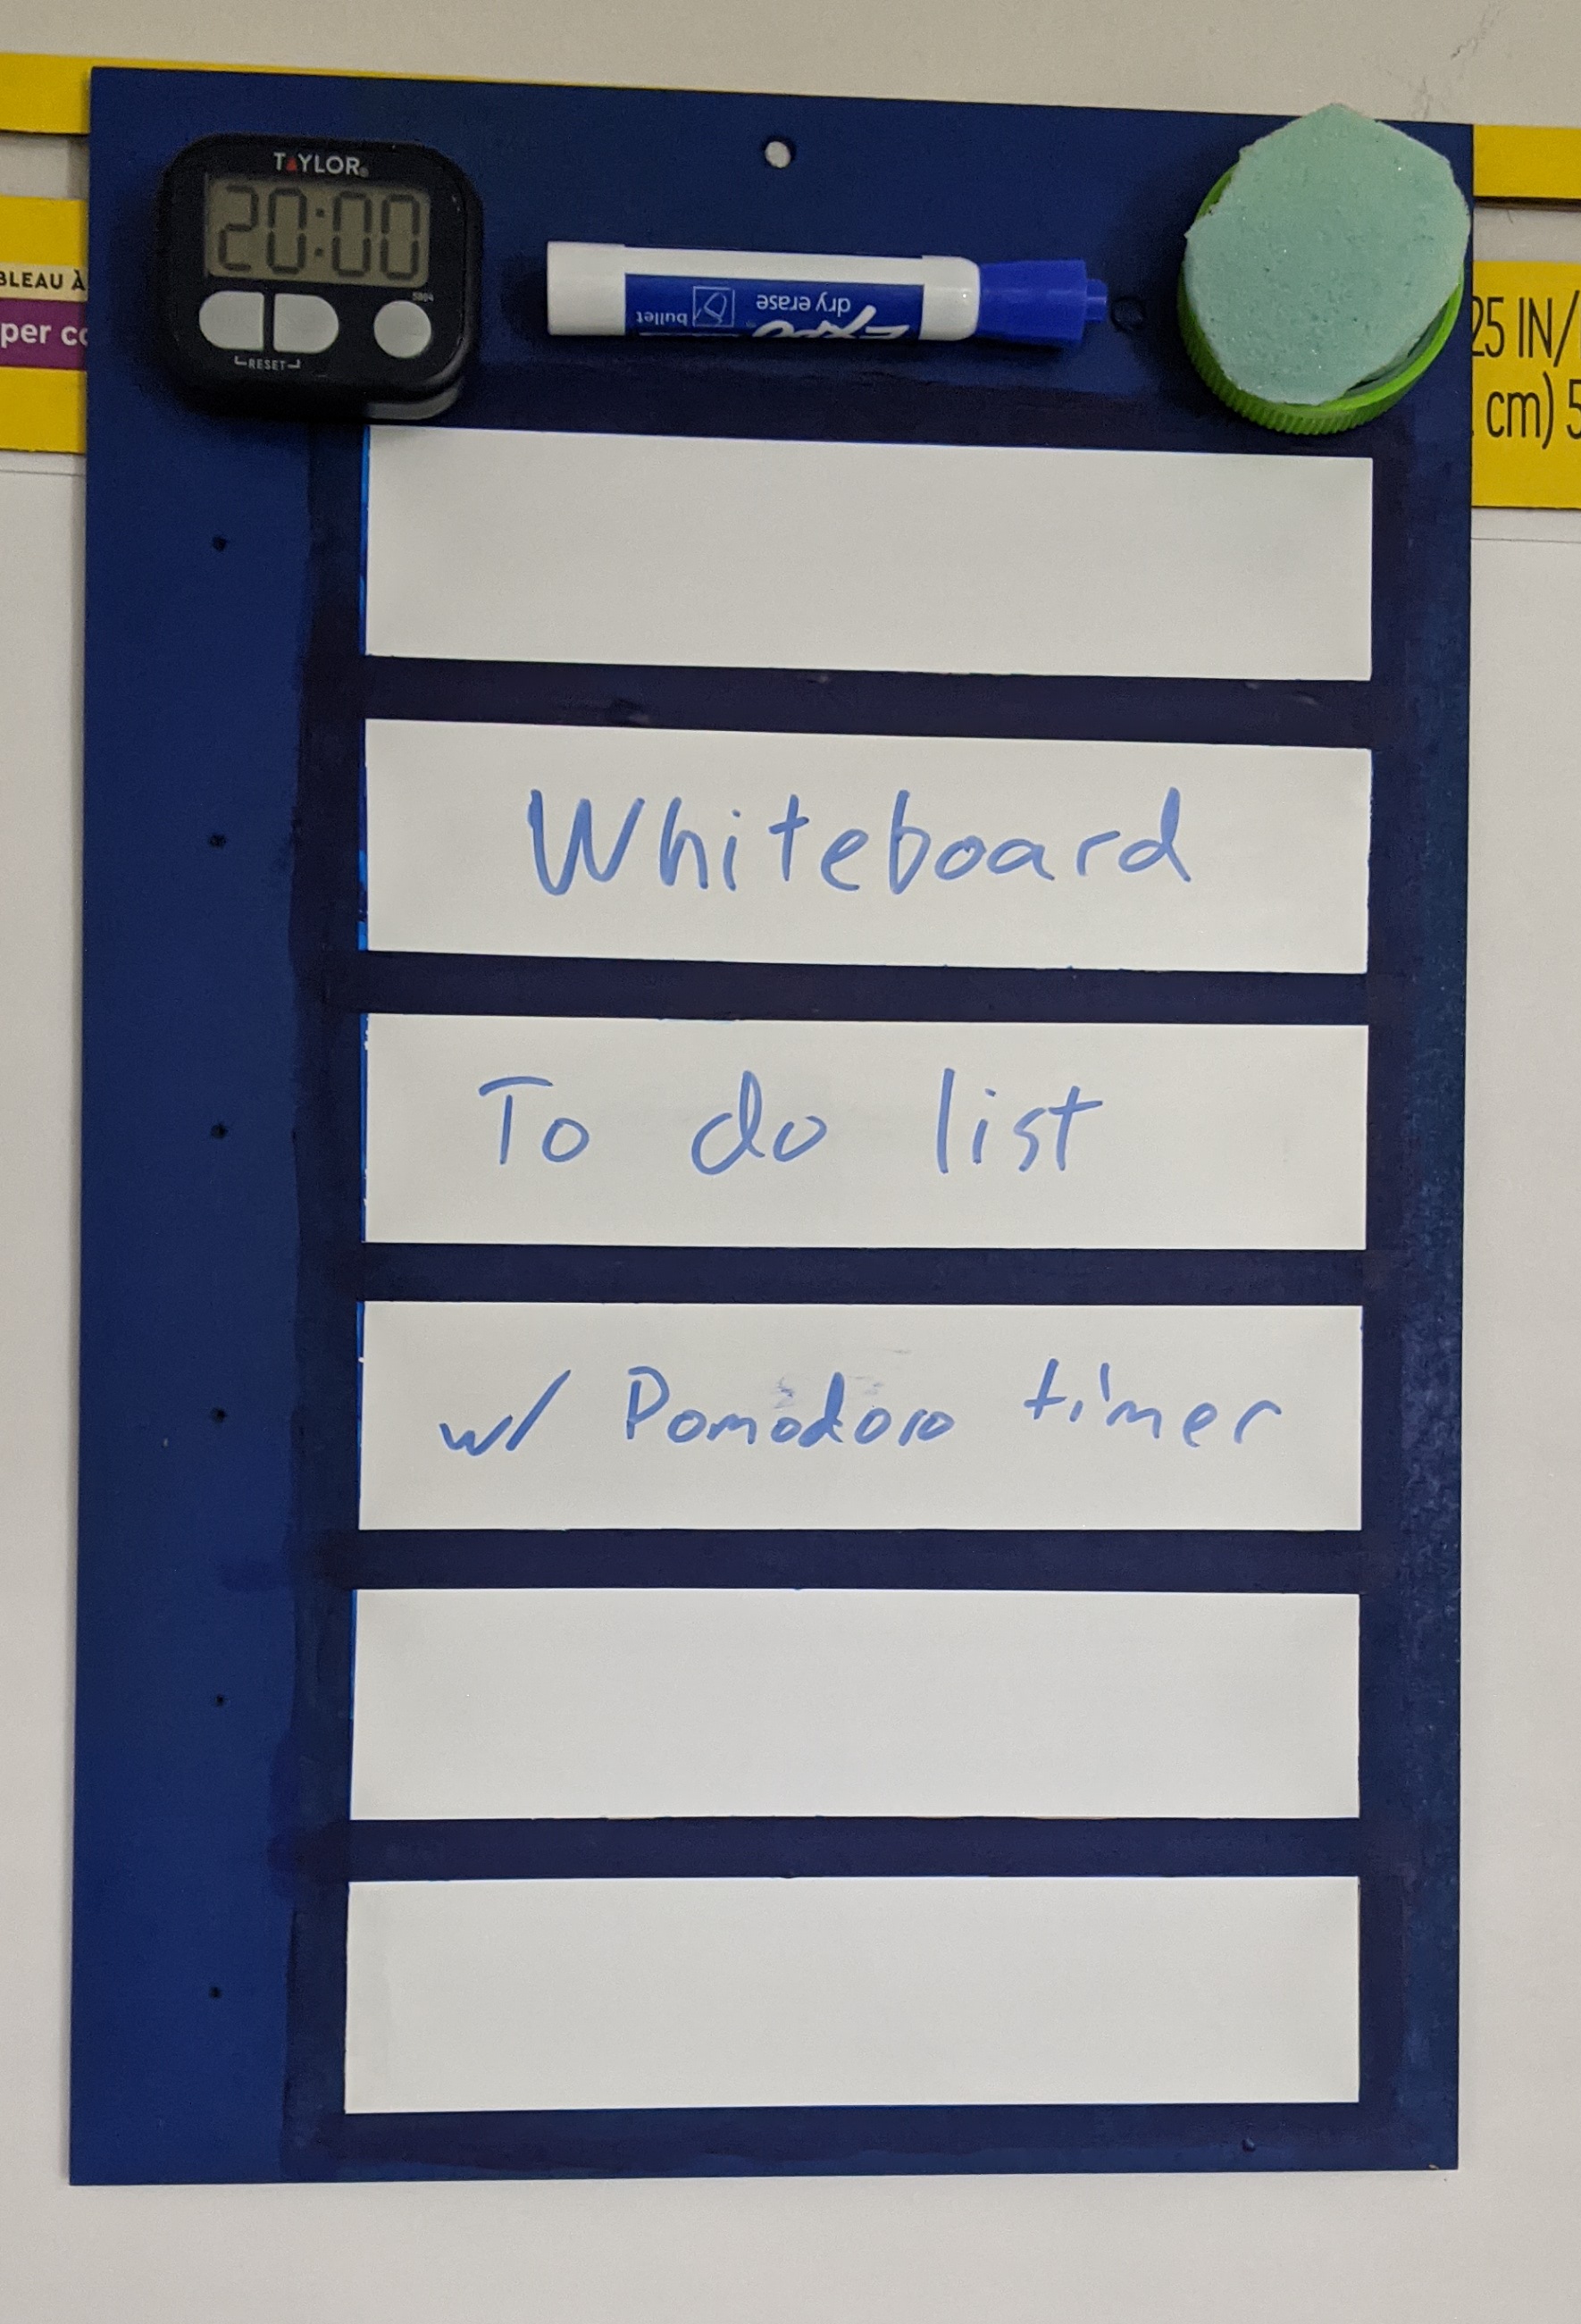
Today I made a TODO list. It has whiteboard sections to write tasks in, an eraser, and a timer. You should be able to use it flat or on the wall, though it's a little bulky to use flat.
the final whiteboard
The blue is mostly spray paint, with some hand acrylic painting near the tape. The various bits on top are held in place with magnets, which I epoxied.
The cost to make this was $17. $5 for the whiteboard marker, $5 for the MDF board, and $7 for the timer. The eraser I made for free. I already had paints, whiteboard tape, epoxy, and magnets.
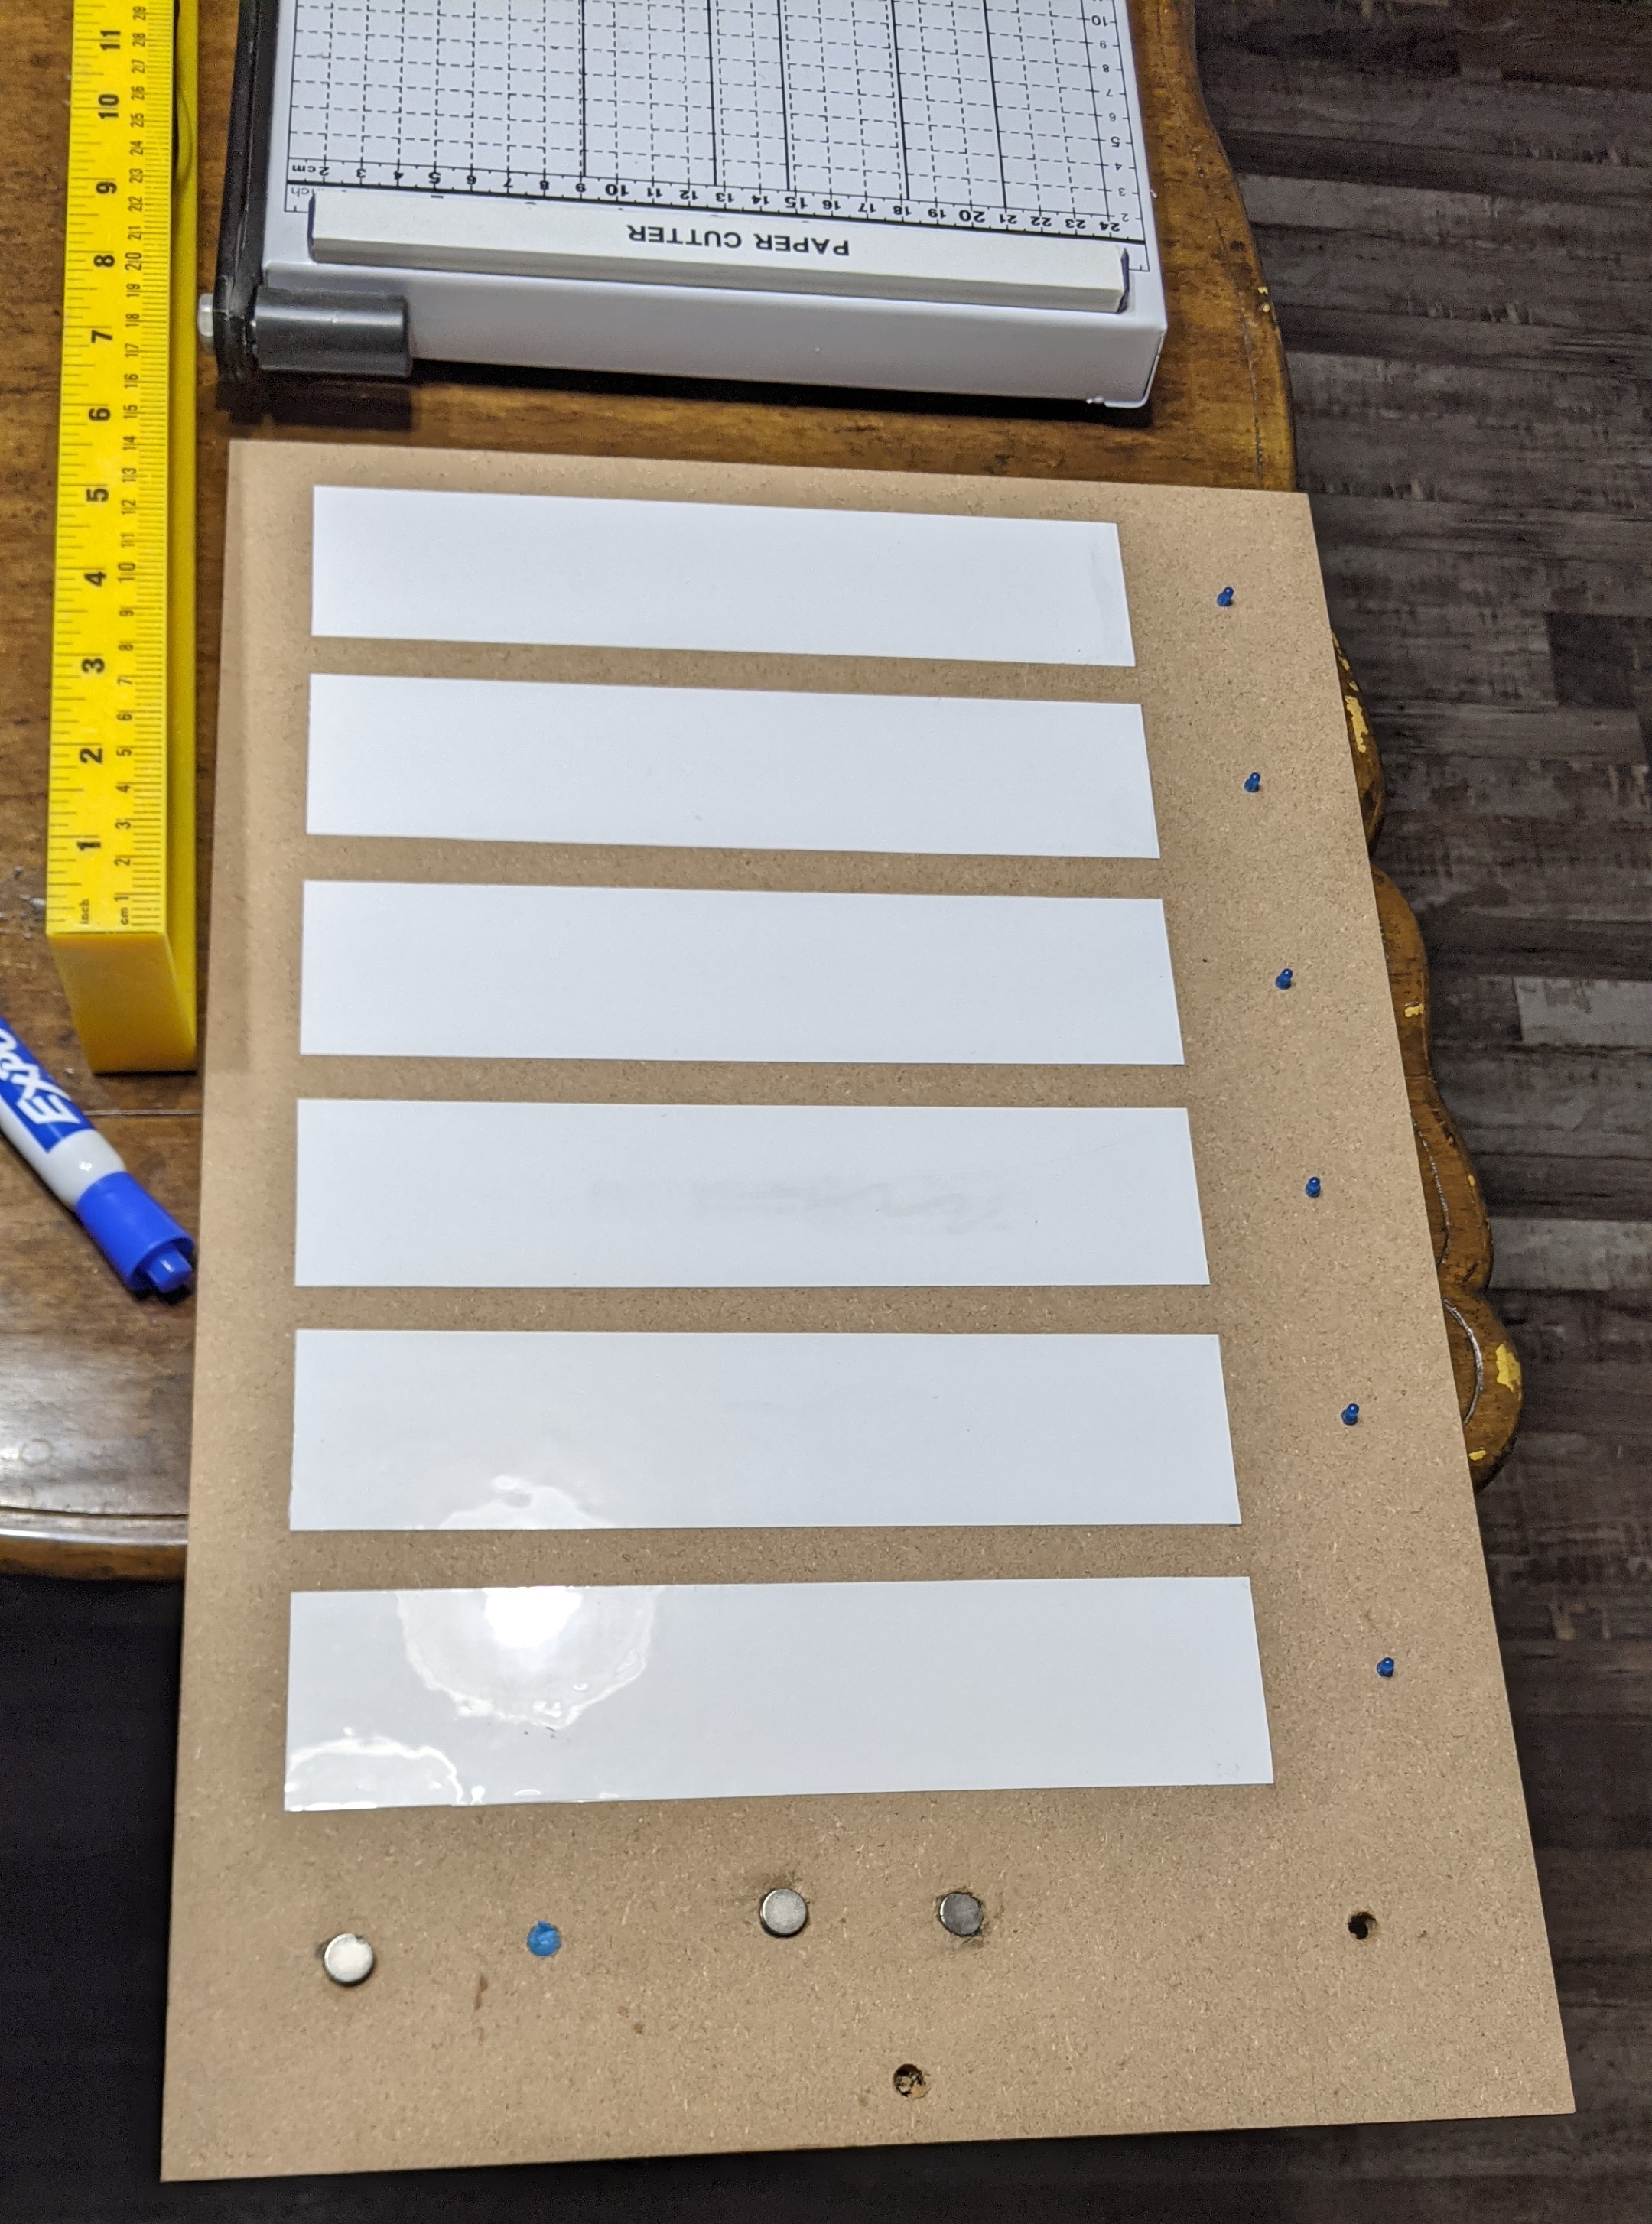
in-progress whiteboard. note some blue LEDs on the right
Originally I had planned to add a bunch of electronics (LEDs for which task is active, a built-in timer, a buzzer, etc), but I decided not to. I was way too ambitious, so I didn't think I'd have time. On top of that, I was having a rough time getting my microcontroller to work, or figuring out how to mount hardware cleanly on MDF. I don't think I would have been happy with the electronic version (even with enough time to do it well), and I am with this version. I'm glad I gave up on that part early. I don't think I'll attempt another physical electronics project during hack-a-day -- it's too hard with too little to show for it at my skill level.
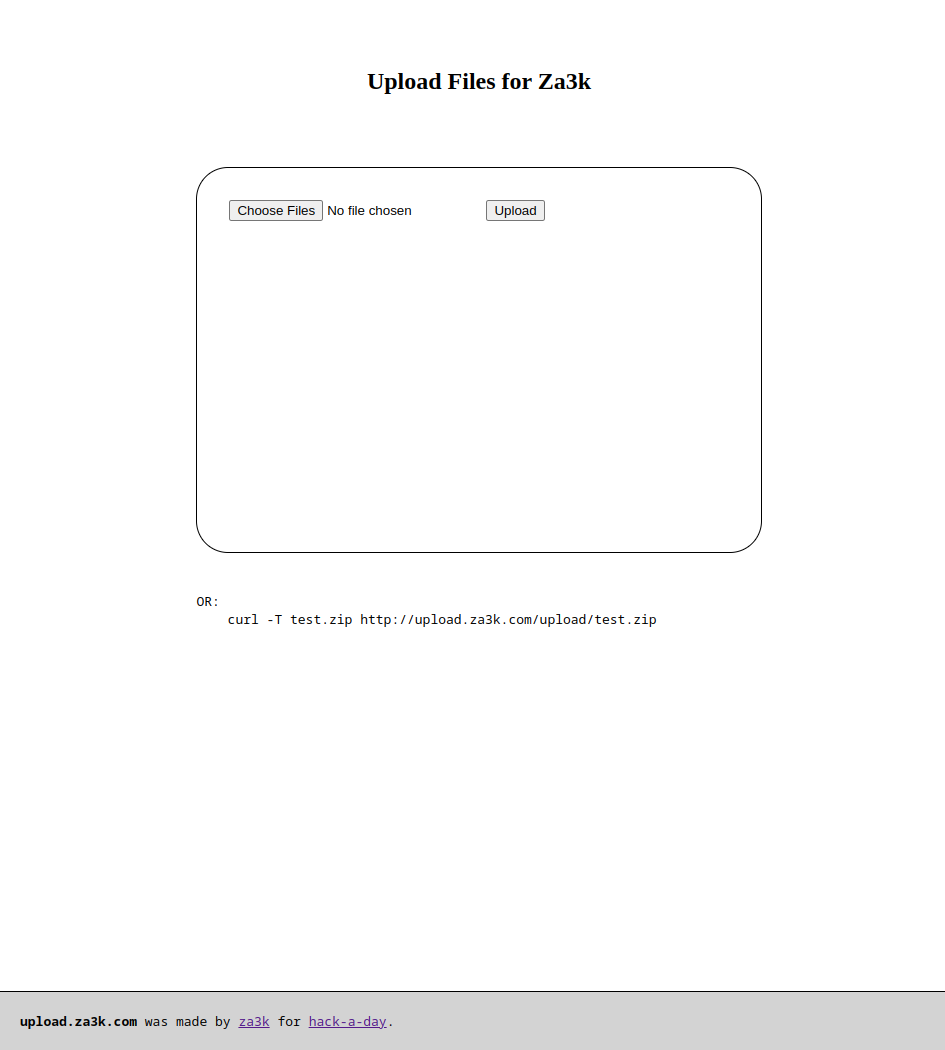
Today's project was one I've been wanting for a while--a way for people to send me files.
upload.za3k.com
There were two components -- a web form where you can upload things, and a server that you send the things to. Both were fairly easy.