It’s november, and I’ve decided this month that I’m going to do 30 projects in 30 days. It’s an all-month hack-a-thon!
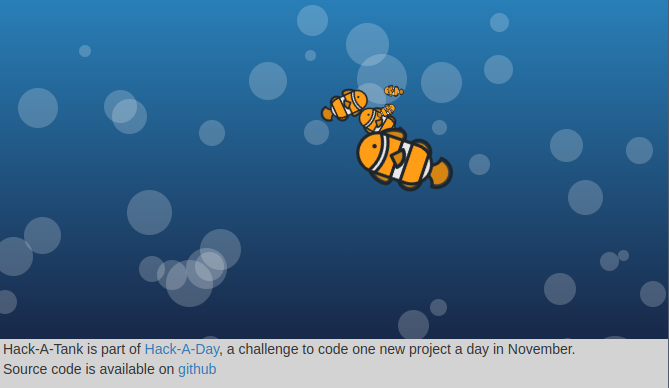
Today’s project is Hack-A-Tank (demo, source). It’s a relaxing fishtank toy. Enjoy.
It’s november, and I’ve decided this month that I’m going to do 30 projects in 30 days. It’s an all-month hack-a-thon!
Today’s project is Hack-A-Tank (demo, source). It’s a relaxing fishtank toy. Enjoy.
It’s november, and I’ve decided this month that I’m going to do 30 projects in 30 days. It’s an all-month hack-a-thon!
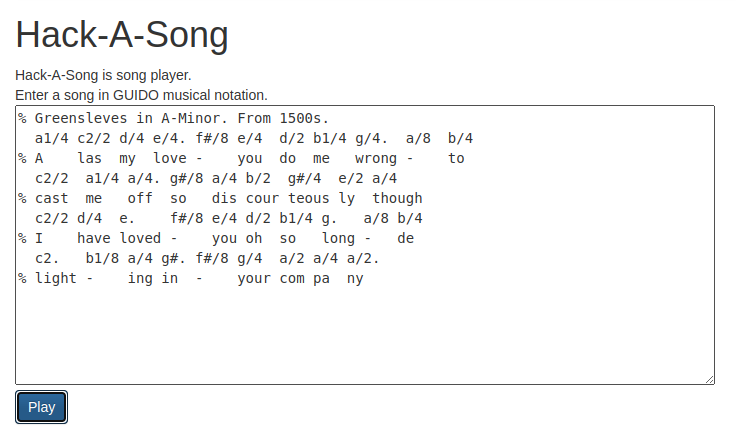
Today’s project is Hack-A-Song (demo, source). It plays greensleeves, and you can edit the music to play something else, too.
It’s november, and I’ve decided this month that I’m going to do 30 projects in 30 days. It’s an all-month hack-a-thon!
Today’s project is Hack-A-Sound (demo, source). It’s a small soundboard.
You can:
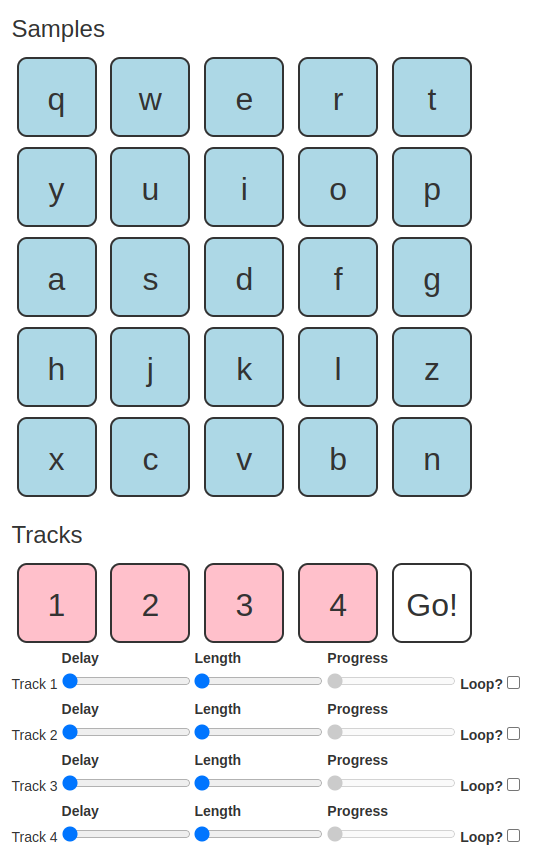
Have fun. I think this was a pretty good toy.
It’s november, and I’ve decided this month that I’m going to do 30 projects in 30 days. It’s an all-month hack-a-thon!
Today’s project is Hack-A-Stats (demo, source). It displays web traffic statistics about Hack-A-Day.
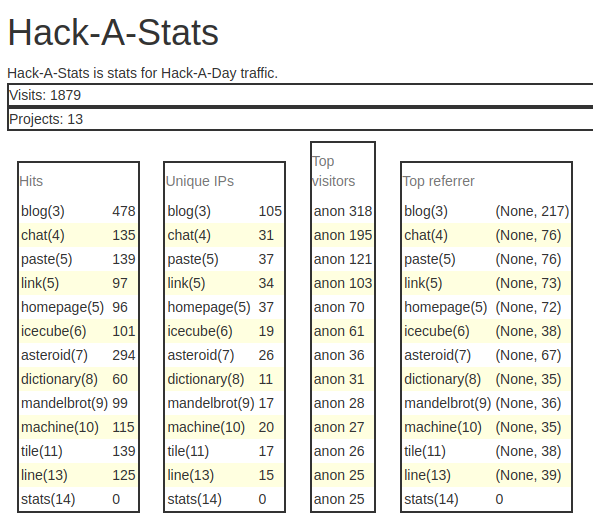
The original point of the project was to show some nice graphs in d3, as an effort to teach myself d3. But halfway through I got unbearably bored by “show a bunch of stats” as a project, so no d3. Whoops! You win some you lose some.
It’s november, and I’ve decided this month that I’m going to do 30 projects in 30 days. It’s an all-month hack-a-thon!
Today’s project is Hack-A-Line (demo, source). Hack-A-Line is a 5-in-a-row game for two players. You play online against each other by sharing a link.
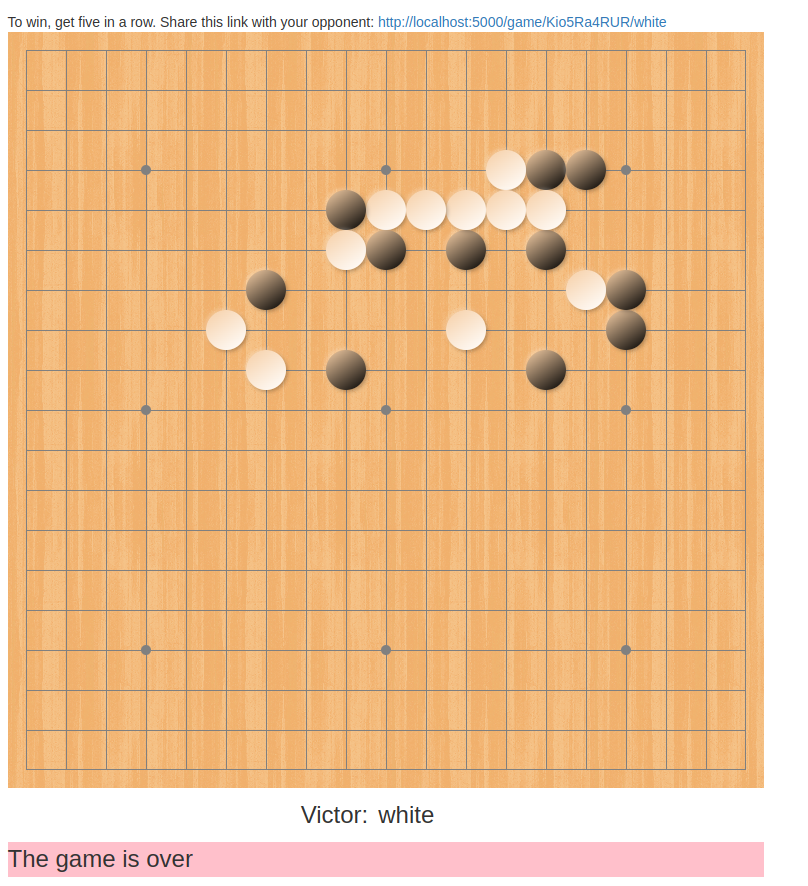
I’m okay with this one, except that there’s one really bad display bug that kind of ruins it. I’m starting to develop a list of projects where I might want to go back and fix something after this month.
I skipped yesterday because I needed a break.
It’s november, and I’ve decided this month that I’m going to do 30 projects in 30 days. It’s an all-month hack-a-thon!
Today’s project is Hack-A-Tile (demo, source). It’s a tile-matching game like dominos.

Hack-A-Tile is based on mathematical Wang tiles. It was very tempting to call it Hack-A-Wang.
If I update it, I would
It’s november, and I’ve decided this month that I’m going to do 30 projects in 30 days. It’s an all-month hack-a-thon!
Today’s project is Hack-A-Machine (demo, source). It’s a whimsical VM you can play around with.
I liked this one, but it really didn’t fit into a day too well.
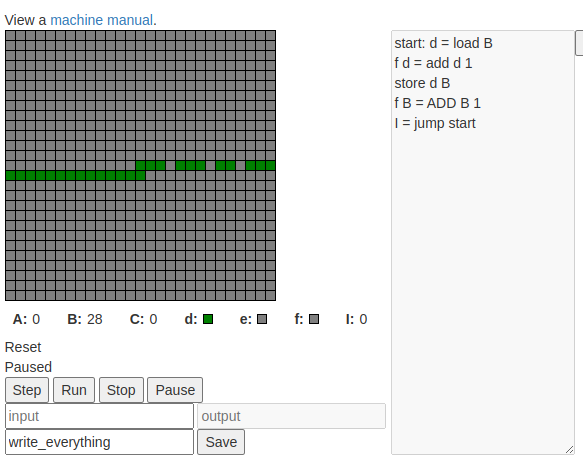
Features include:
Sadly not in the “one day” category are
It’s november, and I’ve decided this month that I’m going to do 30 projects in 30 days. It’s an all-month hack-a-thon!
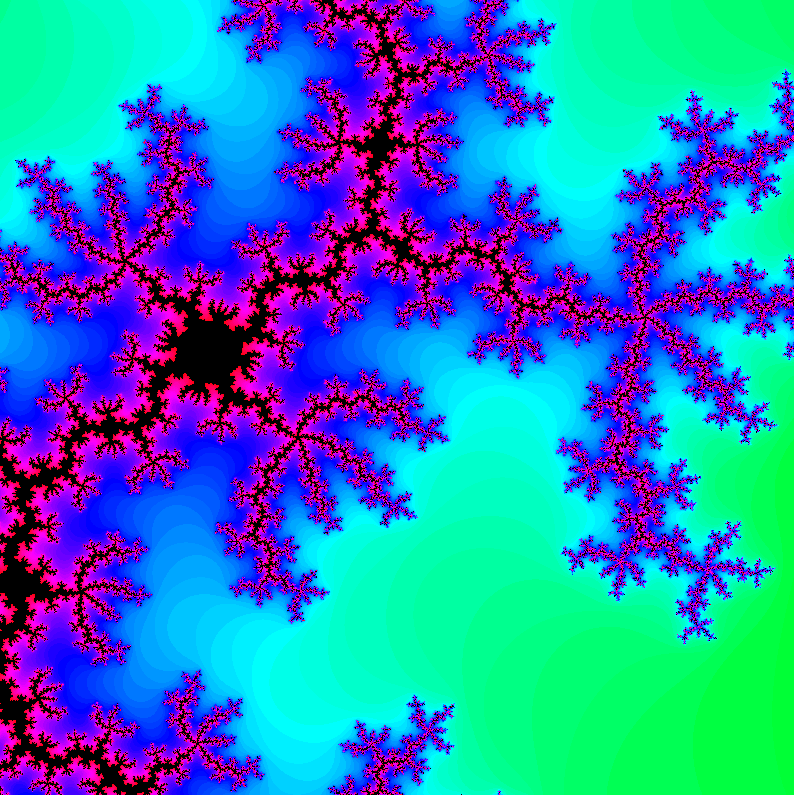
Today’s project is Hack-A-Mandelbrot (demo, source). Interactively explore the fractal world of the Mandelbrot set.
It’s november, and I’ve decided this month that I’m going to do 30 projects in 30 days. It’s an all-month hack-a-thon!
Today’s project is Hack-A-Dictionary (demo, source). It looks up words.
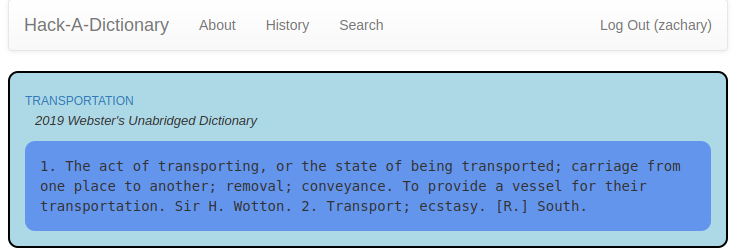
OK, I’ll be honest. I’m phoning this one in. I needed a break.
It’s november, and I’ve decided this month that I’m going to do 30 projects in 30 days. It’s an all-month hack-a-thon!
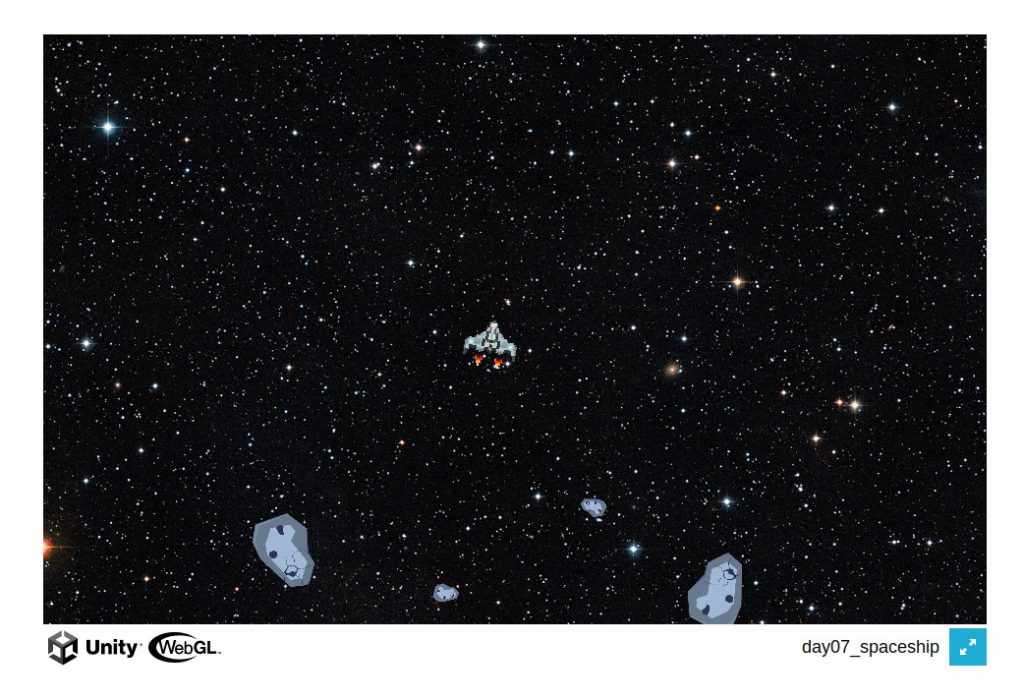
Today’s project is Hack-An-Asteroid (demo, source). It’s an asteroids clone with four levels.
I’m pretty happy with this as my first “visual” game. I made it in Unity3D.