
Prefer the old layout of Wikipedia? A couple friends and I made oldwikipedia.org
Hope you enjoy.
I did a survey of the cost of buying hard drives (of all sorts), microsd/sd, USB sticks, CDs, DVDs, Blu-rays, and tape media (for tape drives).
I excluded used/refurbished options. Multi-packs (5 USB sticks) were excluded, except for optical media like CD-ROMs. Seagate drives were excluded because Seagate has a poor reputation.
Here are the 2023-01 results: https://za3k.com/archive/storage-2023-01.sc.txt
2022-07: https://za3k.com/archive/storage-2022-07.sc.txt
2020-01: https://za3k.com/archive/storage-2020-01.sc.txt
2019-07: https://za3k.com/archive/storage-2019-07.sc.txt
2018-10: https://za3k.com/archive/storage-2018-10.sc.txt
2018-06: https://za3k.com/archive/storage-2017-06.sc.txt
2018-01: https://za3k.com/archive/storage-2017-01.sc.txt
Per TB, the options are (from cheapest to most expensive):
2.5″ portable spinning hard drives, at $22.00/TB. Currently the best option is 5TB drives.
SSD drives, at $42-$46/TB. Best option is 1TB.
Changes since the last survey (4 months ago):
This year they were stored in a box on my shelf.
Will report back in 1 more year when I test the fourth 🙂
Here’s a list of books I read in 2022. The ones in bold I recommend.
Fiction:
1632 by Eric Flint
Alex Verus 1: Fated by Benedict Jacka
Alex Verus 2: Cursed by Benedict Jacka
Alex Verus 3: Taken by Benedict Jacka
Alex Verus 4: Chosen by Benedict Jacka
Alex Verus 5: Hidden by Benedict Jacka
Alex Verus 6: Burned by Benedict Jacka
Alex Verus 7: Bound by Benedict Jacka
Alex Verus 8: Marked by Benedict Jacka
Alex Verus 9: Fallen by Benedict Jacka
Alex Verus 10: Forged by Benedict Jacka
Alex Verus 11: Risen by Benedict Jacka
Art of the Adept 2: Secrets and Spellcraft by Michael G Manning
Art of the Adept 3: Scholar of Magic by Michael G Manning
Aspects by John M Ford
Aurora by Kim Stanley Robinson
Aurora Rising by Amie Kaufman
Bastion (Immortal Great Souls 1) by Phil Tucker
Children of Time by Adrian Tchaikovsky
Citadel: Training in Necessity by Unillustrated
City of Broken Magic by Mirah Bolender
Cradle 11: Dreadgod by Will Wight
Crown of Vengeance by James Mallory and Mercedes Lackey
Cytonic by Brandon Sanderson
Elder Race by Adrian Tchaikovsky
Gamechanger by L. X. Beckett
Genius by Leopoldo Gout
Good Omens by Neil Gaiman and Terry Pratchett
Grand Game by Tom Elliot (LitRPG)
Project Hail Mary by Andy Weir
Head-on by John Scalzi
He Who Fights with Monsters 1 by Shirtaloon
He Who Fights with Monsters 2 by Shirtaloon
He Who Fights with Monsters 3 by Shirtaloon
He Who Fights with Monsters 4 by Shirtaloon
He Who Fights with Monsters 5 by Shirtaloon
Highfire by Eoin Colfer
Immortality Code by Douglas E Richards
In Other Lands by Sarah Rees
Insane City by Dave Barry
Iron Prince by Bryce O’Conner and Luke Chmilenko
Isolate (Grand Illusion 1) by L E Modesitt Jr
The Kevin Jenkins Experience by Hambone
Kusuriya no Hitorigoto / Alchemist’s Journal by Natsu Hyuuga et al
The Left-handed Booksellers of London by Garth Nix
Lock In by John Scalzi
Mage’s Blood by David Hair
Mark of the Fool by J M Clarke
Martian Abroad by Carrie Vaughn
Master Li and Number Ten Ox 1: Bridge of Birds by Barry Hughart
Master Li and Number Ten Ox 2: Story of the Stone by Barry Hughart
Master Li and Number Ten Ox 3: Eight Skilled Gentlemen by Barry Hughart
Mazer in Prison by Orson Scot Card
Memory of Earth by Orson Scott Card
Memory of Earth 2: Call of Earth by Orson Scott Card
Millenial Mage by J L Mullins
Neverworld Wake by Marisha Pessl
Orc on the Wild Side by Tom Holt
Pact by wildbow
Penric’s Progress by Louis McMaster Bujold
Penric’s Travels by Louis McMaster Bujold
Perfect State by Brandon Sanderson
Powder Mage 1 by Brian McClellan
Primal Hunter by Zogarth
Quantum Shadows by L E Modesitt (in the style of Gene Wolf)
Ready Player Two by Ernest Cline
Recluse 1: Magic of Recluse by L E Modesitt Jr
Recluse 2: Towers of the Sunset by L E Modesitt Jr
Recluse 3: Magic Engineer by L E Modesitt Jr
Red Rising by Pierce Brown
Red Rising 2: Golden Son by Pierce Brown
Red Rising 3: Morning Star by Pierce Brown
Remnant Population by Elizabeth Moon
RE: Trailer Trash by FortySixtyFour
Revelation Space by Alastair Reynolds
Rook and Rose 1: Mask of Mirrors by M A Carrick
Rook and Rose 2: The Liar’s Knot by M A Carrick
Salvaged by Madeleine Roux
Salvos by V A Lewis (LitRPG)
Scardown by Elizabeth Bear
Servant Mage by Kate Elliot
Significant Digits by Alexander Deebus
Sleep In a Sea of Stars by Chistopher Paolini
Solutions and Other Problems by Allie Brosh
Soulmage by meowcats734
Starsight by Brandon Sanderson
Story of My Life by Hellen Keller
Strange and Stubborn Endurance by Foz Meadows
A Succession of Bad Days by Graydon Saunders
The Starless Sea by Eric Morgenstern
Termination Shock by Neal Stephenson
The Consuming Fire by John Scalzi
The Every by Dave Eggers
The Last Emperox by John Scalzi
The Philosopher’s War by Tom Miller
The Prefect by Alastair Reynolds
The Testing by Joelle Charbonneau
The Truth and Other Stories by Stanislaw Lem
The Unspoken Name by A.K. Larkwood
Thief’s Magic by Trudi Canavan
Three Body Problem 2: Wallfacer: Dark Forest by Cixin Liu
Throne of the Five Winds by S C Emmett
Under the Pendulum Sun by Jeanette Ng
Venemous Lumpsucker by Ned Beauman
Vigor Mortis by Natalie Maher
Ward by Wildbow
Weirkey 1: Soulhome by Sarah Lin
Weirkey 2: Rainhorn by Sarah Lin
Winter’s Orbit by Everina Maxwell
Nonfiction:
The Art of Computer Programming v1 by Donald Knuth
The Art of Computer Programming v2 by Donald Knuth
Attack and Defense by James Davies
Burning Wheel (RPG) by Luke Crane
The Economist (magazine)
Home Improvement 1-2-3
Illustrated Guide to Everything Sold in Hardware Stores (1988) by Steve Ettlinger
Inadequate Equilibria by Eliezer Yudkowsky
The Prince by Niccolo Machiavelli
Programming Crystal by Ivo Balbaert
Sigbovik 2021
Spymistress by William Stevenson
What If? by Randall Munroe
What If? 2 by Randall Munroe
It’s no longer november, but I’m still doing a project a day. It’s an all-month hack-a-thon!
Today’s project is Hack-An-Uptime (demo, source). It’s a simple experiment where you press a button every day.
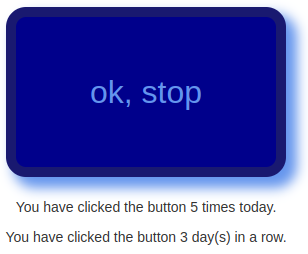
This was a very simple project. I’m curious what will happen with it.
It’s no longer november, but I’m still doing a project a day. It’s an all-month hack-a-thon!
Yesterday’s project was Hack-A-TV-Guide (demo, source). It’s a TV Guide generated from Wikipedia. I got the idea from having written isrickandmortyout.com. Why not do the same thing, but for every show?
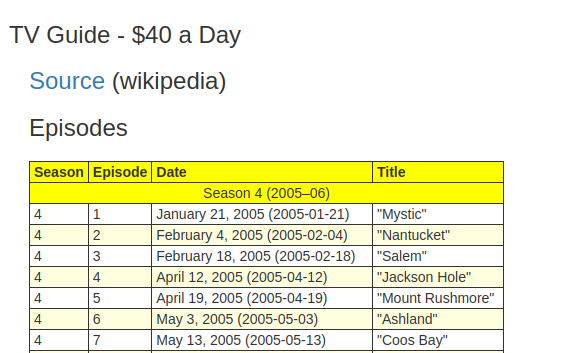
I’m going to call this one a flop. There’s a good version of this project, but I ran out of time. Basically all it does is display info about a show, which is not very useful.
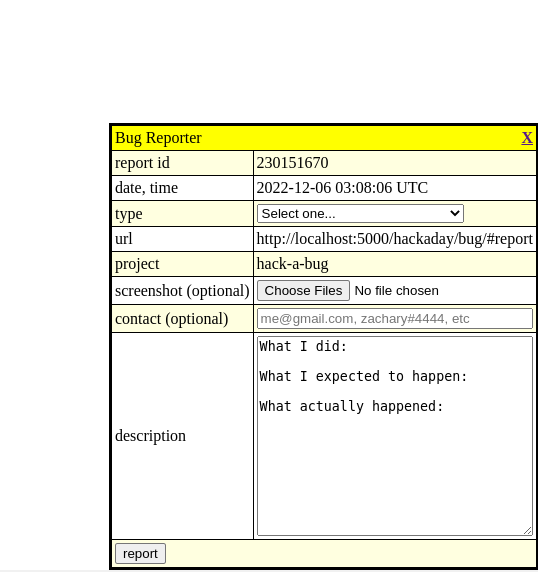
I’m continuing Hack-A-Day, I think. Today’s project is Hack-A-Bug (demo, source). It’s a bug reporter I can add with one line to any of my projects.
It’s november, and I’ve decided this month that I’m going to do 30 projects in 30 days. It’s an all-month hack-a-thon!
This is November 30th, so this will be the last project.
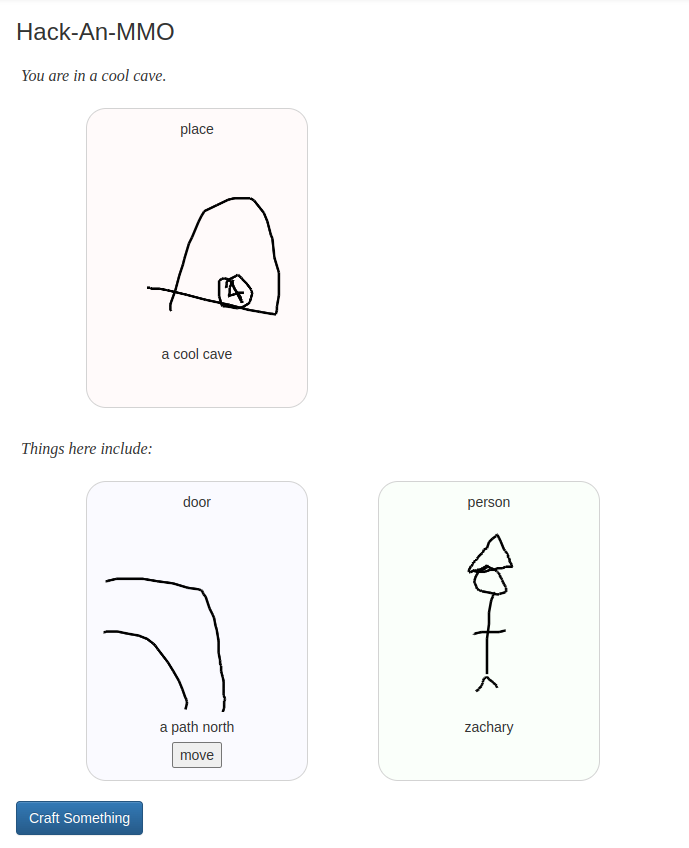
Today’s project is Hack-An-MMO (demo, source). It’s a small collaborative art RPG. You can draw people, places, and things to populate the tiny world. Have fun!
It’s november, and I’ve decided this month that I’m going to do 30 projects in 30 days. It’s an all-month hack-a-thon!
Today’s project is Hack-An-Adventure (demo, source). It’s a coloring book. It’s designed to be relaxing.
It’s november, and I’ve decided this month that I’m going to do 30 projects in 30 days. It’s an all-month hack-a-thon!
Today’s project is Hack-A-Farm (demo, source). It’s a simple tile-based RPG. You can walk around as a chicken, admire your house, and plant and harvest two types of crops.

My main goal with this project was to work with spritesheets or animation before, which I had never done. Showing off the individual tiles is deliberate. Also, the game should respond well to smaller and larger screens, I hope.
I had a good time with this one, and I’m happy with how much I got done in a day. I originally planned to do more fluid walking (it was called Hack-A-Walk), but it was more fun to add crops instead.
I re-used some of the logic from Hack-A-Minigame and Hack-A-Snake. I’ve been finding d3 to be mildly useful, if a little annoying.