Blast Furance

We made a blast furnace, following David Gingery’s The Charcoal Foundry. Here are some pictures of the firing process. We haven’t melted or cast any metal yet.

Slow initial burn to drive out most of the water

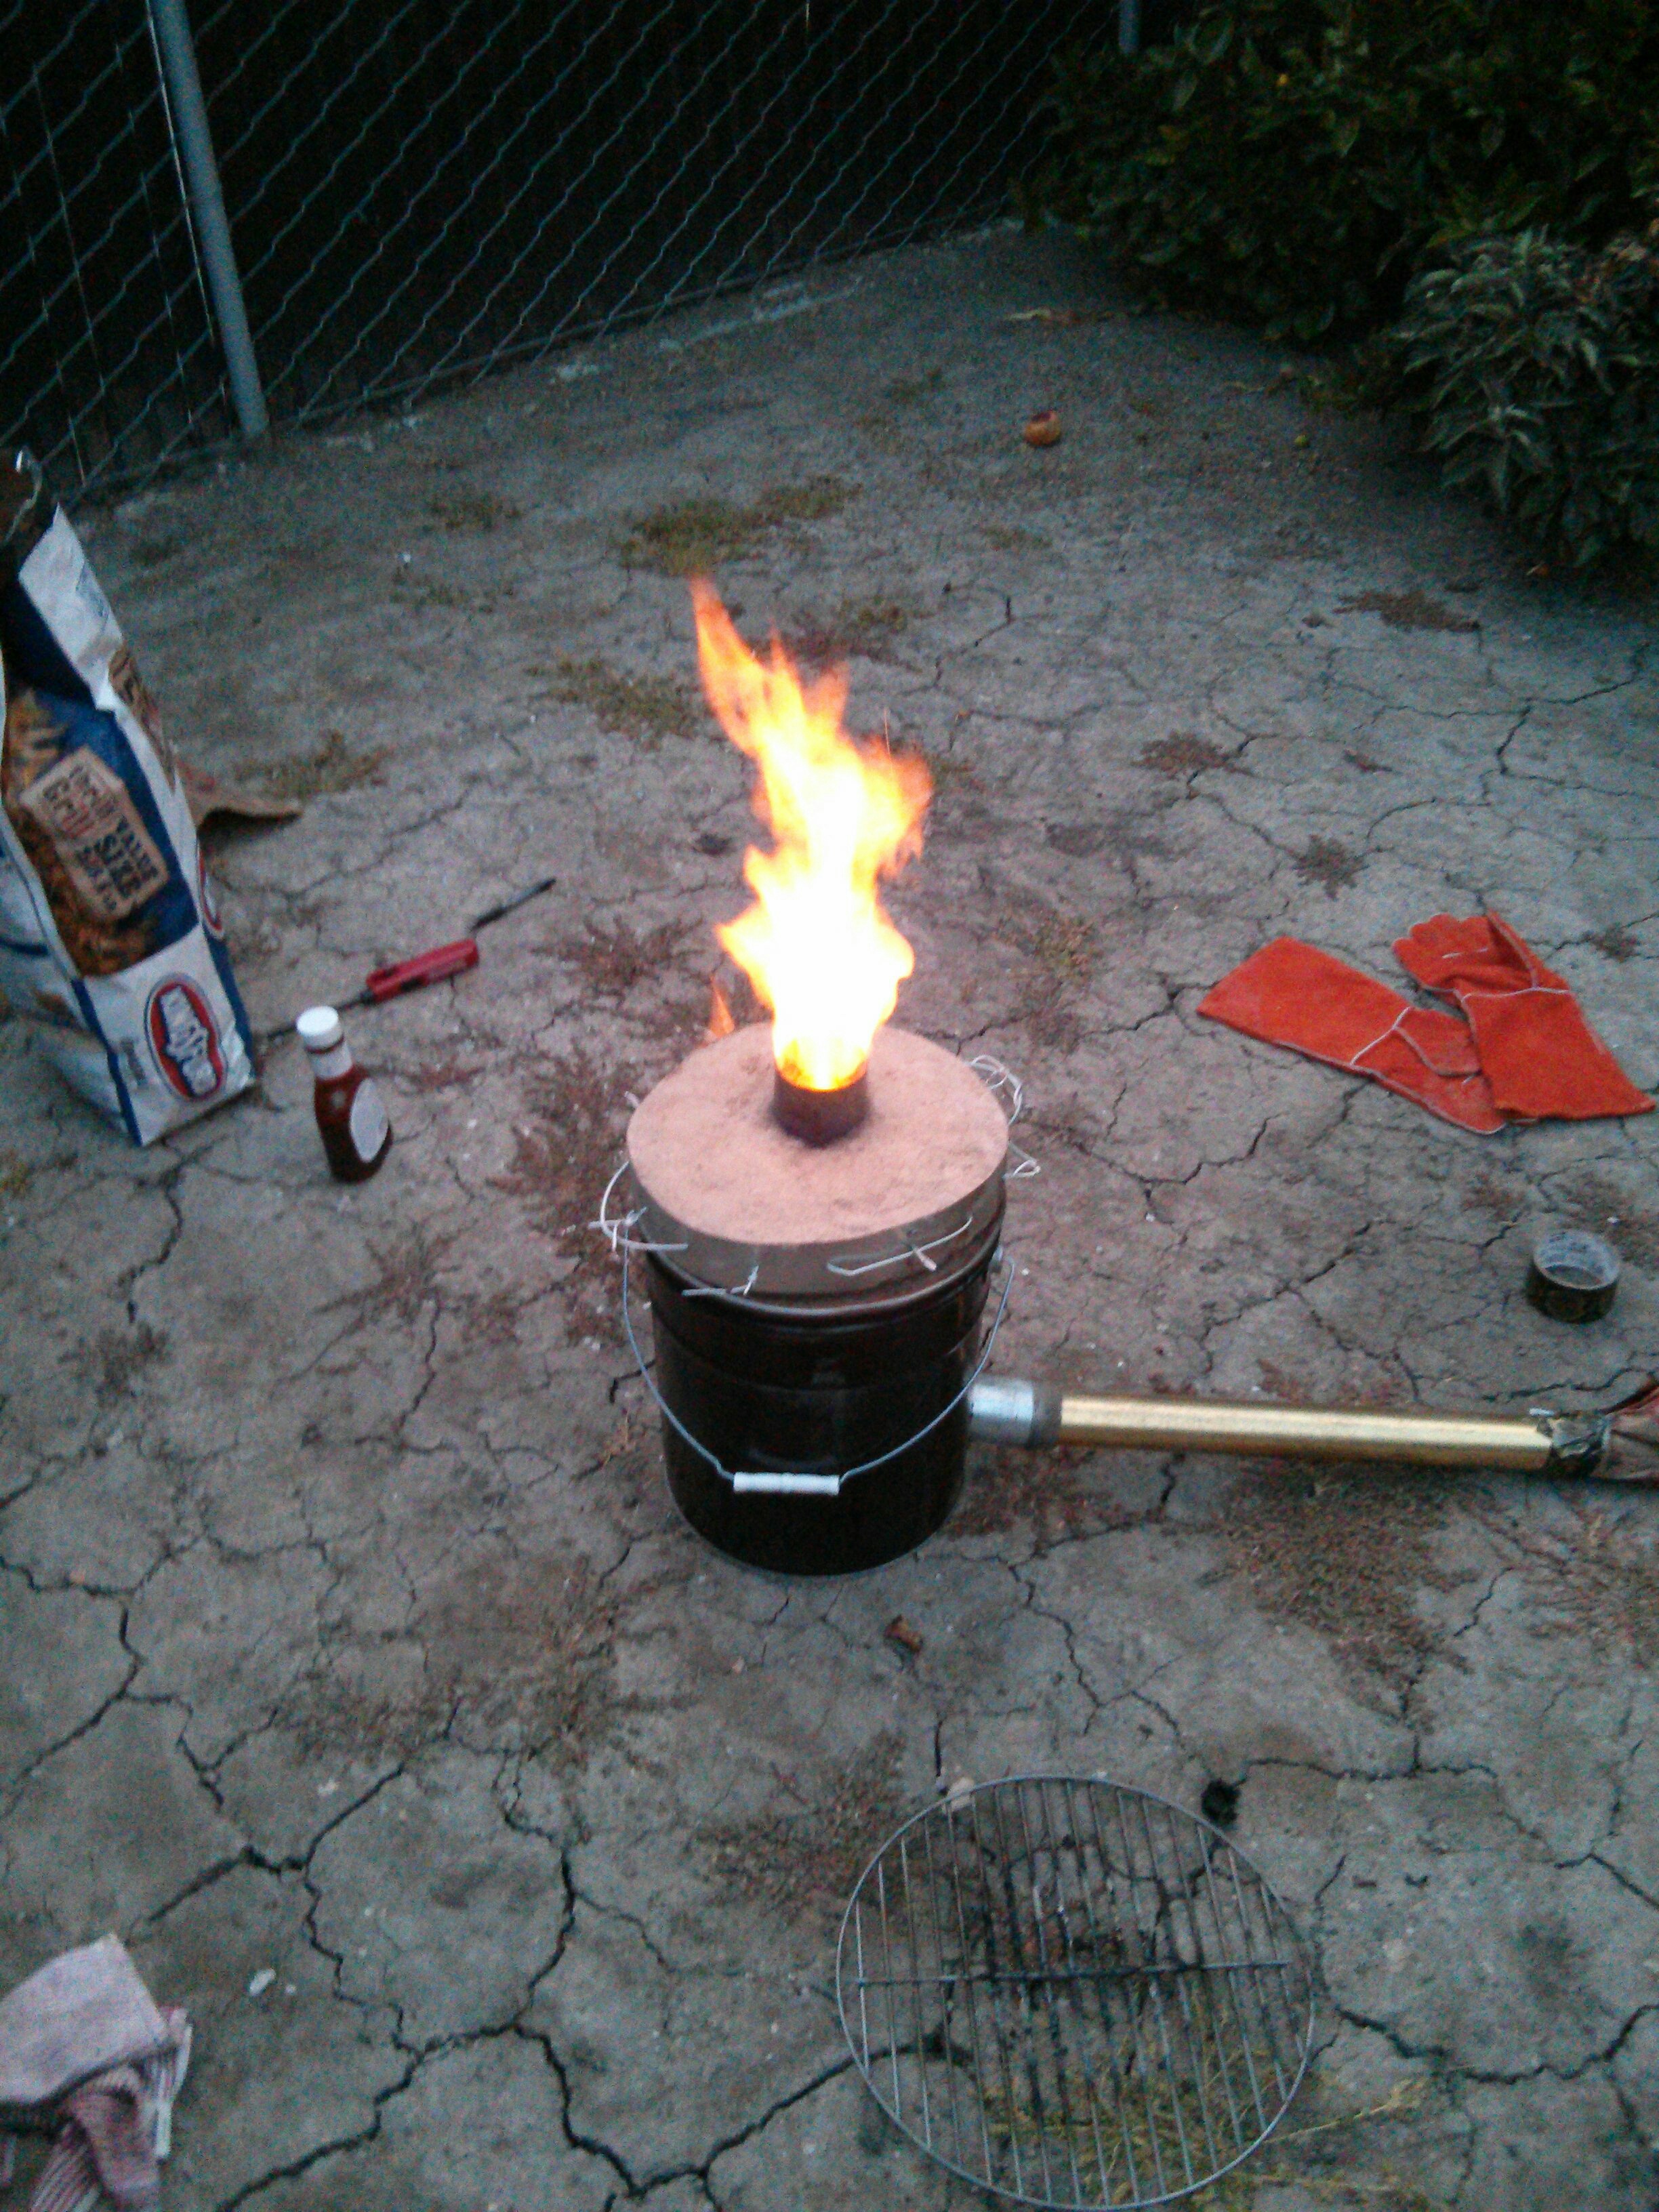
Blast furnace in action to completely dry it

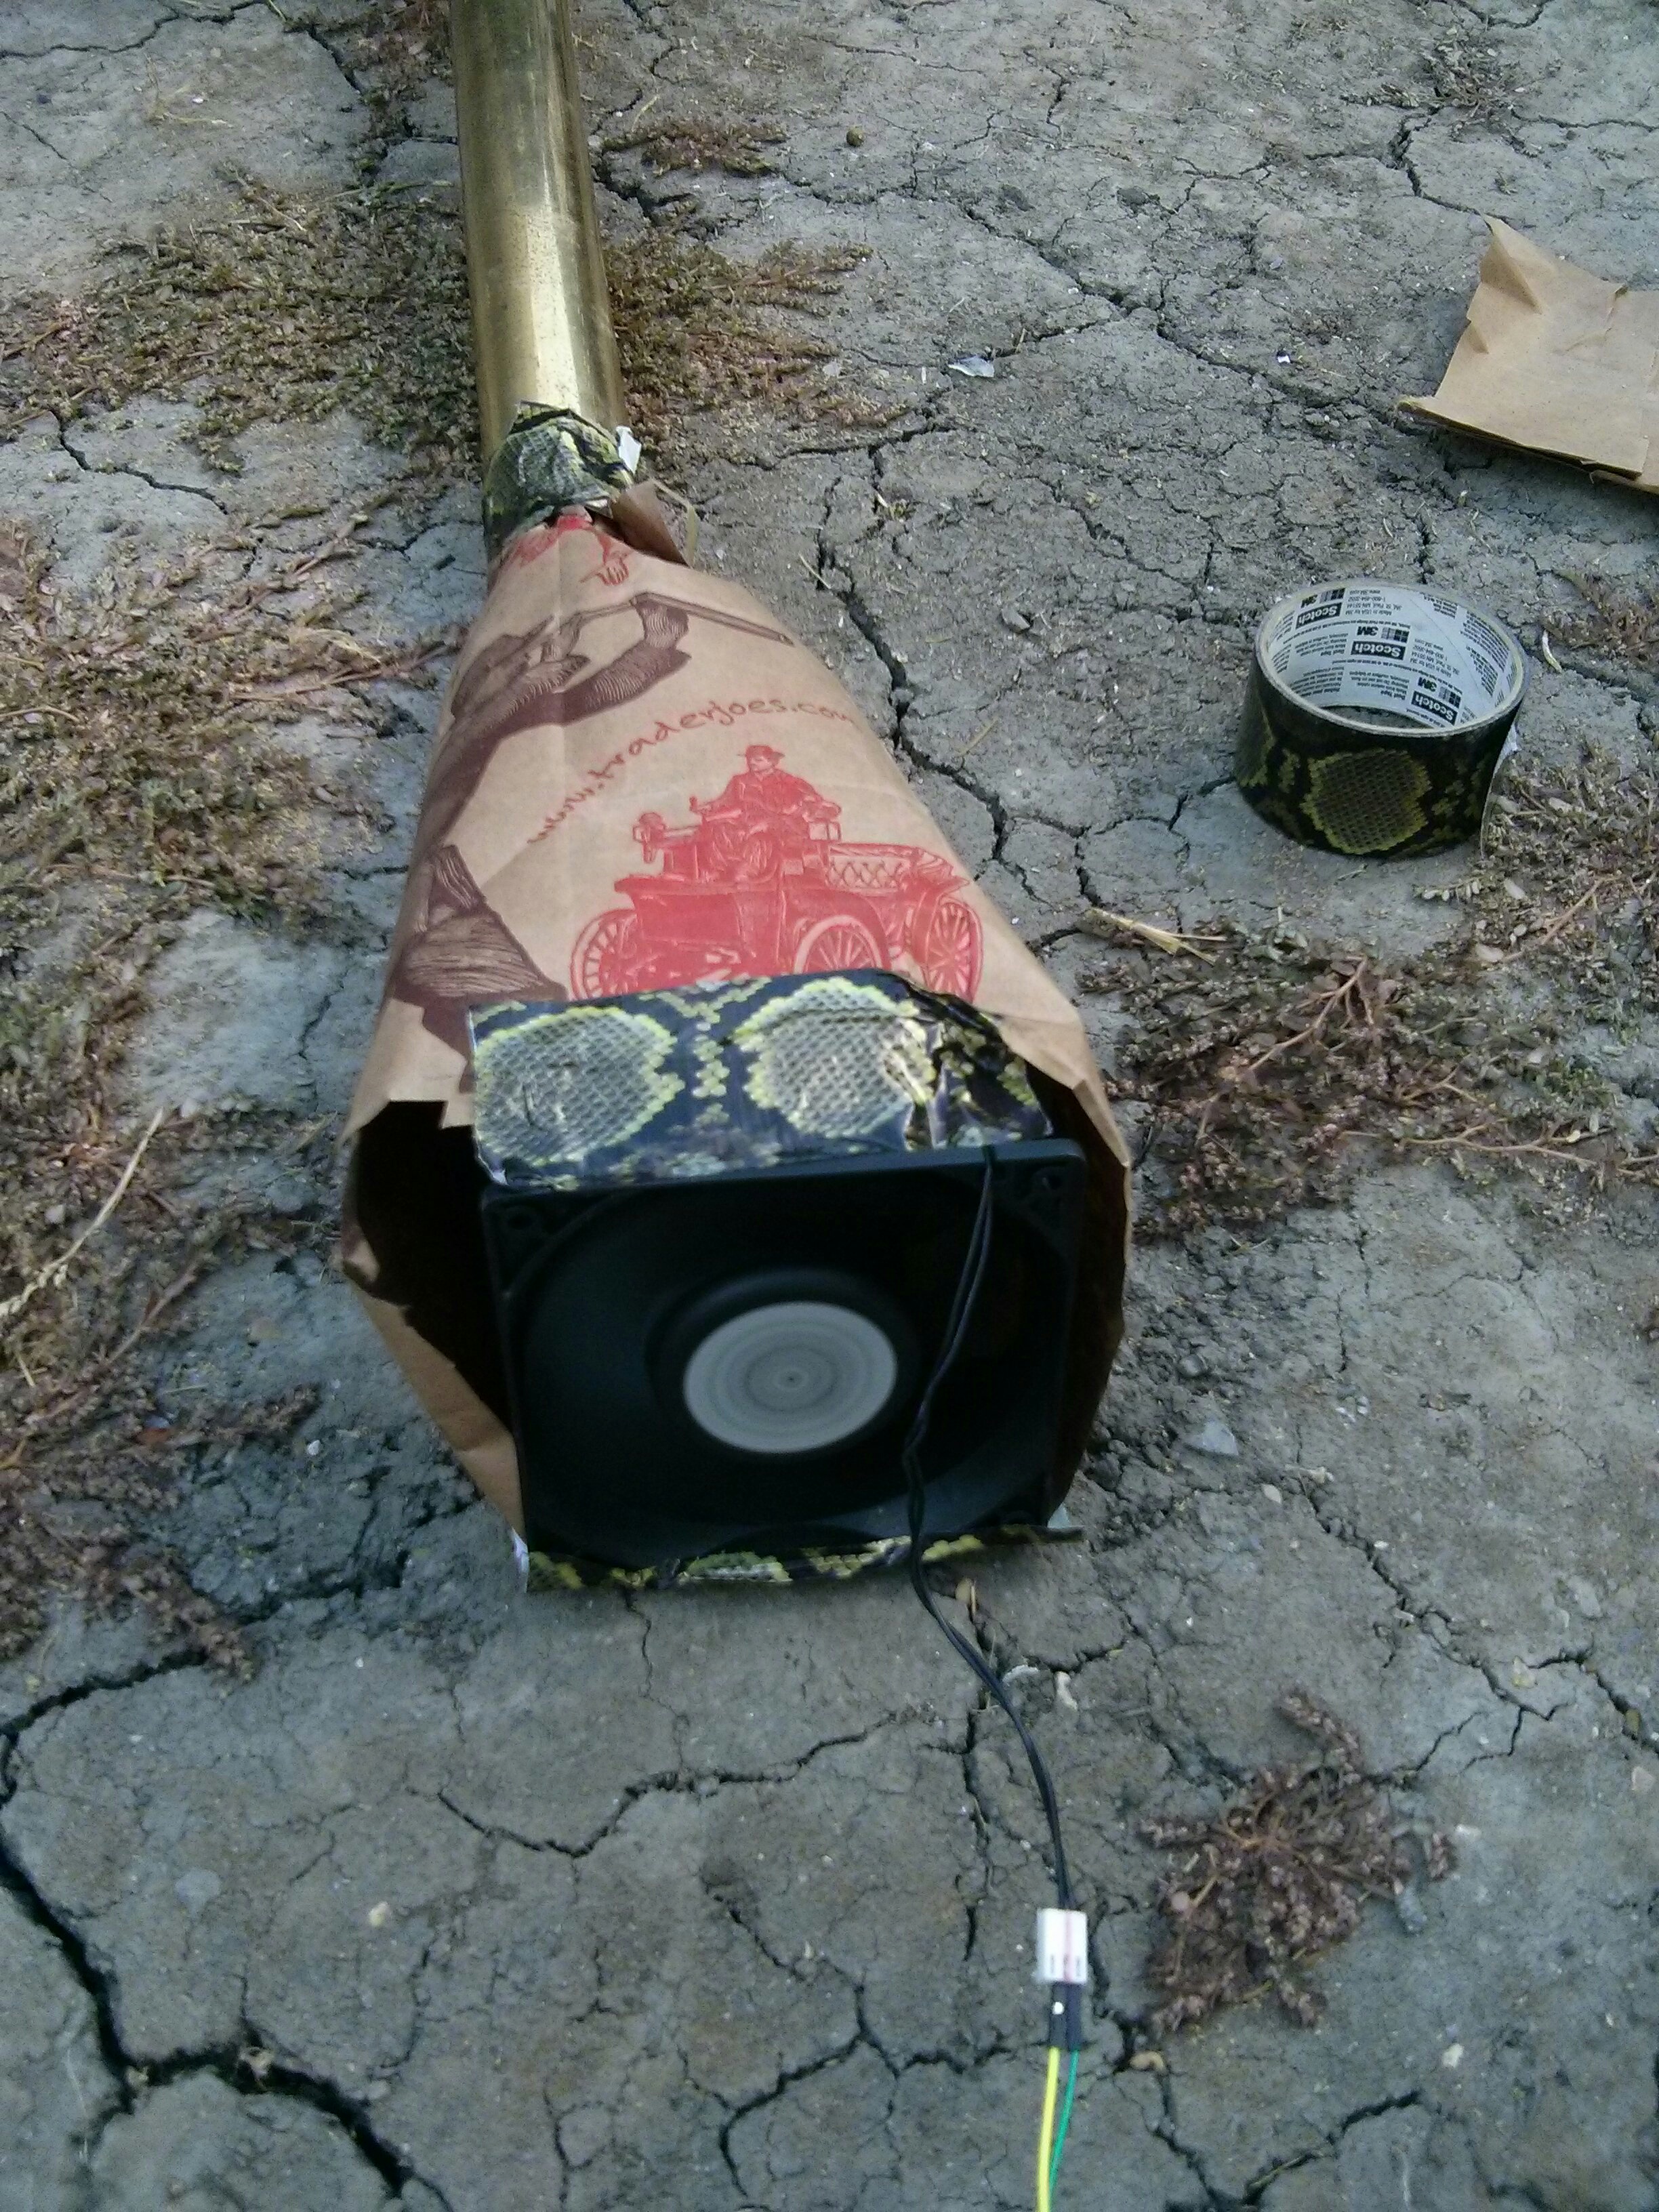
You can tell we’re trained professionals by the fan setup

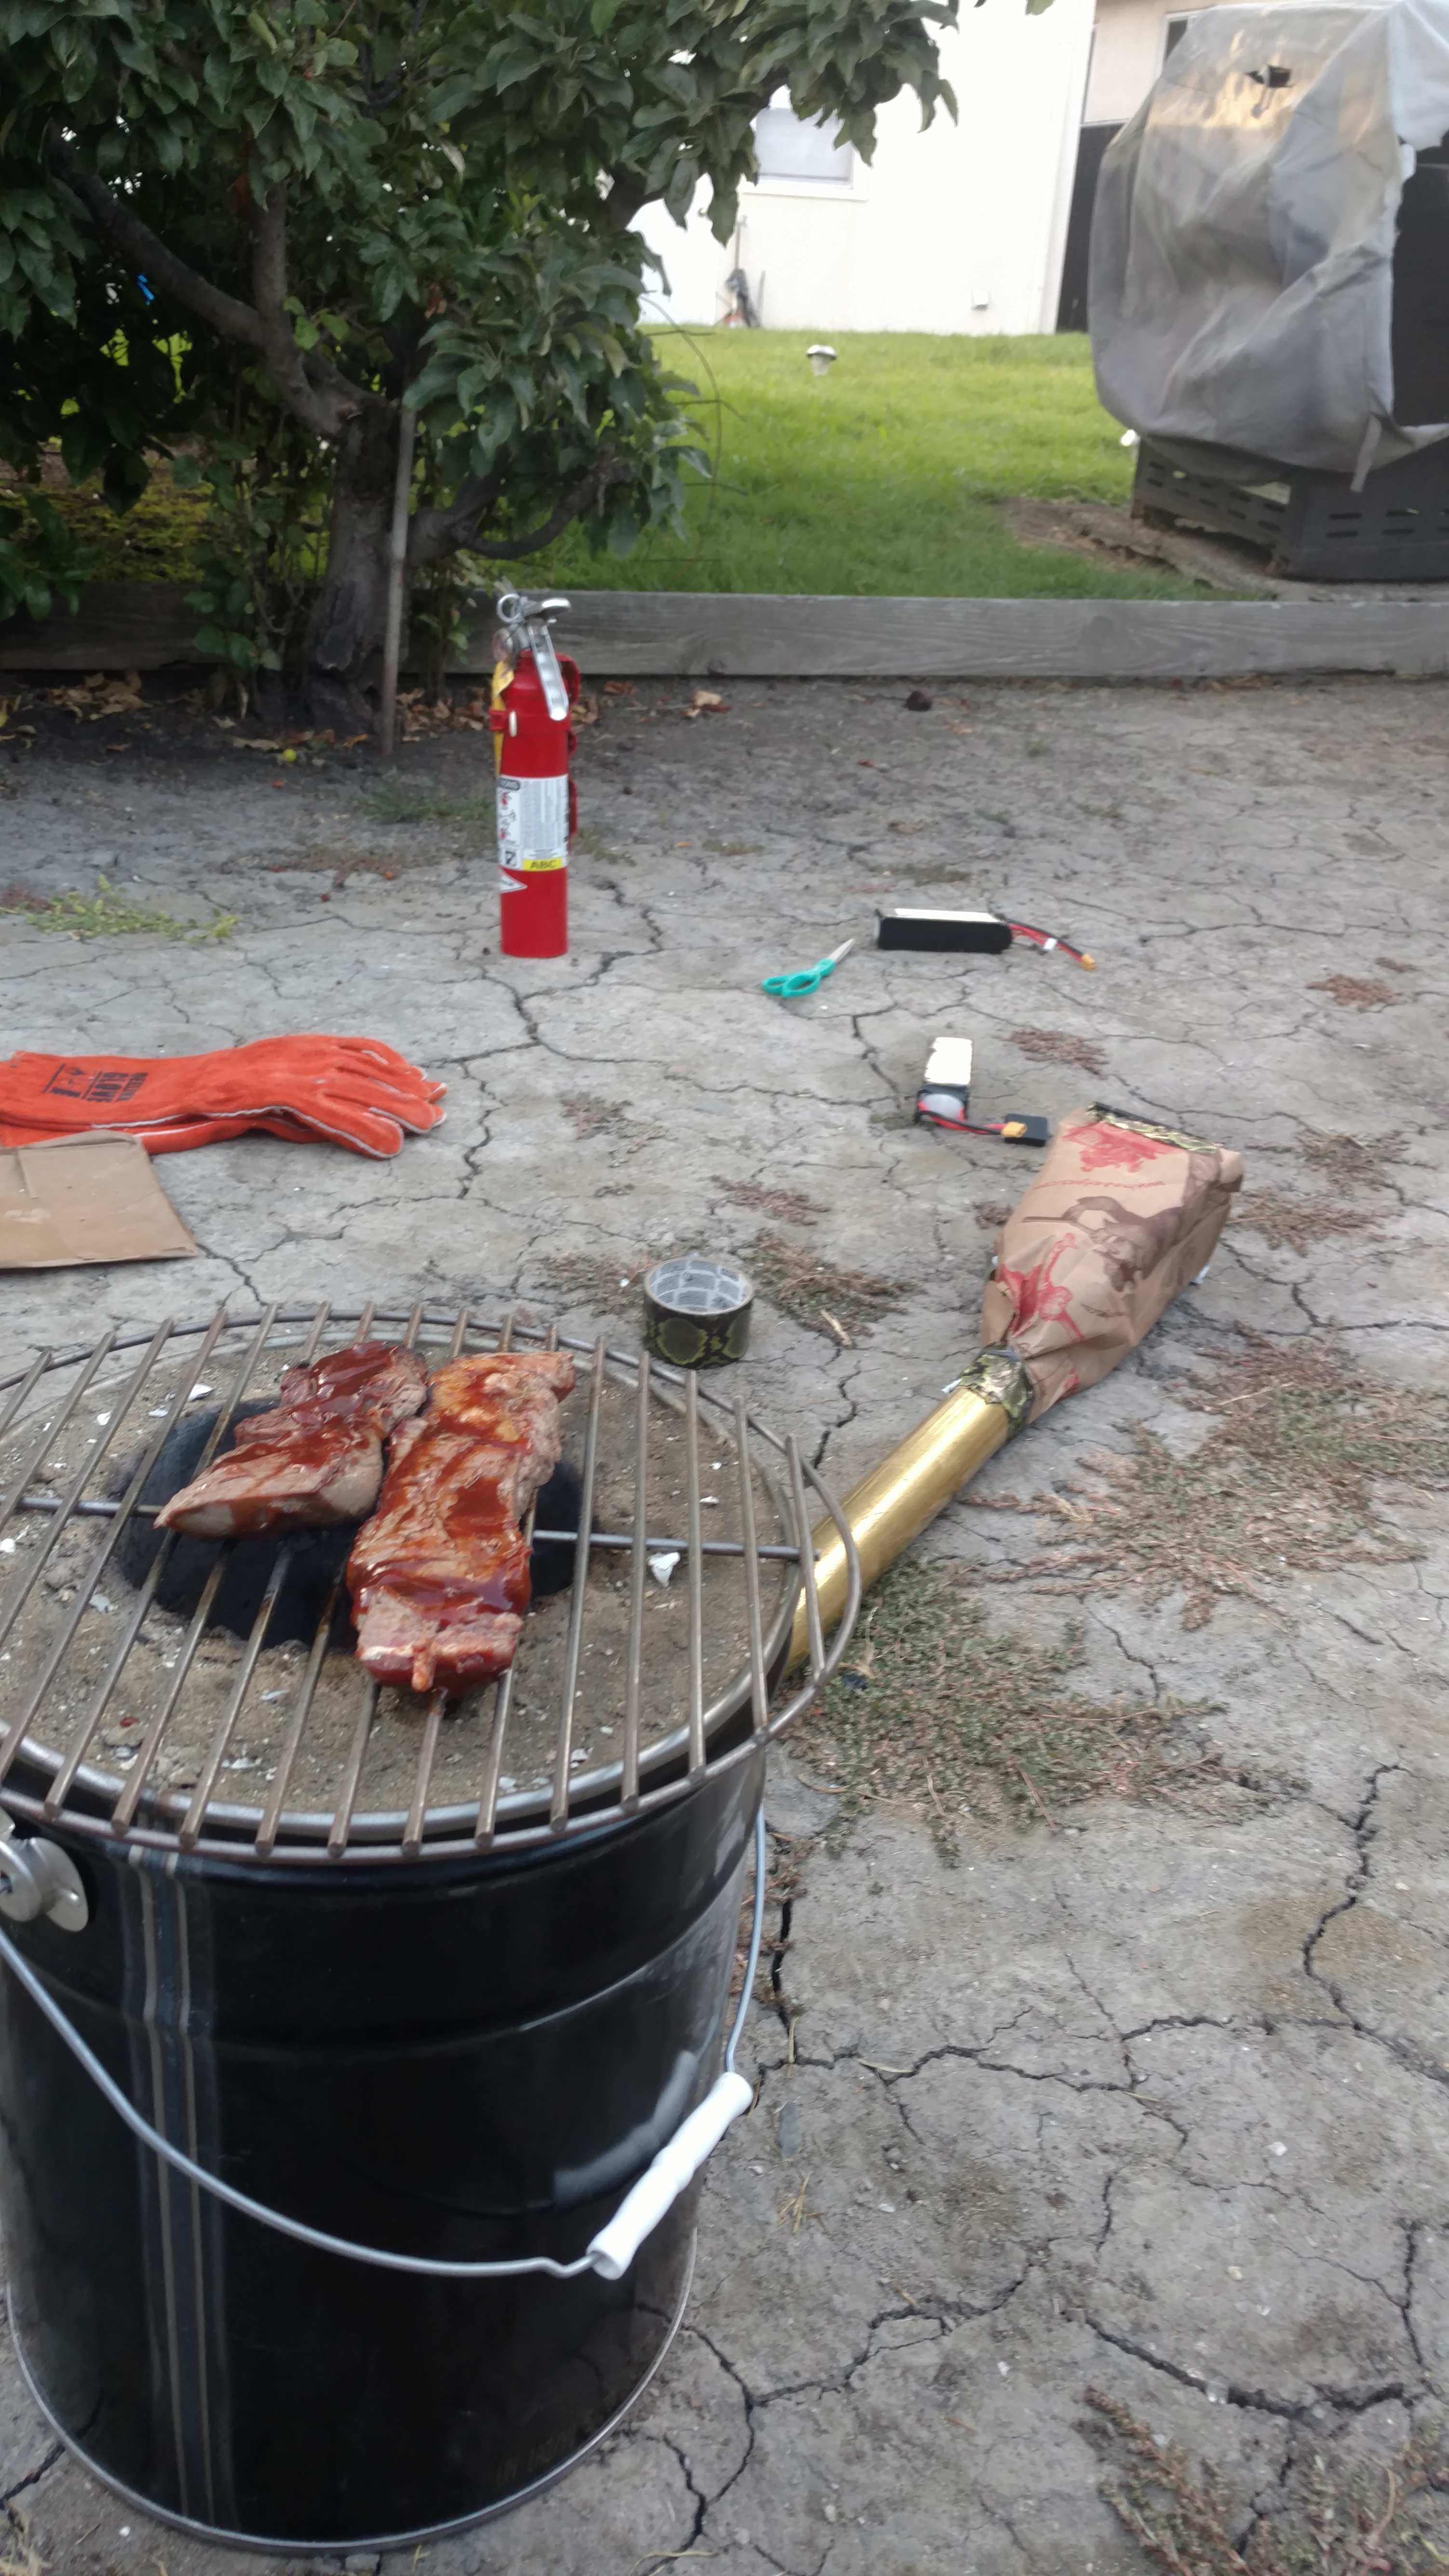
Blast furnace meat is best meat

Richard looking dubiously at the furnace

DIY Hard drive carrying case

Today’s project was a hard drive carrying case. I wanted something to securely store hard drives. When I looked around on ebay and amazon, I saw some nice cases and some crappy plastic molded ones. Even the terrible ones were at least $50, so I made my own.

HDD Carrying Case Exerior

I bought a used ammo case at the rather excellent local army surplus store. Then I padded all sides. I had spare EVA foam “puzzle piece” style mats from a gym setup lying around. I cut out the pieces with scissors. That’s it.  I was expecting more steps, but nothing needed glued in place. I was planning on adding inserts for the empty slots, but it seems secure enough. If you’re making one, you could also glue the top onto the lid, so you don’t have to take it out manually.

HDD Case Interior

Getting the Adafruit Pro Trinket 3.3V to work in Arch Linux

I’m on Linux, and here’s what I did to get the Adafruit Pro Trinket (3.3V version) to work. I think most of this should work for other Adafruit boards as well. I’m on Arch Linux, but other distros will be similar, just find the right paths for everything. Your version of udev may vary on older distros especially.

  1. Install the Arduino IDE. If you want to install the adafruit version, be my guest. It should work out of the box, minus the udev rule below. I have multiple microprocessors I want to support, so this wasn’t an option for me.
  2. Copy the hardware profiles to your Arduino install. pacman -Ql arduino shows me that I should be installing to /usr/share/aduino.  You can find the files you need at their source (copy the entire folder) or the same thing is packaged inside of the IDE installs.
    cp adafruit-git /usr/share/arduino/adafruit
  3. Re-configure “ATtiny85” to work with avrdude. On arch, pacman -Ql arduino | grep "avrdude.conf says I should edit /usr/share/arduino/hardware/tools/avr/etc/avrdude.conf. Paste this revised “t85” section into avrdude.conf (credit to the author)
  4. Install a udev rule so you can program the Trinket Pro as yourself (and not as root).
    # /etc/udev/rules.d/adafruit-usbtiny.rules
    SUBSYSTEM=="usb", ATTR{product}=="USBtiny", ATTR{idProduct}=="0c9f", ATTRS{idVendor}=="1781", MODE="0660", GROUP="arduino"
  5. Add yourself as an arduino group user so you can program the device with usermod -G arduino -a <username>. Reload the udev rules and log in again to refresh the groups you’re in. Close and re-open the Arduino IDE if you have it open to refresh the hardware rules.
  6. You should be good to go! If you’re having trouble, start by making sure you can see the correct hardware, and that avrdude can recognize and program your device with simple test programs from the command link. The source links have some good specific suggestions.

Sources:
http://www.bacspc.com/2015/07/28/arch-linux-and-trinket/
http://andijcr.github.io/blog/2014/07/31/notes-on-trinket-on-ubuntu-14.04/