
I’ve been designing a keyboard and case for the zorchpad.
There are four pieces in the first iteration.
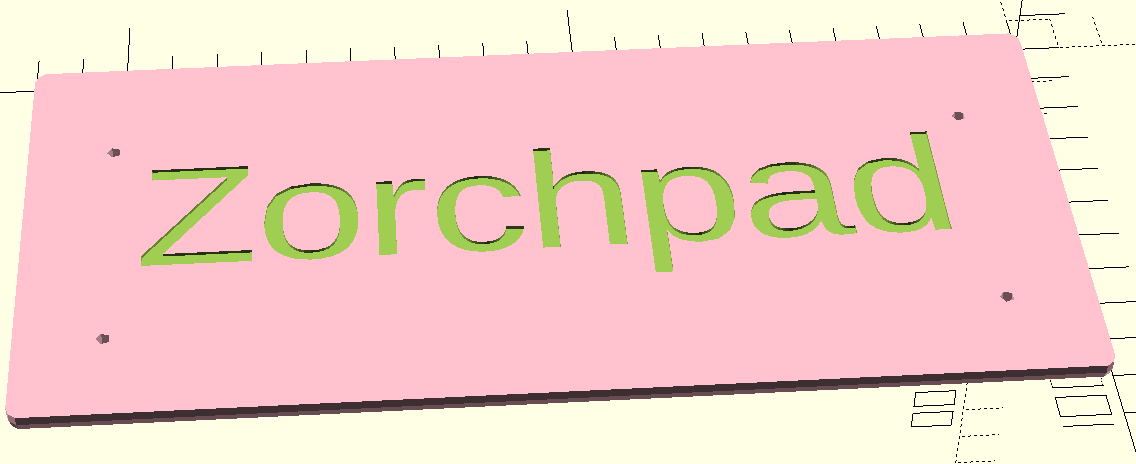
A top bottom base, to enclose the keyboard electronics.
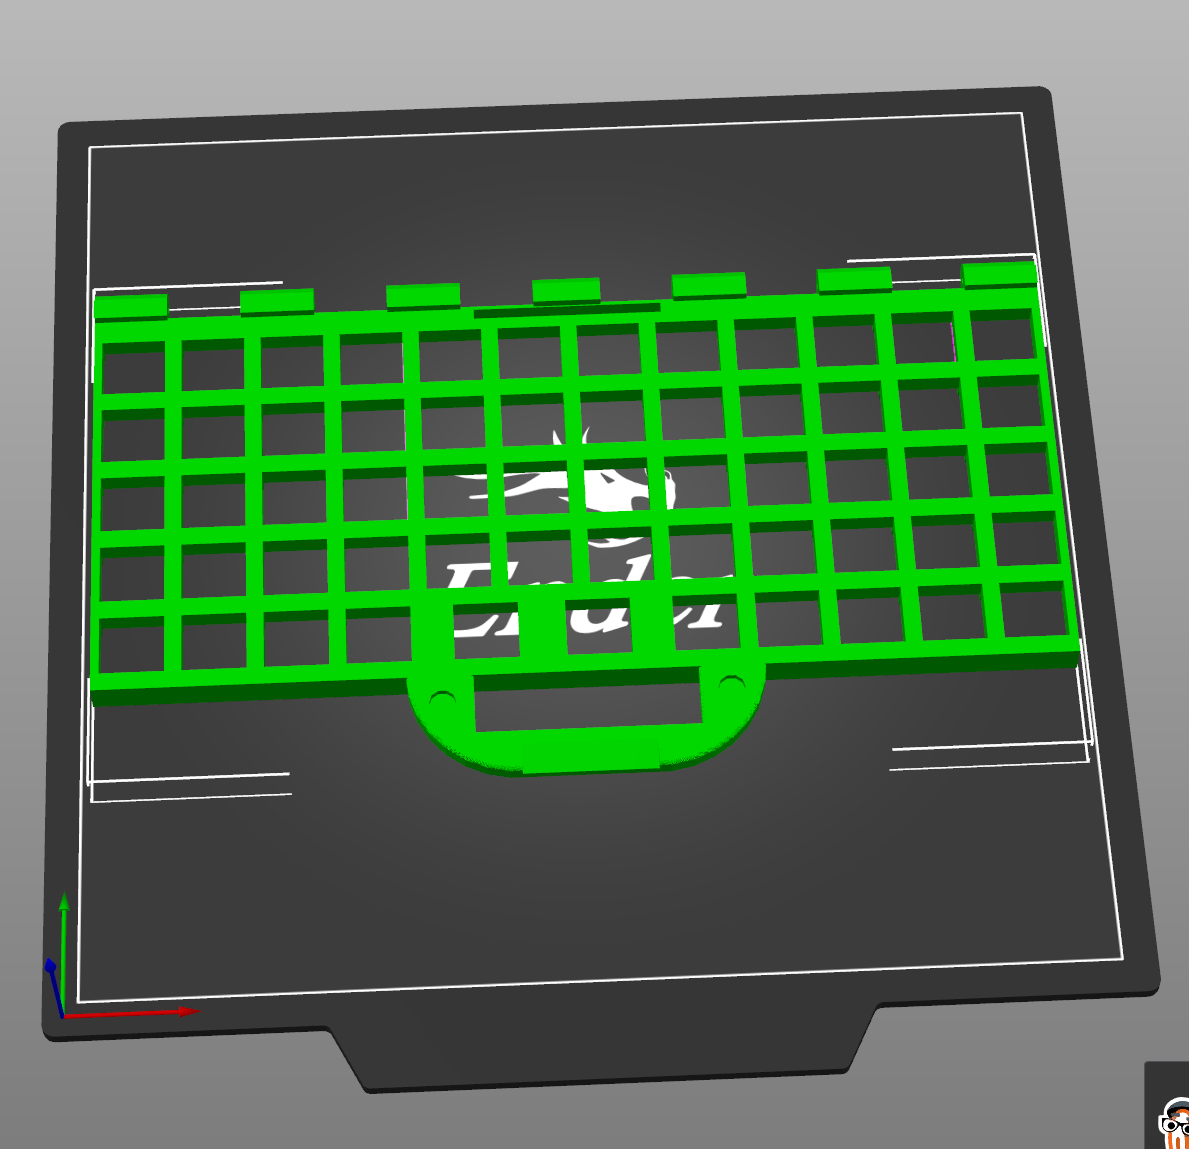
A keyboard plate. The keys fit into the holes here. You type on the top, electronics go in the bottom.
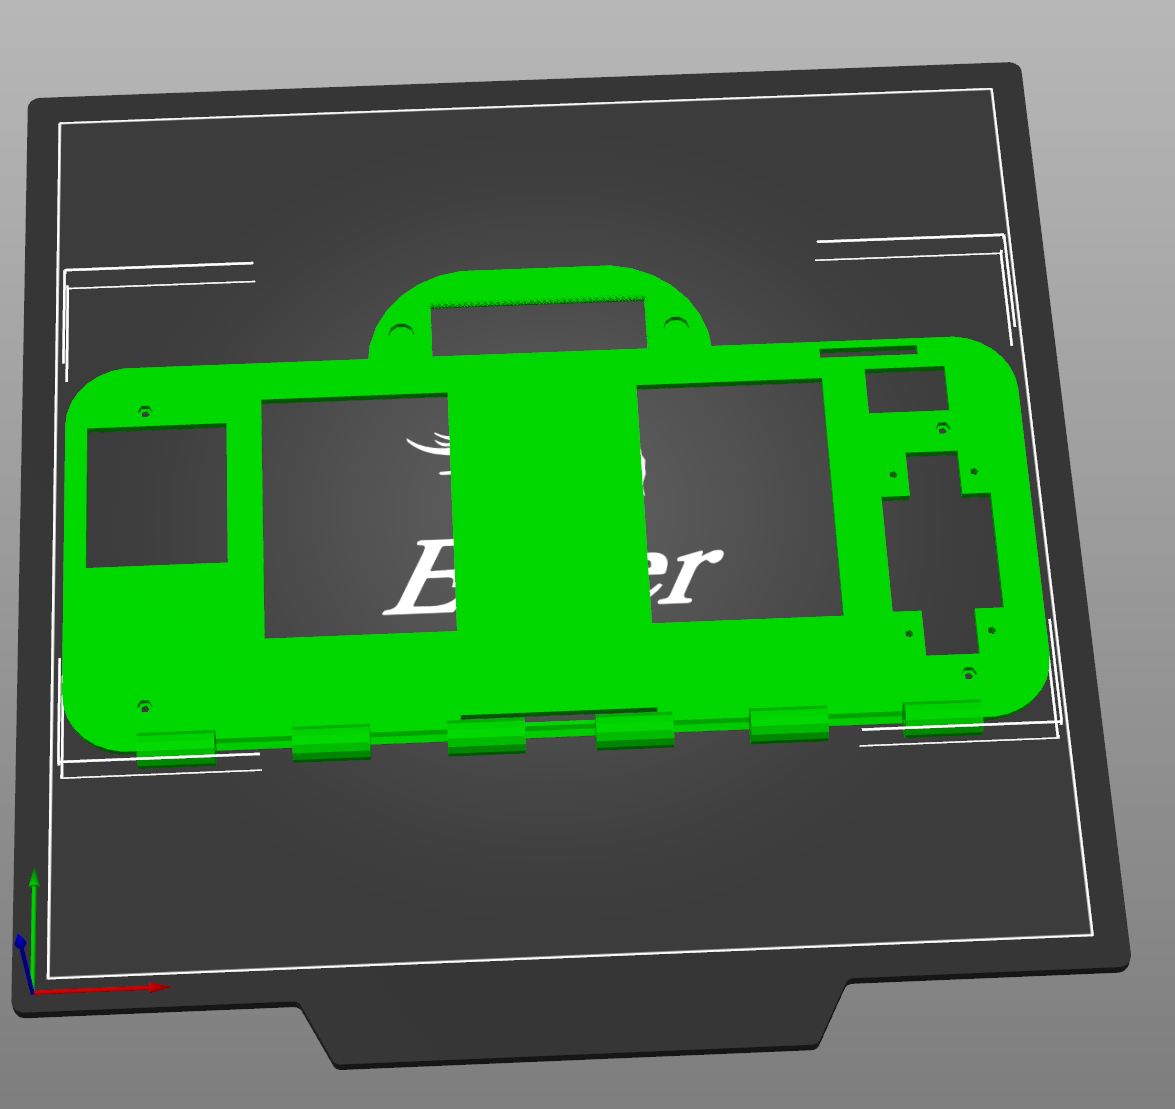
A top plate. You see the screens, and switches through the cutouts. Otherwise, it keeps the behind-the-scenes wiring out of sight.
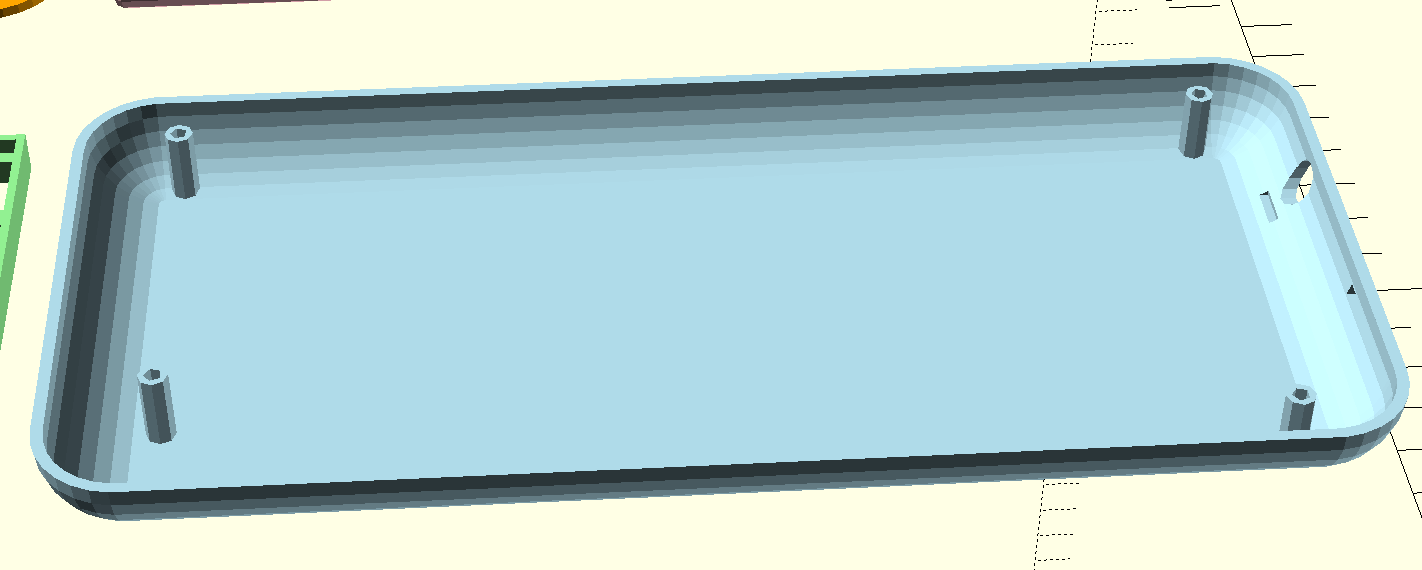
And finally, the top piece.
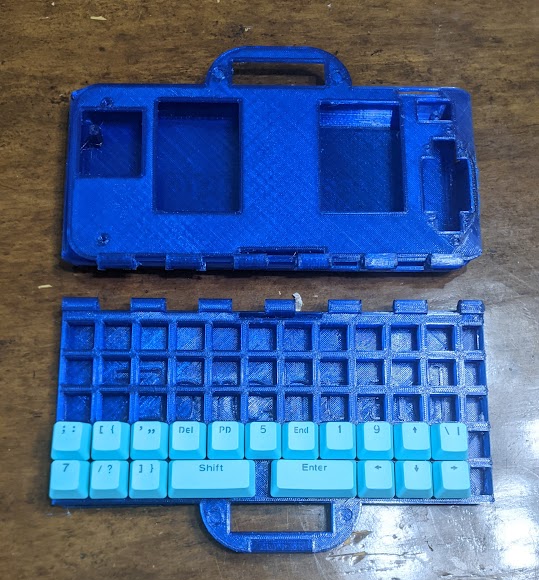
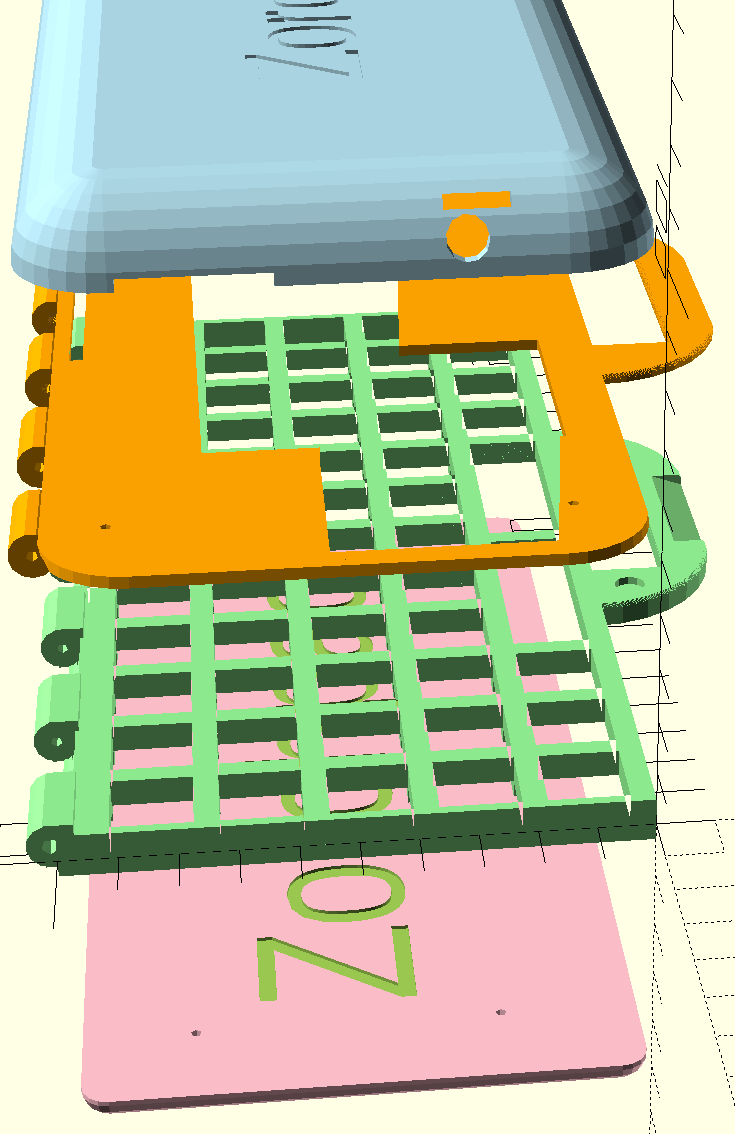
Here are the pieces in correct position. In the top will be the screens and battery. The bottom is a keyboard you type on. The whole things is meant to fold on a hinge, much like a laptop.
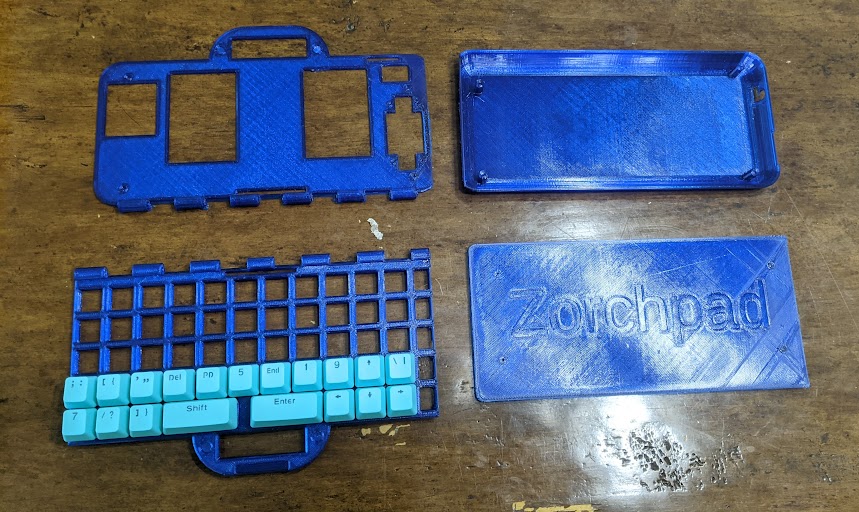
The same pieces, spread out.
There were many, many problems with the first design and the first print. I’ll talk about them (and my fixes) in my next post.