Recently I've been trying radically changing my work. Today's challenge: Every hour, on the hour, make my screen worse. Why? Because no one can stop me. And to make things harder, I have to stay on the computer -- I can't just give up and read a book.
I decided to do everything using shaders, a technology that runs directly on a graphics card, so it's very fast.
I applied various shaders to my working Linux environment using 'picom'. As you'll read below, there are a couple limitations to this approach, but overall it was pretty easy to get started. For details on my setup, see the end of the article.
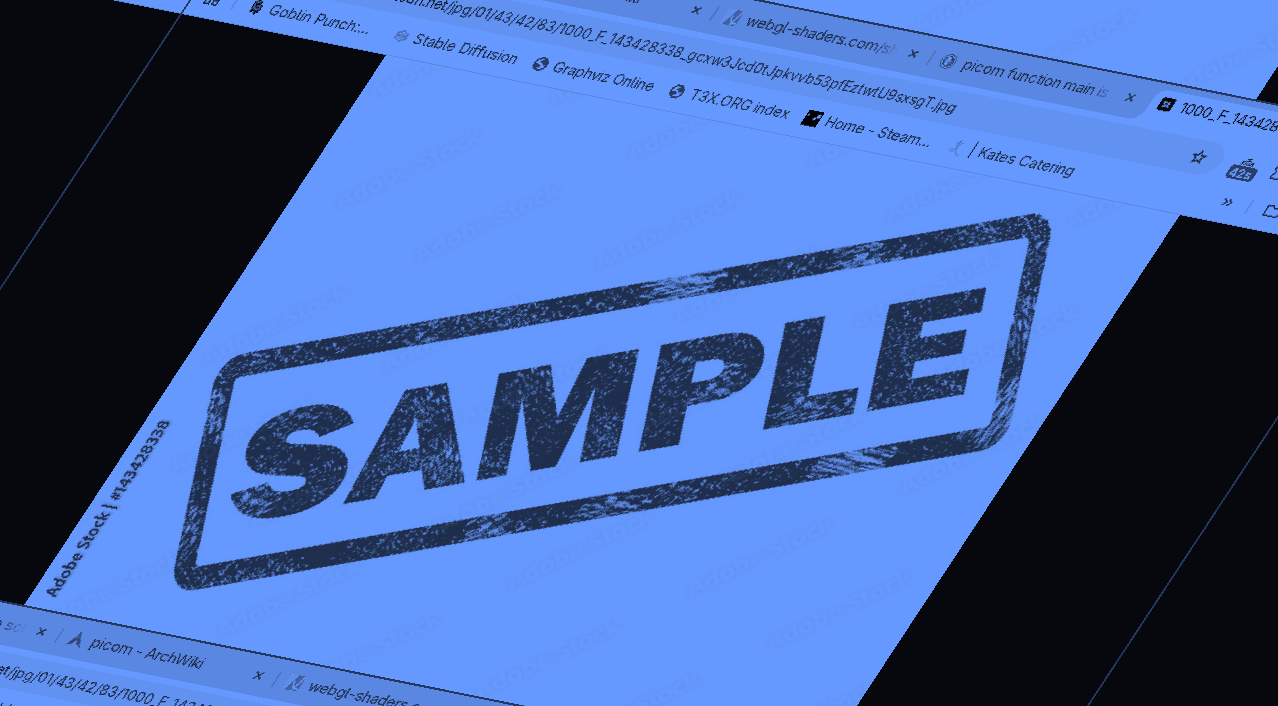
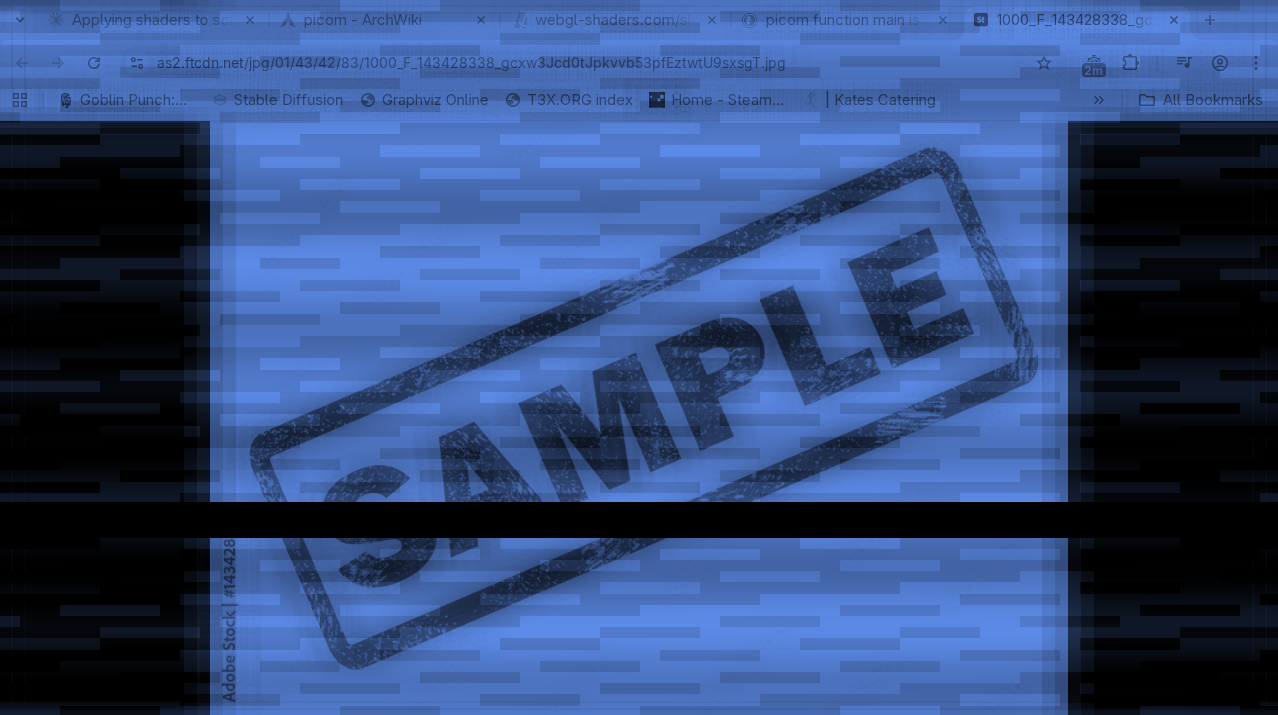
12 noon -- Switch to monochrome, with a blue tint. This is something I've actually done before, to try to ease the pain of a bright monitor on my eyes.

1pm --
I rotated the screen 20 degrees. Actually, it applies to each window on its own, so the result was... funky. Each individual window looked like the screenshot below.
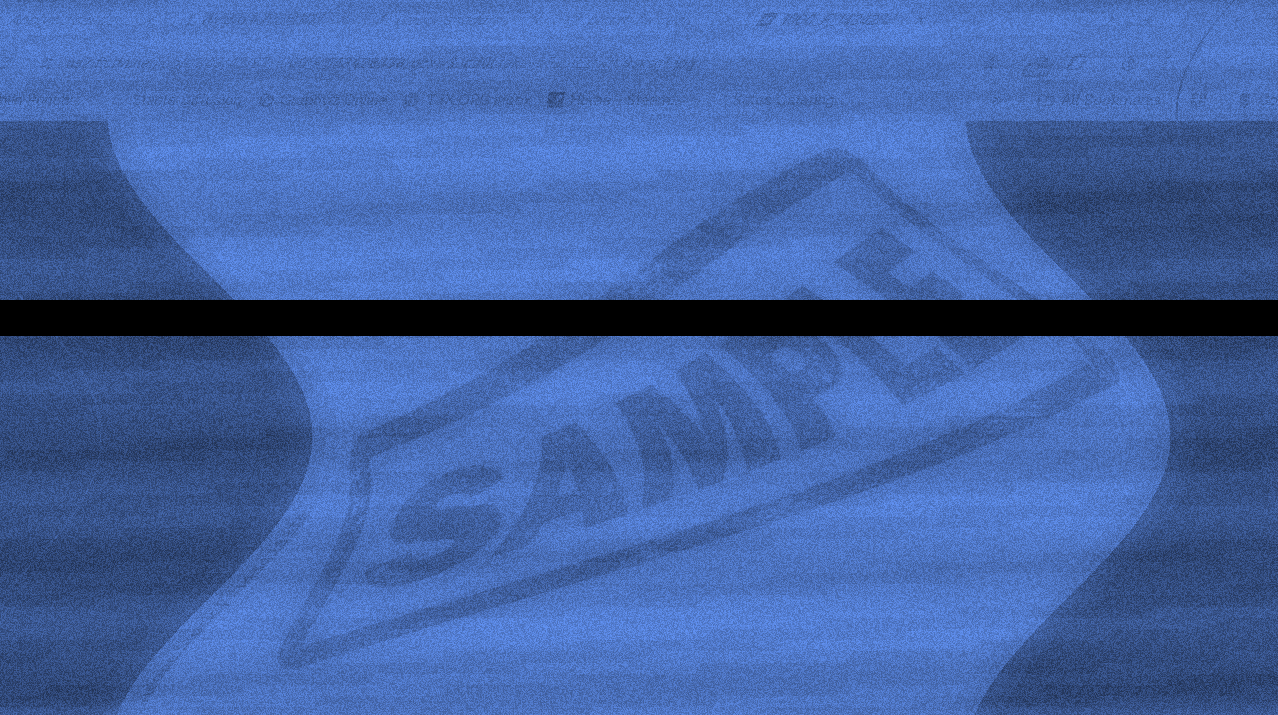
I gave up on this (too annoying for this early in the day) and tried slow horizontal waves, like you're under the ocean.
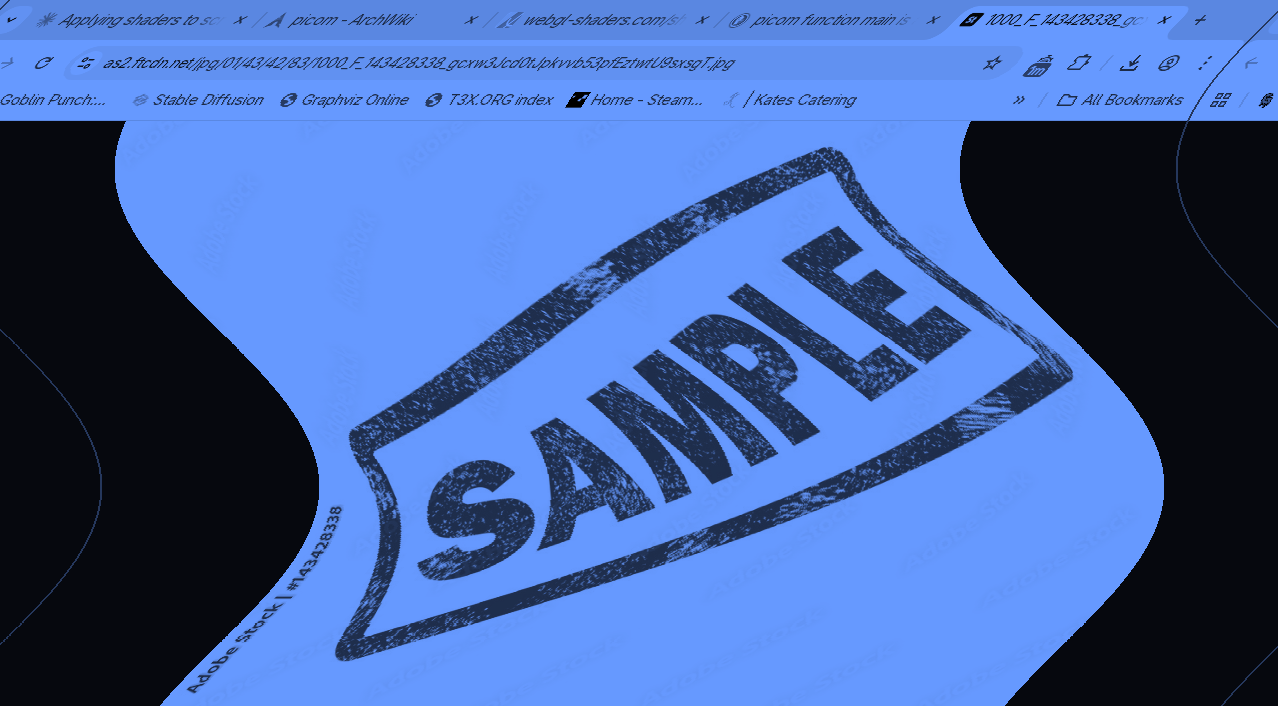
The first issue was that typing didn't update the whole screen -- I fixed that by adding the following to picom.conf:
unredir-if-possible = false;
vsync = true;
use-damage = false;
But I hit two problems. Both come from the fact that shaders are applied per-window, and the mouse is not part of a window.
- The mouse is NOT composited. It's not blue, and it stays in one place. If pixels move in the window, the same pixels don't move on the mouse, and you end up not clicking the right place because the mouse doesn't visually get shifted with the window.
I thought about a few workarounds, but they were complicated:
- Drawing a fake mouse and hiding the real one (doesn't work if the fake mouse is its own window, in terms of position)
- Somehow moving the entire screen into a window, with something like virtual desktop or nested X servers.
The second problem: it's really hard to hide the uncomposited mouse.
I decided this was really a bit of a distraction, and I'd just work within the contraint that pixels never moved, so I could live with the default mouse.
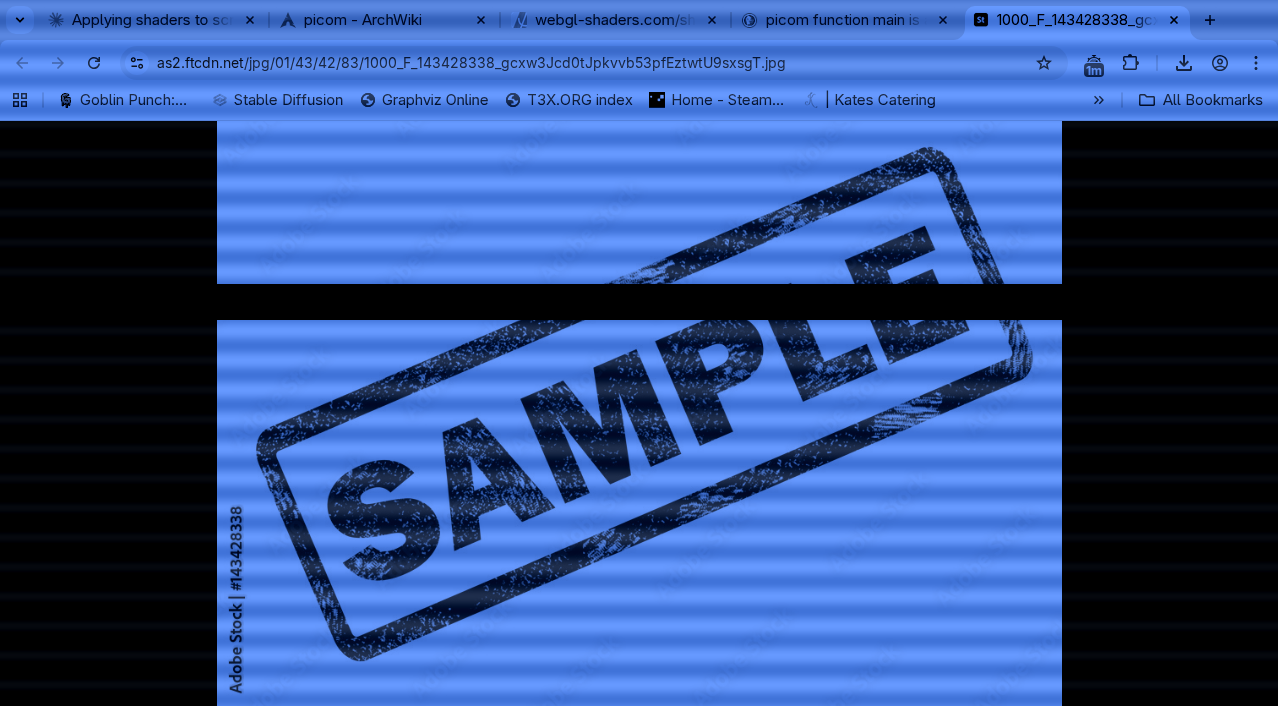
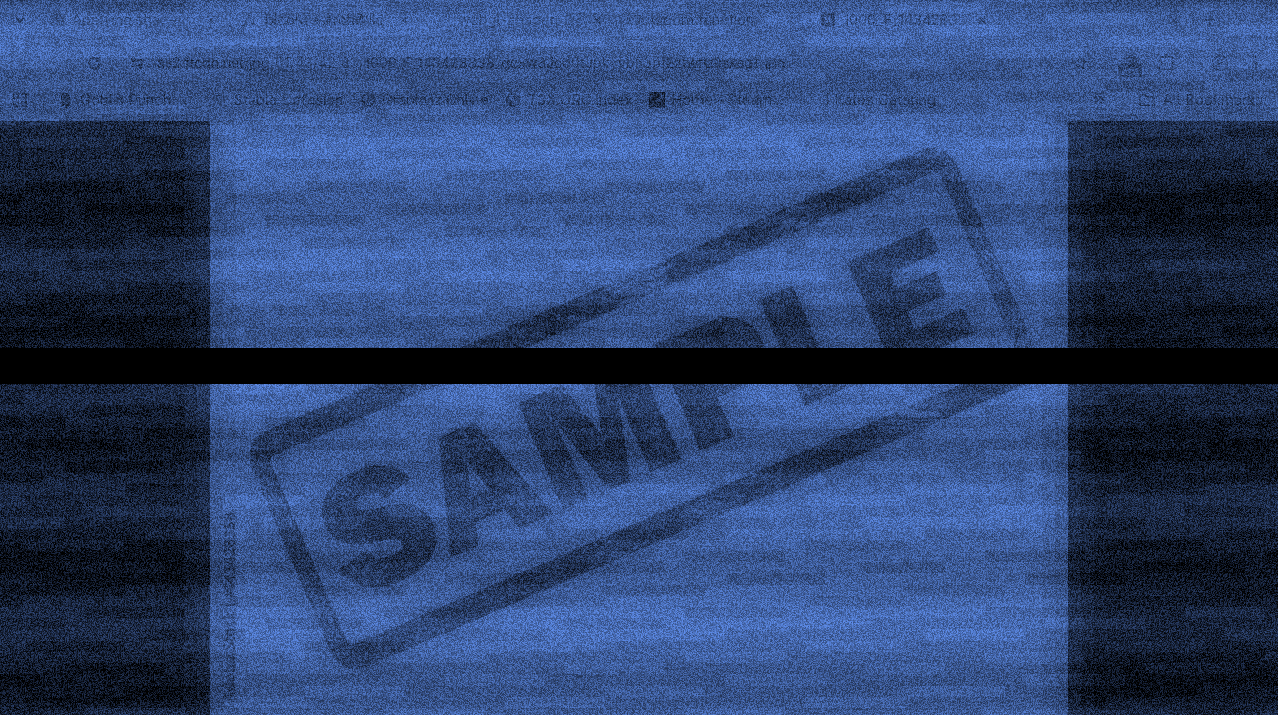
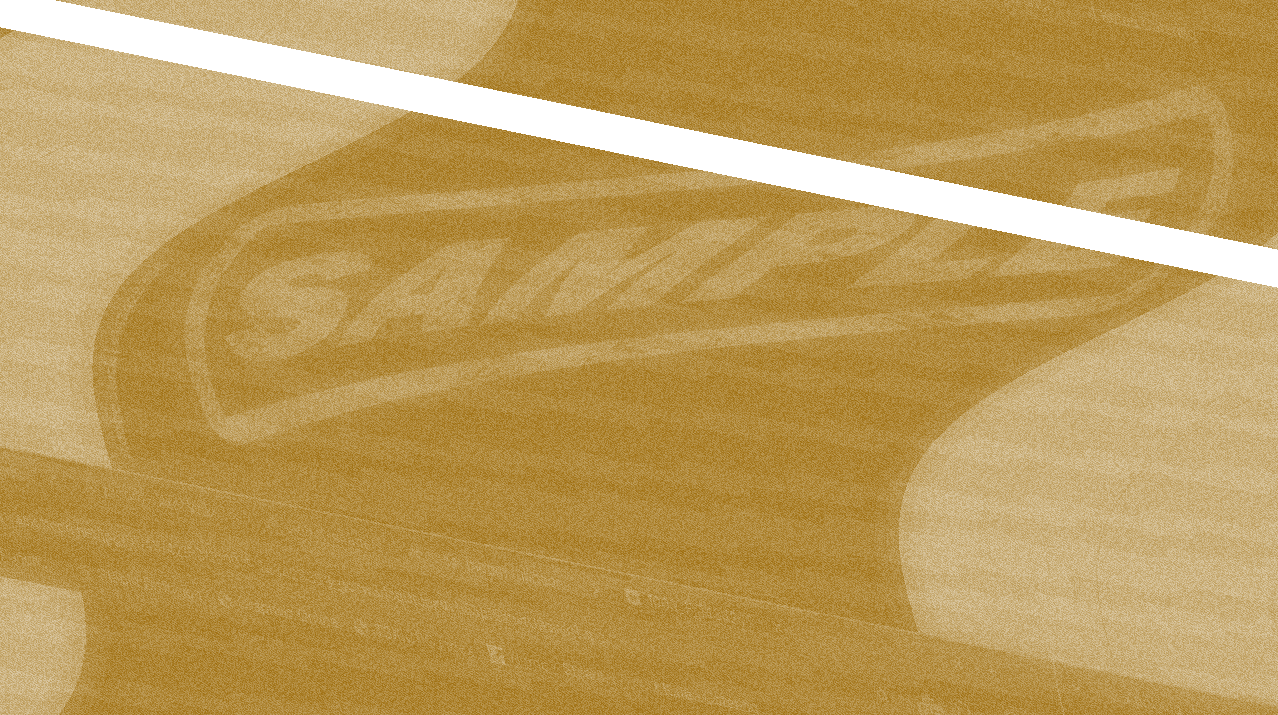
2pm - Added an animated "bar" of missing pixels. It slowly scrolls top to bottom. You can also see the vaguely "CRT" effect I added as my final 1pm version.
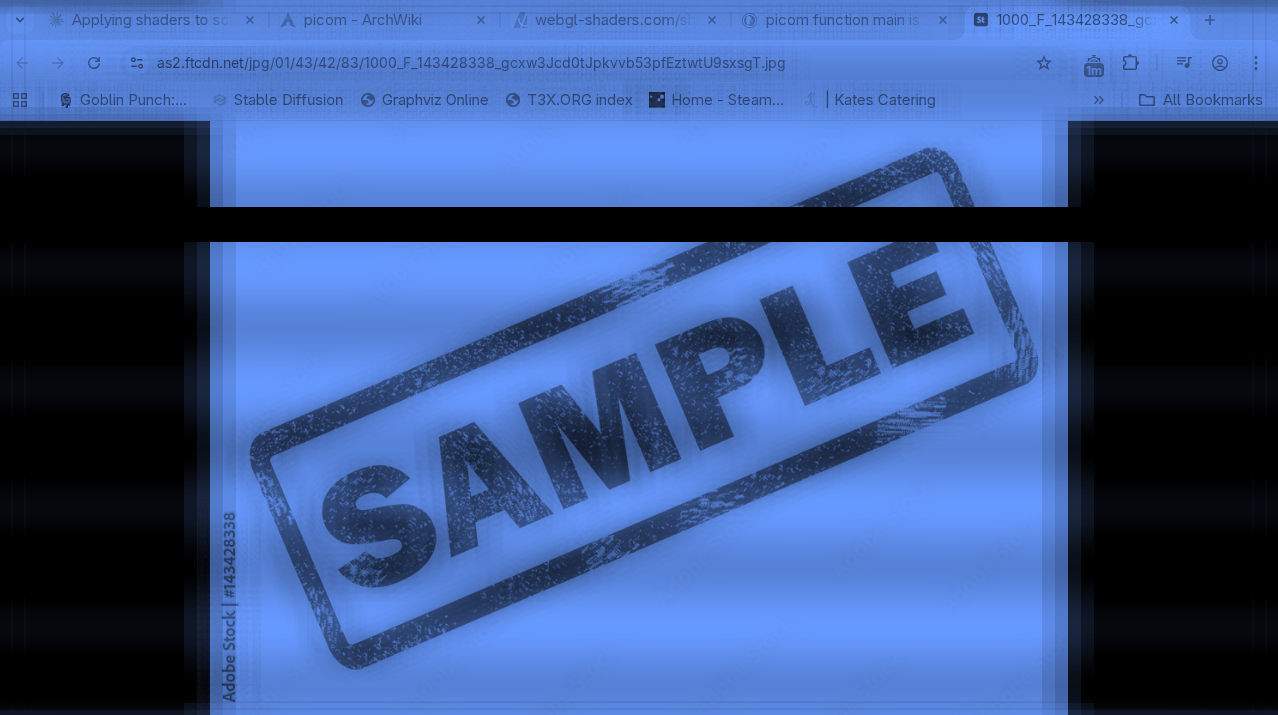
3pm - Added a "halo"/ghosting using gaussian blur. This one is a bit hard to see in the screenshot.
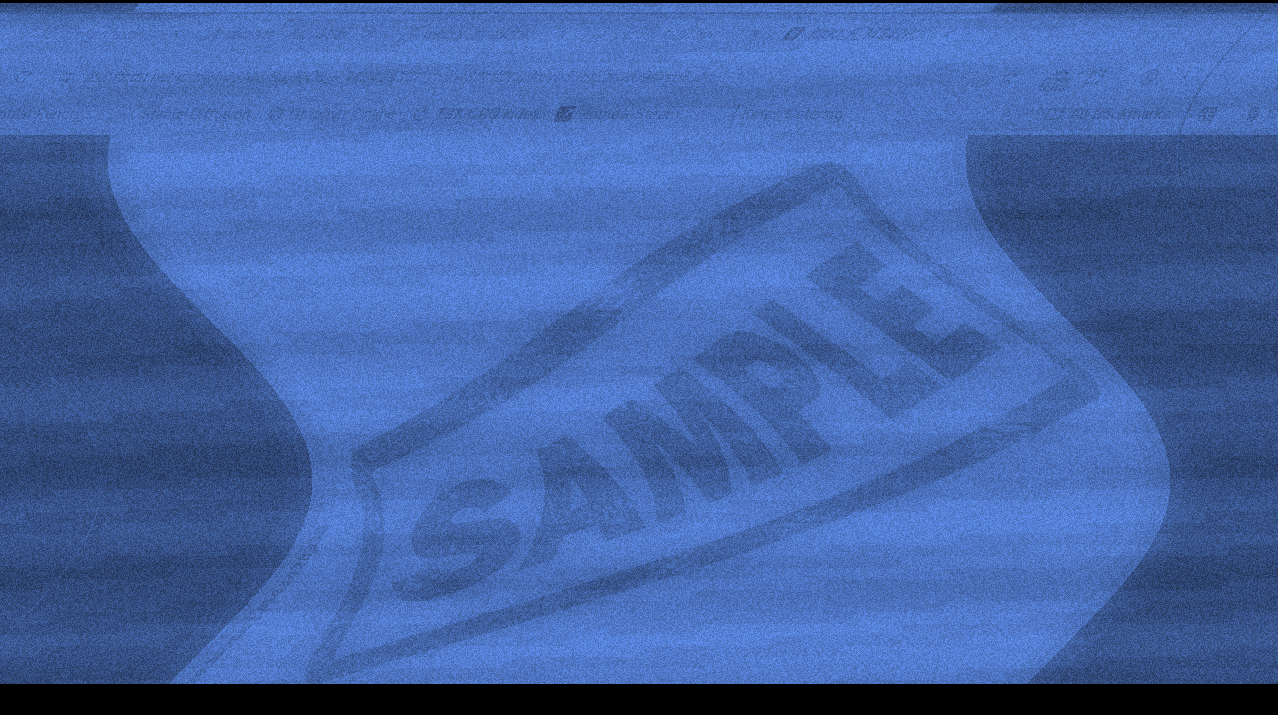
4pm - Added animated noise effect

5pm - Added grain effect
5pm - Added washed out effect

6pm - add wave, even though the mouse won't line up with what I'm clicking any more.
8pm - add vertical scroll. Sorry, it's really hard to see in this screenshot.
9pm - invert colors, add 20 degree tilt
9:30pm - At this point, I was getting pretty sick to my stomach, so I decided to speed things up... by adding lots of filters really fast, until I couldn't take it. The next one was a 2x2 grid.
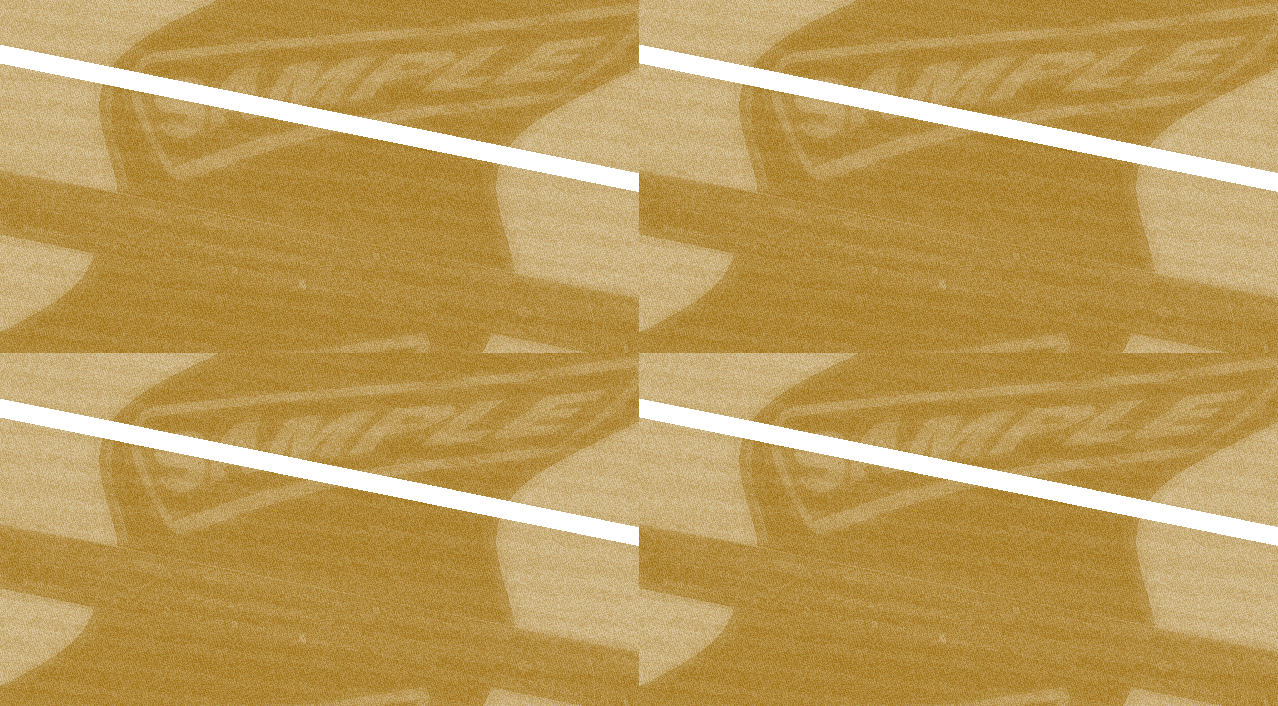
And at this point it was unusable, so I called it quits.
A video of what they all look like combined:
Below are my final shaders and config.
# ~/.config/picom/picom.conf
backend = "glx";
glx-use-copysubbuffer-mesa = true;
glx-no-stencil = true;
glx-no-rebind-pixmap = true;

unredir-if-possible = false;
vsync = true;
use-damage = false;

# Default shader for most windows
window-shader-fg = "/home/zachary/.config/picom/horrible.glsl";
// ~/.config/picom/horrible.glsl
#version 330
uniform sampler2D tex;
in vec2 texcoord;
uniform float time;

vec4 default_post_processing(vec4 c);

vec4 window_shader() {
    vec2 texsize = textureSize(tex, 0);
    vec2 coord = texcoord / texsize;

    if (true) {
        // ========================================
        // 2x2 grid - repeat window 4 times
        // ========================================
        coord = fract(coord * 2.0);
    }

    if (true) {
        // ========================================
        // PASS 5: Rotate entire screen 20 degrees
        // ========================================
        float angle = radians(20.0);
        mat2 rotation = mat2(cos(angle), -sin(angle),
                            sin(angle), cos(angle));
        coord = coord - 0.5;  // Center
        coord = rotation * coord;
        coord = coord + 0.5;  // Un-center
    }

    if (true) {
        // ========================================
        // PASS 4: Bad reception scroll with jank
        // ========================================
        float scrollSpeed = 0.00005;
        float scroll = mod(time * scrollSpeed, 1.0);

        // Add jittery jumps
        float jank = step(0.98, fract(time * 2.3)) * 0.1;
        jank += step(0.95, fract(time * 1.7)) * -0.05;

        coord.y = mod(coord.y + scroll + jank, 1.0);
    }

    if (true) {
        // ========================================
        // PASS 2: Underwater wave distortion
        // ========================================
        float waveAmplitude = 0.1;
        float waveFrequency = 10.0;
        float waveSpeed = 0.00015;

        //coord.y += sin(coord.x * waveFrequency + time * waveSpeed) * waveAmplitude;
        coord.x += cos(coord.y * waveFrequency * 0.7 + time * waveSpeed * 0.8) * waveAmplitude * 0.8;
    }

    // Sample the texture with all distortions applied
    vec4 color = texture2D(tex, coord, 0);

    if (true) {
        // ========================================
        // Simple blur effect
        // ========================================
        vec4 blurred = vec4(0.0);
        float blurAmount = 0.01;  // Blur radius in normalized coords

        // Sample surrounding pixels
        for (float x = -2.0; x <= 2.0; x += 1.0) {
            for (float y = -2.0; y <= 2.0; y += 1.0) {
                vec2 offset = vec2(x, y) * blurAmount;
                blurred += texture2D(tex, coord + offset, 0);
            }
        }
        blurred /= 25.0;  // Average of 5x5 samples
        color = ((color * 1) + blurred)/2;
    }

    if (true) {
        // ========================================
        // TV static noise
        // ========================================
        float noise = fract(sin(dot(coord + time * 0.001, vec2(12.9898, 78.233))) * 437589.5453);
        color.rgb = mix(color.rgb, vec3(noise), 0.2);  // 20% noise, adjust to taste
    }

    if (true) {
        // =======================================
        // Pixel-y static noise
        // ========================================
        float noise = fract(sin(dot(coord + fract(time/800) * 100, vec2(12.9898, 78.233))) * 437589.5453);
        color.rgb = mix(color.rgb, vec3(noise), 0.4);  // 20% noise, adjust to taste
    }

    if (true) {
        // ========================================
        // PASS 3: CRT scanlines
        // ========================================
        float scanlineIntensity = 0.15;
        float scanlineCount = 1080.0;  // Adjust for your screen height

        float scanline = sin(coord.y * texsize.y * 3.14159 * 2.0 / (texsize.y / scanlineCount));
        scanline = scanline * 0.5 + 0.5;  // Remap to 0-1
        color.rgb -= scanlineIntensity * (1.0 - scanline);
    }
    if (true) {
        // ========================================
        // Washed out effect
        // ========================================
        color.rgb = mix(color.rgb, vec3(1.0), 0.4);  // Mix 40% white, adjust 0.4 to taste
    }

    if (true) {
        // ========================================
        // PASS 1: Monochrome + blue underwater tint
        // ========================================
        float gray = dot(color.rgb, vec3(0.299, 0.587, 0.114));
        //color.rgb = vec3(gray);

        // Apply blue underwater tint
        color.rgb = vec3(0.4, 0.6, 1.0) * gray;
    }


    if (true) {
        // ========================================
        // Horizontal dead band (scrolling)
        // ========================================
        float bandHeight = 0.05;
        float bandY = mod(time * 0.0001, 1.0);  // Scrolls from top to bottom, loops

        if (abs(coord.y - bandY) < bandHeight / 2.0) {
            color.rgb = vec3(0.0);
        }
    }

    if (true) {
        // Invert colors
        color.rgb = vec3(1., 1., 1.) - color.rgb;
    }

    return default_post_processing(color);
}