Today's hack-a-day project was the Cookbook 2.0. I wrote a collection of my recipes in 2020. I've updated it with what I've learned in the last 5 years. Among other things, it has 57 new recipes.
Today's project was to make a healthy, shelf-stable food that I could eat every day, and take care of meals for the rest of the month. In the process, I realized my initial goals didn't quite make sense, and I also (again!) ran out of time. But I made a little progress.
First, I spent a couple hours researching foods like what I wanted to make. I started with "survival" foods -- hard tack, military rations, disaster food, pemmican and wasna. Commons themes I saw were:
The foods lasted a long time
They were cheap to make (then, not now)
They were dense (physically compact) and could stand being thrown around
They were high-calorie.
They didn't need cooking, and often you could get by with no heat or utensils if needed.
They were something people would eat (and often, the bare minimum standard)
They contained some reasonable macronutrient balance, although usually not an ideal one
They were often meat-heavy
Then I branched out a little to other calorie-dense foods:
Trail mix
Fudge
Energy bars, meal squares, and granola bars
Biscotti
I started realizing my goals didn't quite align with what I was seeing. I didn't really need my food to last years -- one month outside a fridge would be fine. I cared a lot more about taste. And eating calorie dense food was not really a great idea, as someone mostly sitting in a chair rather than than hauling gear cross-country all day.
I did a circuit of local stores -- a grocery store, a restaurant supply store, an indian grocer's. I also picked up enough frozen food at Trader Joe's to last me most of the month, rather defeating the point. Oops!
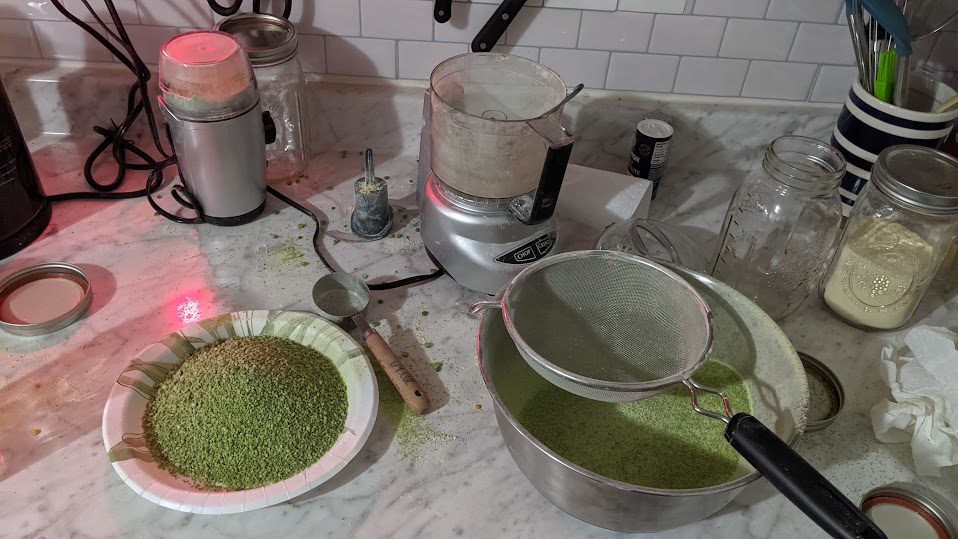
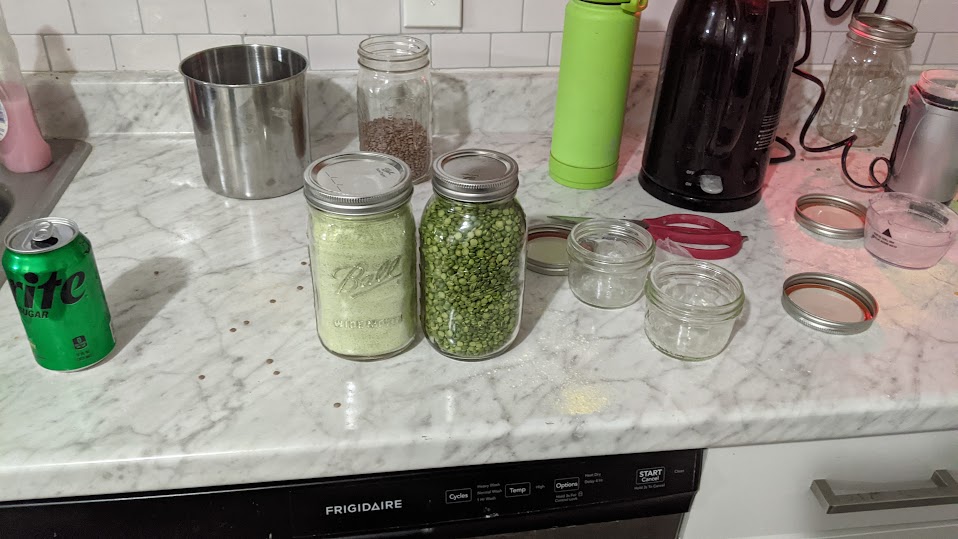
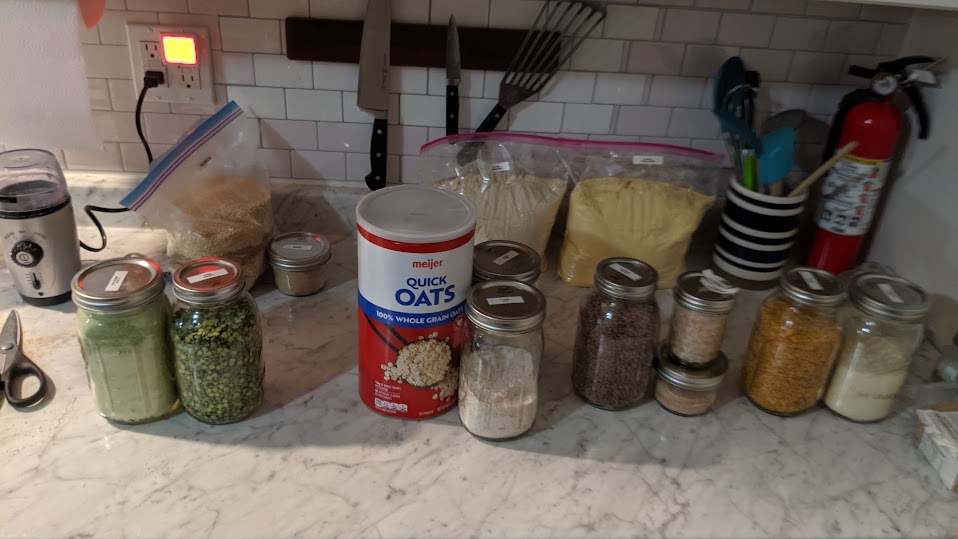
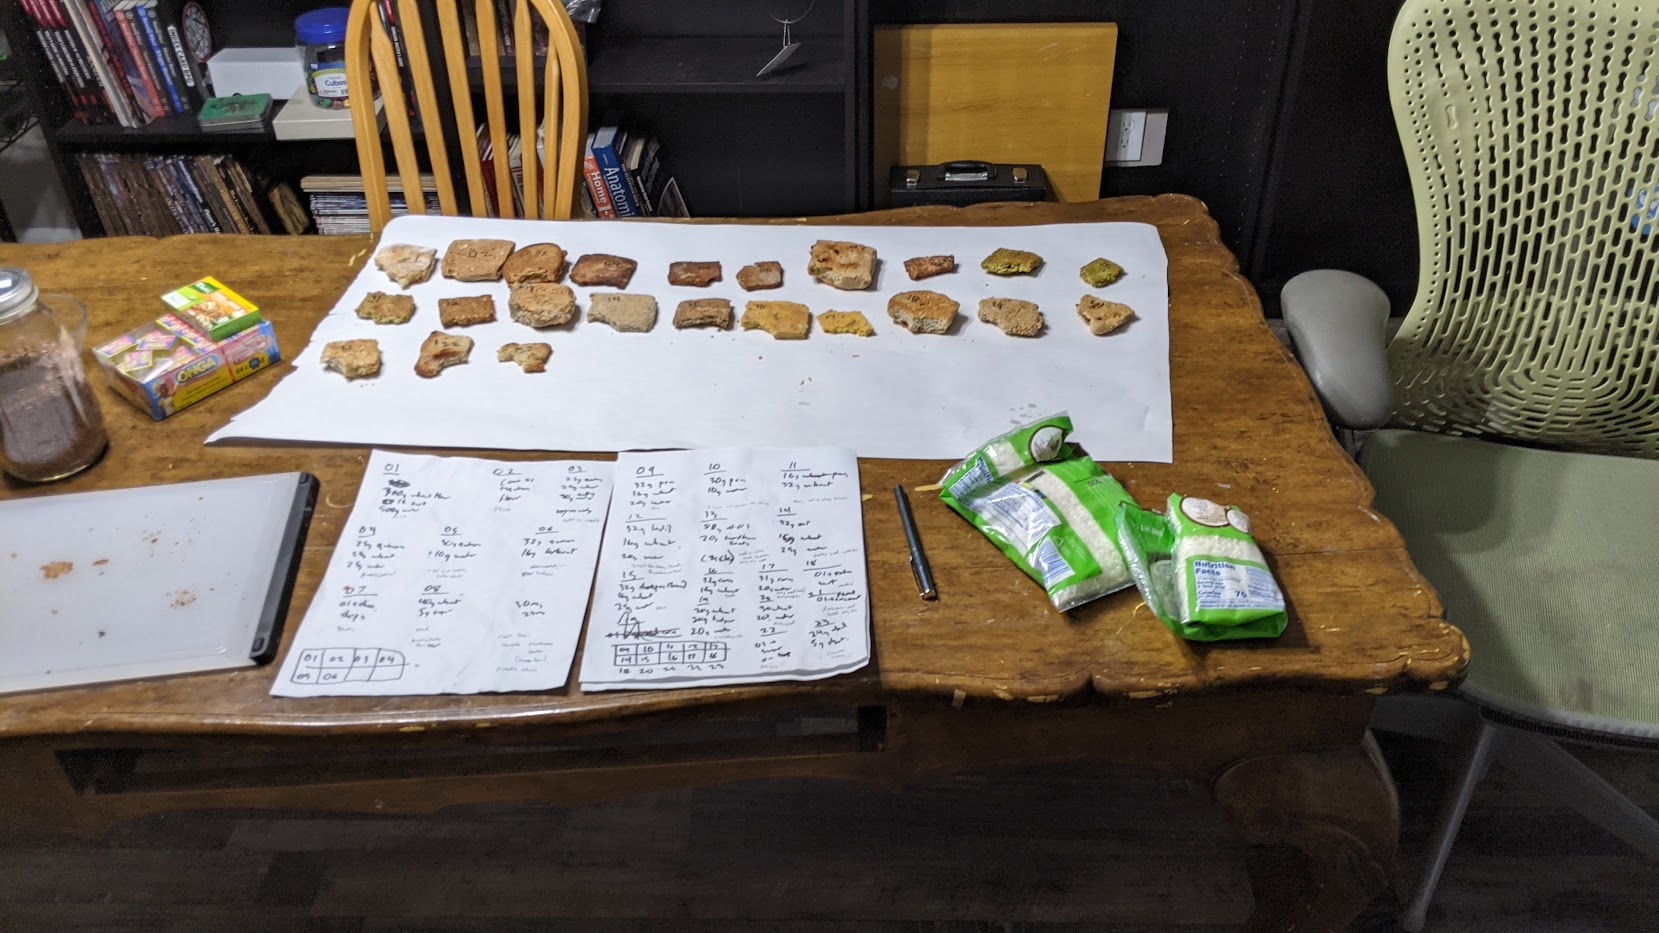
I came home with a lot of flours and flour-adjacent things. Very carb-heavy. I had several flours: corn, chickpea, and wheat. I ground up a few more.
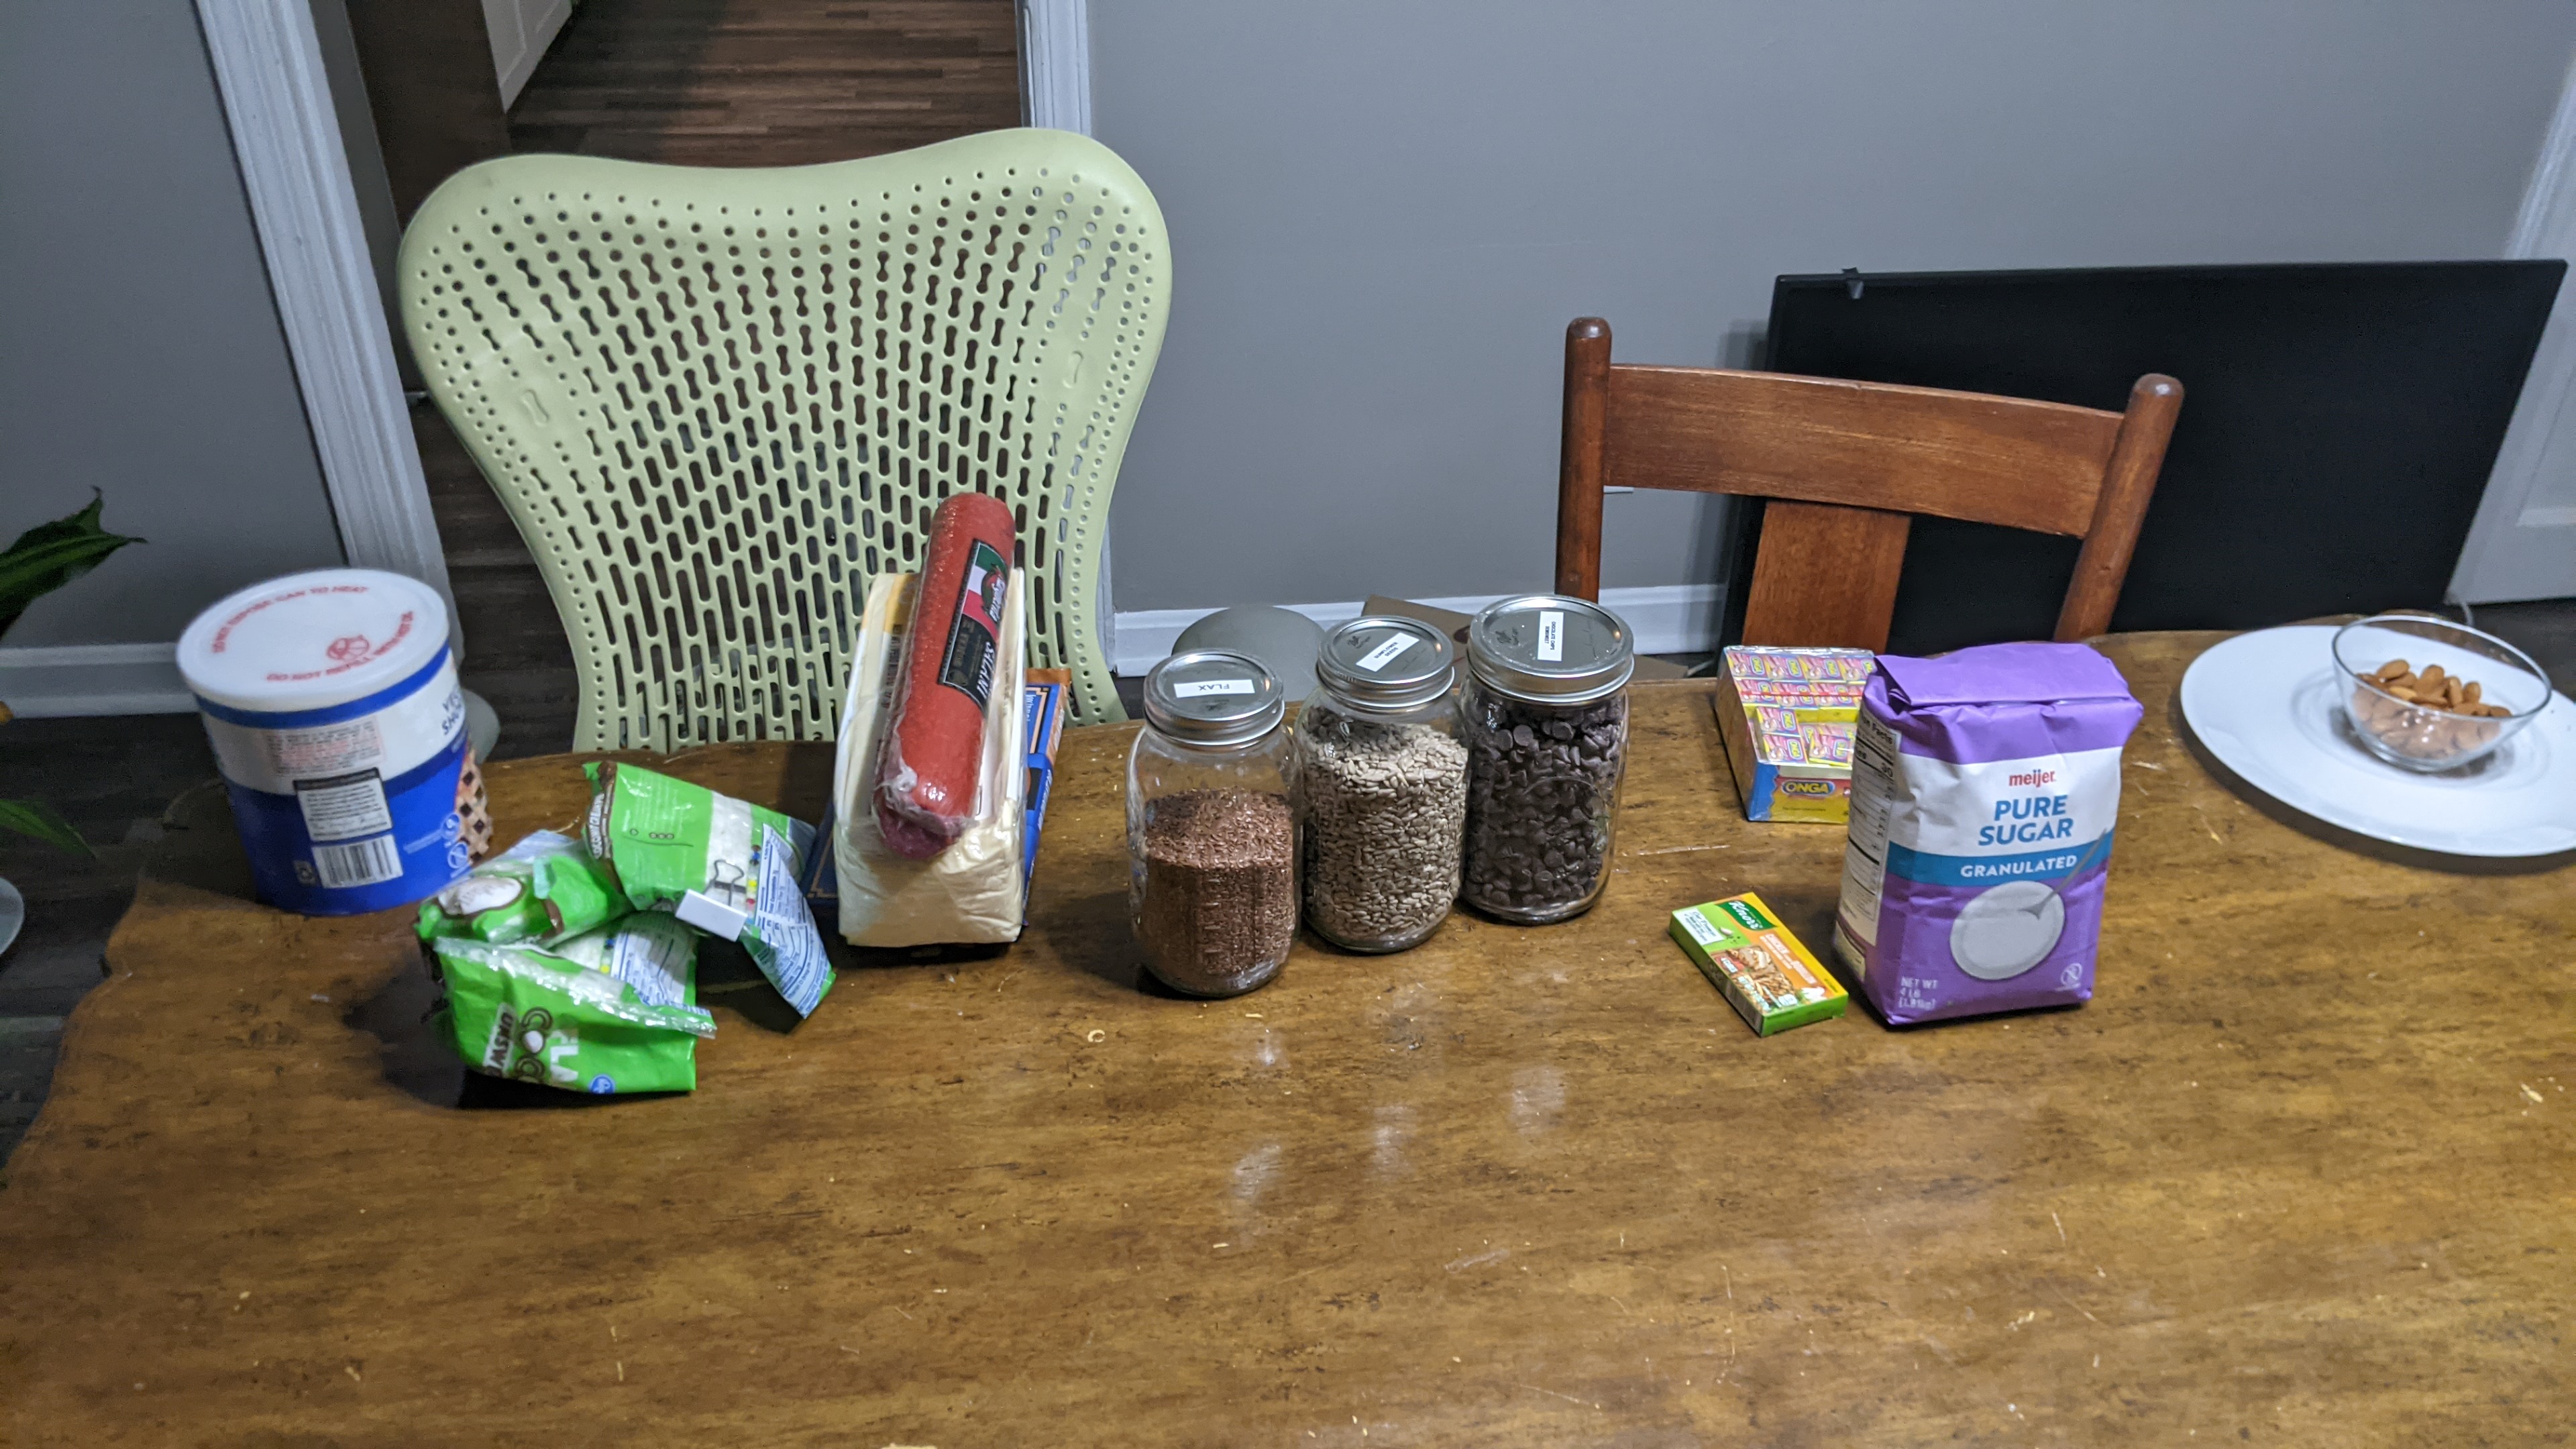
grinding dried peas into flour one jar of peas makes one jar of flour completed flours. quinoa, chickpea, corn, green pea, oats, lentil, pigeon pea chocolate chips, coconut, cheese, sausage, flax, sunflower seeds, sugar, shortening, and boullion
At this point, I had a wide variety of cheap ingredients. I went to the USDA food database and wrote some notes about macronutrient balance, and did the math on how much things cost.
Then, I started experimenting. I had previously made hard tack, which I found kept forever and I liked pretty well. So I started by experimenting with hard tack, using non-wheat flour recipes. I was worried (rightly so) that non-wheat flours would not hold together as well.
experimenting with non-wheat flour ratios
I tried ratios of quinoa and wheat flour, and also tried adding a few ingredients. I found that 1 part in 3 of wheat flour was plenty to hold things together--it just wouldn't be puffy any more. That seemed fine. I also discovered that it was really important to aim for a consistent thickness, because some of the pieces ended up soft and some hard or burnt. Luckily, non-wheat flours are a lot springier, so this was easier in the second batch.
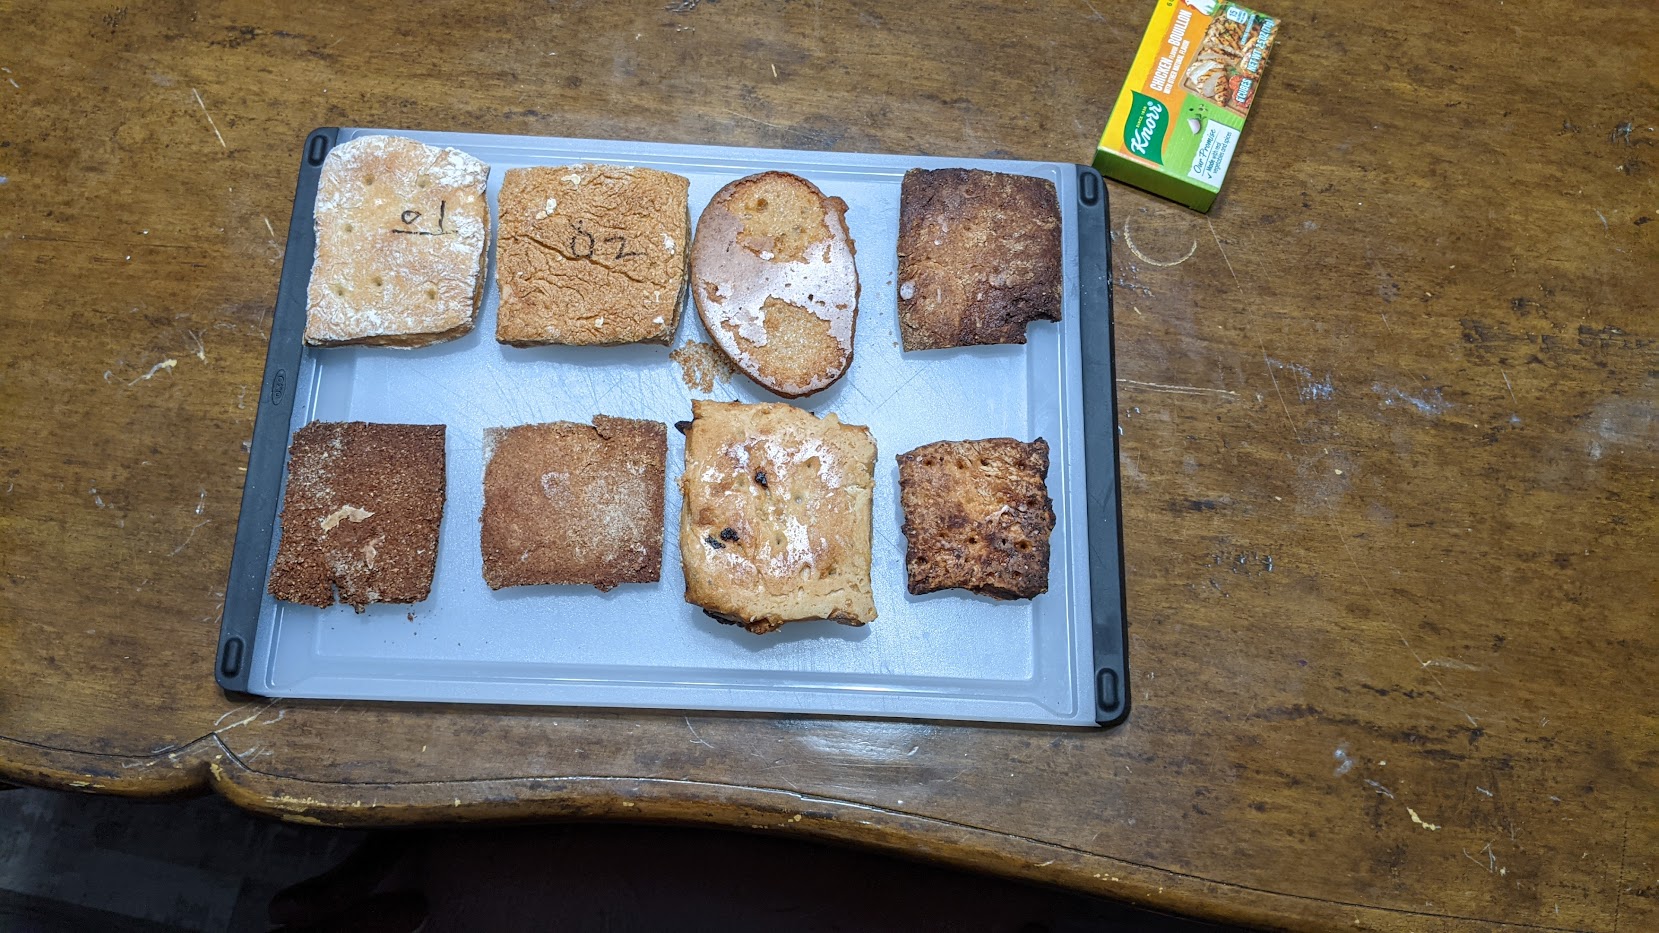
experimenting with ingredients -- 23 tests total
In the second batch, I kept the same 1:2 ratio, but tried a wide variety of flours, as well as the rest of the additives.
My findings, and my ending point for the night:
A 1:2 ratio of wheat flour to another flour seems to consistently hold together well. The amount of water needed varies just a little. The squares cook with 20 minutes per side.
Quinoa, green pea, oat, and chickpea flours are neutral to good. Corn and wheat flours are excellent. Lentil flour smells too strongly. I forgot to test pigeon pea or make rice flour.
Coconut (un-powdered) is also excellent. I like the smell and a little fat. Shortening was not as good, and I didn't test other fats.
Adding extra salt didn't change the flavor.
Adding fat (via coconut or shortening) makes the wafers a little messier.
Sugar is great. Whether a dusting on top, a little added, or chocolate chips, it's a definite winner. Sugar mixed in should improve shelf life.
I was originally trying to invent a single food I could eat every day, which if you know me was a very stupid mistake. Instead, I'm going to have the final version be something more like my experiments--a wide variety to pick from.
If I continue another day (and I likely will), I'm going to further optimize taste. The most compelling result of all is that I didn't eat the leftovers--I went for frozen food instead.
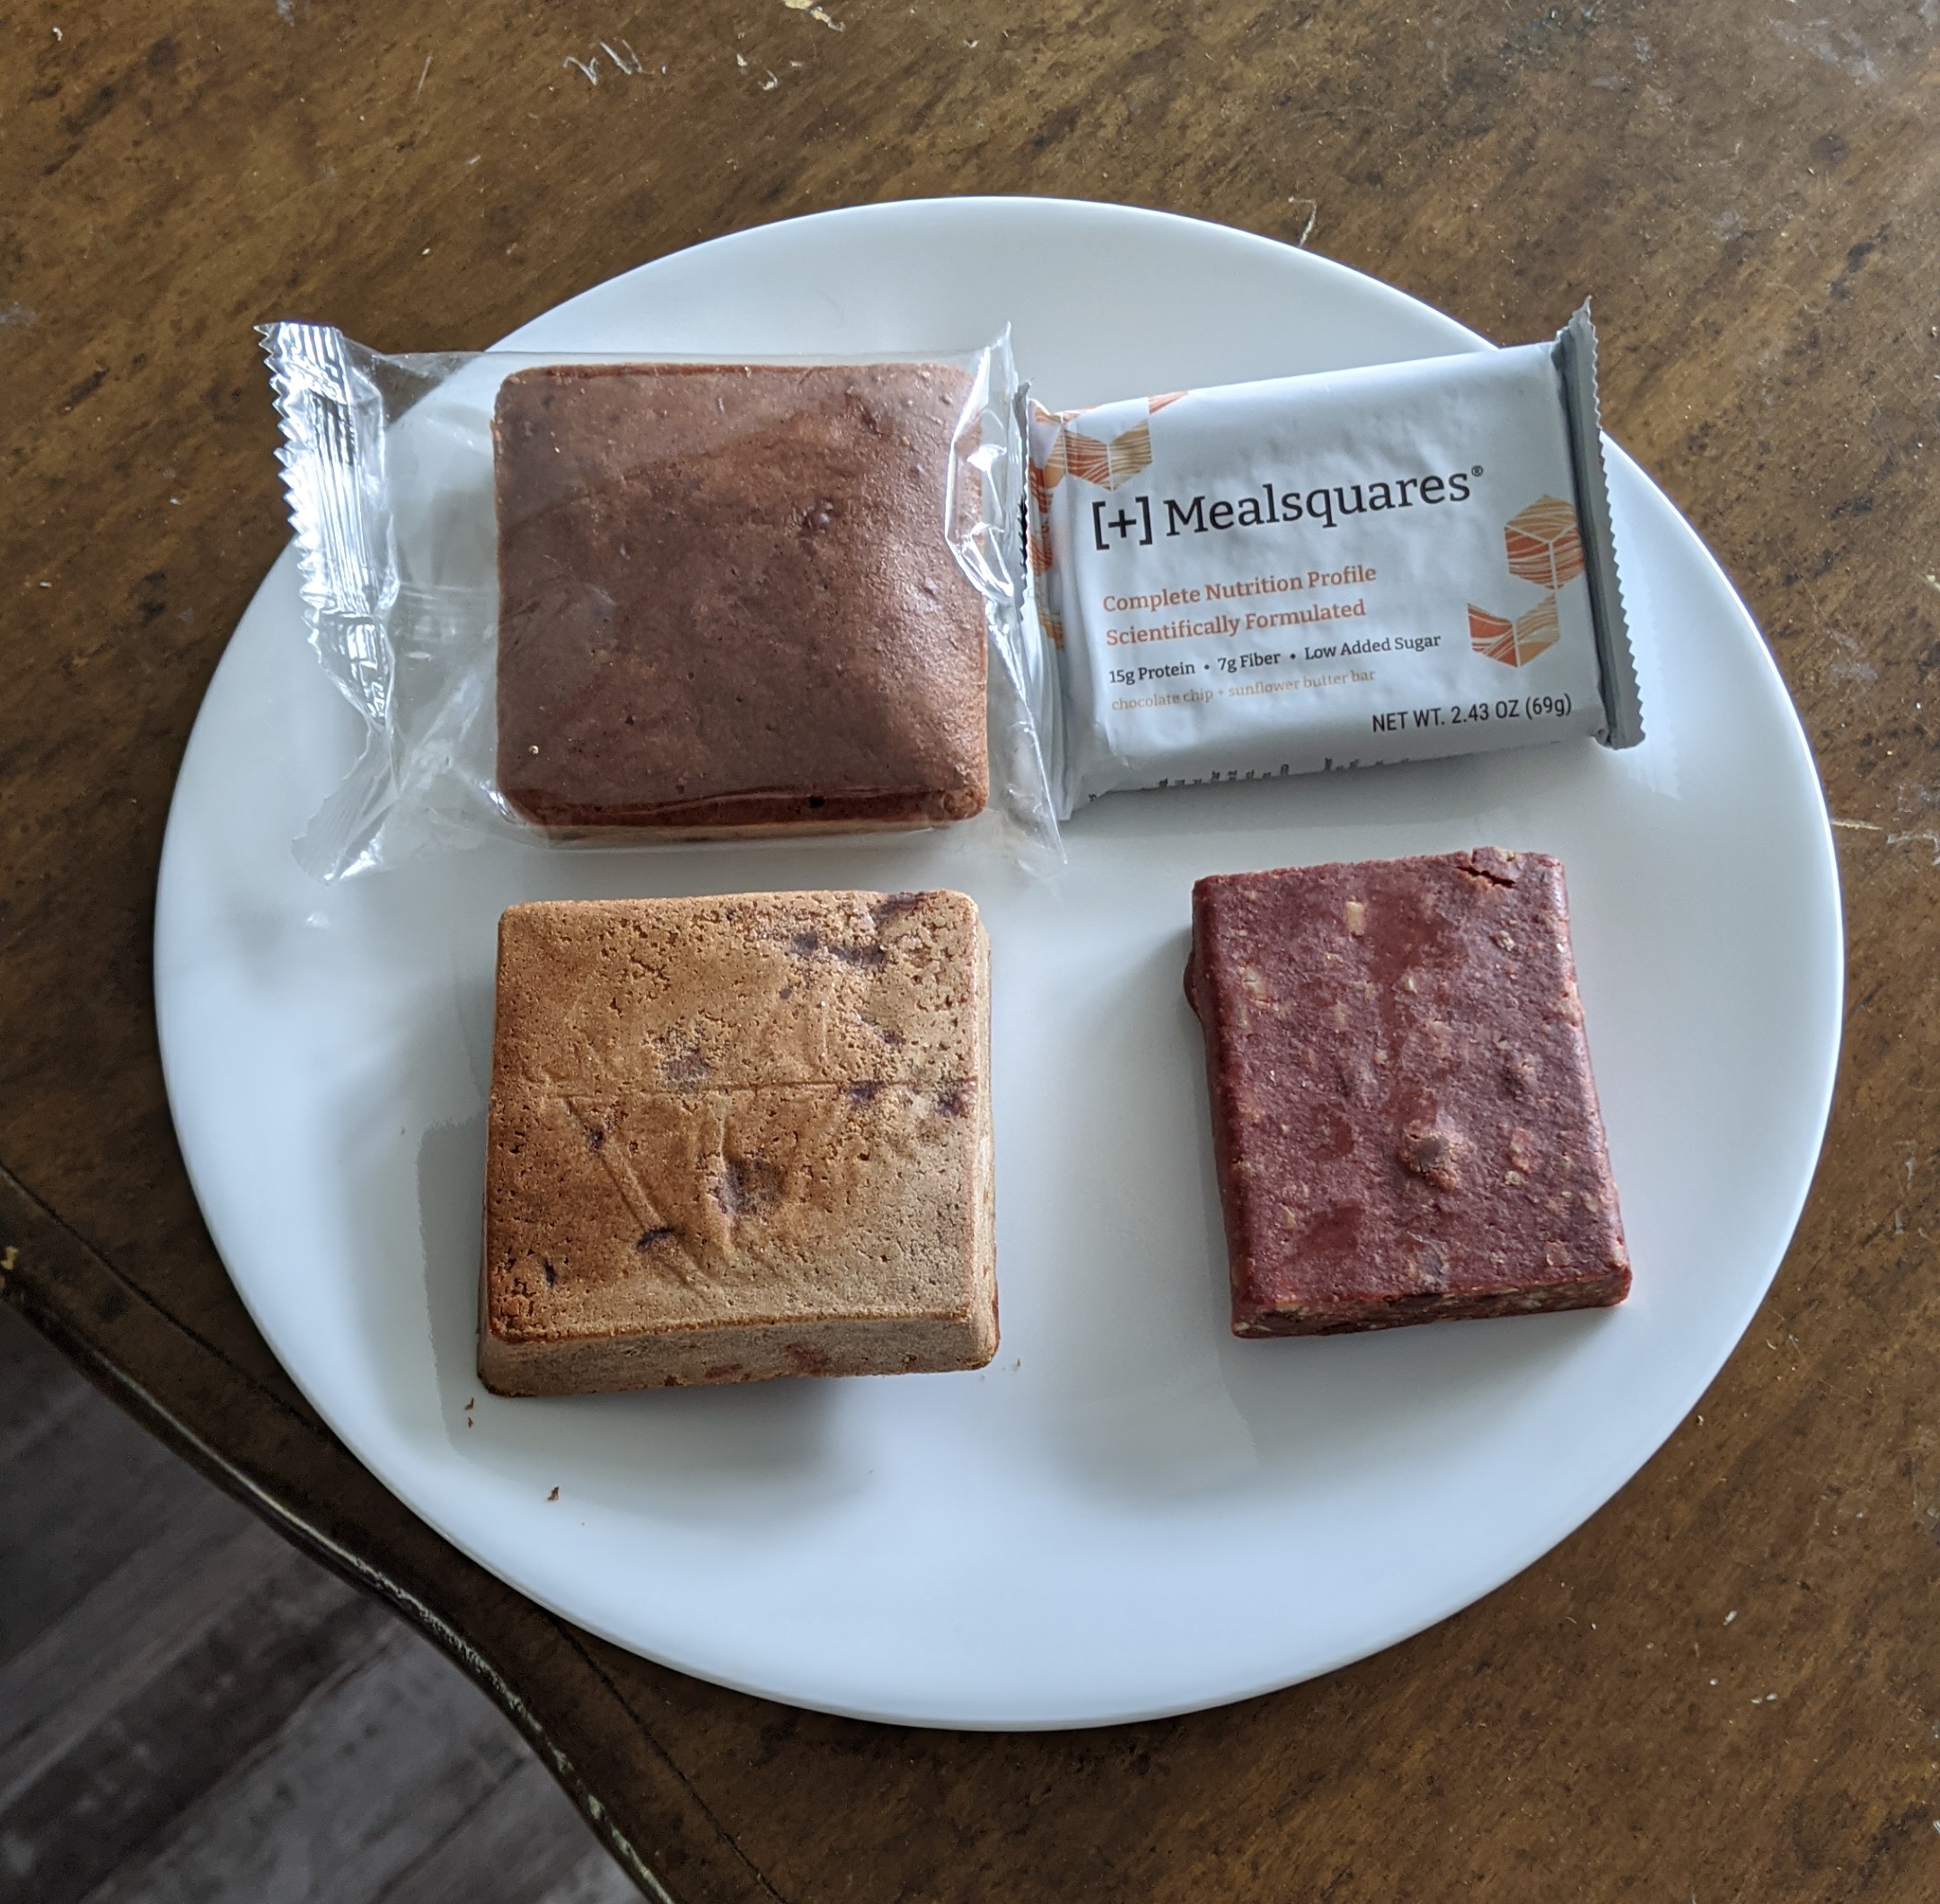
I like a meal substitute called Meal Squares. The company recently switched from version 1.0 to version 2.0. They're basically different products in terms of taste and texture, although they're both trying to be complete, whole-food squares.
Meal Squares 1.0 on the left, and 2.0 on the right
1.0 are bready, don't keep as well, and aren't as appetizing. 2.0 has more of a snacky, fruit-leather feel more typical of meal replacement bars. Personally, I prefer the 1.0 version (snackable is a negative for me).
The CEO, Romeo Stevens mentioned during the new product launch:
We'll be open sourcing the 1.0 recipe for those who want to bake them at home.
After emailing him a reminder that it wasn't posted anywhere, he kindly emailed me the recipe back. I'm posting it online for anyone else that wants it in the meantime. Thanks, Romeo!
2g Baking soda or 8g Baking powder (warning! Baking sodas vary quite a bit by brand and whether it includes aluminum, we used the less potent aluminum free baking soda for mealsquares, experimentation needed for small batches.)
Optional:
15g Potassium citrate (can be omitted for small hit to potassium content)
D3+K2 drops (varies by brand, add enough for ~500% your DRI since this is about 5 days of Mealsquares)
Liquid calcium folinate (same as above)
Niacinamide (same as above)
Lactase (added to condensed milk if lactose intolerant)
Over low heat, combine date syrup ingredients. Stir until homogenous.
Mix liquid ingredients, including date syrup.
Mix dry ingredients.
Combine wet and dry ingredients. Consistency should be like peanut butter or slightly thicker. Add (small amounts) liquid water if too thick.
Bake at 350, time varies wildly by oven design, and edges may overcook while centers undercook. You will likely need to pull them out of the oven at the 2/3 baking point and flip the molds around to avoid this and get even results.
Packaging: remove as much air as possible to avoid them going stale in the fridge.
Notes:
This recipe could likely be optimized with the substitutions of some milk protein powder for condensed milk and some tapioca syrup for vegetable glycerin. These optimizations were only discovered as we were moving towards production of Mealsquares 2.0 so were never implemented in 1.0. Would require experimentation for water content and baking times etc.
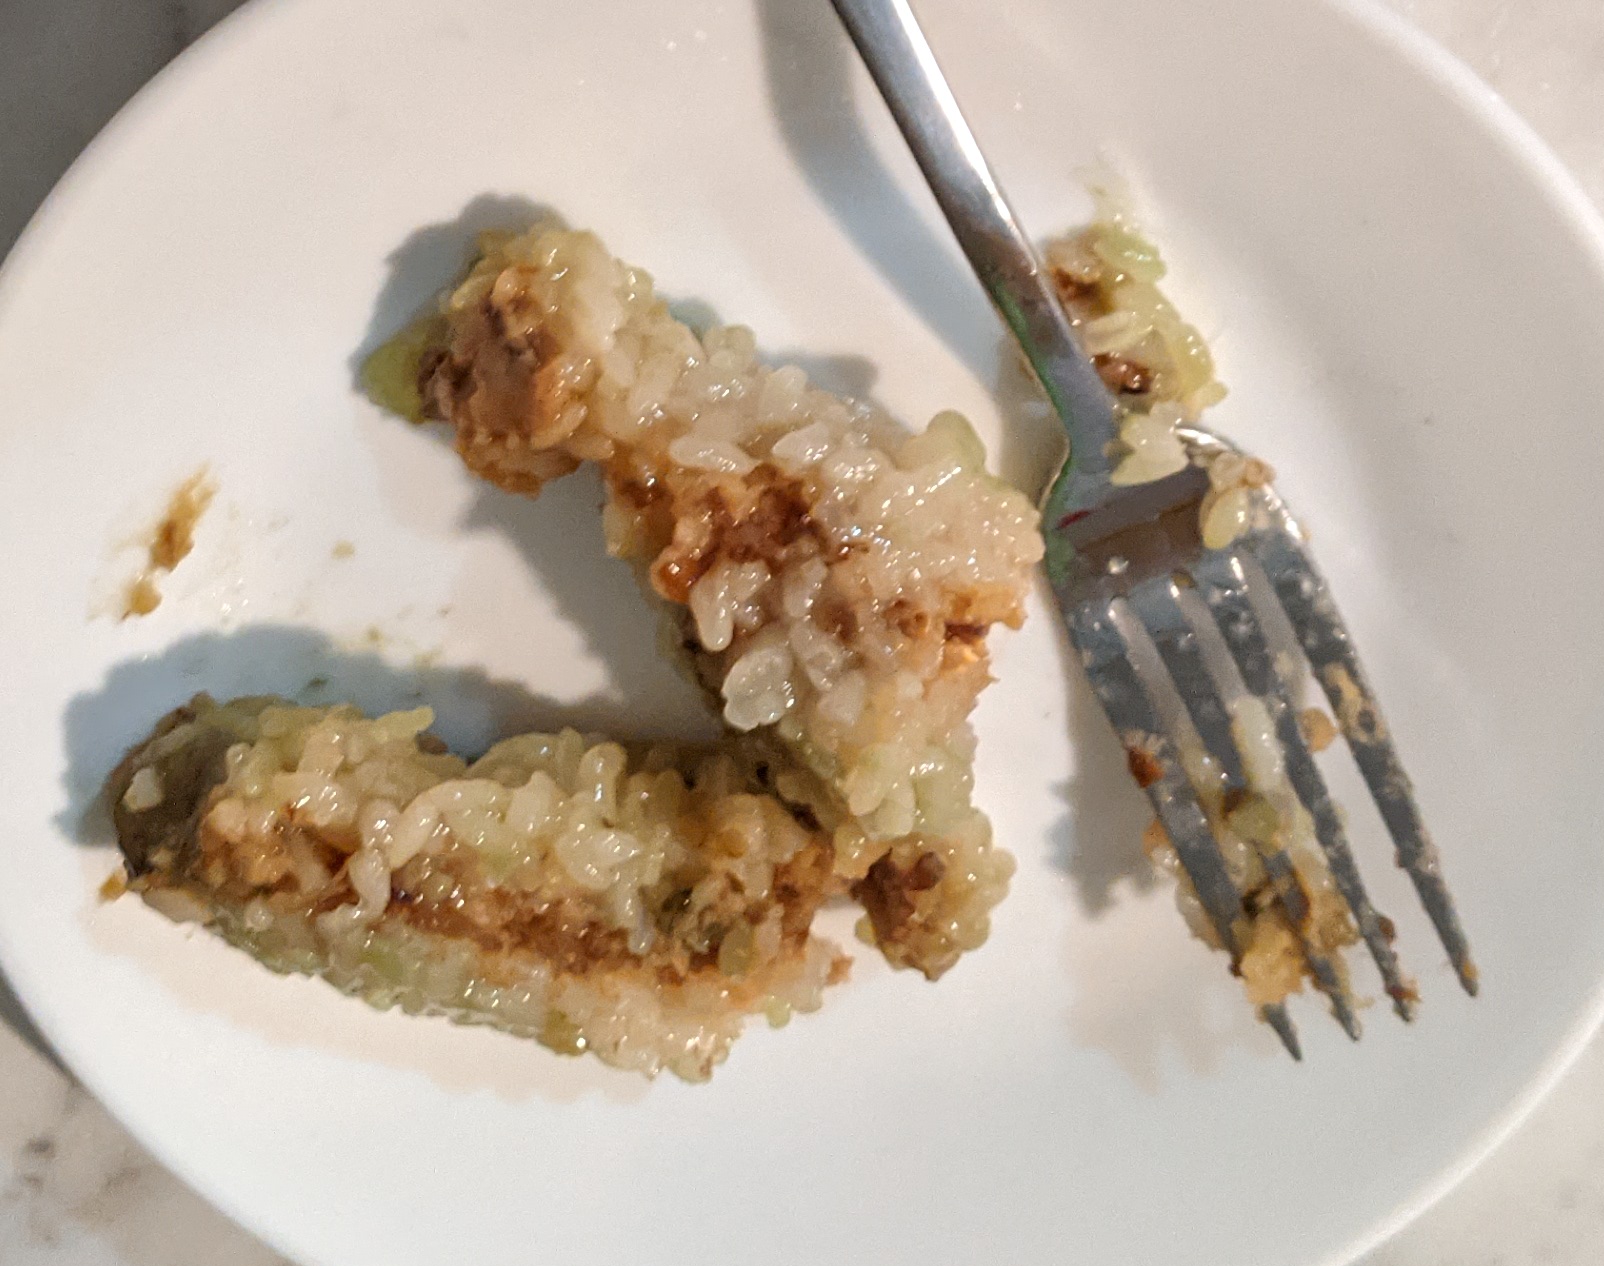
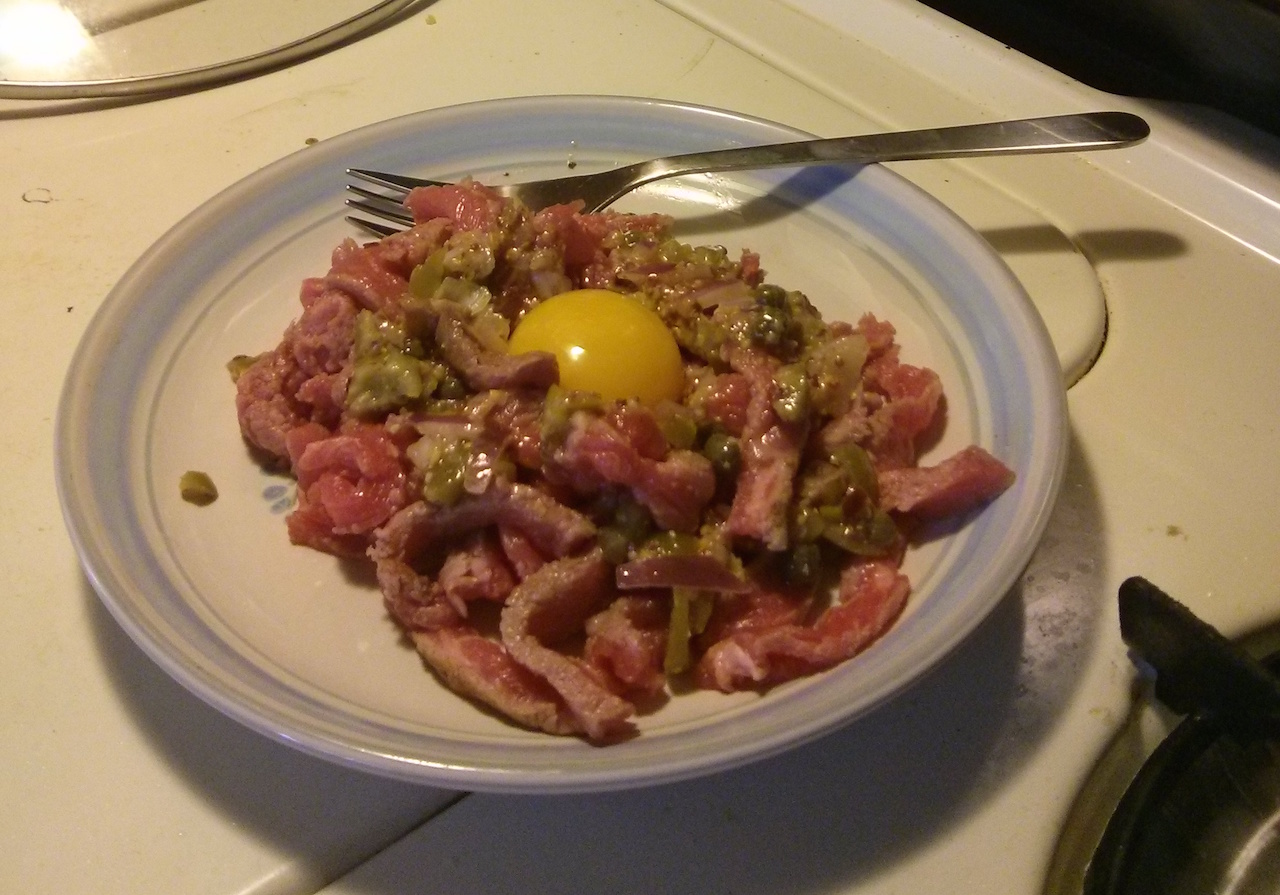
A few friends and I first experienced this traditional Vietnamese Tết (Lunar New Year) food while visiting years ago. We loved it, and recently I looked up how to make it myself. It’s not a well known food in the US, so I thought it would still be fun to share.
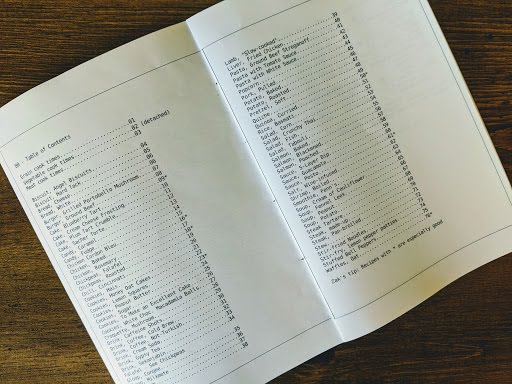
I filled up my paper notebook I use to keep recipes. I typed it up and edited it. It’s available for free online, as a .txt or .pdf file: https://github.com/za3k/cookbook/releases
Note that most of these recipes are from online or printed sources. Some are written by me, family, or friends.
Remove all fat and tendons from the steak. Season it lightly with salt and pepper, and sear lightly on high heat to make it safe to eat. Slice the meat into very thin (2mm) strips, arrange in two piles. Coat the meat in olive oil. Push a small divot into each pile.
Dice olives and onions. Add capers, mustard, and red pepper. Mix together and pour into meat piles equally, or surround the meat with it.
Separate whites and yolks (carefully removing all the white since we’re using raw yolks). Pour one egg yolk into each divot.
Read about raw beef and egg safety first to be well informed.