It’s november, and I’ve decided this month that I’m going to do 30 projects in 30 days. It’s an all-month hack-a-thon!
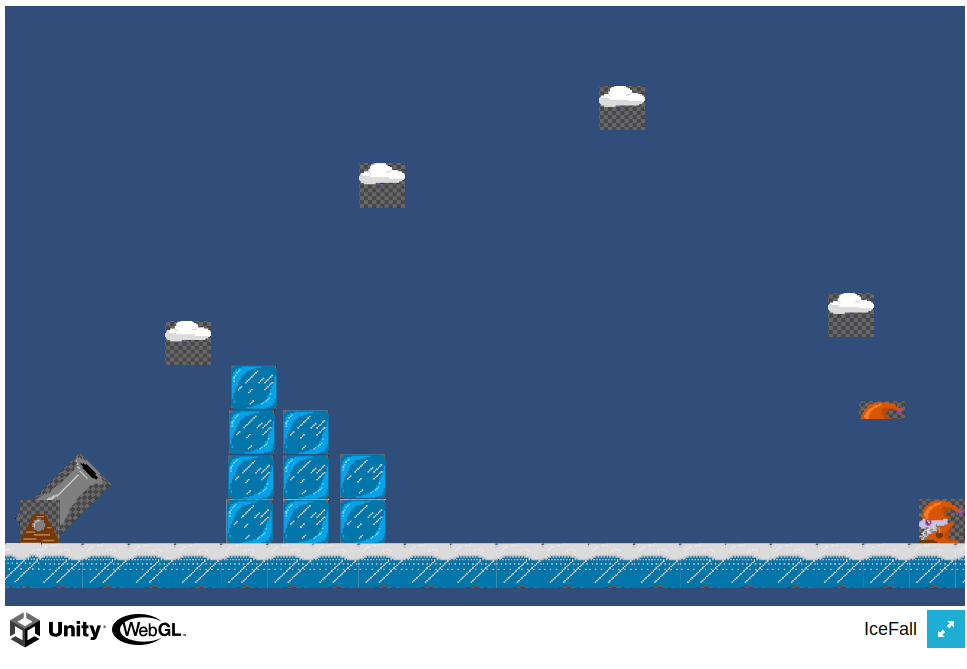
Today’s project is Hack-An-Icecube (demo, source). It’s a failed attempt to make a game in Unity3D, the game engine/framework.
This is my first failure, which I think is good! I was getting bored only attempting things I could definitely succeed at in one day. That said, running out of time is fun. Wrestling the IDE isn’t. This was mostly wrestling the IDE, setting configs, and installing software.
I won’t continue this tomorrow, I’d rather do a new project each day (It’s called Hack-A-DAY)! But I might do another Unity3D project before the month is out.
The ice cubes load and fall, and that’s it. No controls, no game. I ran out of time.
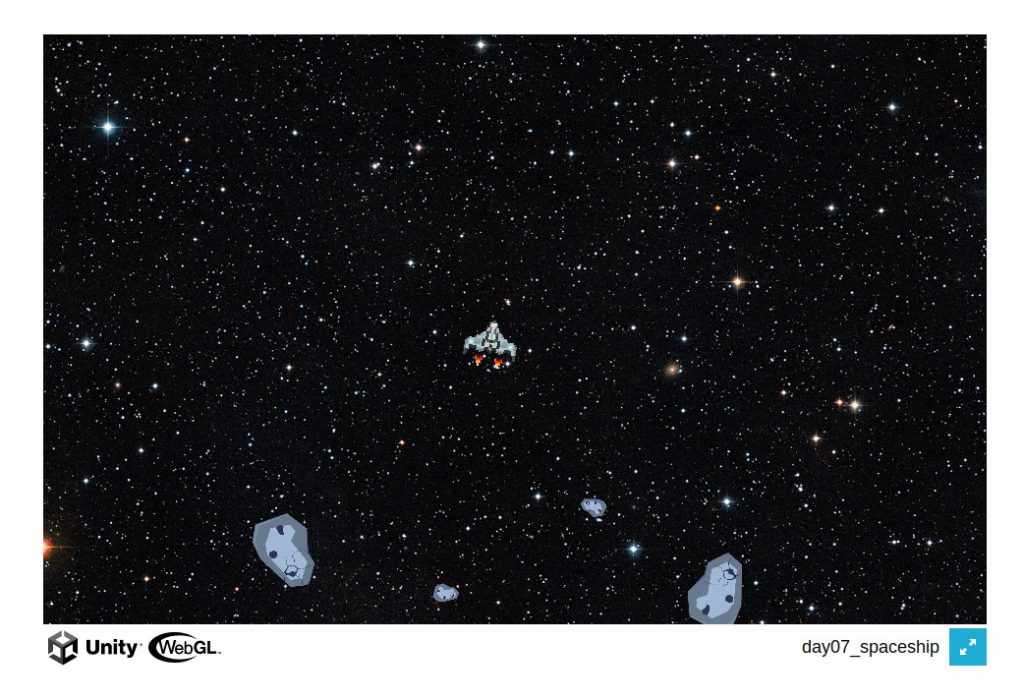
This is an attempt to recreate One Hour Jam Cannon by juzek exactly. I ran out of time, but I made some progress getting Unity to work.
It’s november, and I’ve decided this month that I’m going to do 30 projects in 30 days. It’s an all-month hack-a-thon!
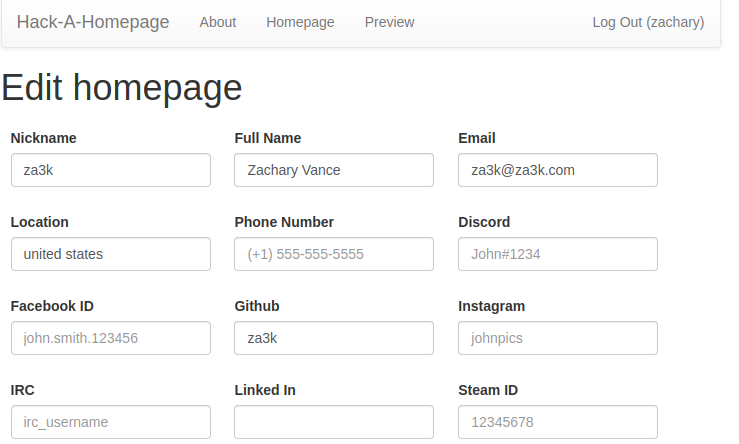
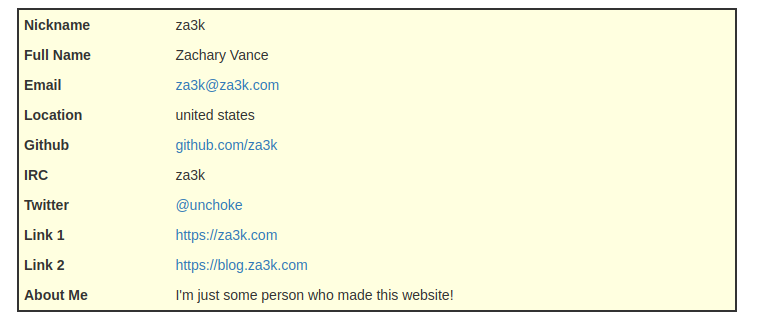
Today’s (catch-up) project is Hack-A-Homepage (demo, source). You can enter various information about yourself, such as links to your social media, and make your own little homepage.
This one took about another hour. I think it’s okay, but today was definitely a “do the numbers” game to catch up. Tomorrow I want to do something more fun and new.
Check out the link above to try out the live demo. I’m proud of getting this one done in time. I think the next days will be easier, as I figured some things out already.
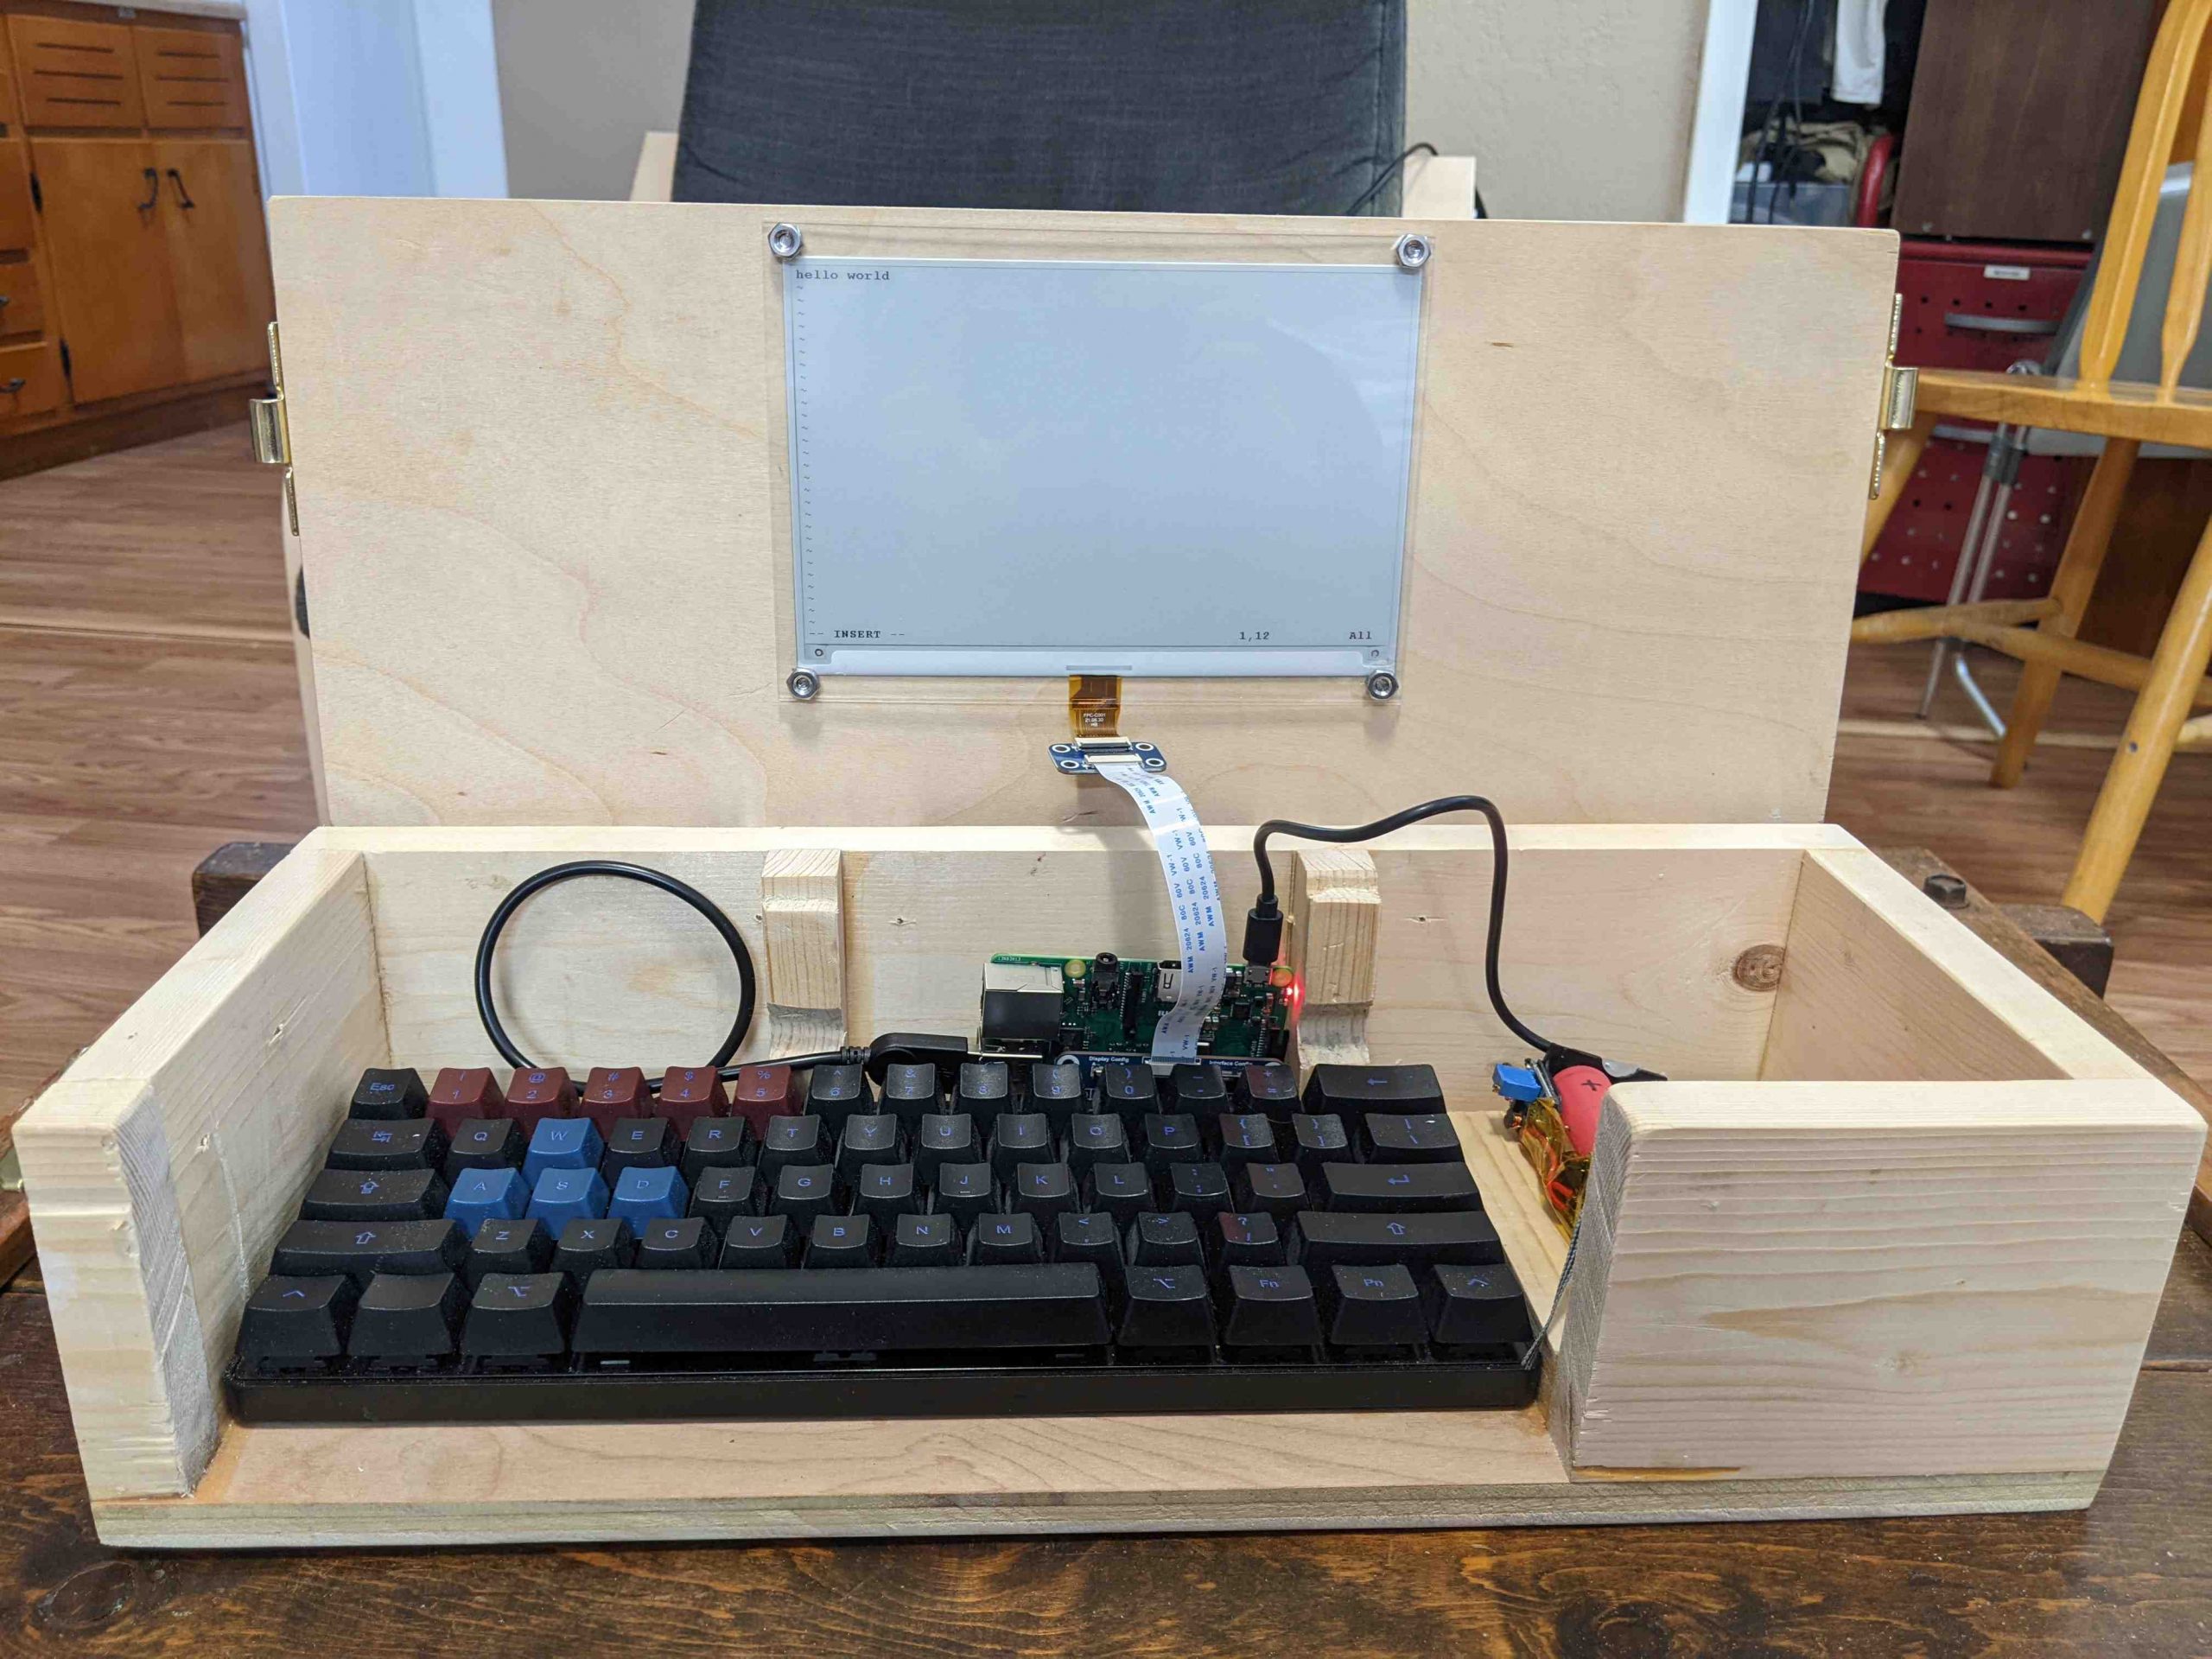
I’m not the first, there have been many other such devices before. I came up with the idea independently, but the specifics are heavily inspired by the Ultimate Writer by NinjaTrappeur in 2018. Similar to him, my use case is typing without distractions, and reading books. E-ink displays are quite slow to update, so I don’t think it can serve as a general purpose computer. Here’s a video of it in action. It operates at one frame per second.
The electronics are not fully done. They need better secured, and I’m going to redo the cabling and power back.
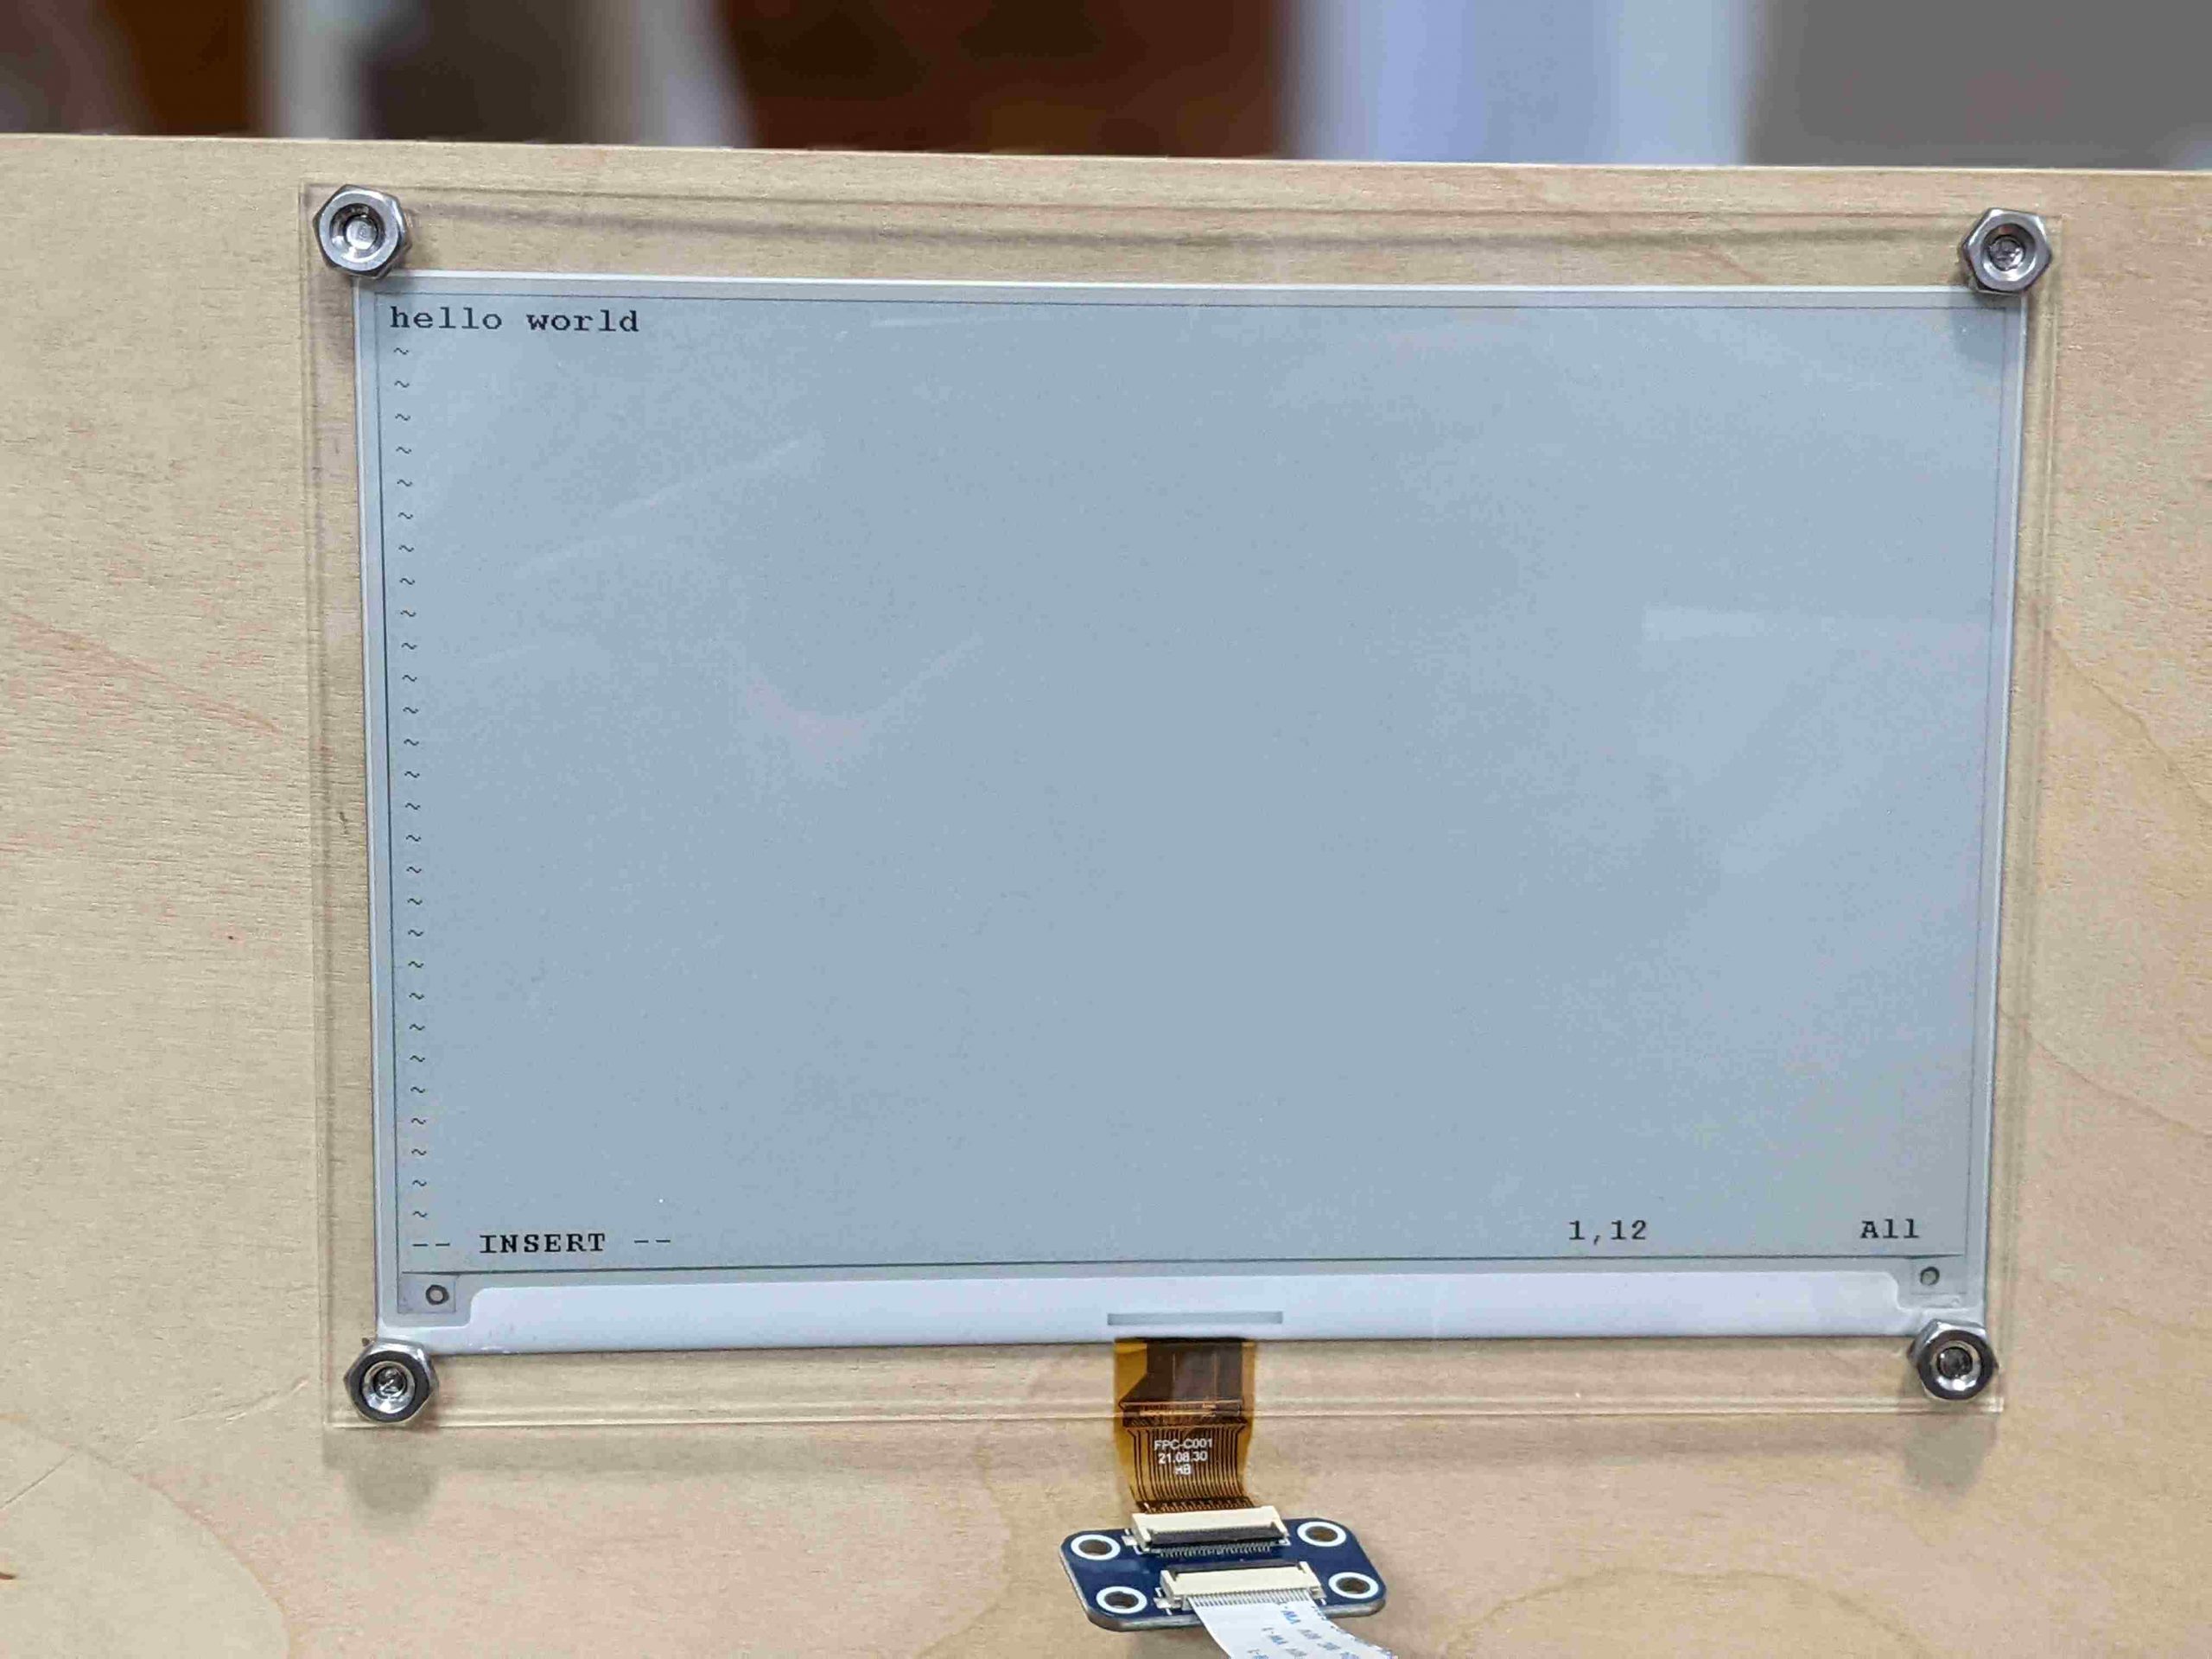
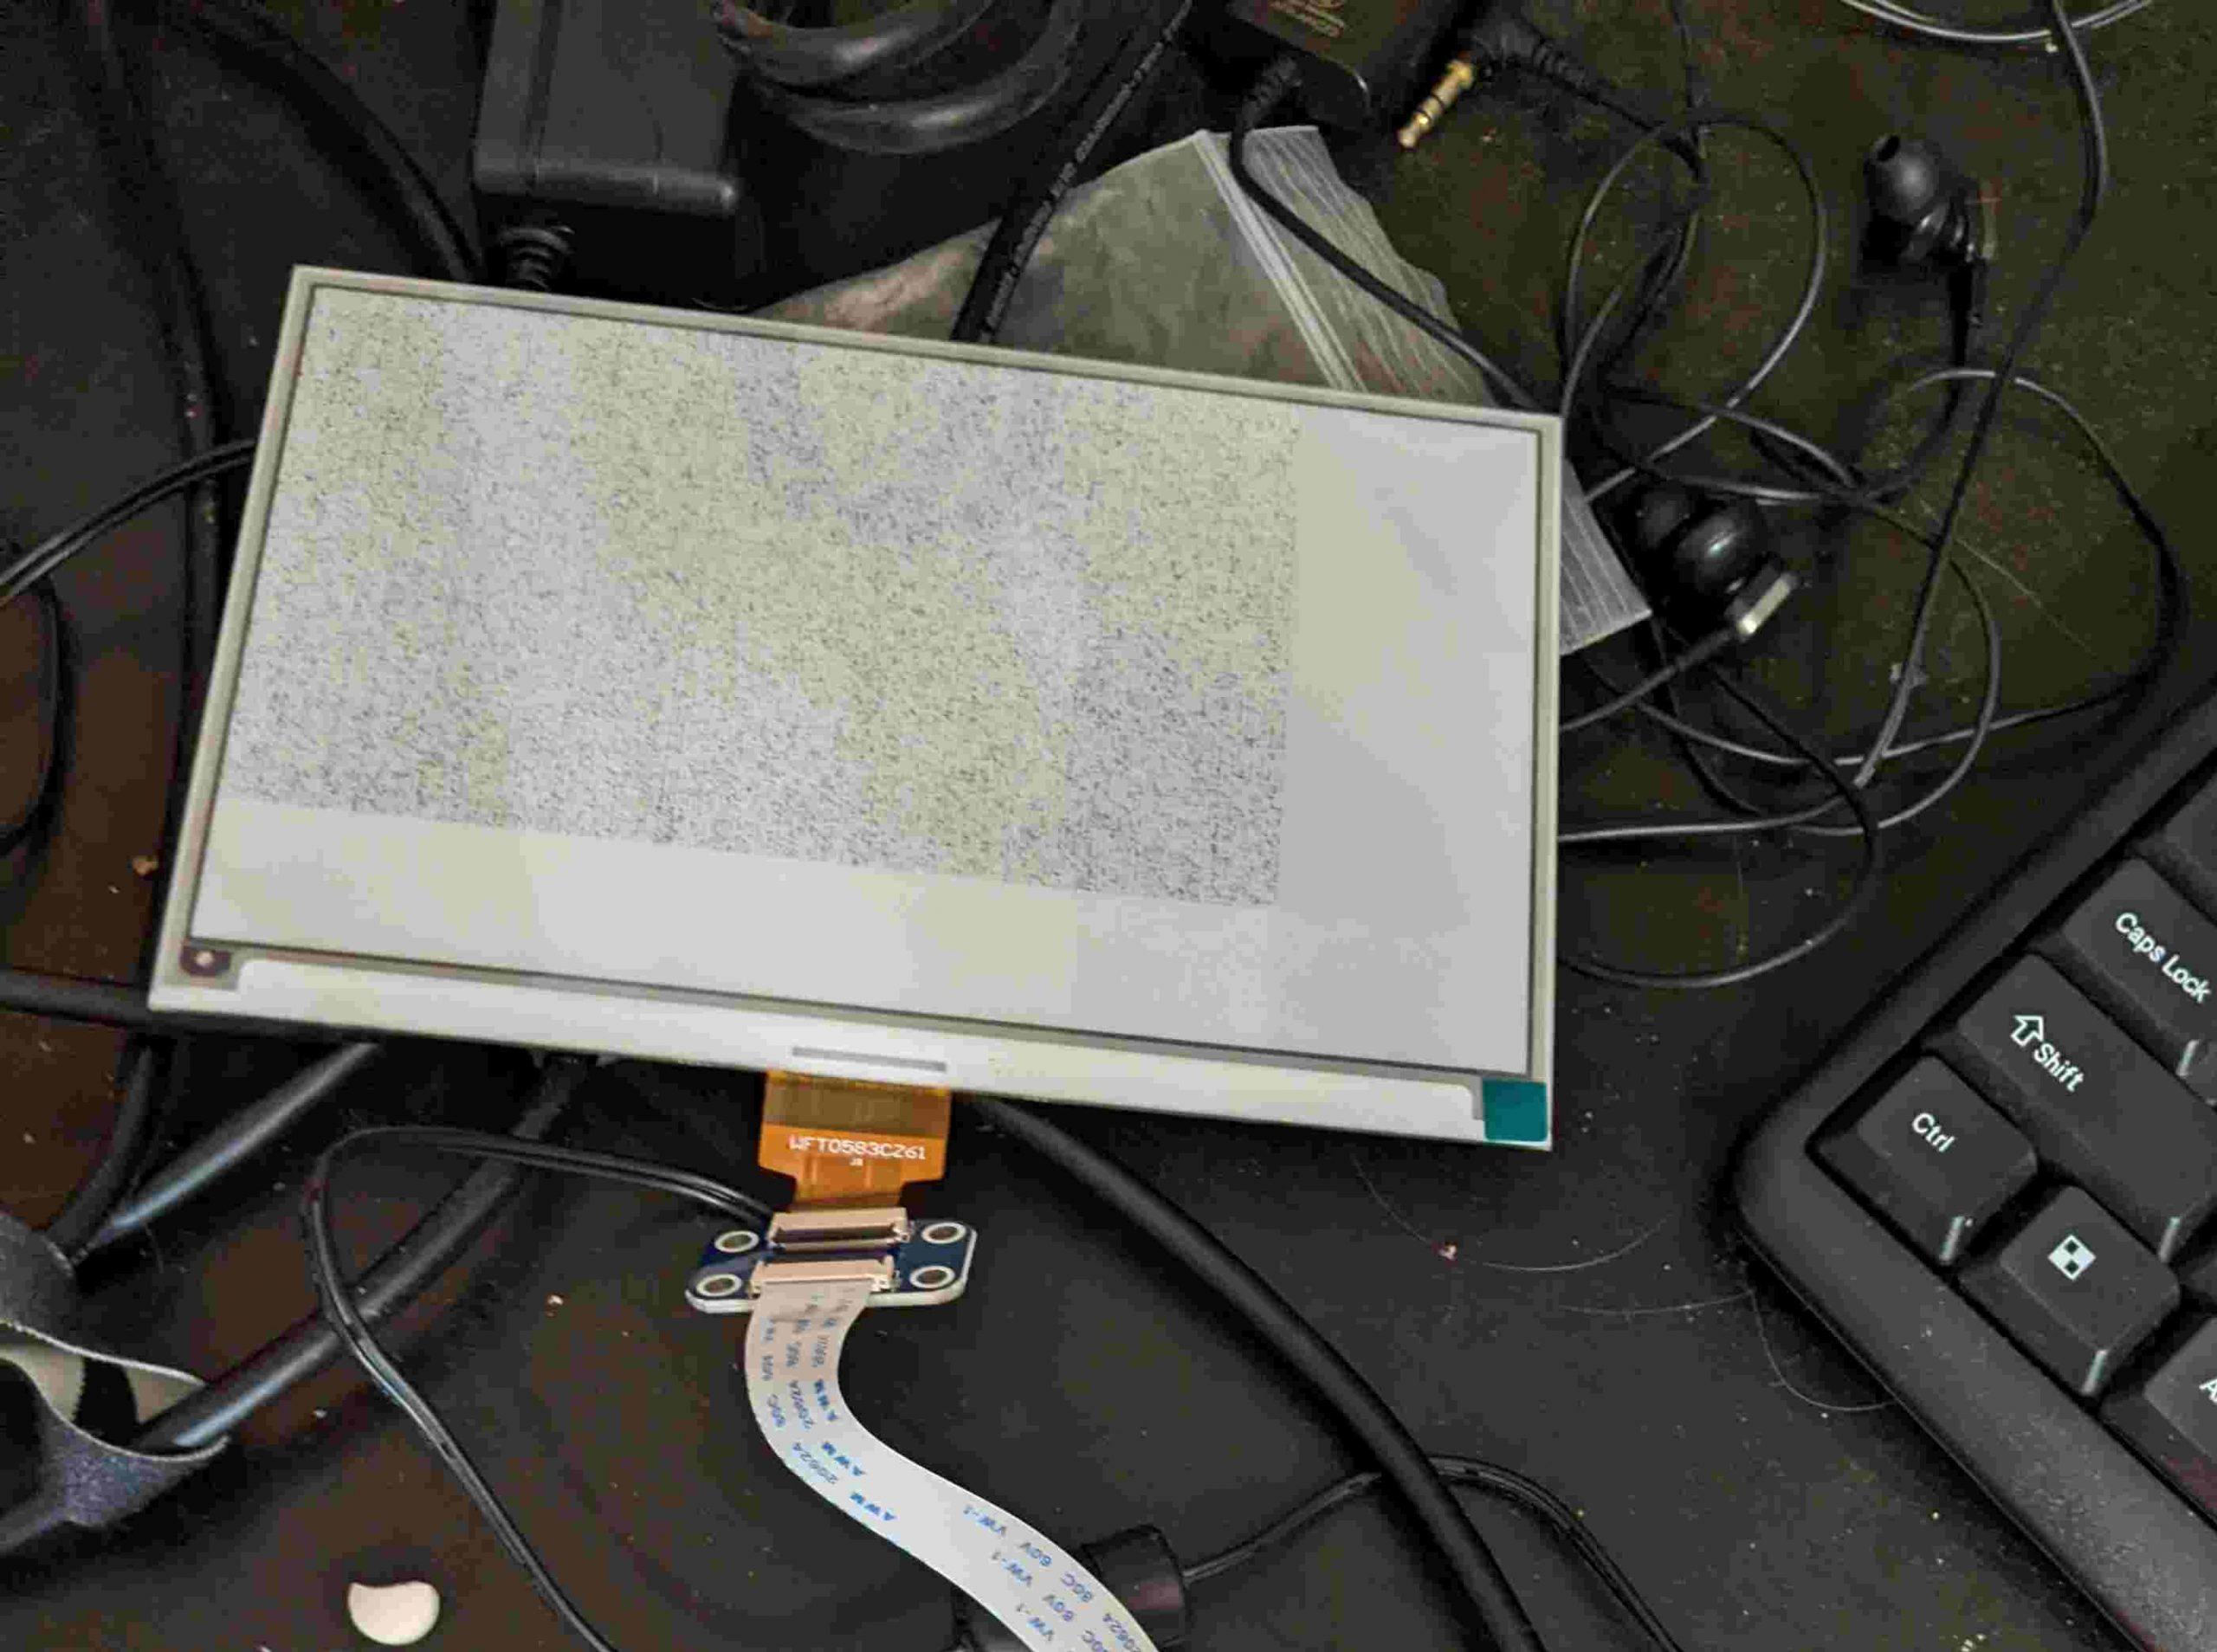
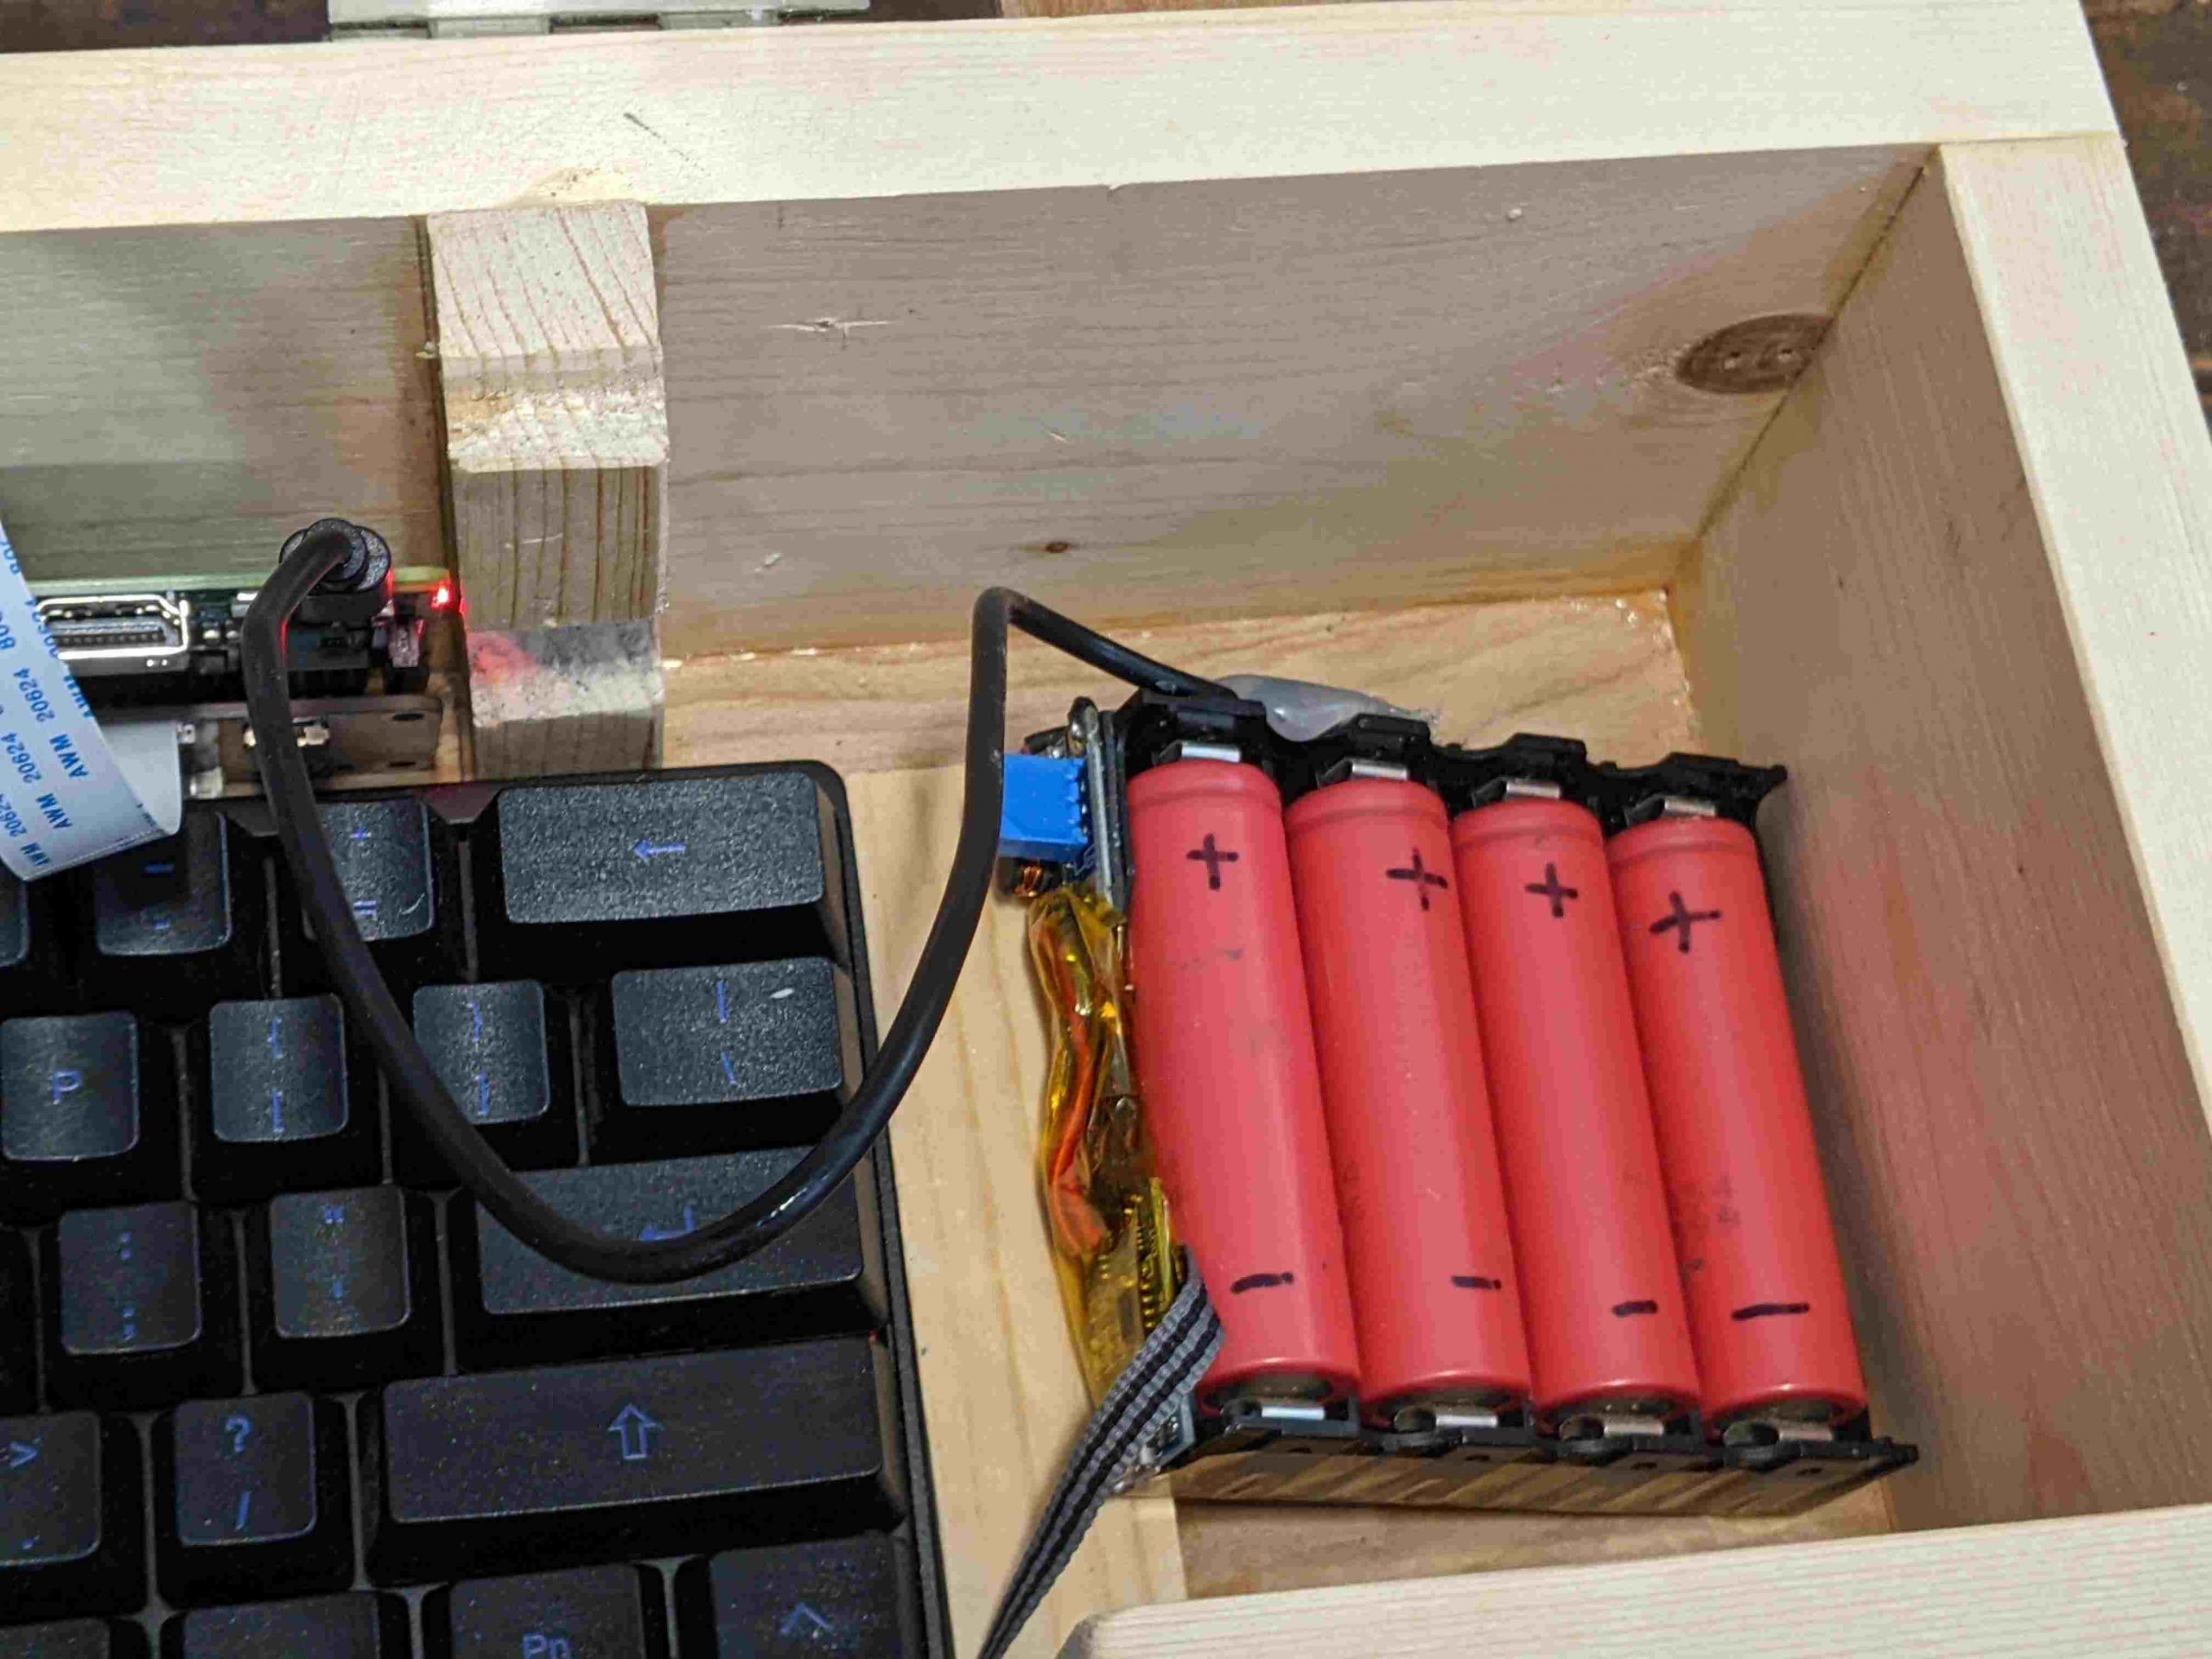
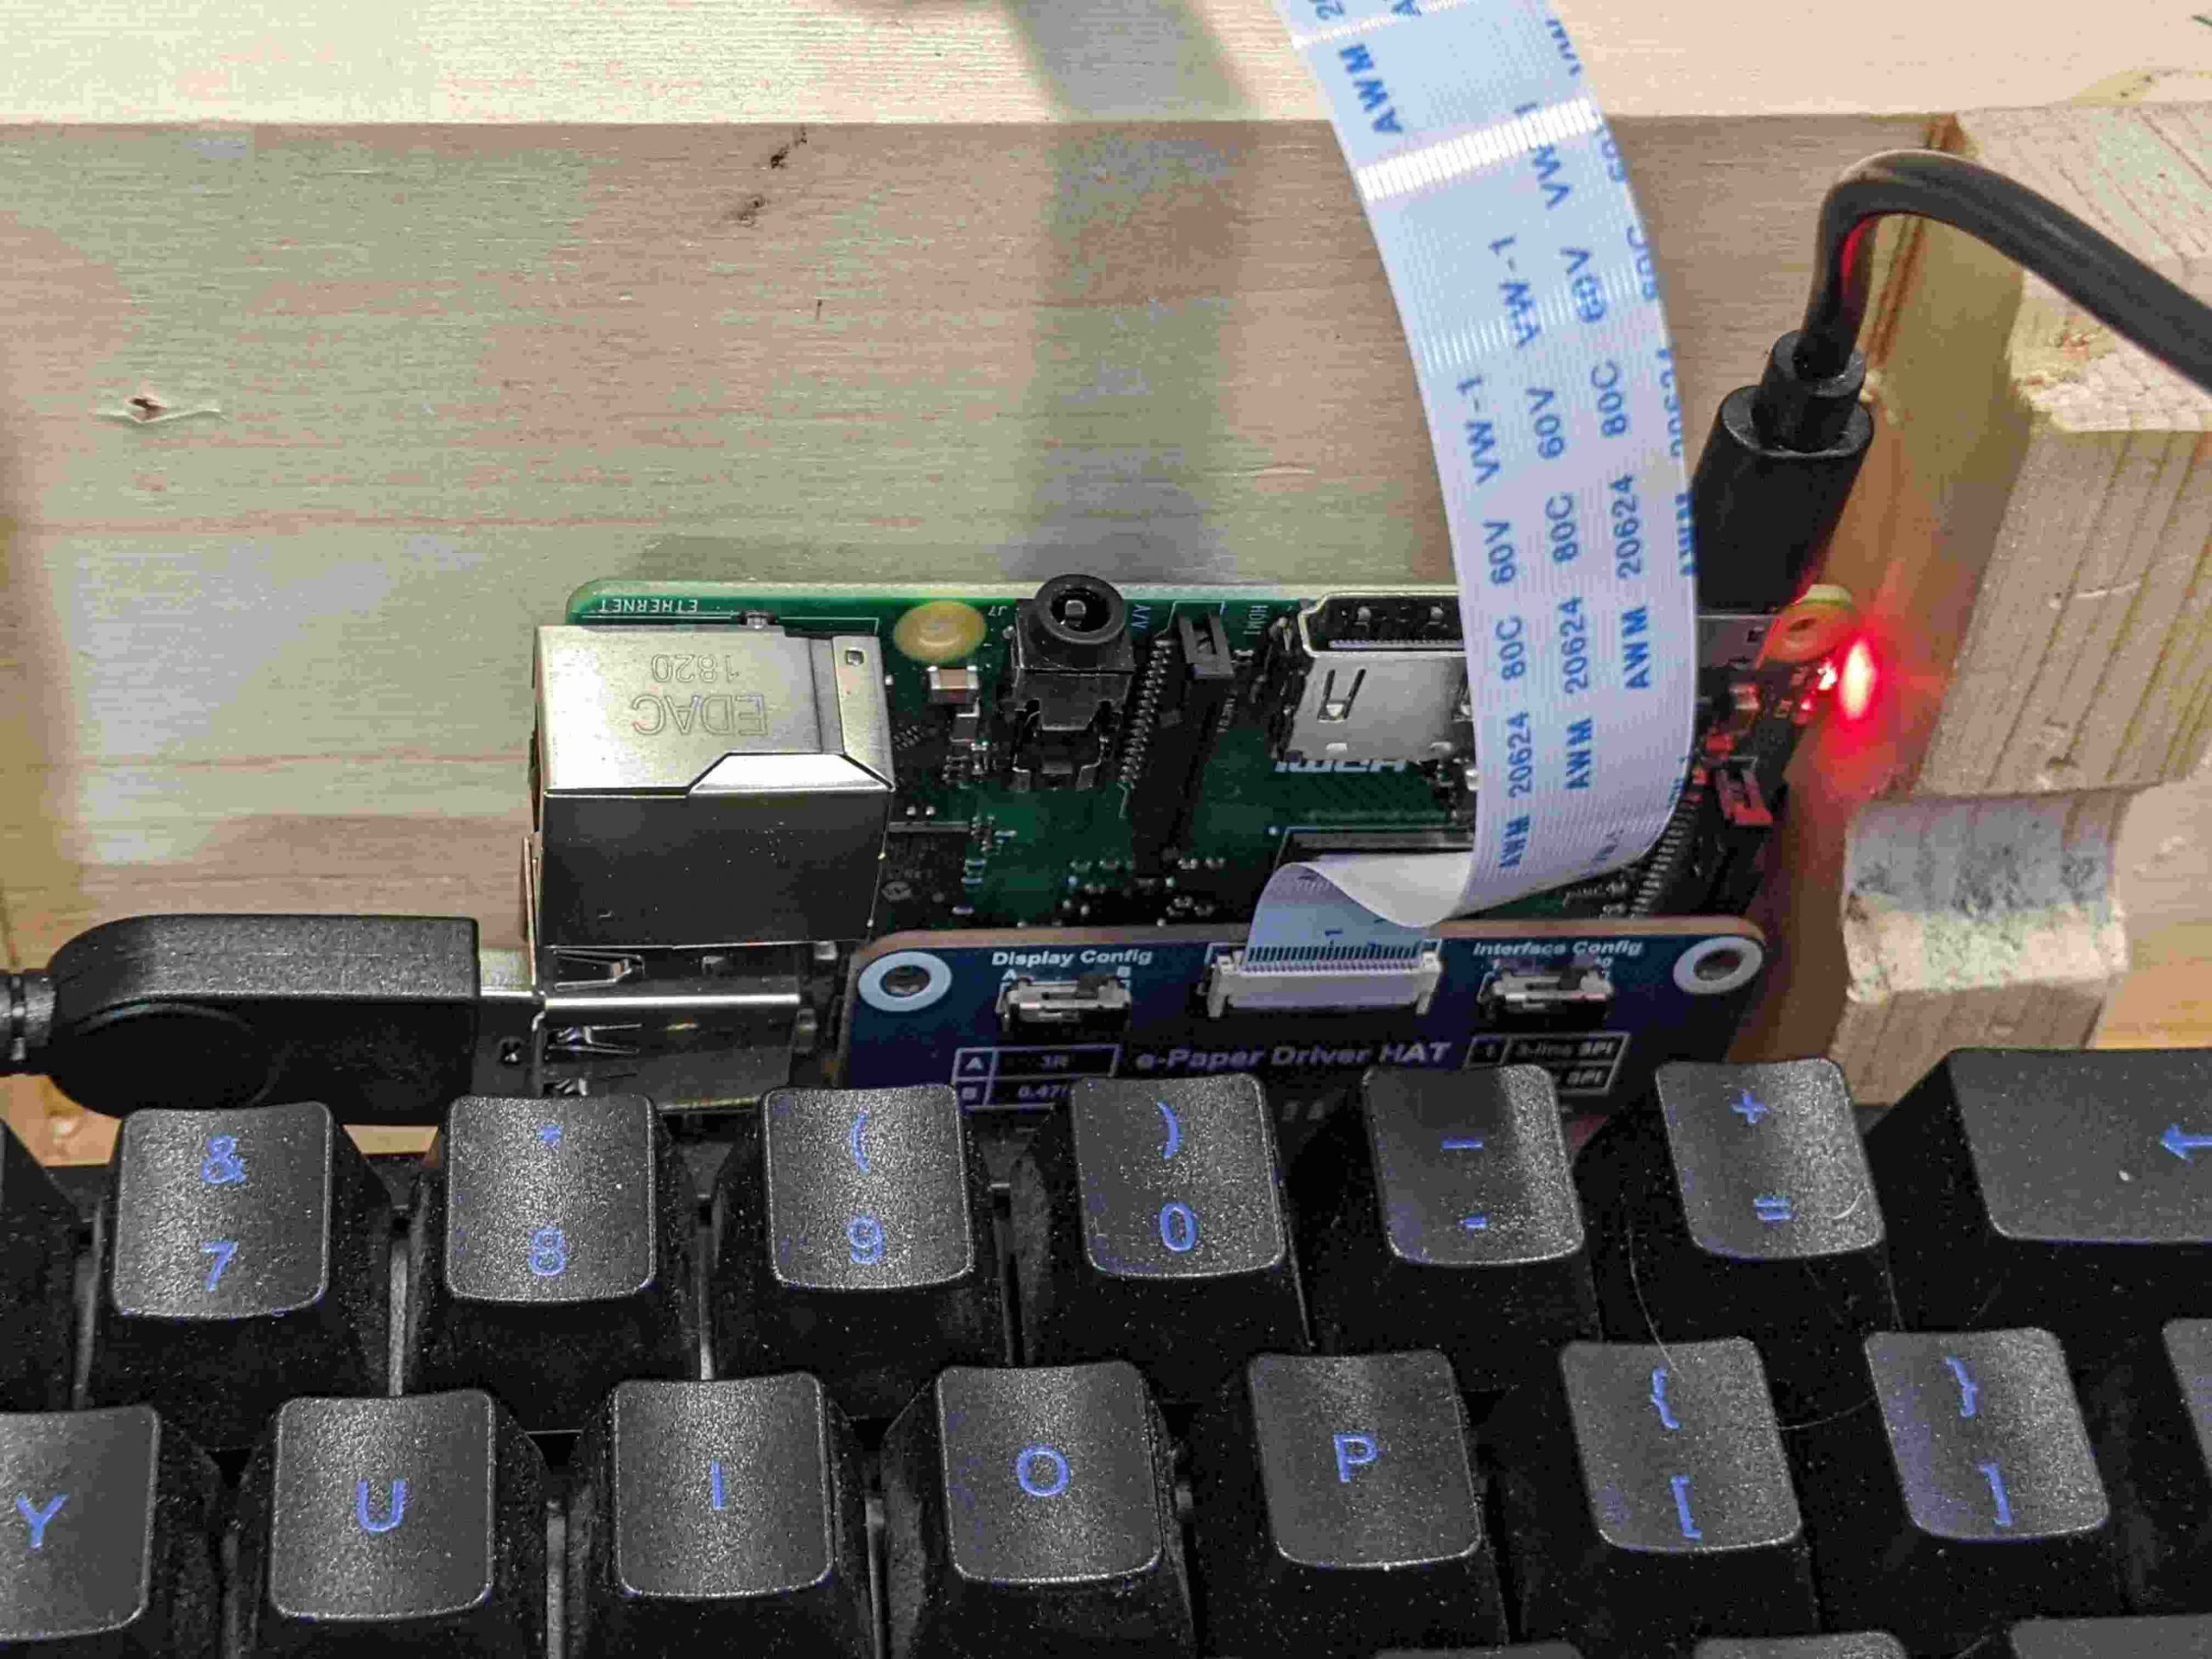
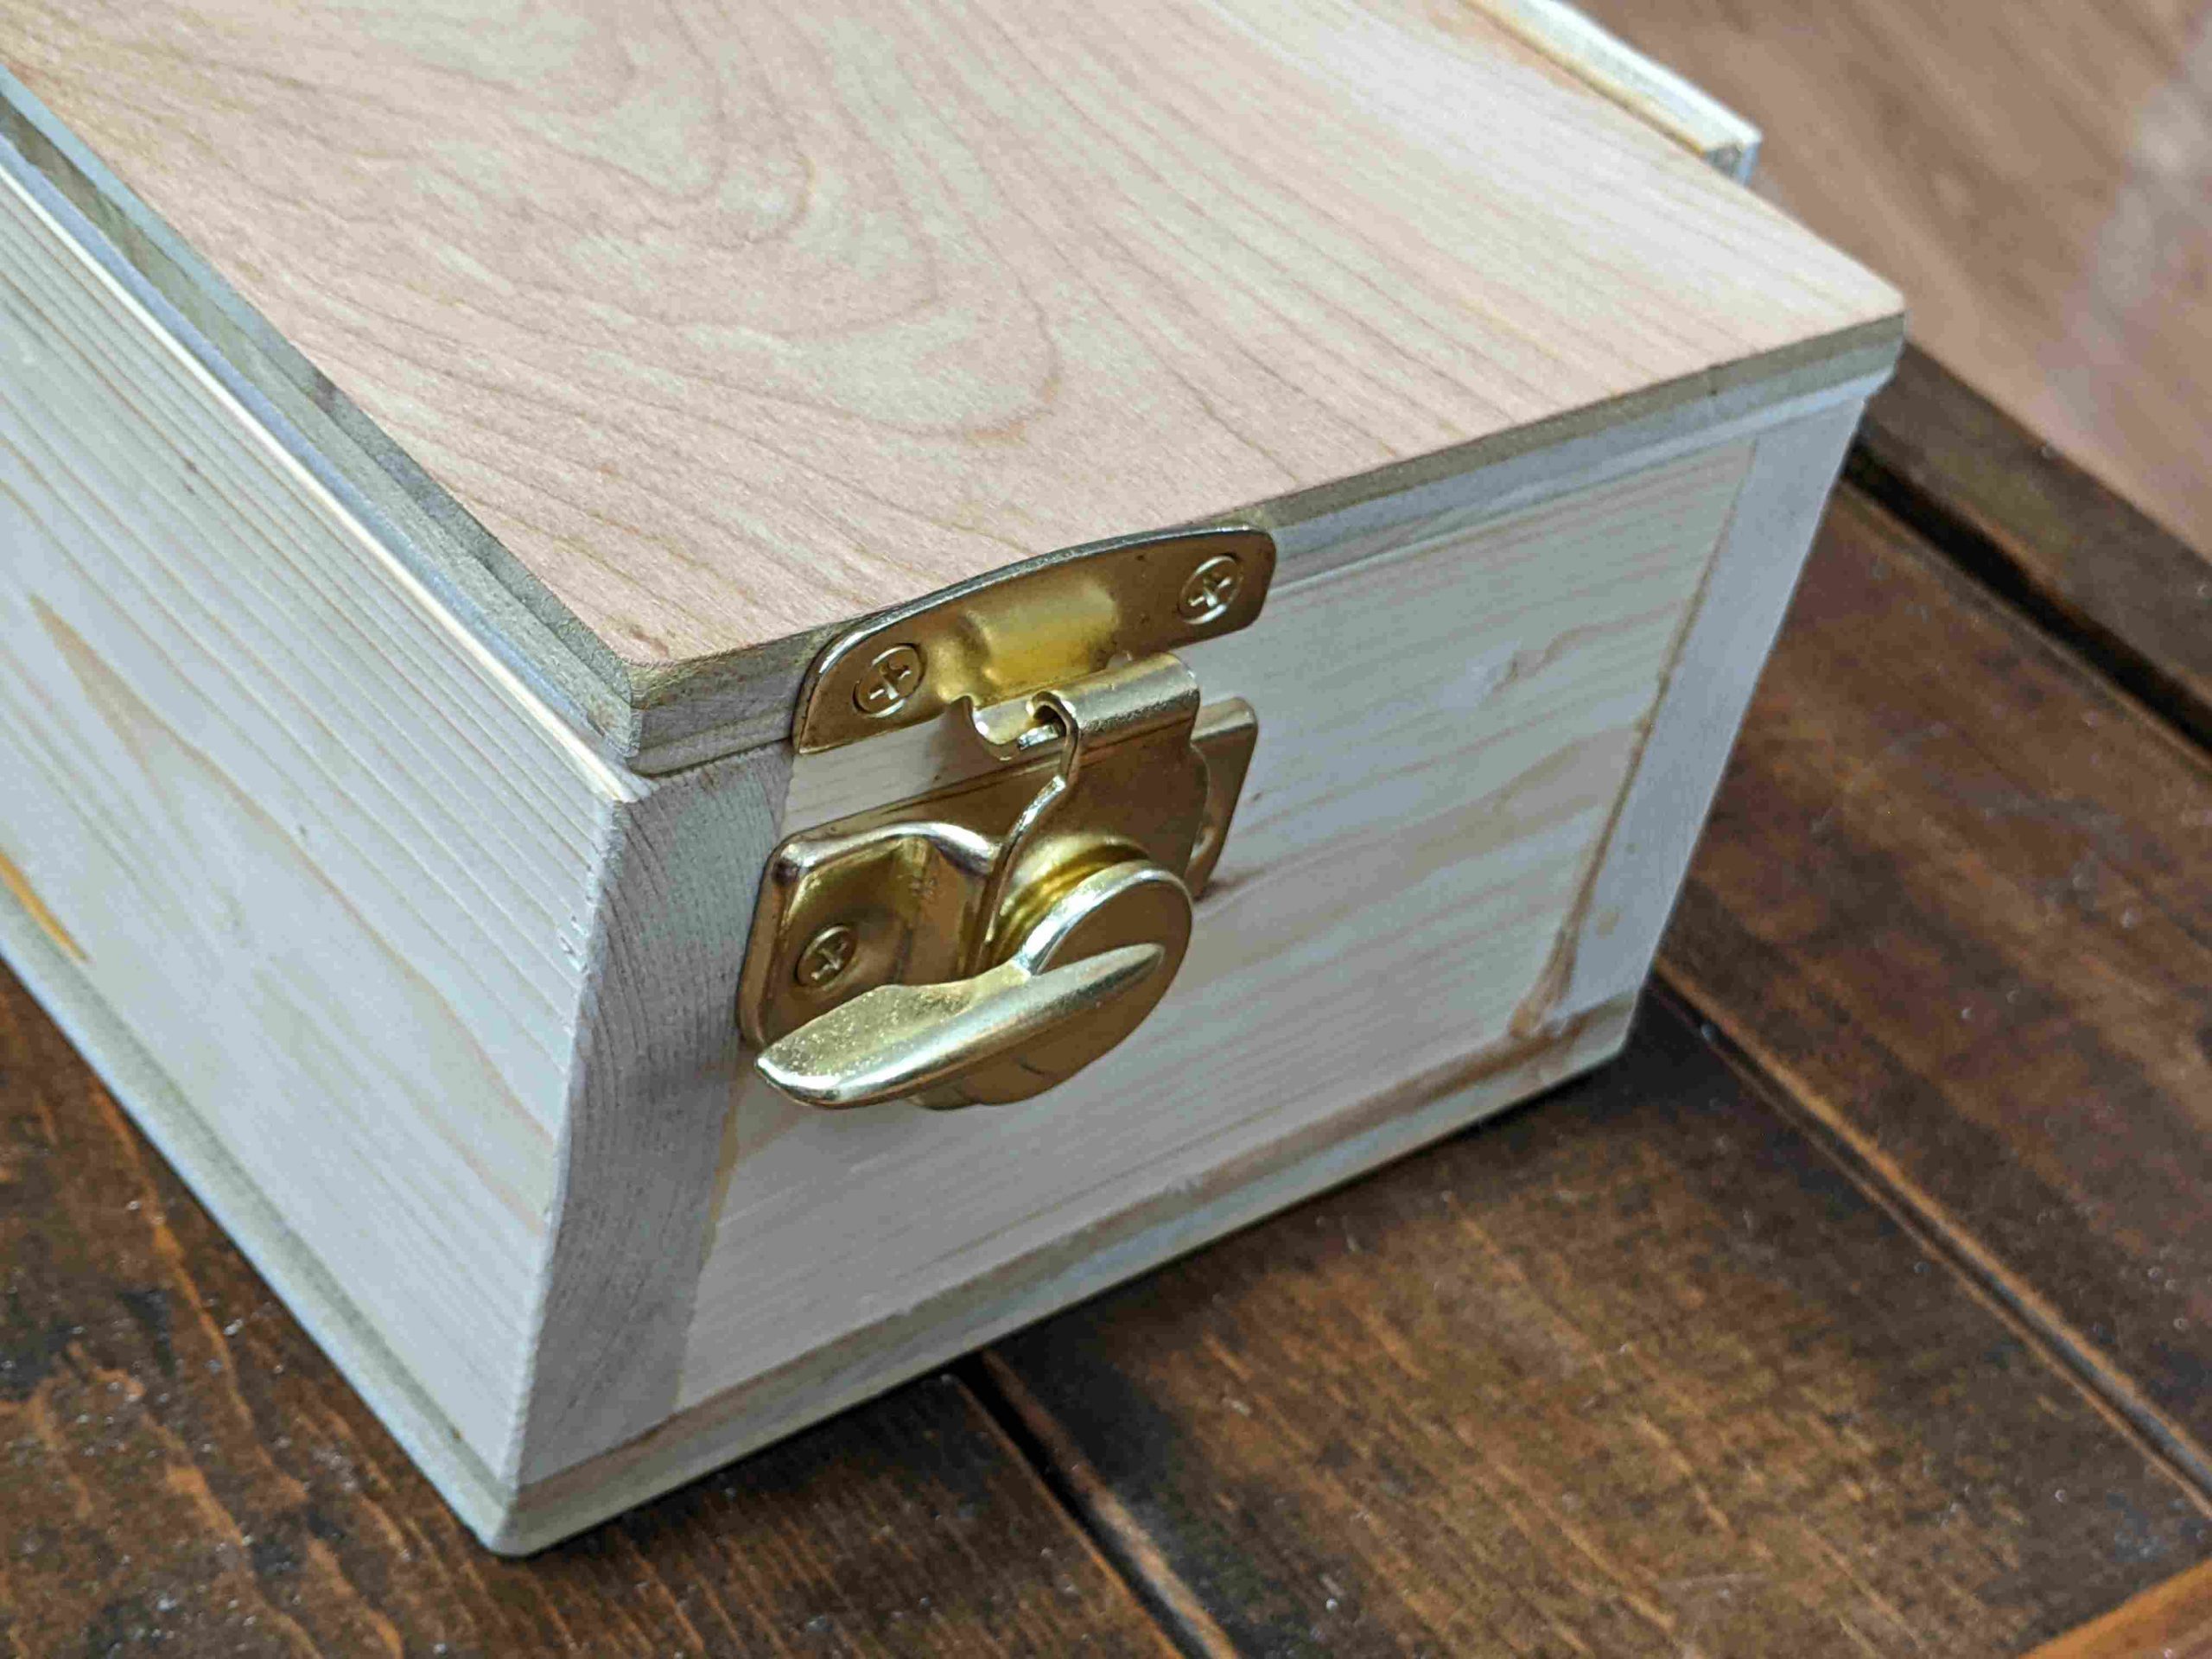
I broke a screen over-tightening a nut. That said, I like this look pretty well! If the lid was thicker, I know how to avoid screws on the other side, too.Early screen progress. I got something to display, but not what I wanted.I found a really nice, cheap mechanical keyboard on ebay. The main downside is that it’s heavy–730g. It also consumes heavy amounts of power, even when not in use. I have a nearly identical keyboard that doesn’t, which I’ll use for v2.I made my own lithium-ion battery pack. It works well, but it doesn’t quite fit so I’m going to redo it with one less cell. It also needs an on/off switch and a right angle USB cable.The prototype is powered by a Raspberry Pi 3. The final version will use a microcontroller to save power. The Pi Zero can also be swapped in with no changes, and uses a third of the power. But it’s noticeably slower and takes 30 seconds to boot. For prototyping I’m using the Pi 3 for now.
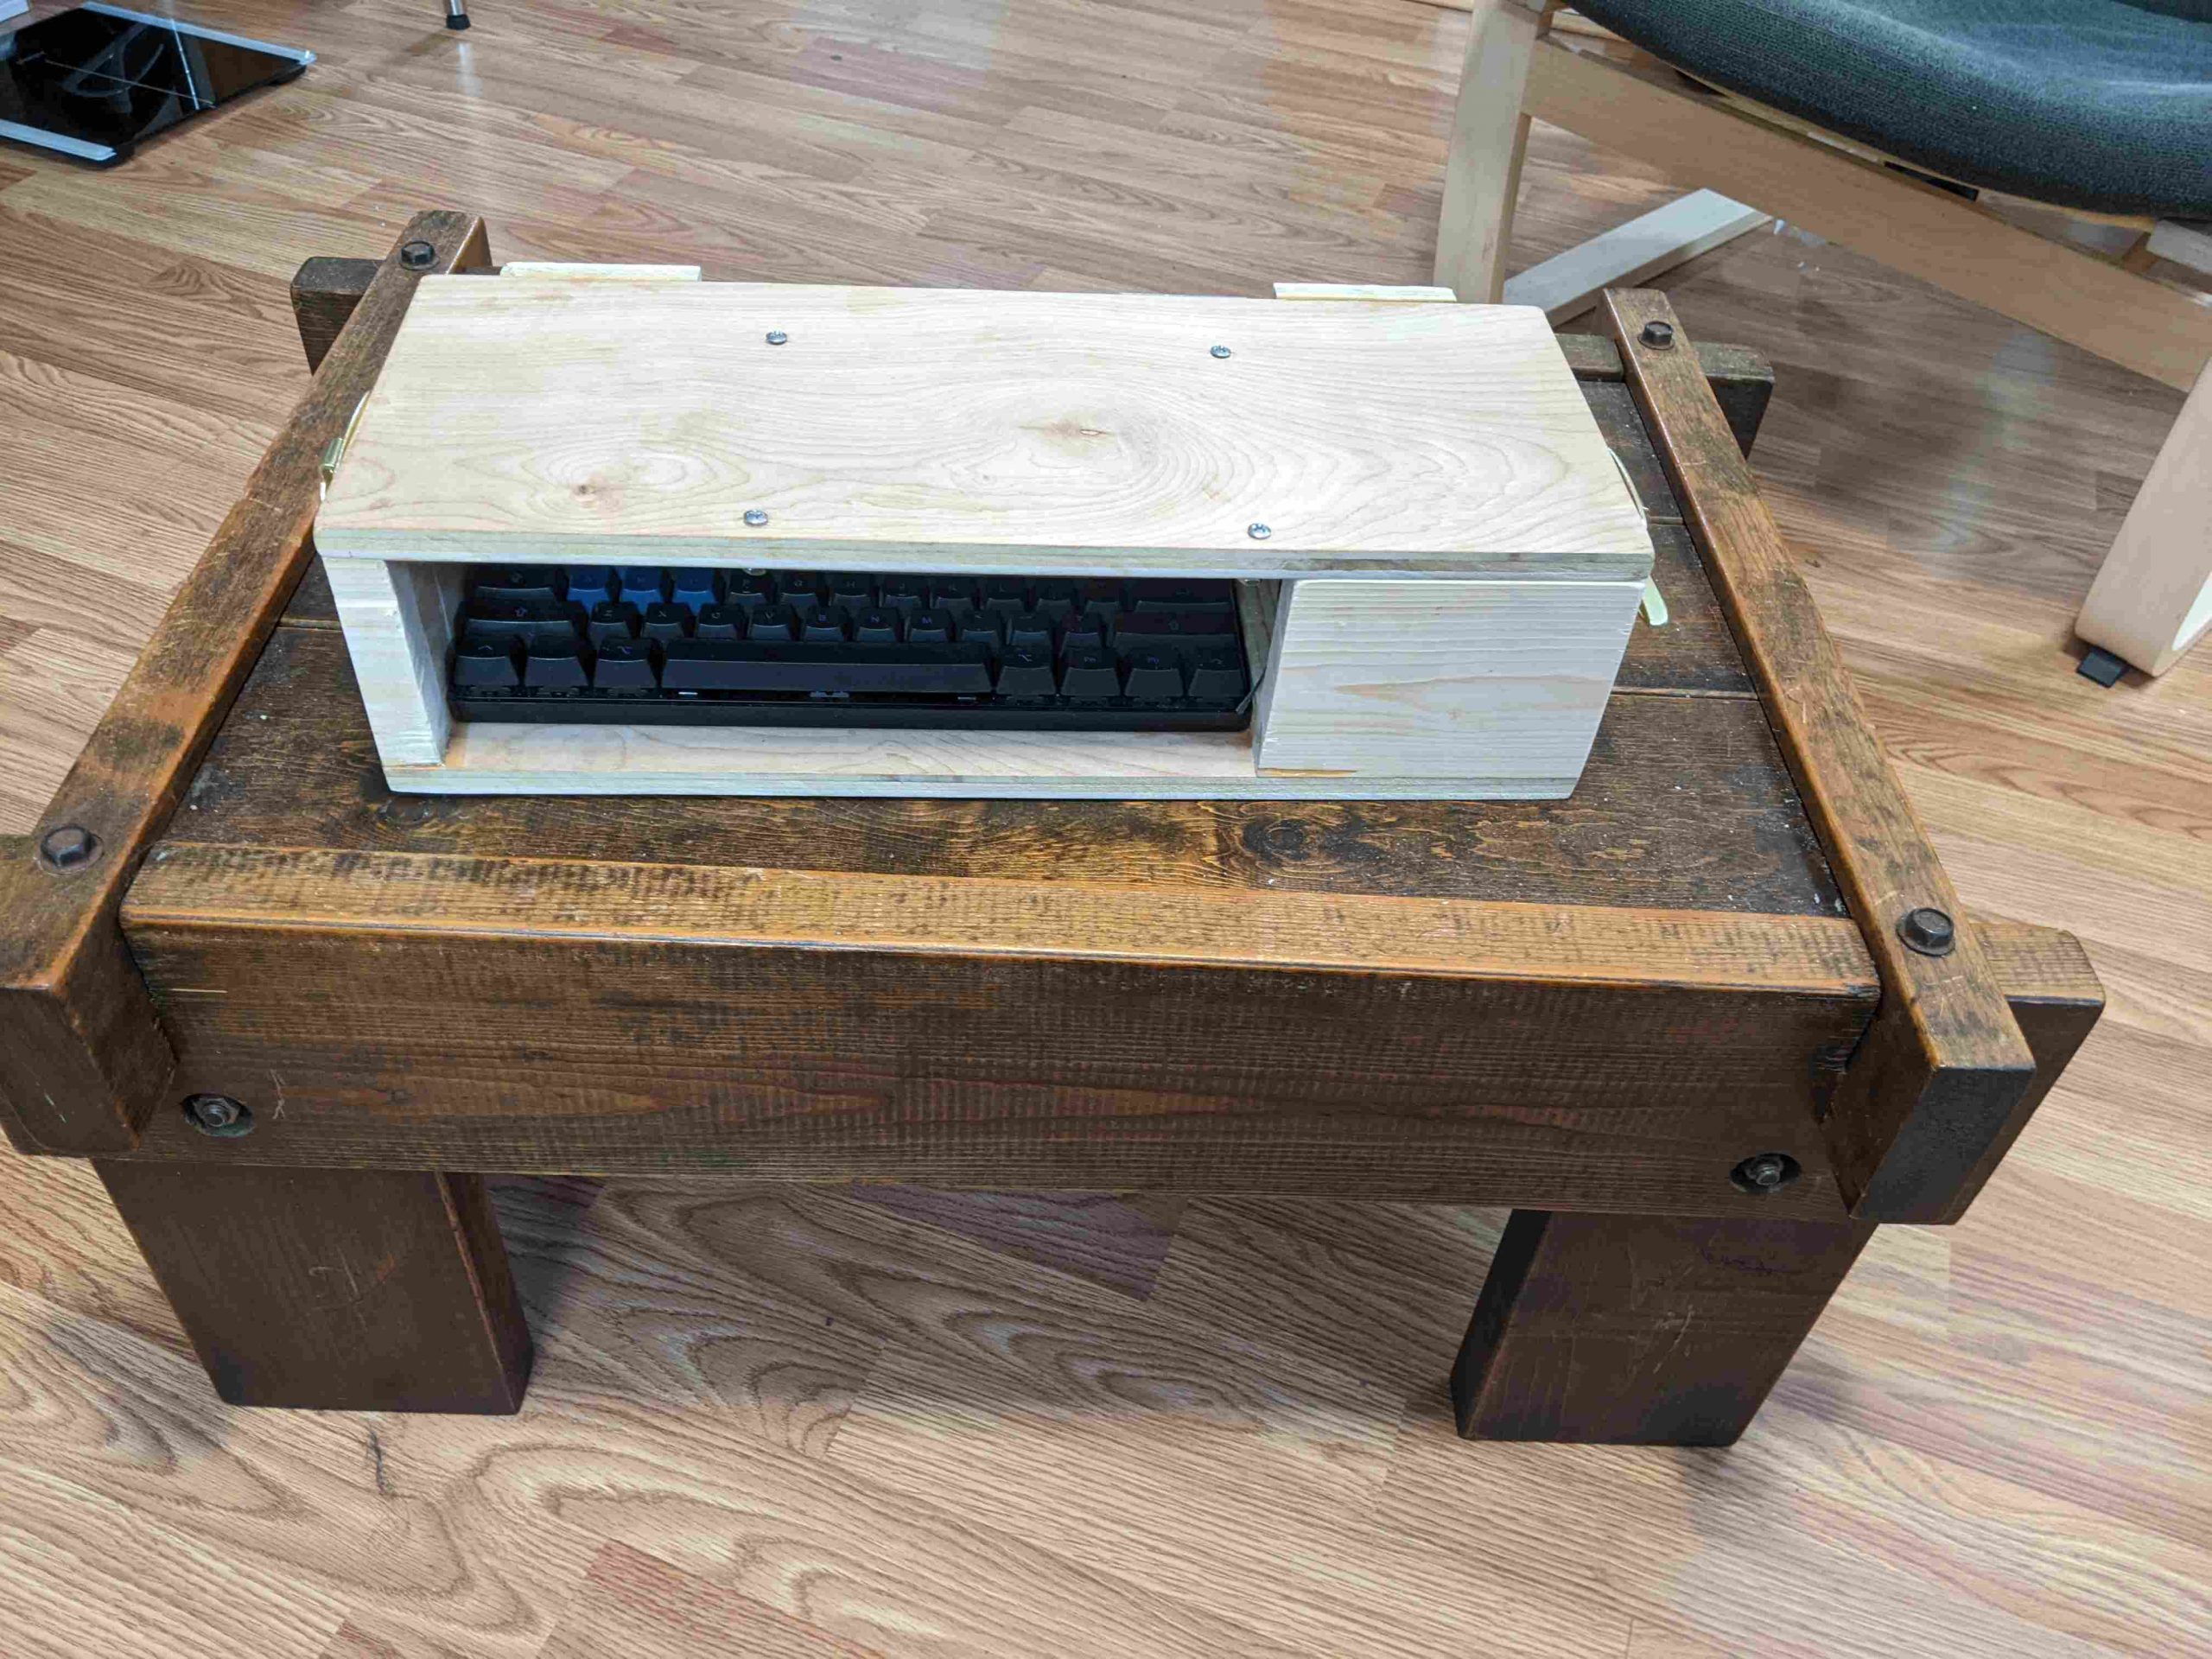
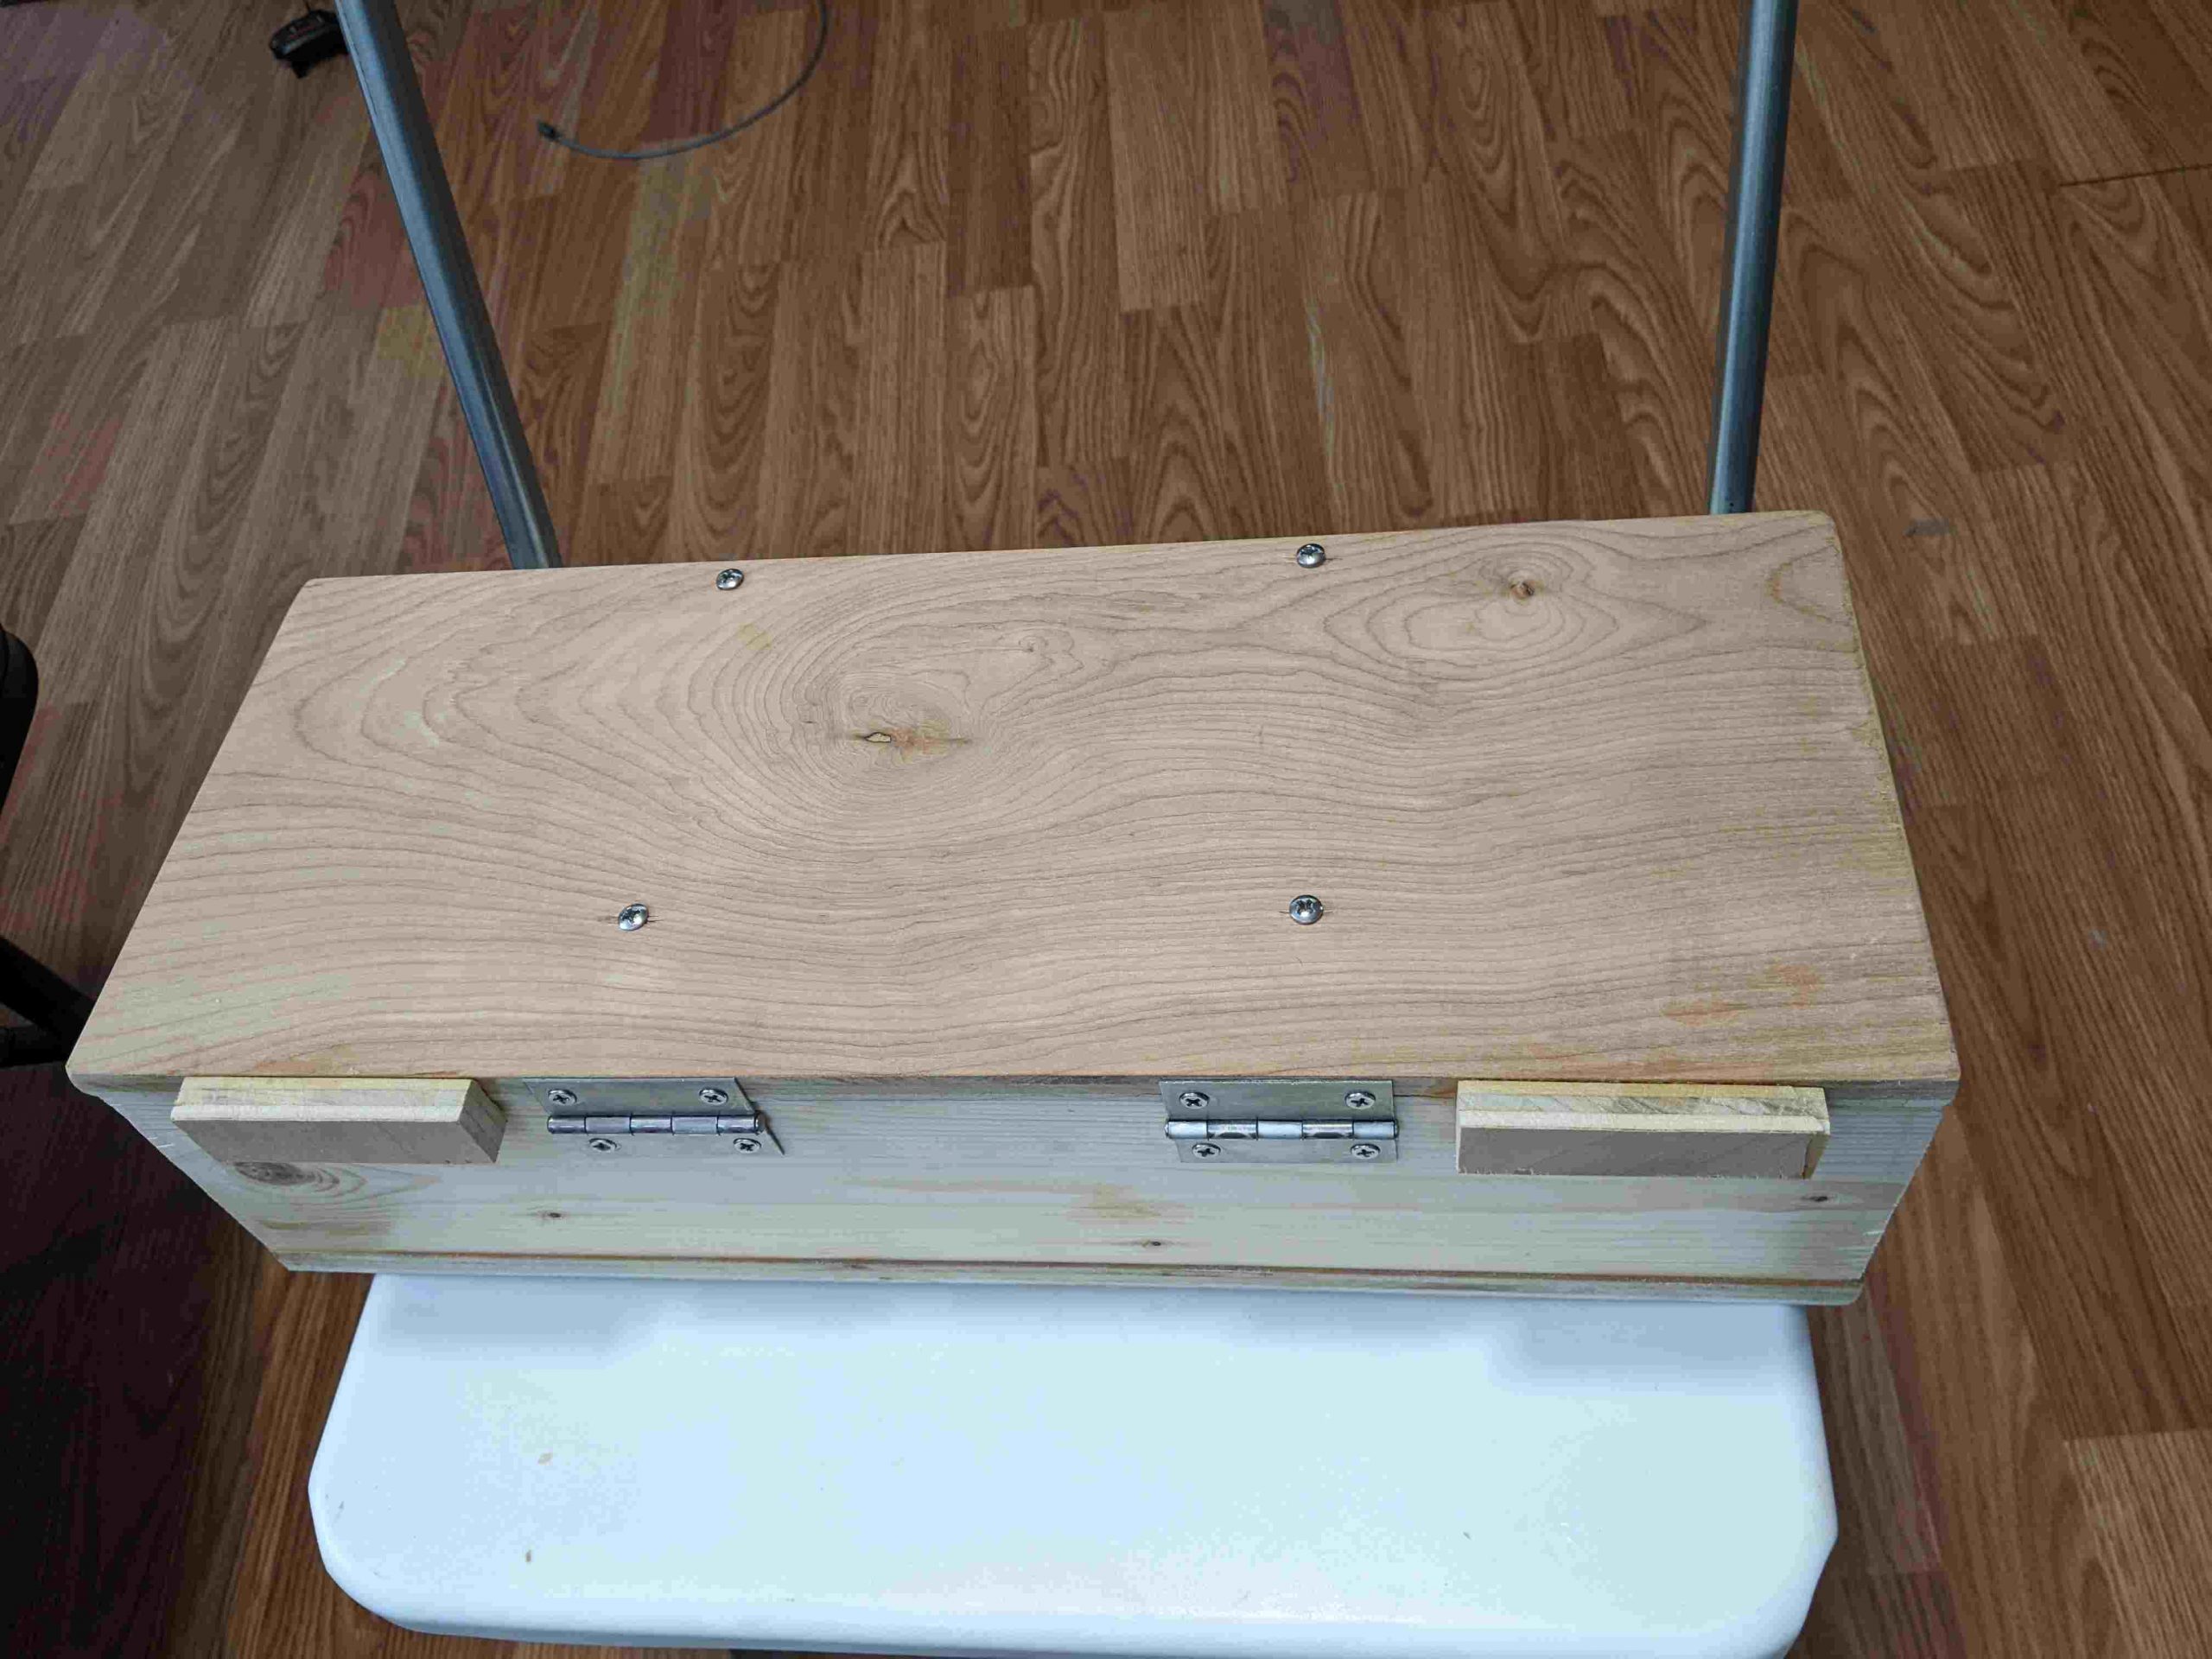
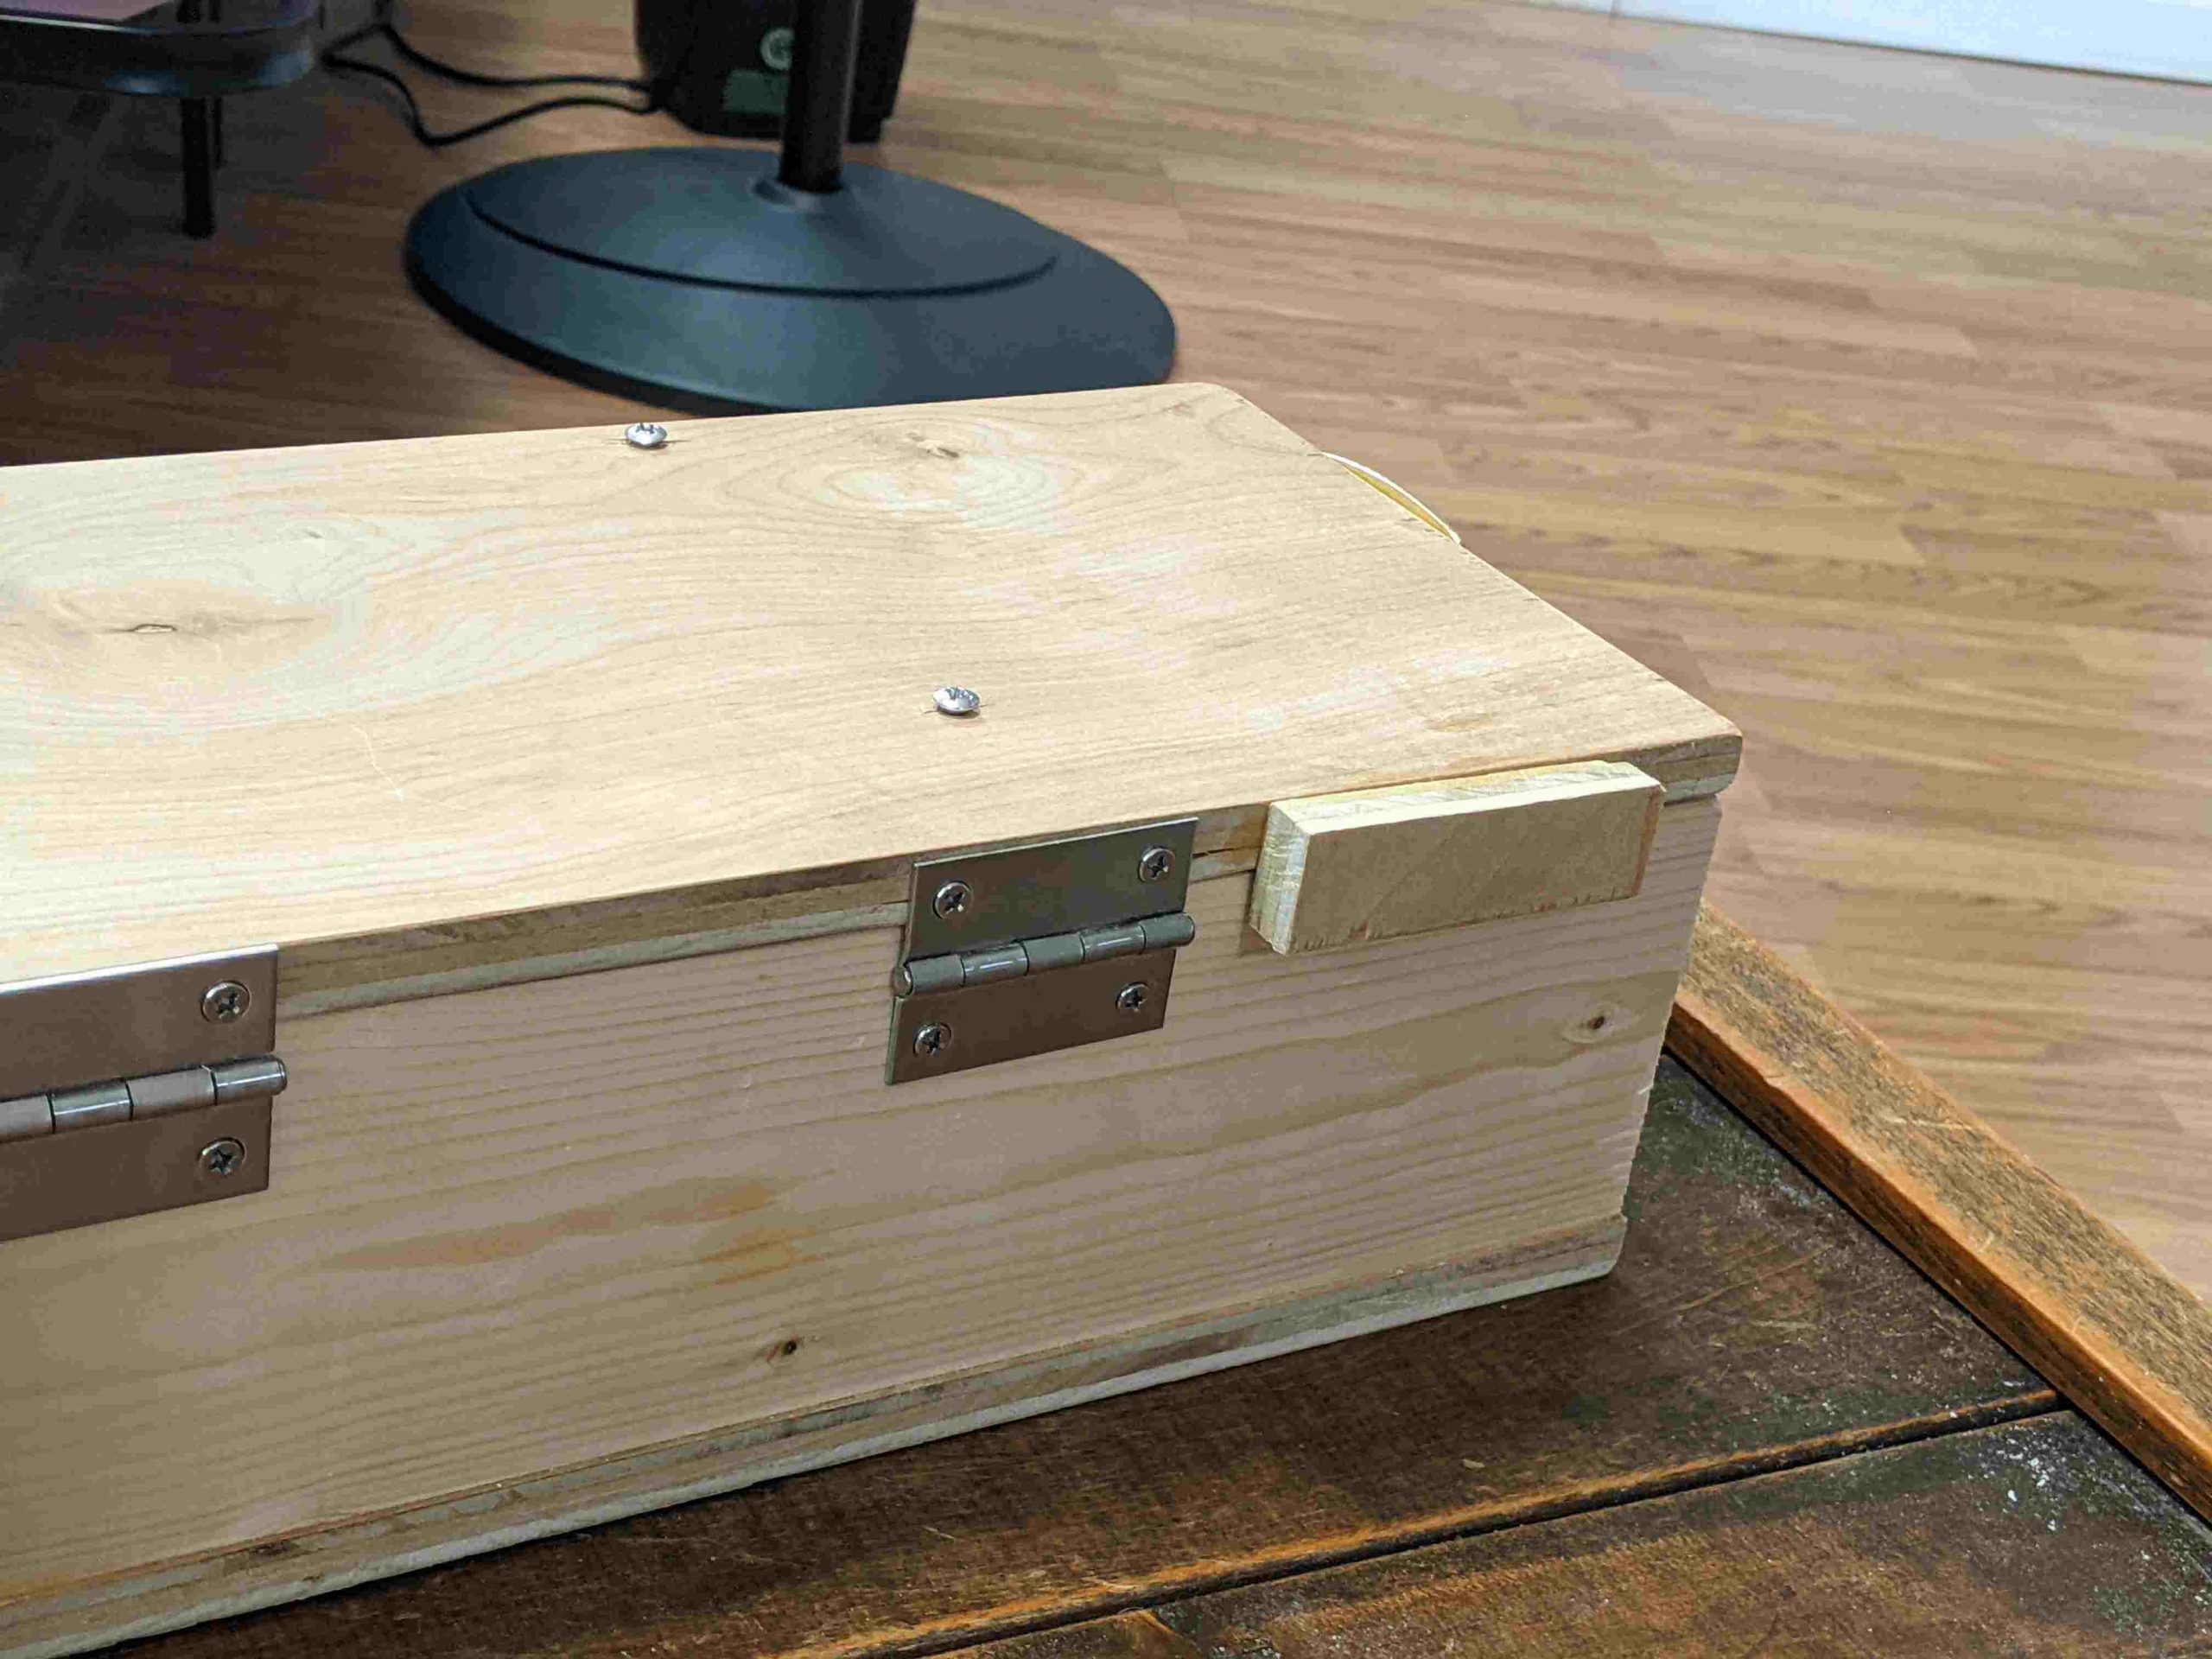
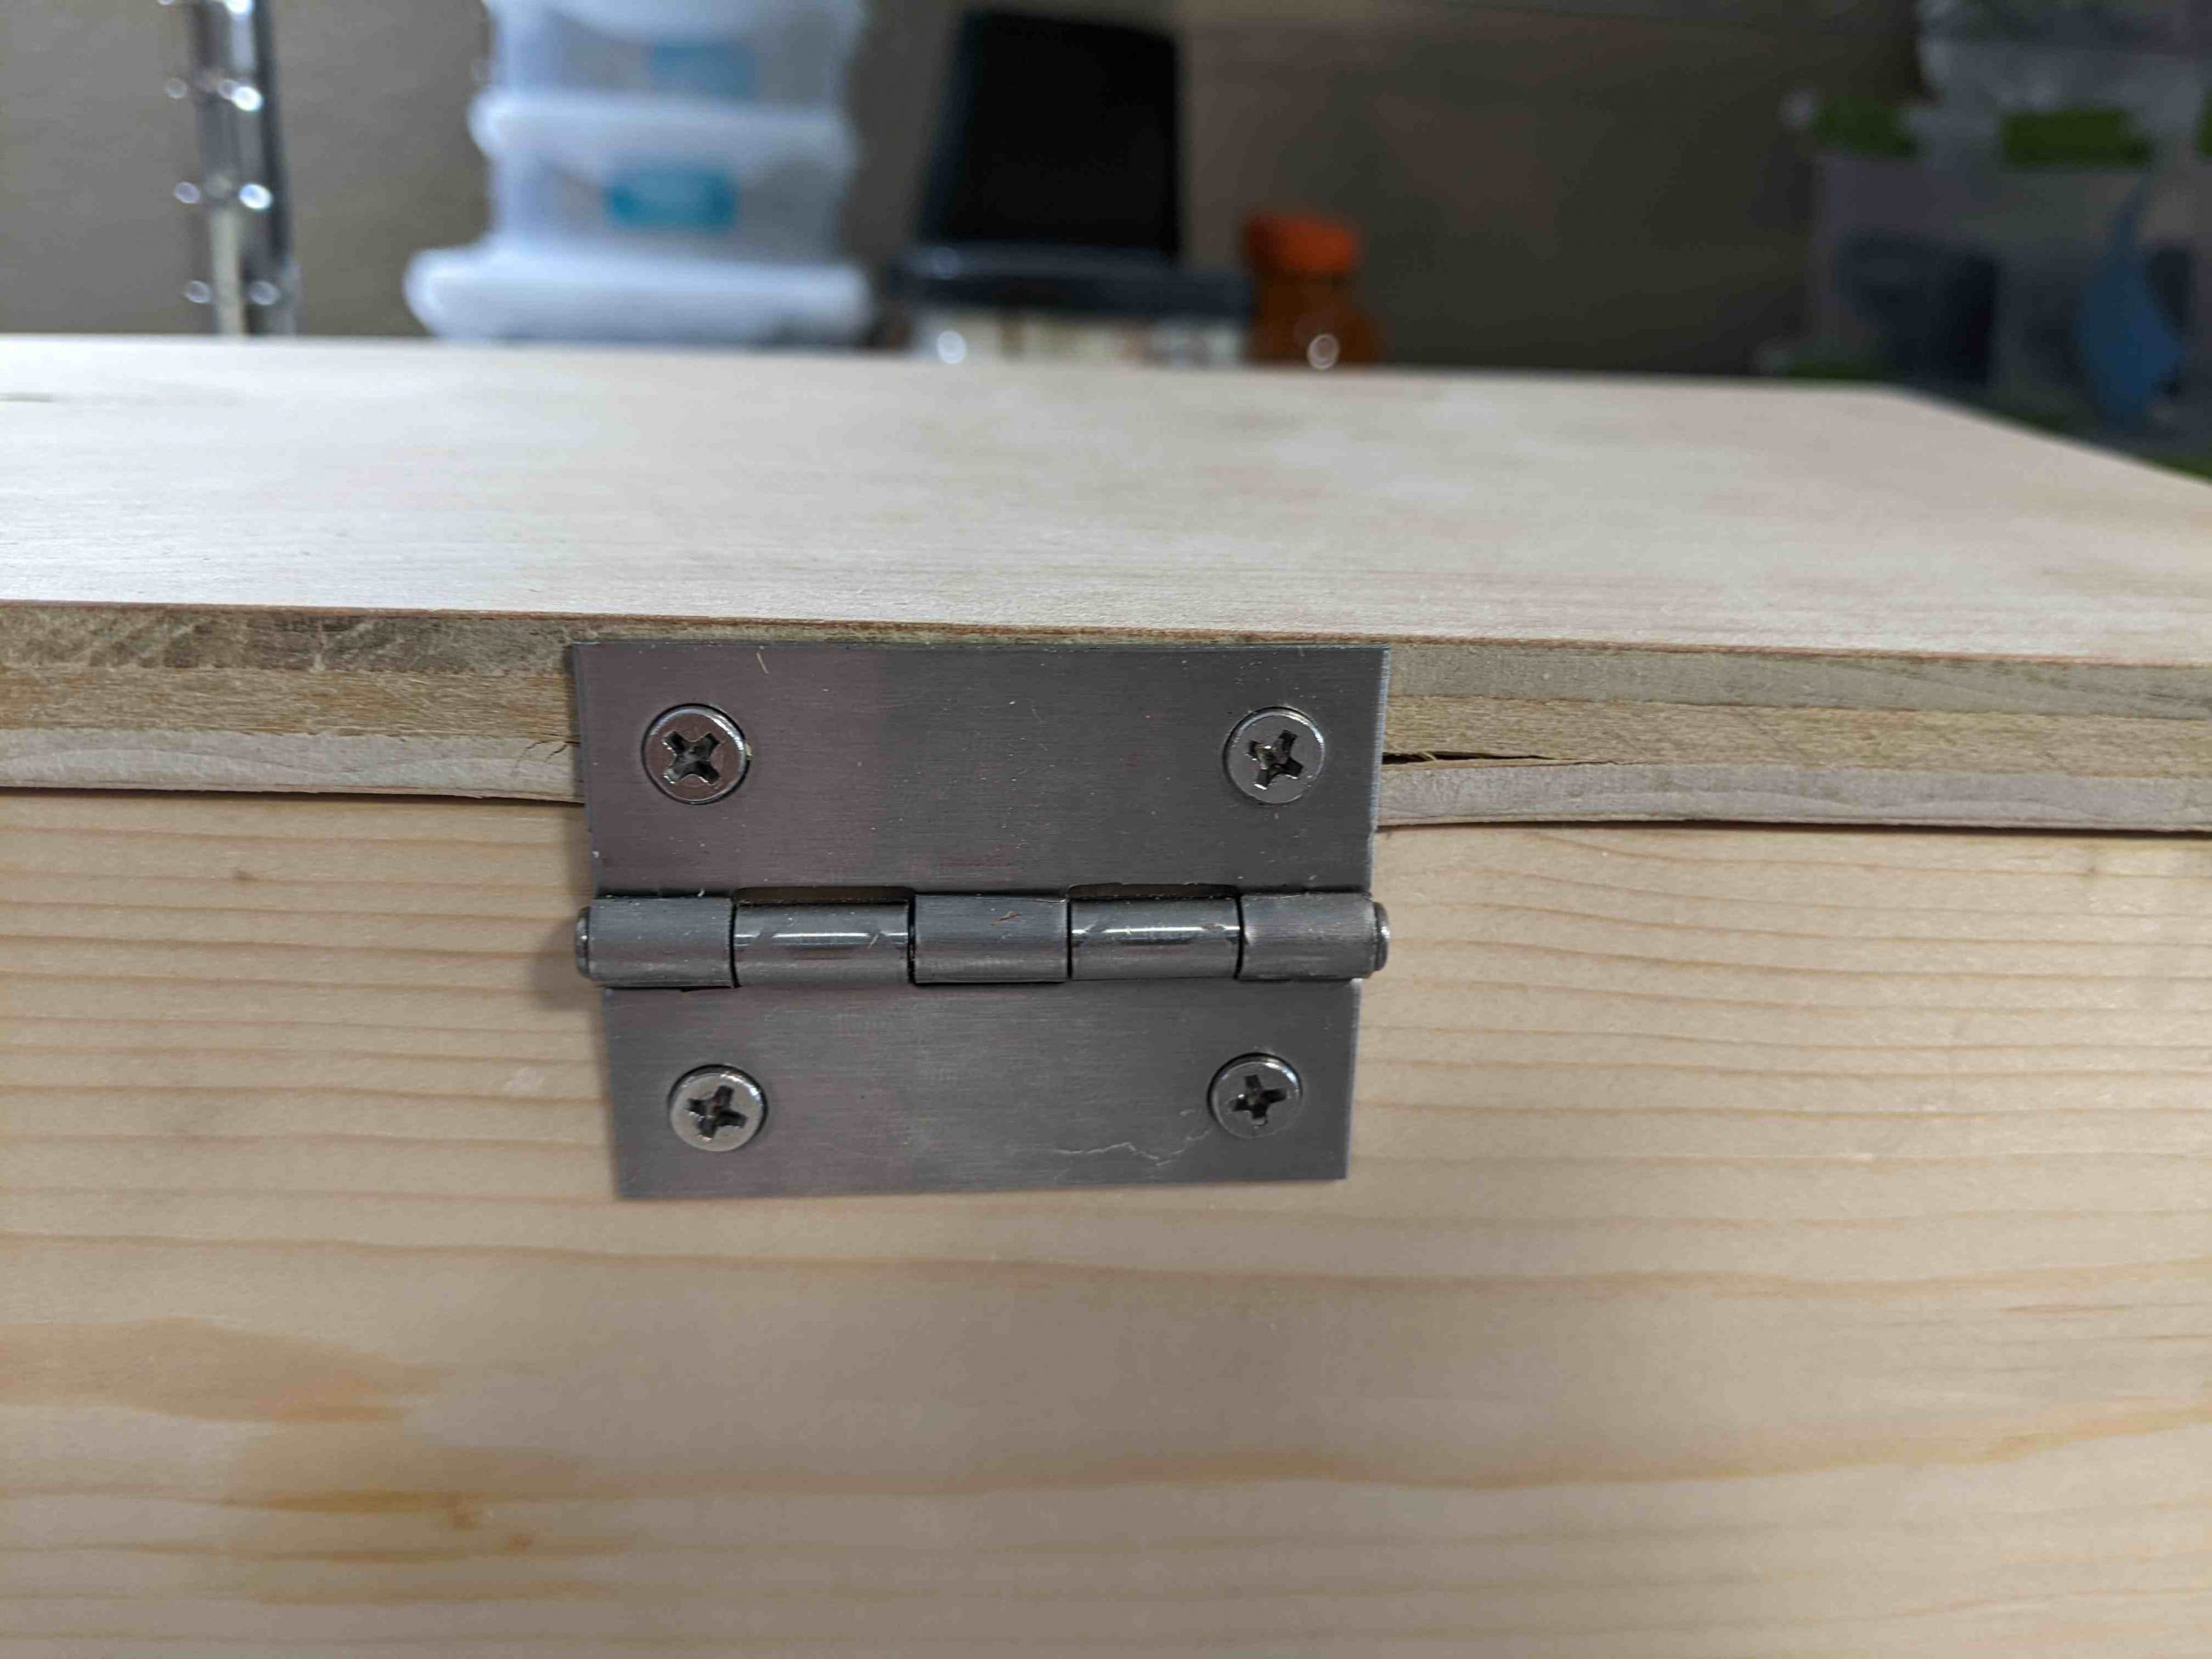
I’m not the best woodworker, but I’m slowly learning. Here are pictures of case and lid action.
Hinged lid. The screen is on the bottom of the lid.A wooden stop on each sideWooden stop with lid open. It hits the bottom, bringing the lid/screen to a rest at vertical.Latches on the sideDon’t put hinges sideways into plywood. But if you do, drill big pilot holes. Out of six screw, one cracked a little.
On the software end, shout outs to:
the creator of the ultimate-writer software, NinjaTrappeur, who has been encouraging (and explained the right way to rewrite the stack, if you wanted to today).
Ben Krasnow, who made a video about how to hack partial refresh on an e-ink display.
There’s a few things I’d like to polish still–even as a prototype this isn’t fully done.
The raspberry pi and battery pack are currently sitting loose. They need secured, especially since they can fall out the open front.
The software has some major problems. It doesn’t support Control-C, etc in linux, a must, and it doesn’t update the screen at boot until you press a key, which would be nice to fix.
There’s no power switch. Right now you have to unplug it manually.
I’d like to add a carrying handle.
I’d like to tuck away the electronics behind a panel. They’re ugly.
The wood looks rough in a few places. I want to hide some splintered wood, screw holes, etc.
The USB cables have too much stress on them. I need to make a little more room in the wood, and use a right-angled connector in one place.
There’s also no default software, but that’s a feature. A prototype is for figuring out how I want the interface to work, and what I want it to do.
Keyboard: 500mW. Other USB keyboards use zero to within my measurement abilities.
Screen: 0-250mW when updating. Hard to measure.
Pi 3: 2000mW. I have the wifi chip enabled (the default) but I’m not actively connected to wifi.
Pi Zero W: 650mW
A real-life test showed 5-6 hour battery life. Theory says (13Wh/battery * 4 batteries / 2.7 watts)=20 hours battery life. I’m investigating the discrepancy. In theory, swapping for a Pi Zero W and a better keyboard would give 72-hour battery life.
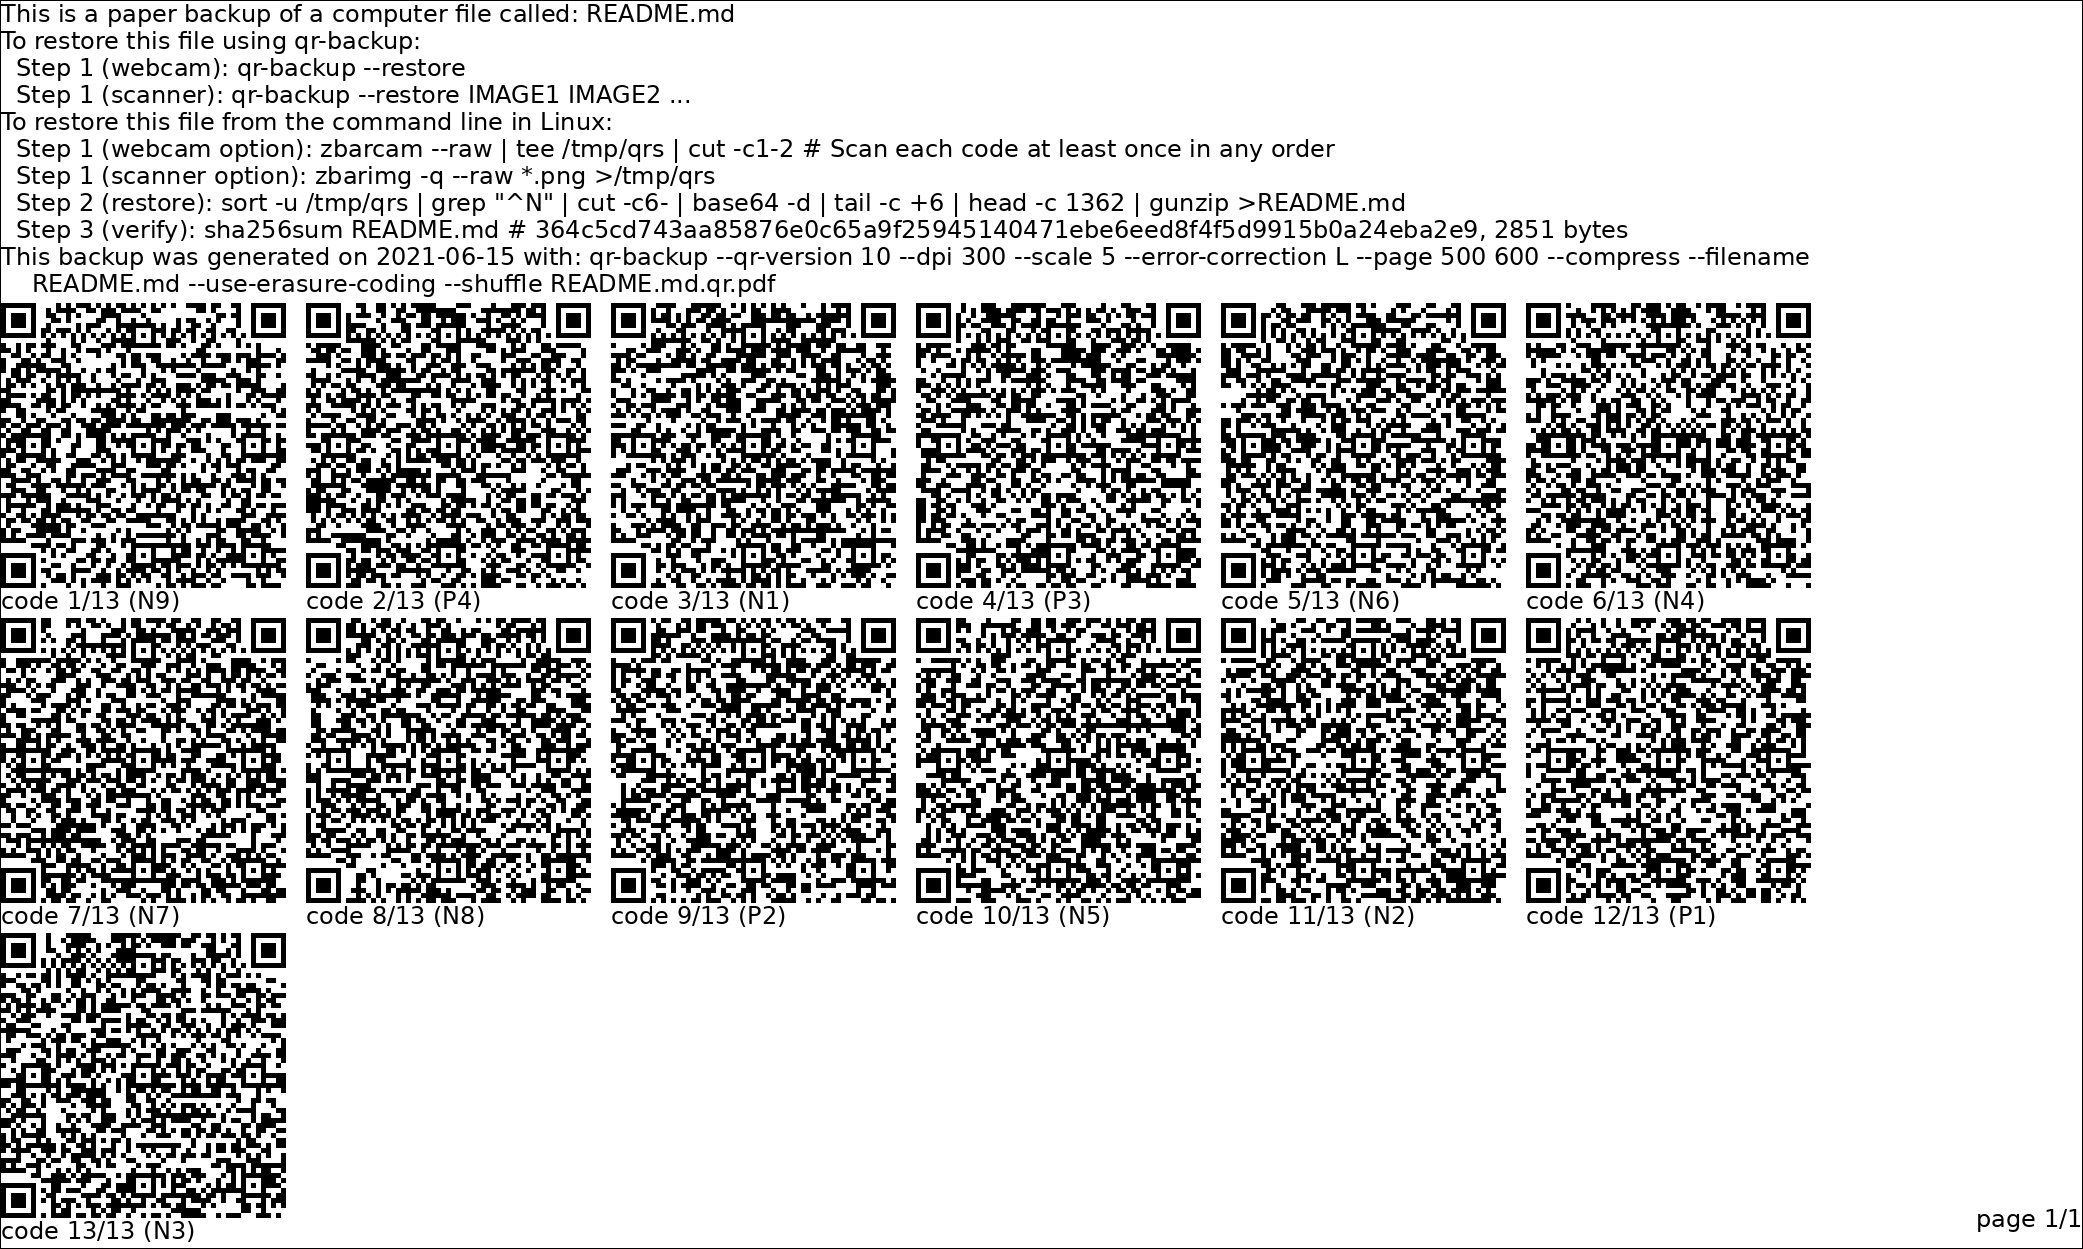
qr-backup v1.1 is released. qr-backup is a command-line Linux program. You can use it to back up a file as a series of QR codes. You can restore the QR codes using a webcam or scanner, and get back the original file.
The main features of qr-backup are ease-of-use and futureproofing (restore does not require qr-backup).
Please report any bugs on github. Once this is stable, I will do the first pip/package manager release. To test the alpha, check out the latest code using git.
I recently wrote a program that records all tty activity. That means bash sessions, ssh, raw tty access, screen and tmux sessions, the lot. I used script. The latest version of my software can be found on github.
Note that it’s been tested only with bash so far, and there’s no encryption built in.
To just record all shell commands typed, use the standard eternal history tricks (bash).