Hack-A-Day: Hack-An-Icecube (failure)

It’s november, and I’ve decided this month that I’m going to do 30 projects in 30 days. It’s an all-month hack-a-thon!

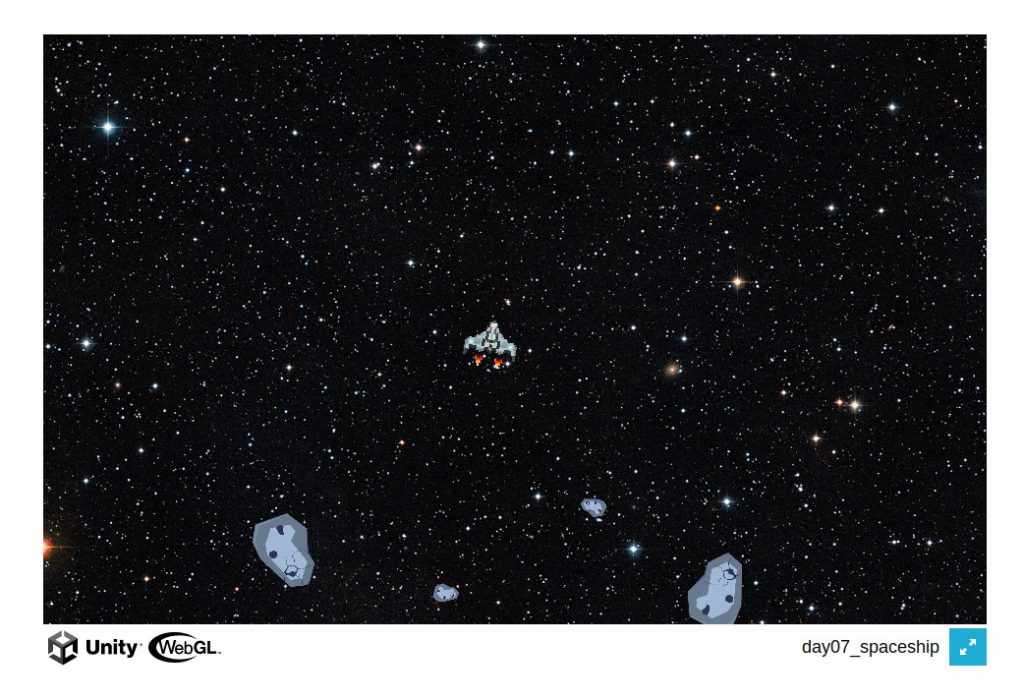
Today’s project is Hack-An-Icecube (demo, source). It’s a failed attempt to make a game in Unity3D, the game engine/framework.

This is my first failure, which I think is good! I was getting bored only attempting things I could definitely succeed at in one day. That said, running out of time is fun. Wrestling the IDE isn’t. This was mostly wrestling the IDE, setting configs, and installing software.

I won’t continue this tomorrow, I’d rather do a new project each day (It’s called Hack-A-DAY)! But I might do another Unity3D project before the month is out.

The ice cubes load and fall, and that’s it. No controls, no game. I ran out of time.

This is an attempt to recreate One Hour Jam Cannon by juzek exactly. I ran out of time, but I made some progress getting Unity to work.

Hack-A-Day: Hack-A-Homepage

It’s november, and I’ve decided this month that I’m going to do 30 projects in 30 days. It’s an all-month hack-a-thon!

Today’s (catch-up) project is Hack-A-Homepage (demo, source). You can enter various information about yourself, such as links to your social media, and make your own little homepage.

This one took about another hour. I think it’s okay, but today was definitely a “do the numbers” game to catch up. Tomorrow I want to do something more fun and new.

Hack-A-Day: Hack-A-Chat

It’s november, and I’ve decided this month that I’m going to do 30 projects in 30 days. It’s an all-month hack-a-thon!

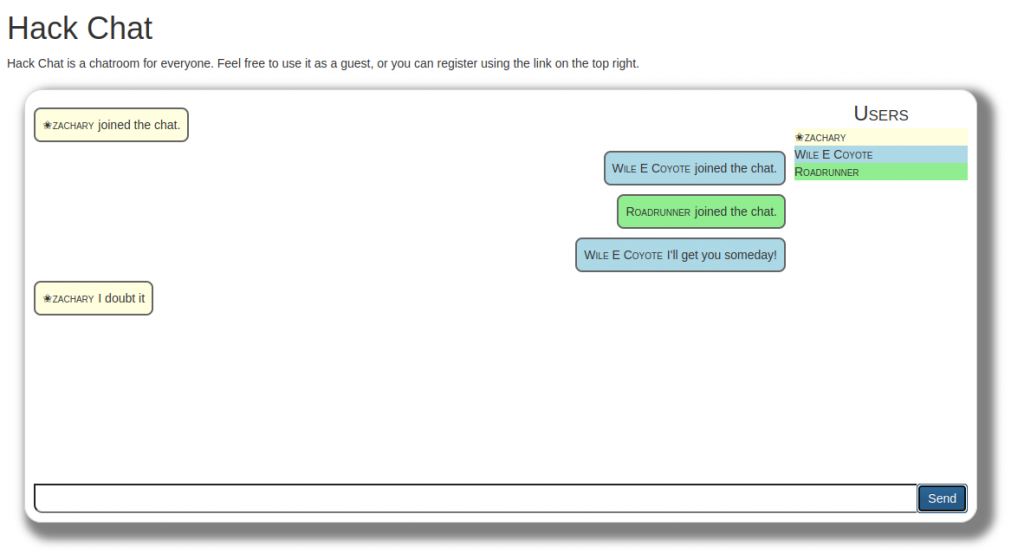
Today’s project is Hack-A-Chat. (demo, source). It’s a free web chat for anyone that goes to the website.

Check out the link above to try out the live demo.

So far, not much easier. Another 8-hour day. I was hoping to do something with WebRTC today, but I didn’t get to it.

Hack-A-Day: Hack-A-Blog

It’s november, and I’ve decided this month that I’m going to do 30 projects in 30 days. It’s an all-month hack-a-thon!

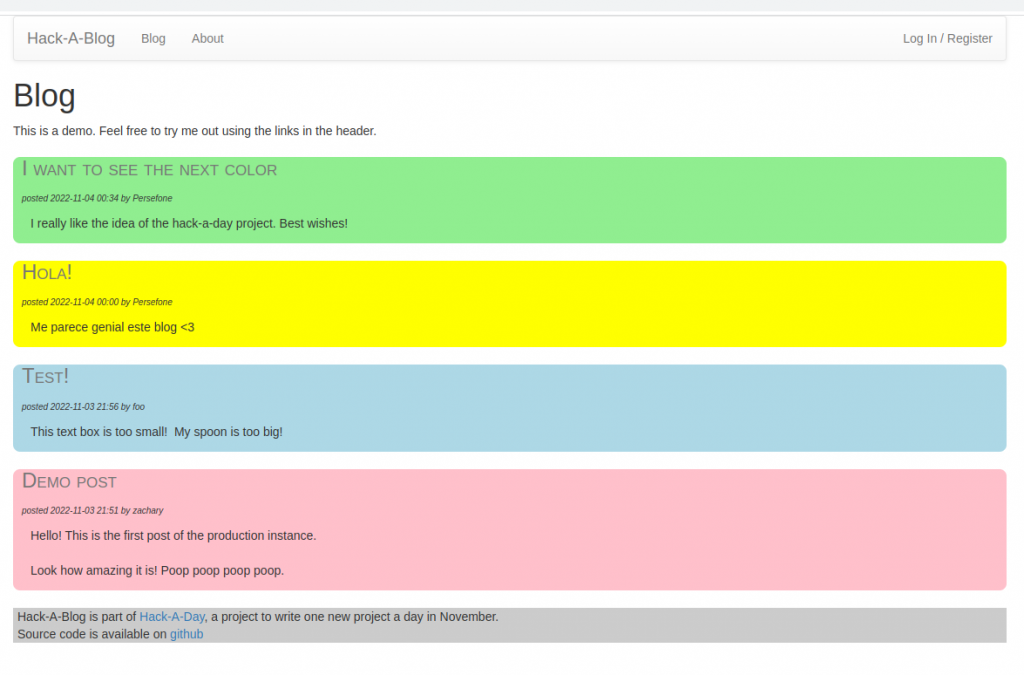
Today’s project is the Hack-A-Blog. (demo, source).

Check out the link above to try out the live demo. I’m proud of getting this one done in time. I think the next days will be easier, as I figured some things out already.

e-ink “laptop”

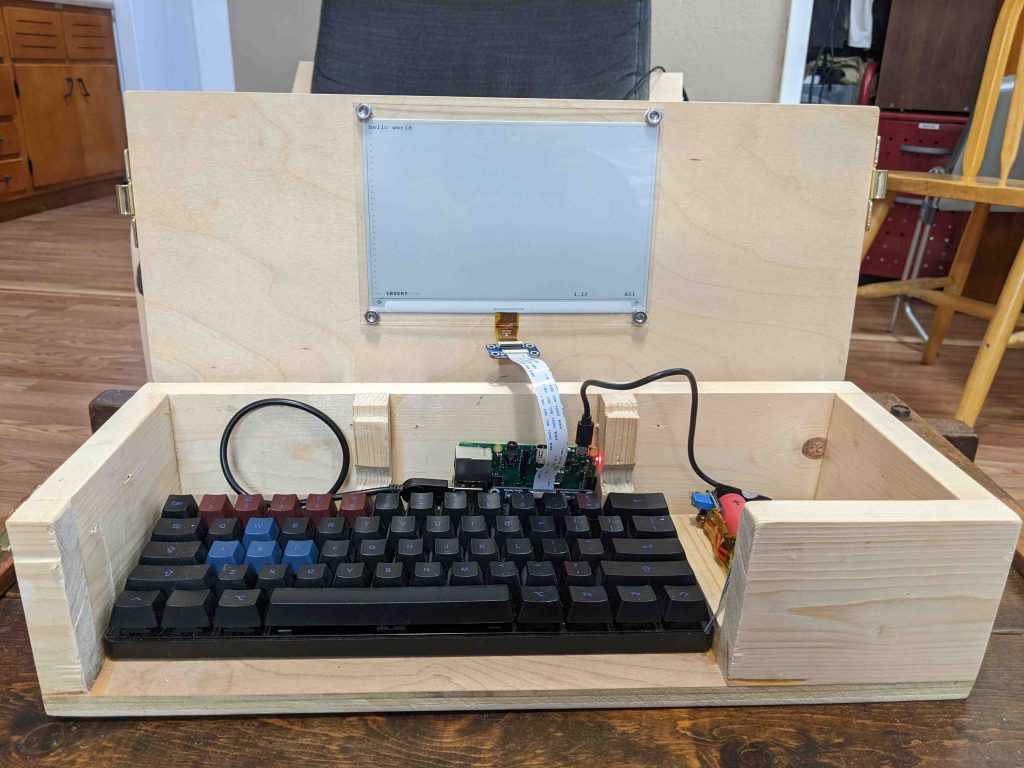
I’ve been prototyping an e-ink laptop.

a wooden box with a keyboard inside and an e-ink screen mounted to it
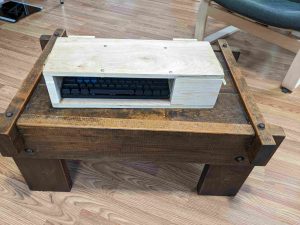
a closed wooden box with a keyboard visible through a hole in the front
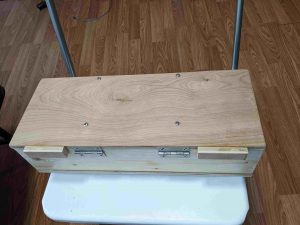
Closed “laptop”

I’m not the first, there have been many other such devices before. I came up with the idea independently, but the specifics are heavily inspired by the Ultimate Writer by NinjaTrappeur in 2018. Similar to him, my use case is typing without distractions, and reading books. E-ink displays are quite slow to update, so I don’t think it can serve as a general purpose computer. Here’s a video of it in action. It operates at one frame per second.

The electronics are not fully done. They need better secured, and I’m going to redo the cabling and power back.

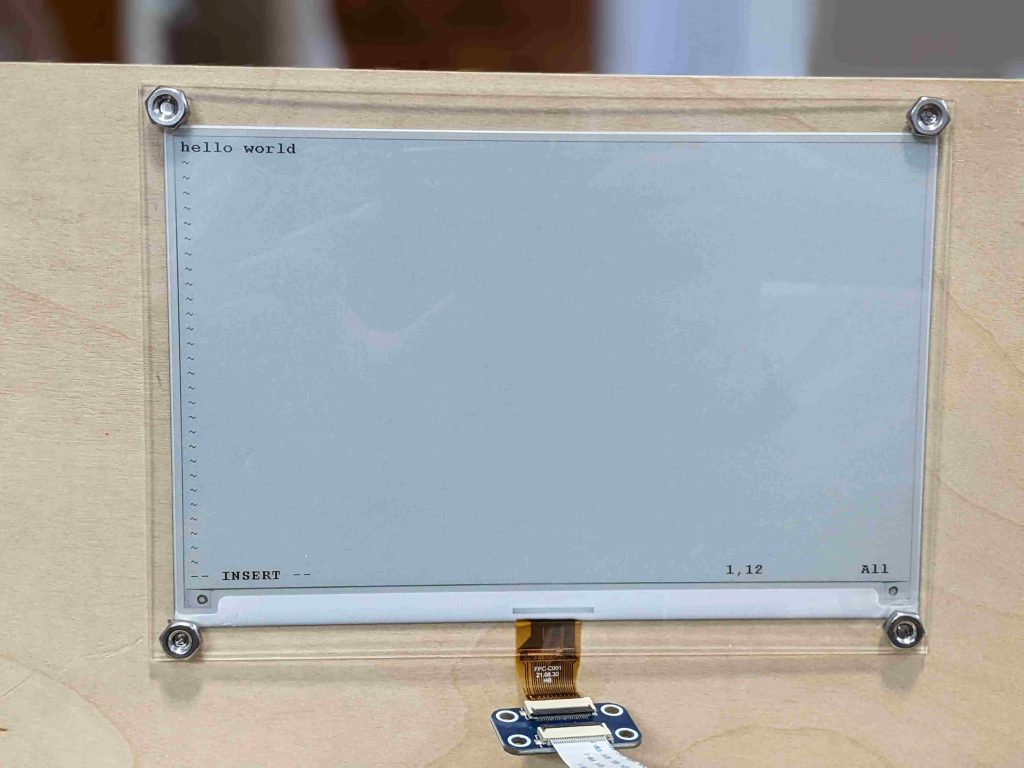
an e-ink screen reading "hello world"
I broke a screen over-tightening a nut. That said, I like this look pretty well! If the lid was thicker, I know how to avoid screws on the other side, too.
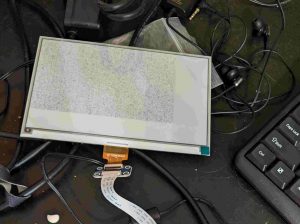
a e-ink screen loose on a desk, covered in garbage
Early screen progress. I got something to display, but not what I wanted.
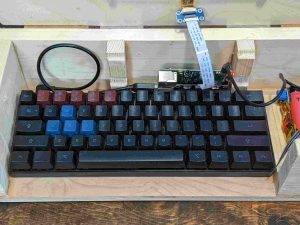
a mechanical keyboard in a box
I found a really nice, cheap mechanical keyboard on ebay. The main downside is that it’s heavy–730g. It also consumes heavy amounts of power, even when not in use. I have a nearly identical keyboard that doesn’t, which I’ll use for v2.
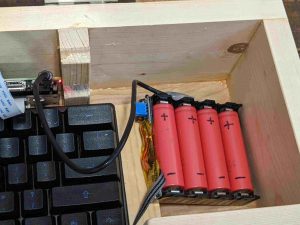
a homemade battery pack with four red lithium-ion batteries
I made my own lithium-ion battery pack. It works well, but it doesn’t quite fit so I’m going to redo it with one less cell. It also needs an on/off switch and a right angle USB cable.
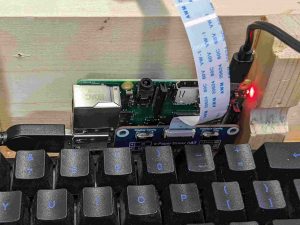
a close-up of a raspberry pi in a box
The prototype is powered by a Raspberry Pi 3. The final version will use a microcontroller to save power. The Pi Zero can also be swapped in with no changes, and uses a third of the power. But it’s noticeably slower and takes 30 seconds to boot. For prototyping I’m using the Pi 3 for now.

I’m not the best woodworker, but I’m slowly learning. Here are pictures of case and lid action.

back view of a box with hinges
Hinged lid. The screen is on the bottom of the lid.
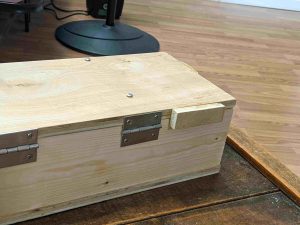
back view of a wooden stop, closed
A wooden stop on each side
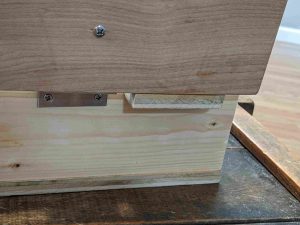
back view of a wooden stop, open
Wooden stop with lid open. It hits the bottom, bringing the lid/screen to a rest at vertical.
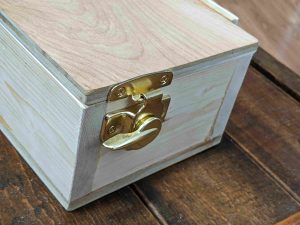
picture of a latch, open
Latches on the side
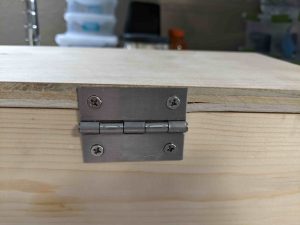
close-up of a hinge in cracked plywood
Don’t put hinges sideways into plywood. But if you do, drill big pilot holes. Out of six screw, one cracked a little.

On the software end, shout outs to:

  • the creator of the ultimate-writer software, NinjaTrappeur, who has been encouraging (and explained the right way to rewrite the stack, if you wanted to today).
  • Ben Krasnow, who made a video about how to hack partial refresh on an e-ink display.

There’s a few things I’d like to polish still–even as a prototype this isn’t fully done.

  • The raspberry pi and battery pack are currently sitting loose. They need secured, especially since they can fall out the open front.
  • The software has some major problems. It doesn’t support Control-C, etc in linux, a must, and it doesn’t update the screen at boot until you press a key, which would be nice to fix.
  • There’s no power switch. Right now you have to unplug it manually.
  • I’d like to add a carrying handle.
  • I’d like to tuck away the electronics behind a panel. They’re ugly.
  • The wood looks rough in a few places. I want to hide some splintered wood, screw holes, etc.
  • The USB cables have too much stress on them. I need to make a little more room in the wood, and use a right-angled connector in one place.

There’s also no default software, but that’s a feature. A prototype is for figuring out how I want the interface to work, and what I want it to do.

Parts list

  • 7.5 inch e-ink screen from Waveshare (not particularly good) – $60
  • Raspberry Pi 3 (Pi Zero, etc also work with no changes) – $35 (but unavailable)
  • microsd card – $7
  • Plywood and boards, wood glue – $15
  • Plexiglass (to cover screen) – $10
  • Bolts, washers, and nuts to secure it. – $5
  • Circular window latch x2 – $8 (or use $10 smaller version)
  • Hinge x2 – $2
  • Total: $142

Power budget (at 5V):

  • Keyboard: 500mW. Other USB keyboards use zero to within my measurement abilities.
  • Screen: 0-250mW when updating. Hard to measure.
  • Pi 3: 2000mW. I have the wifi chip enabled (the default) but I’m not actively connected to wifi.
  • Pi Zero W: 650mW

A real-life test showed 5-6 hour battery life. Theory says (13Wh/battery * 4 batteries / 2.7 watts)=20 hours battery life. I’m investigating the discrepancy. In theory, swapping for a Pi Zero W and a better keyboard would give 72-hour battery life.

Timelog Analysis

I write down everything I do. Yesterday, I wrote a quick-and-dirty analysis program to get some stats on common habits.

The full results are here: drive floss food read sleep teeth tv wake walk youtube. Of course, what I write down doesn’t perfectly match what I do, so most of the absolute stats are vastly wrong. Comparative ones are still interesting.

Here’s some results:

  • The data say I’m a night owl. I go to sleep 0.9 times a day on average. 2am-4am is most common. I wake up at 11am-12pm.
  • I brush my teeth 0.18 times a day, on average, but 0.36 times in 2021. Surely that’s not right!? I have flossed 25 times since 2018. I’m going be honest… that one probably is about right, yikes.
  • I watch 30% more youtube on Tuesday than Saturday, but only 4% more television. I watch most TV between 9pm and 1am. Youtube is pretty spread out. I watch tv 0.7 times a day, buy youtube 1.9 times a day.
  • I read 1.1 times a day, usually before midnight.
  • I eat 3.5 times a day on average. This includes 796 days where I didn’t record eating. Omitting those, I eat 6.5 times a day.

I’ll leave you with this poor man’s graph of driving frequency over time. See the pandemic hit?

{'2018-01': 'x',
 '2018-02': '',
 '2018-03': 'x',
 '2018-04': 'xxx',
 '2018-05': '',
 '2018-06': '',
 '2018-07': 'x',
 '2018-08': '',
 '2018-09': '',
 '2018-10': 'x',
 '2018-11': 'xx',
 '2018-12': 'xx',
 '2019-01': 'x',
 '2019-02': '',
 '2019-03': 'xxxxxxx',
 '2019-04': 'x',
 '2019-05': '',
 '2019-06': 'x',
 '2019-07': 'x',
 '2019-08': 'xx',
 '2019-09': '',
 '2019-10': 'xxxxx',
 '2019-11': 'xxxxxxxxx',
 '2019-12': 'xxxxxx',
 '2020-01': 'xxxxxxxxx',
 '2020-02': 'xxxxxxxxxxx',
 '2020-03': 'xxxxxxx',
 '2020-04': 'xxxxx',
 '2020-05': 'xx',
 '2020-06': '',
 '2020-07': '',
 '2020-08': '',
 '2020-09': '',
 '2020-10': 'x',
 '2020-11': 'xxxxxx',
 '2020-12': 'x',
 '2021-01': 'xx',
 '2021-02': 'xxx',
 '2021-03': 'xxxxxxxxx',
 '2021-04': '',
 '2021-05': 'xxxxxxxx',
 '2021-06': 'xxxxxxxxxxxxxxx',
 '2021-07': 'xxxxxxxxxxxxxxxxx',
 '2021-08': 'xxxxx',
 '2021-09': 'xxxxxxx',
 '2021-10': 'xxxx',
 '2021-11': 'xxxxxx',
 '2021-12': 'xxxxxxxx',
 '2022-01': 'xxxxxxxxx',
 '2022-02': 'xxxxxxxxxx',
 '2022-03': 'xxxxxxxxxxxx',
 '2022-04': 'xxxxxxxxxxxxxxxxxxxxxxx',
 '2022-05': 'xxxxxxxxxxxxxxxxxxxxxxx',
 '2022-06': 'xxxxxxxxxxxxxxxxx',
 '2022-07': 'xxxxxxxxxxxxxxxxxxxxxxx',
 '2022-08': 'xxxxxxxxxxxxxxxxxxxxxxx',
 '2022-09': 'xxxxxxx'}
qr-backup v1.1

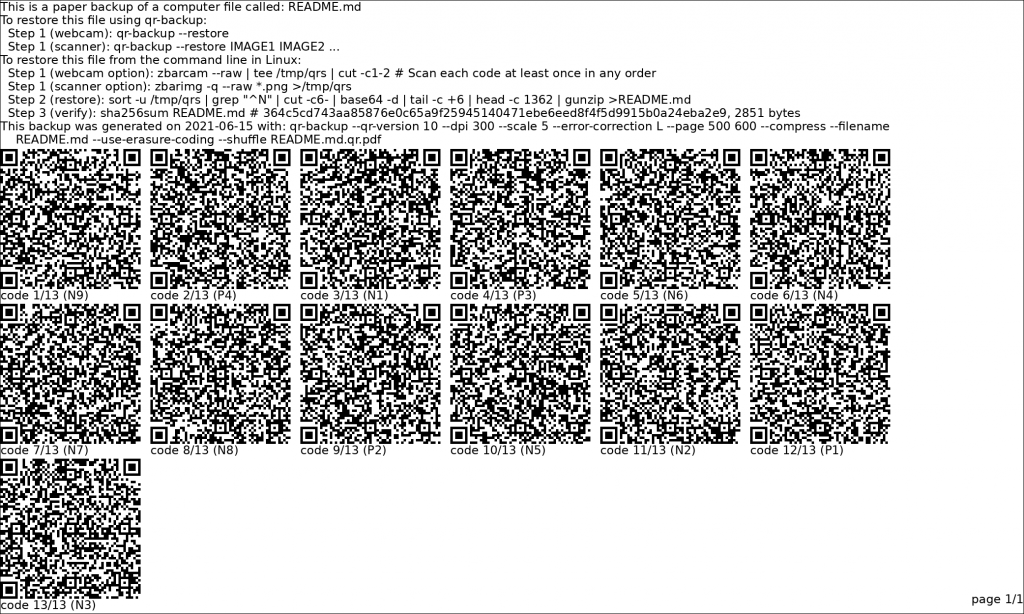
qr-backup v1.1 is released. qr-backup is a command-line Linux program. You can use it to back up a file as a series of QR codes. You can restore the QR codes using a webcam or scanner, and get back the original file.

The main features of qr-backup are ease-of-use and futureproofing (restore does not require qr-backup).

Please report any bugs on github. Once this is stable, I will do the first pip/package manager release. To test the alpha, check out the latest code using git.

See also USAGE and extensive FAQ.

New features in v1.1:

  • Feature complete. New features are unlikely to be added. Future efforts will focus on quality, GUIs, and porting.
  • restore using qr-backup. Previously, the only restore was a bash one-liner (which still works).
    • qr-backup --restore restores using the webcam
    • qr-backup --restore IMAGE IMAGE IMAGE restores from scanned images
  • After generating a PDF backup, qr-backup automatically does a digital test of the restore process
  • Erasure coding. Lose up to 30% of QRs and restore will still work, as long as you are using qr-backup to restore
  • Increased code density, which about cancels out the erasure coding.
  • Back up directories and files. qr-backup makes a .tar file for you
  • Option to use password protection (encryption)
  • Option to print multiple copies of every QR code
  • Option to randomize order of QR codes
  • Optionally print extra cover sheet instructions on how to restore. For long-term archivists.
  • Option to add custom notes and labels to each page
  • Improved support for using qr-backup in a pipe
  • Various bugfixes
  • See CHANGELOG for complete details

P.S. As a special request, if anyone is on OS X, let me know if it works for you?